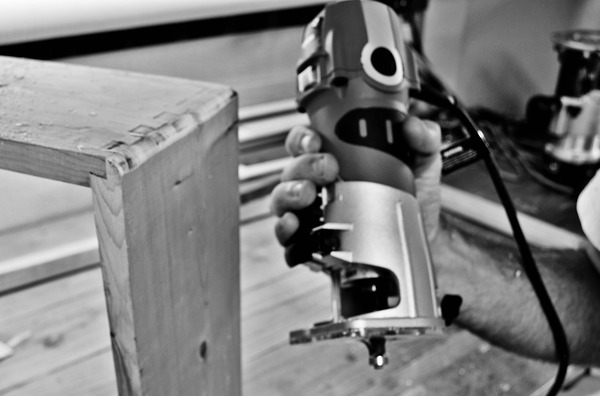
 Aside from the table saw, one of the most useful tools in my shop is the router. This large, loud, powerful tool can be intimidating to work with, but once you know the basics I’m sure you’ll agree that it’s a tool worth learning to use. The basic router is a large motor with a base plate that rides along the wood, and a shaft with a receiver called a collet that holds shaped bits which spin at high speed and shape the wood. The tool can be used by hand against a fence or guide, or can be mounted in a table with a fence for more control. The bits can be used on the edge of a work piece to round-over or profile the edge; they can plunge into the wood for lettering, decorative strips, dados; or even used to create raised panel doors. I pick up one of my many routers for just about every project, because of the versatility, speed, and general usefulness throughout the process.
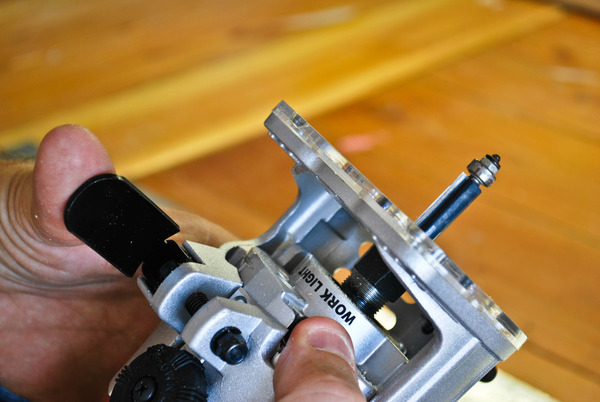
First, let’s talk about a few basics:
- Collet Size: Routers have a ¼” or ½” collet. This has to do with the size of the bit shaft. A larger shaft means there’s more weight behind the cutting edge so they result in smoother, cleaner cuts. For anything up to a 1.5 hp motor, the ¼” collet and bits work just fine and are quite a bit cheaper, but if you have the cash, start with a 2 hp motor with a ¼” adapter in the ½” collet. This will allow for upgrades of specialty bits in the future without the cost of a new router as well.
- Speeds: Look for variable speed routers whenever possible as this gives a bit more precision and customization to the tool. Also, go for a “soft start” model that turns on and up to speed slowly. It’s a much more controllable experience that way, as the large motor can have a tendency to jump if it goes from 0 to 28k RPMs in a second.
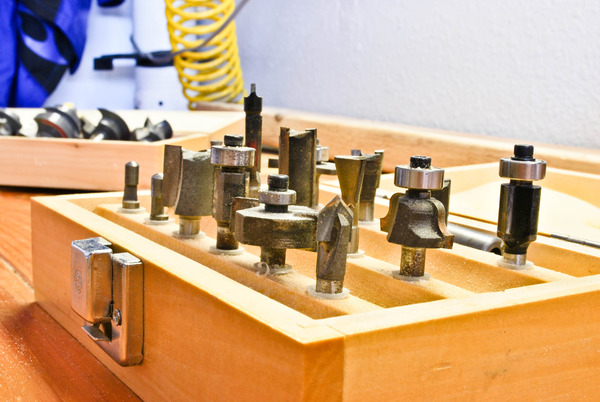
- Bits: As mentioned above, I recommend getting a starter set of ¼” bits to see what you like and use often. They are relatively cheap and give a wide range of options to experiment and then know exactly which bits you want to upgrade as the need arises.
ManMade Recommended:
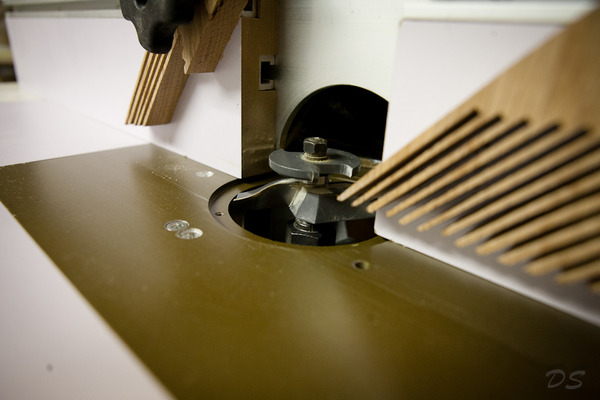 Router Table: A table makes routing many pieces much easier and safer to control. There are two types of tables, benchtop and cabinet. Benchtop tables are portable, low profile, and made to be used clamped to a bench. The downside is a small working surface, plastic components, and limited adjustability. If space is at a minimum or cash is tight, this is the option for you. If portability is less important that stability, look for the larger, more robust cabinet style table which has a larger top, more hold down features and an upgraded fence system. This type is less portable due to weight and size, but it’s much easier to use overall. If you have the room, I purchased a cabinet-sized table top, and installed it directly into my workbench. Take a look at that set-up here.
ManMade Recommended:
Now that we’re talked about the basics, here are the three main types of routers I use throughout my projects: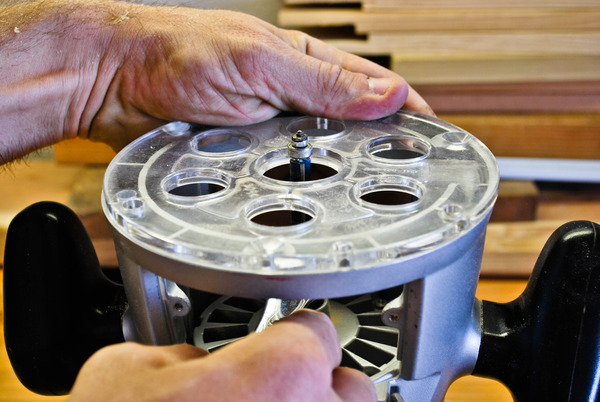
- Fixed Base Router – A fixed base router is the workhorse of the router family. It is the burly, stable, hefty piece that does most of the work when a lot of material needs to be removed. This is probably the first router you should buy because it does just about everything the other two can do, just not as delicately. A fixed base is just that, the bit is set and then locked down for a stable cutting depth. Go for a large 2 hp+ motor for your fixed base router, and definitely spring for the ½” collet for future expansion into large cutter heads.
Use for: Edge profiles, Dadoes, Signmaking, Edge Banding, Flush Trimming
ManMade Recommended:
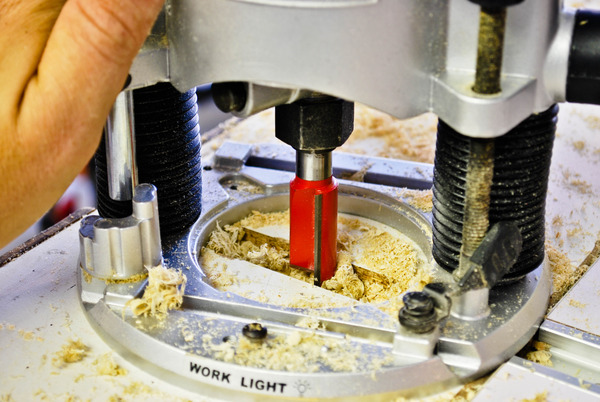
- Plunge Router – This type of router has a spring-loaded base that allows for the bit to be plunged into the work piece for cuts that don’t go through to the edge. The plunge router is great for easing into a cut and hogging out the majority of the materials slowly without time-consuming bit changes. I usually keep a ½” straight bit in the tool for dadoes. I purchased my plunge router as a set with both a fixed base and plunge attachment which is convenient if you only have one motor, but I generally keep the plunge base on there, and have another with a fixed base.
Use For: Dadoes (especially stopped dadoes), Fluting, Signmaking, Keyholes and plunge cuts
ManMade Recommended:
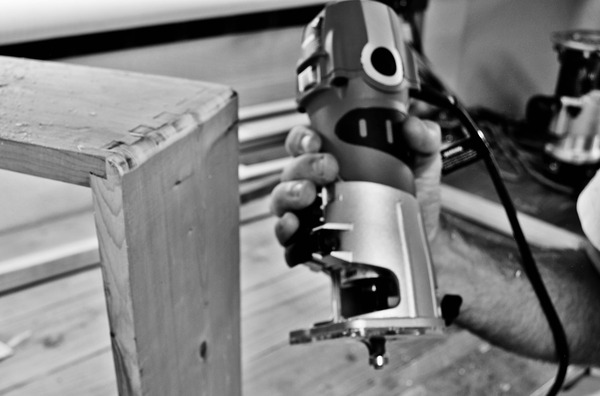
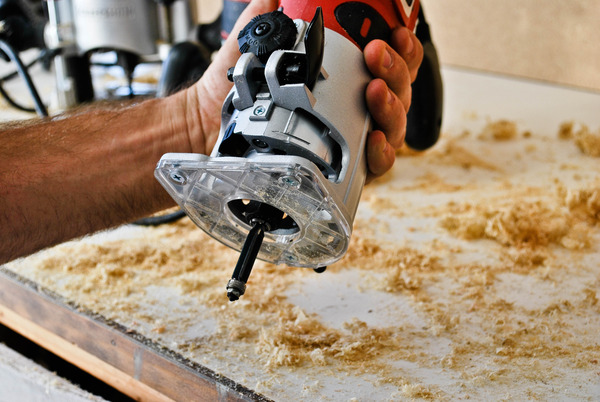
- Trim Router- Used for handheld shaping like small round-overs and flush trimming. The size and handling of this tool makes it easy to control the cut so one-handed operations can be done safely. It’s amazing how useful it is to use a tool this size that can be controlled with a single hand, as both the big brother tools require two handed operation to be stable. Keep in mind these small motors won’t stand up to heavy cuts or complicated profiles, but for about 90% of your edge trimming this will be the tool you reach for. I keep a flush-cut bit in it to use when cleaning up the edge of doors and boxes. Look for something with a thin and easy to hold body, easy to adjust depth, and at least a 1.25 hp motor for enough heft easily make the cut.
Use for: Trimming laminate, Flush cutting edges, Simple round-overs, Inlay work
ManMade Recommended:
While there may be a lot to learn about the usefulness of routers in your shop, there really should be no question about whether one will find a use. Start using one on your next project, and I’ll bet you will end up reaching for it just about every day you spend out there in the shop.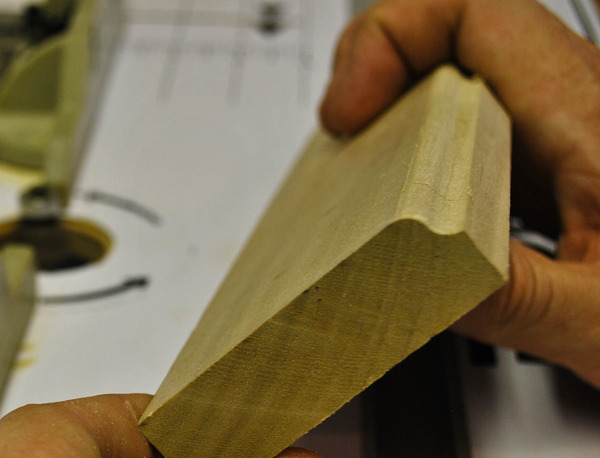



Add comment