This post is part of our Submit a Project Series, where our MMDIYers and renovation experts (or amateurs) get the recognition they deserve. Have a project you’re particularly proud of? We at ManMadeDIY want to see it! Click HERE or use the ‘Submit Your Project’ button on our home page to share your latest creations or renovations with us.
For today we have a submission from Charlie W, who shared their front door makeover with us.
“When I bought my century home it came with the original wood front door that was in rough shape. The paint was chipped and bubbling all over so I finally got around to refinishing the door. I’d done furniture refinishing and paint stripping before but this door was a different beast. I estimate there were 6 different coats of paint and a wood stain on it. The project took about 4 evenings but if I had devoted a weekend it could have been completed from start to finish in 48 hours. The process was relatively easy just a lot of detail work.”
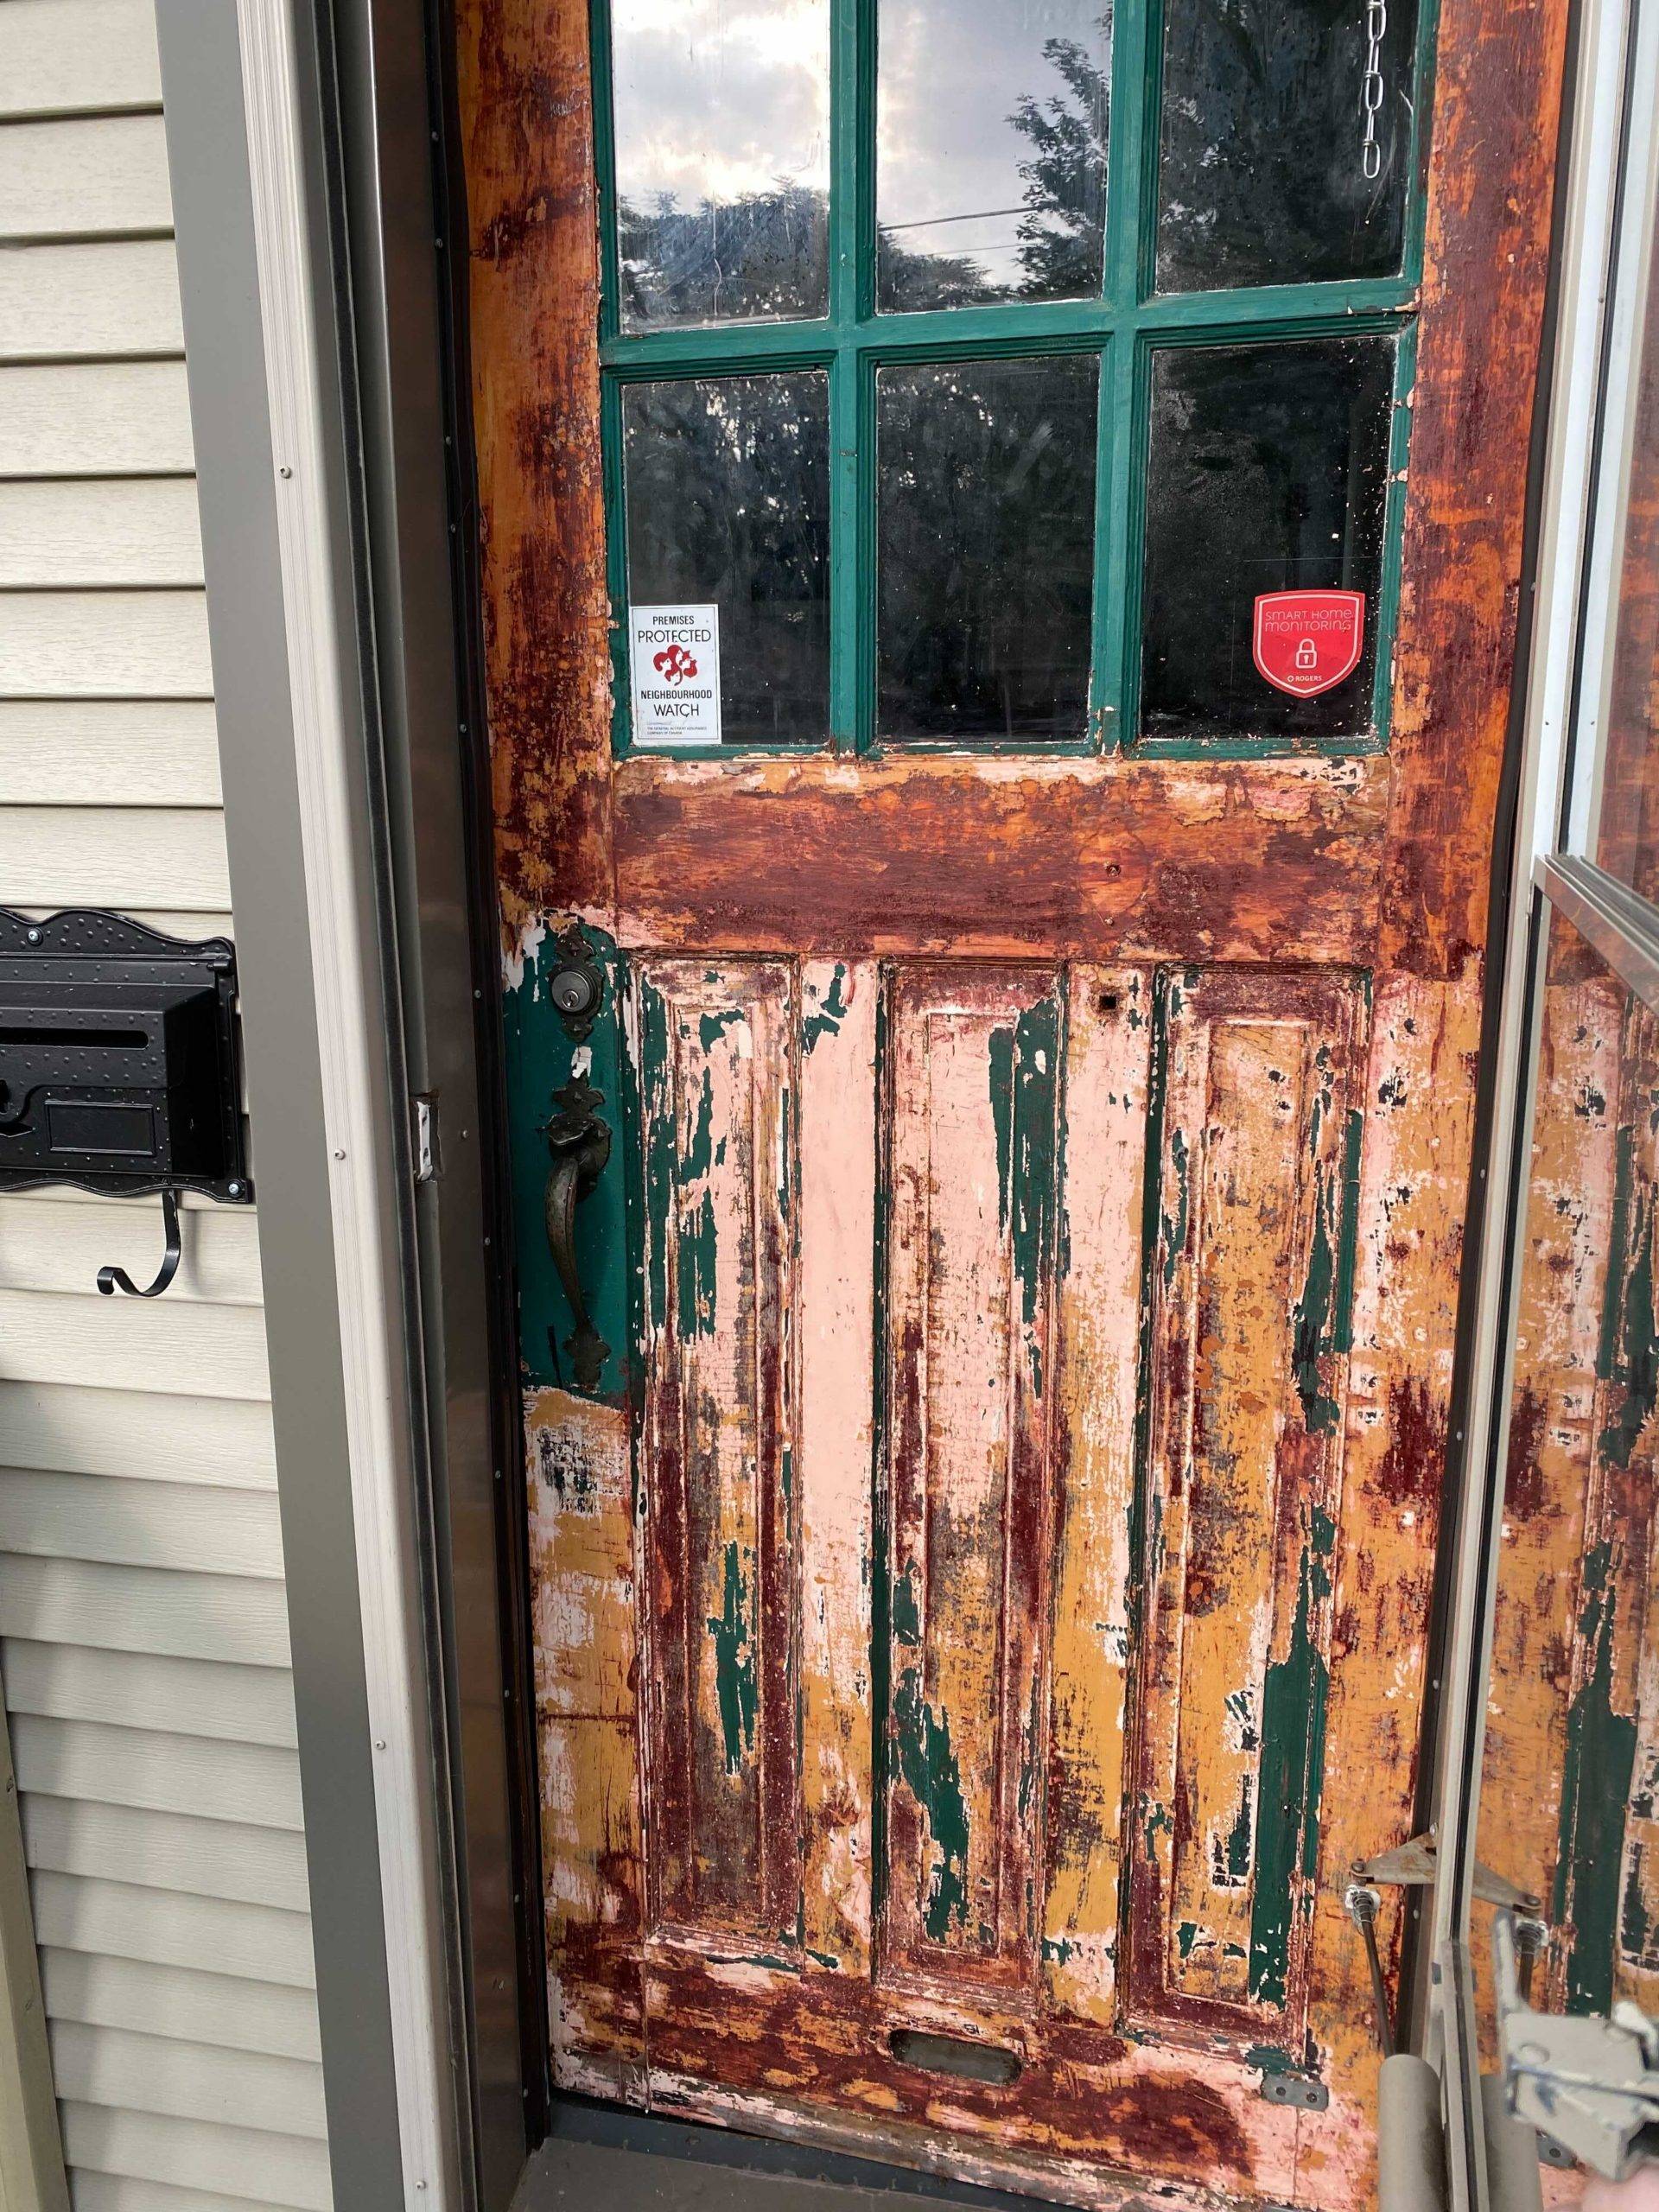
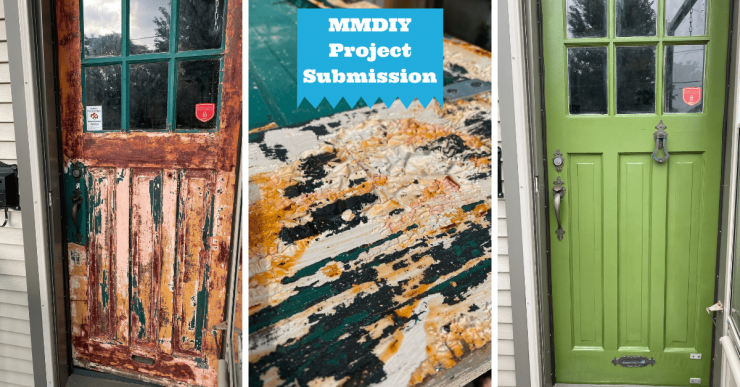
The front door before being stripped. Photo by: Charlie W.
Step 1: Stripping the Paint
To start this project I needed to strip the layers of old paint. I swear by the CIRCA 1850 Super D-Solver Gel Stripper so I stuck to what I knew would get the results I wanted. After applying the gel stripper, I used a 3-in-1 scraper to take all the layers of paint off the door—and there were a lot of them!
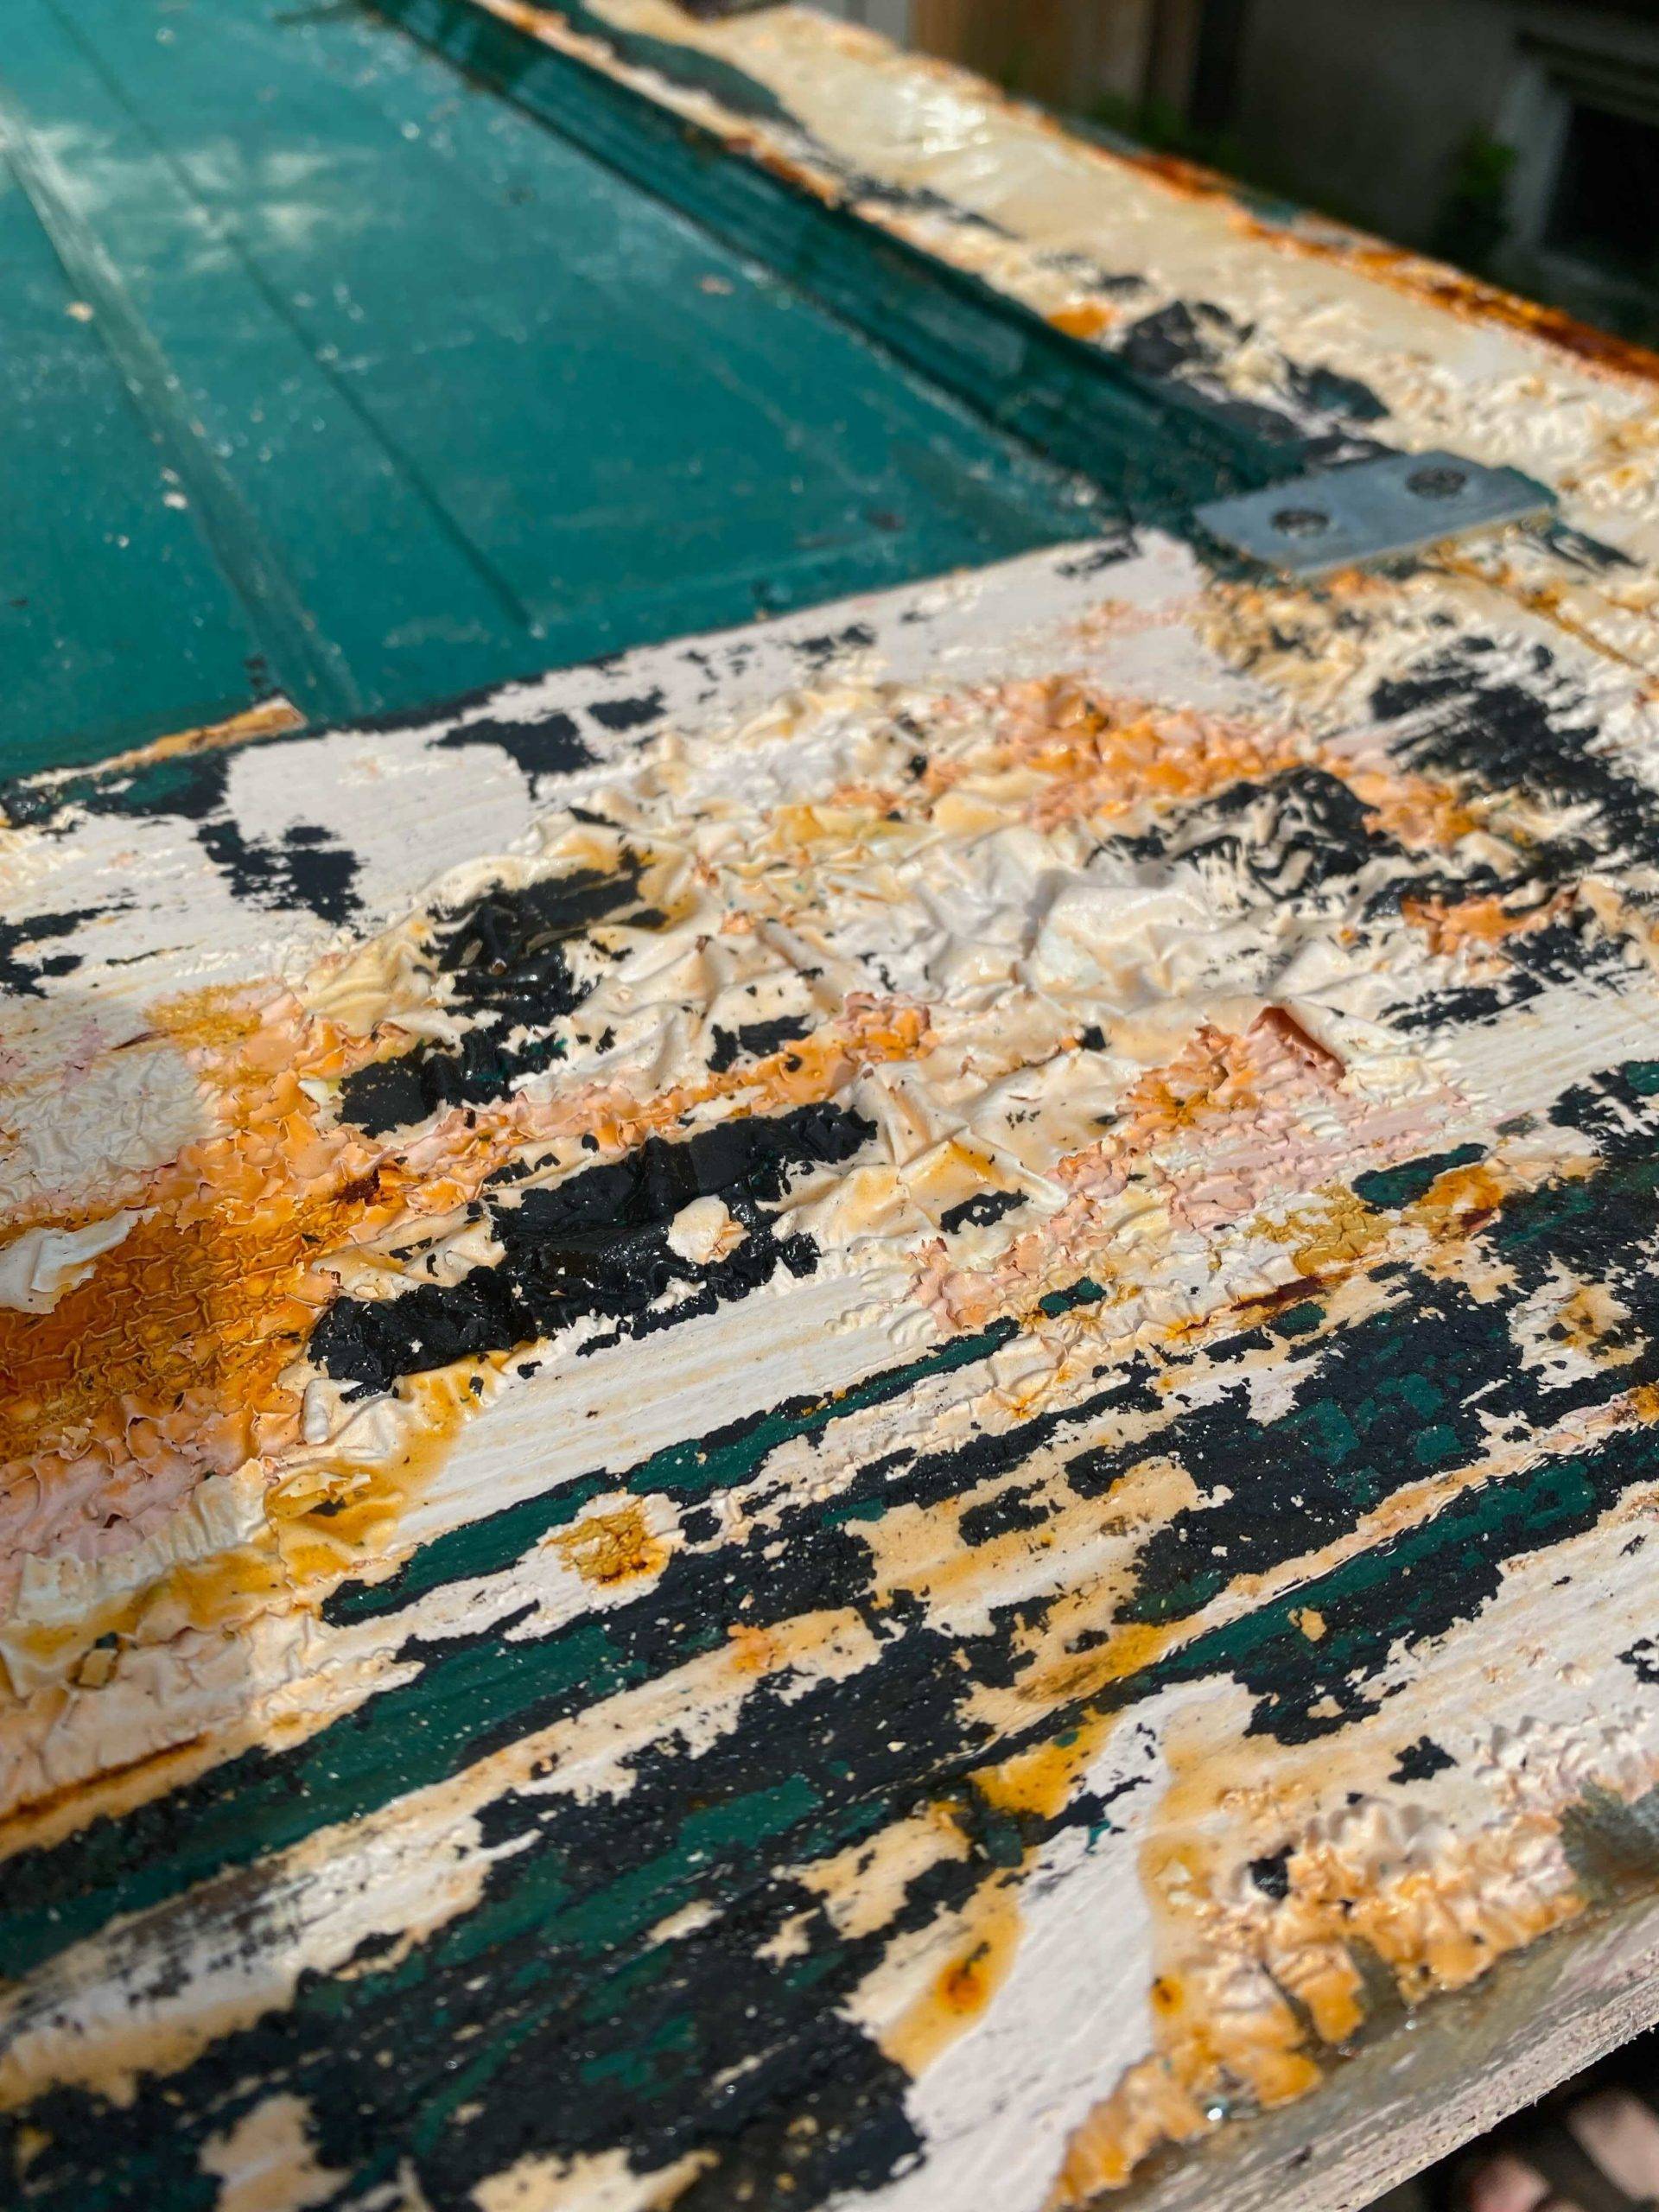
There were at least six coats of paint on the door from over the years. Photo by: Charlie W.
Step 2: Steel Wool for Stripping the Tough Areas
The most tedious part of the stripping was getting into all the little grooves around the window panes. Steel wool is a blessing for those parts.
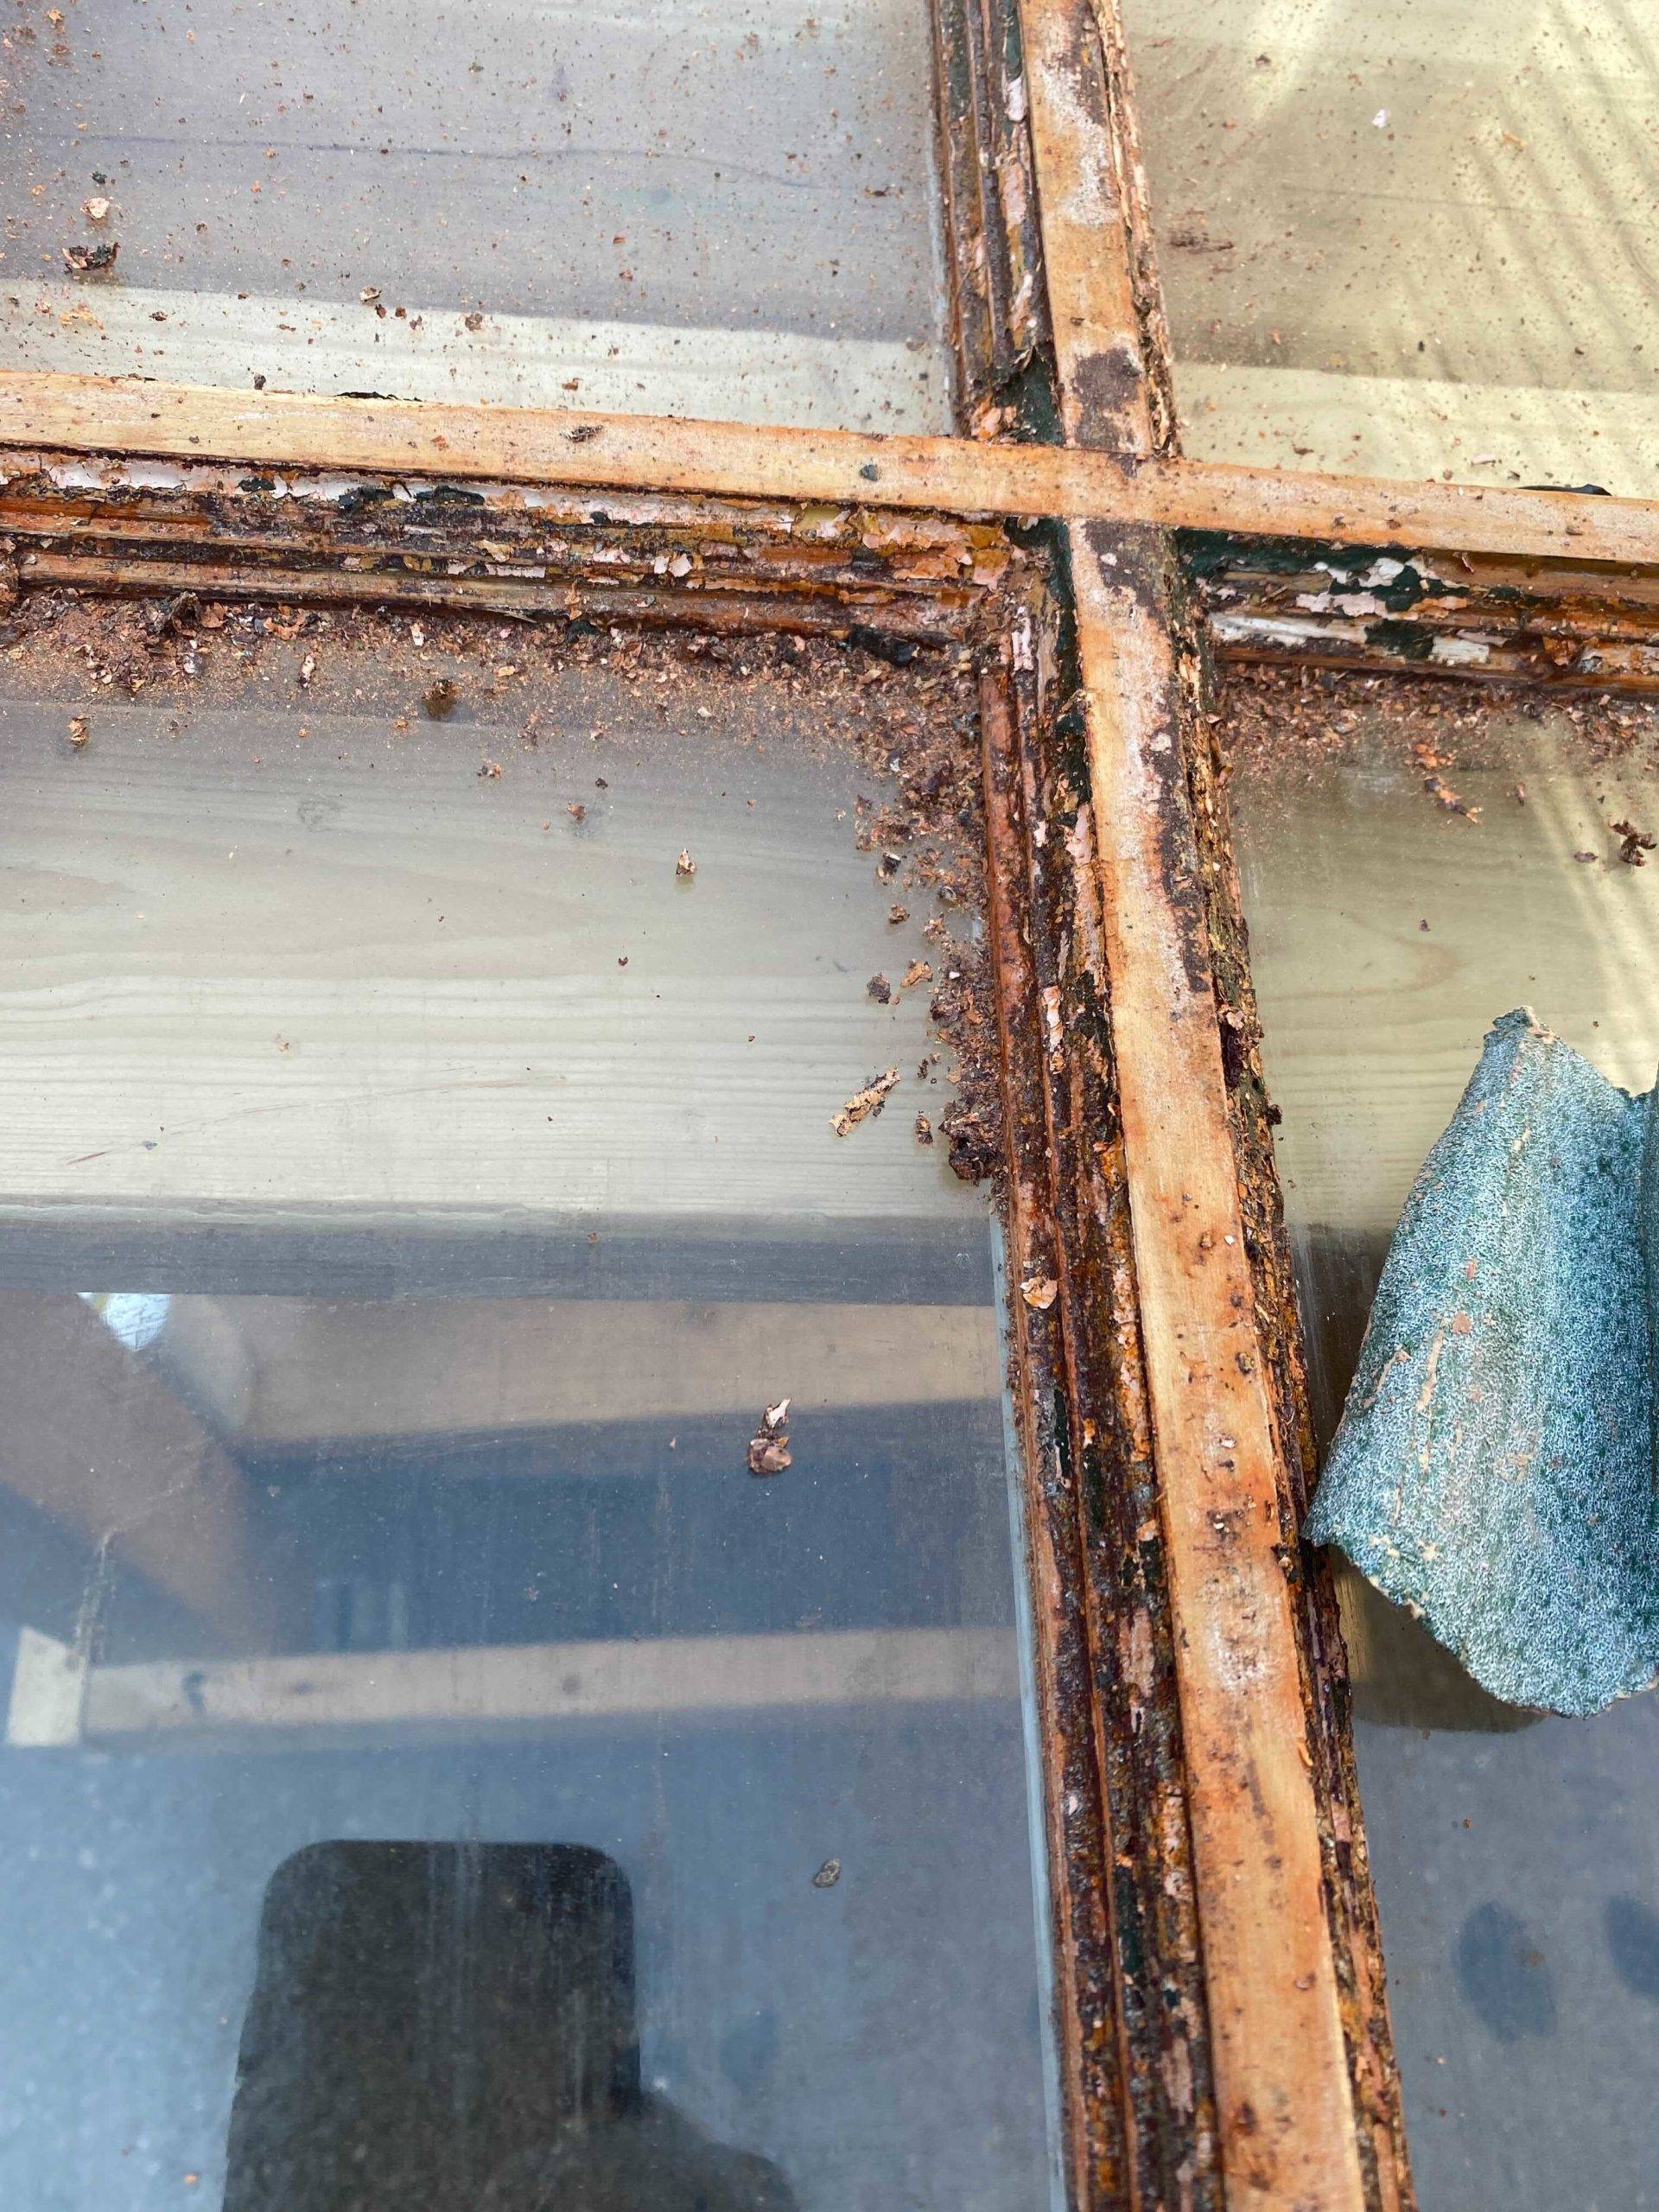
Steel wool made cleaning the window pane manageable. Photo by: Charlie W.
Step 3: Sanding It Down
Once all the old layers of part and stain were removed, I sanded down the entire door. I was really happy to see the original wood grain pop out during this process.
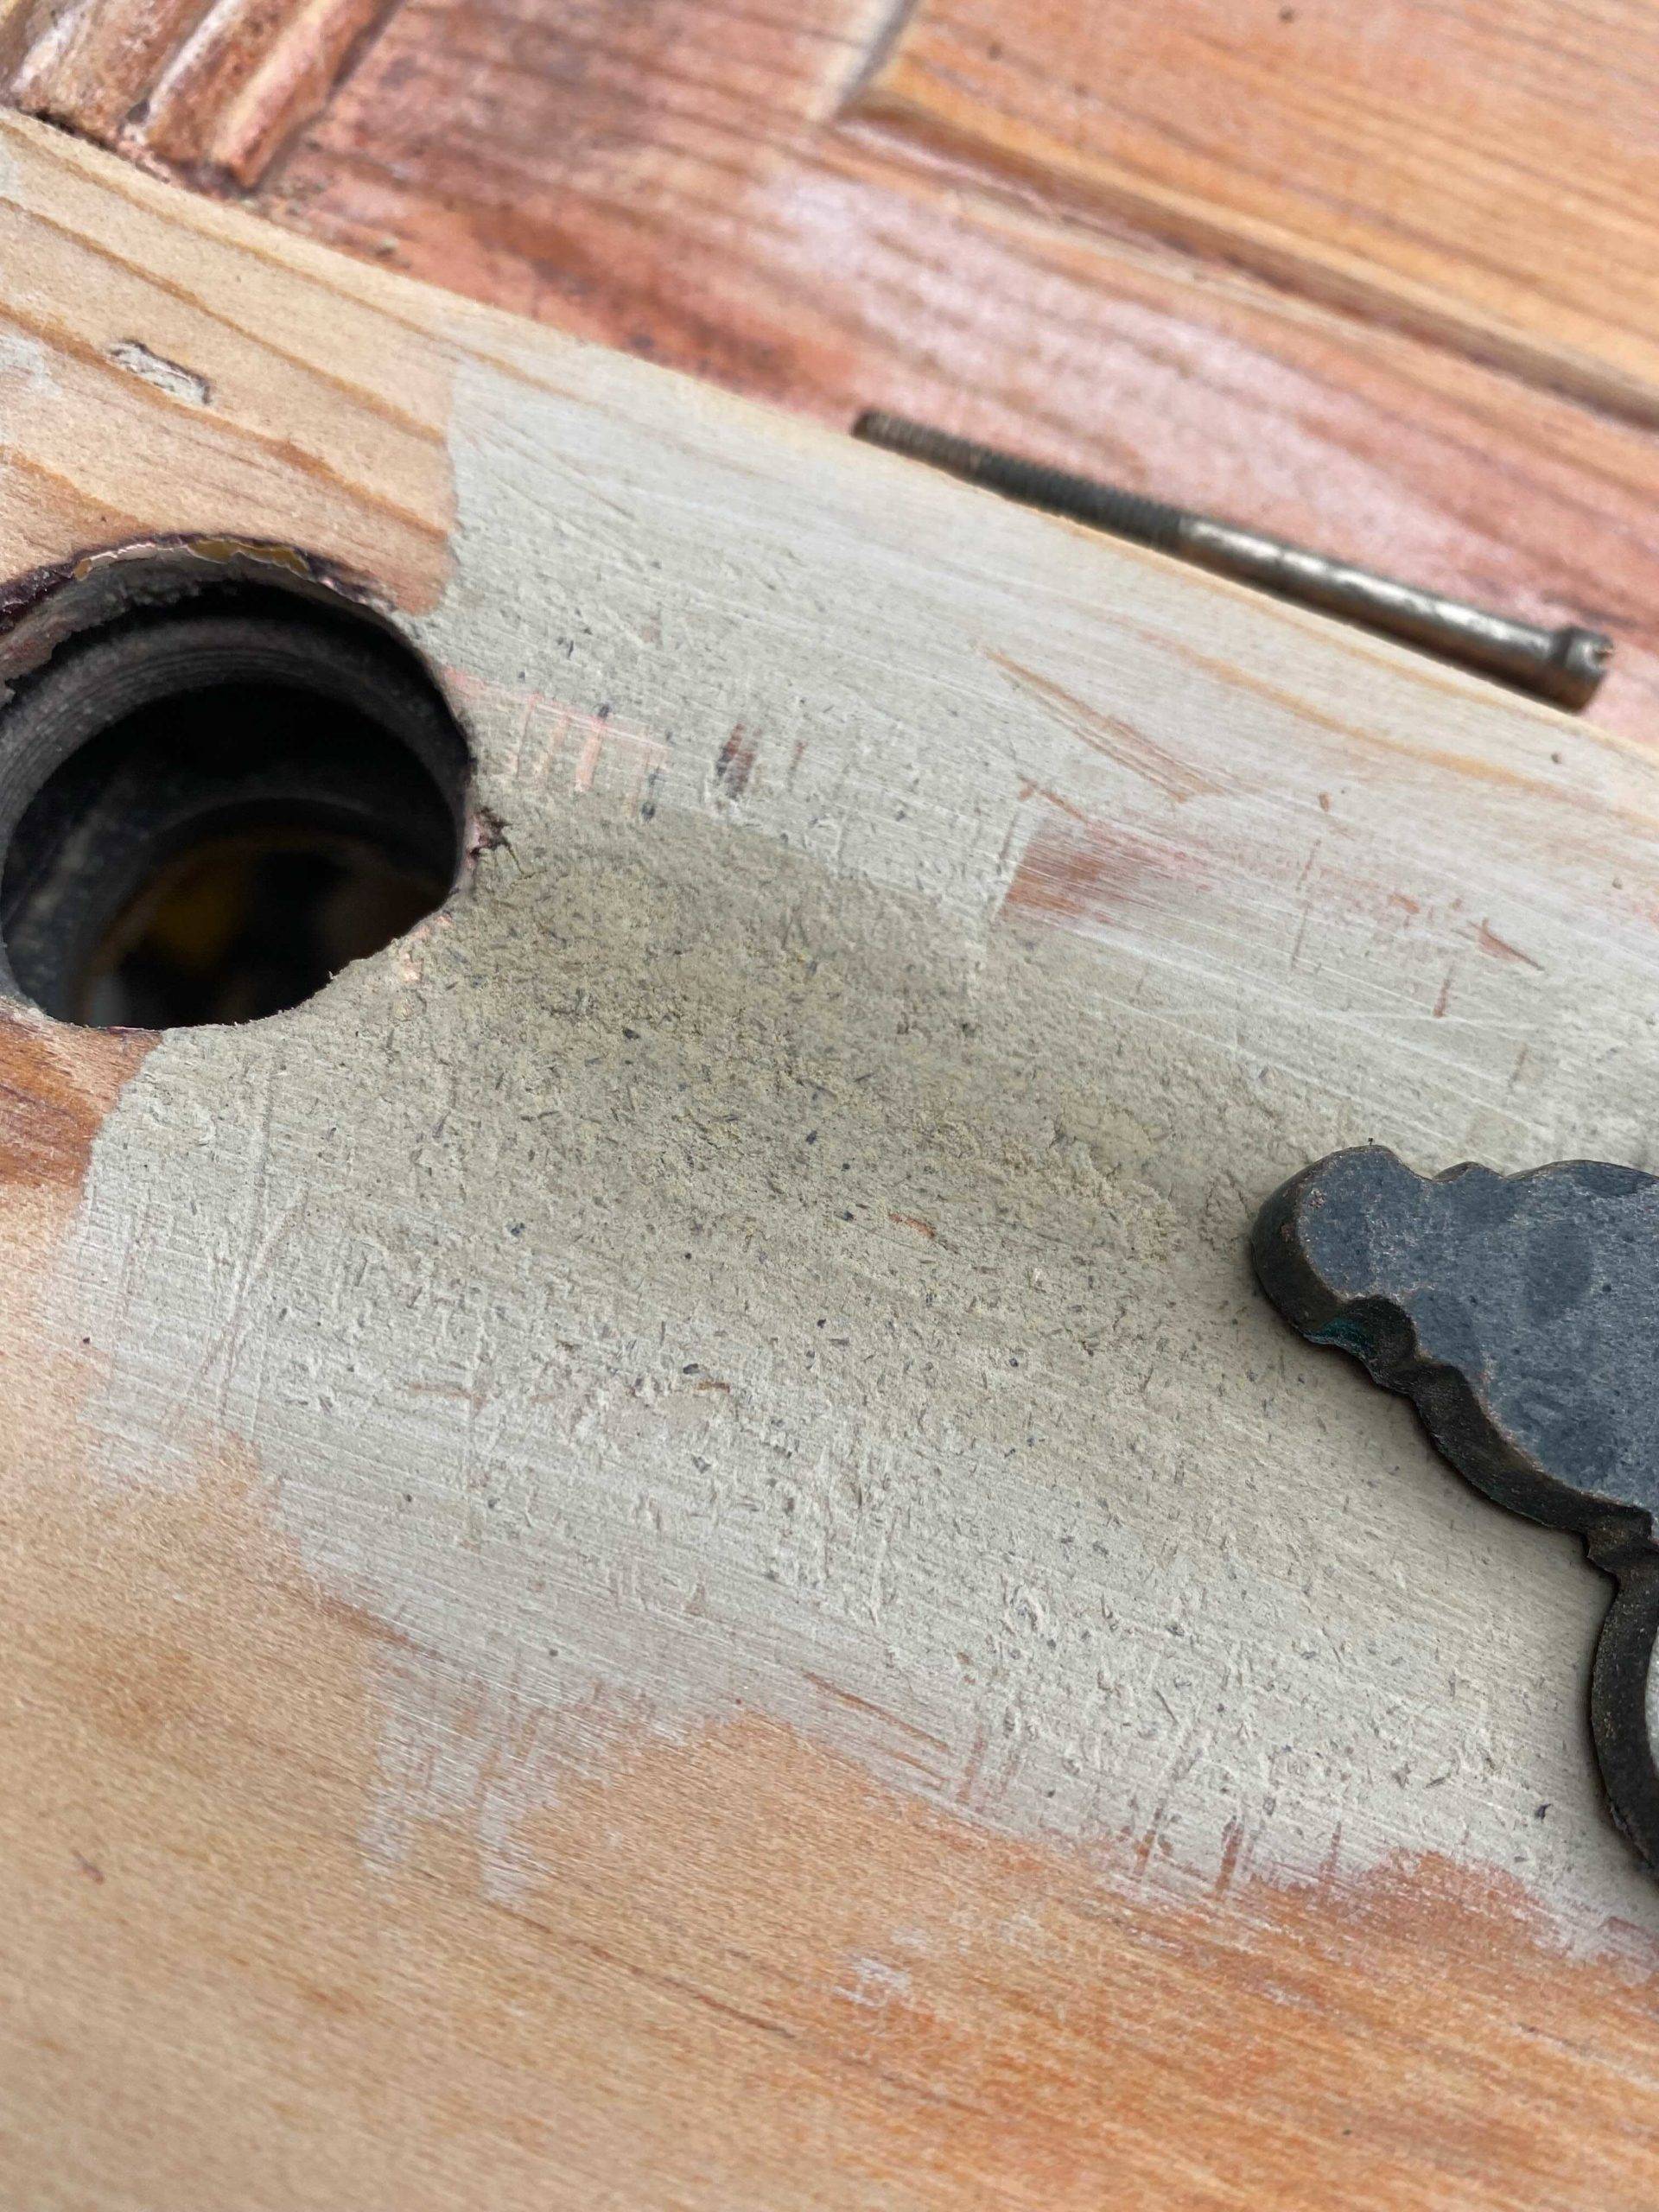
Sanding down the door brought out the original grain. Photo by: Charlie W.
At this point, I debated just staining the wood and leaving it as is, but you can see some of the sections around the door handle had deteriorated so I went with paint.
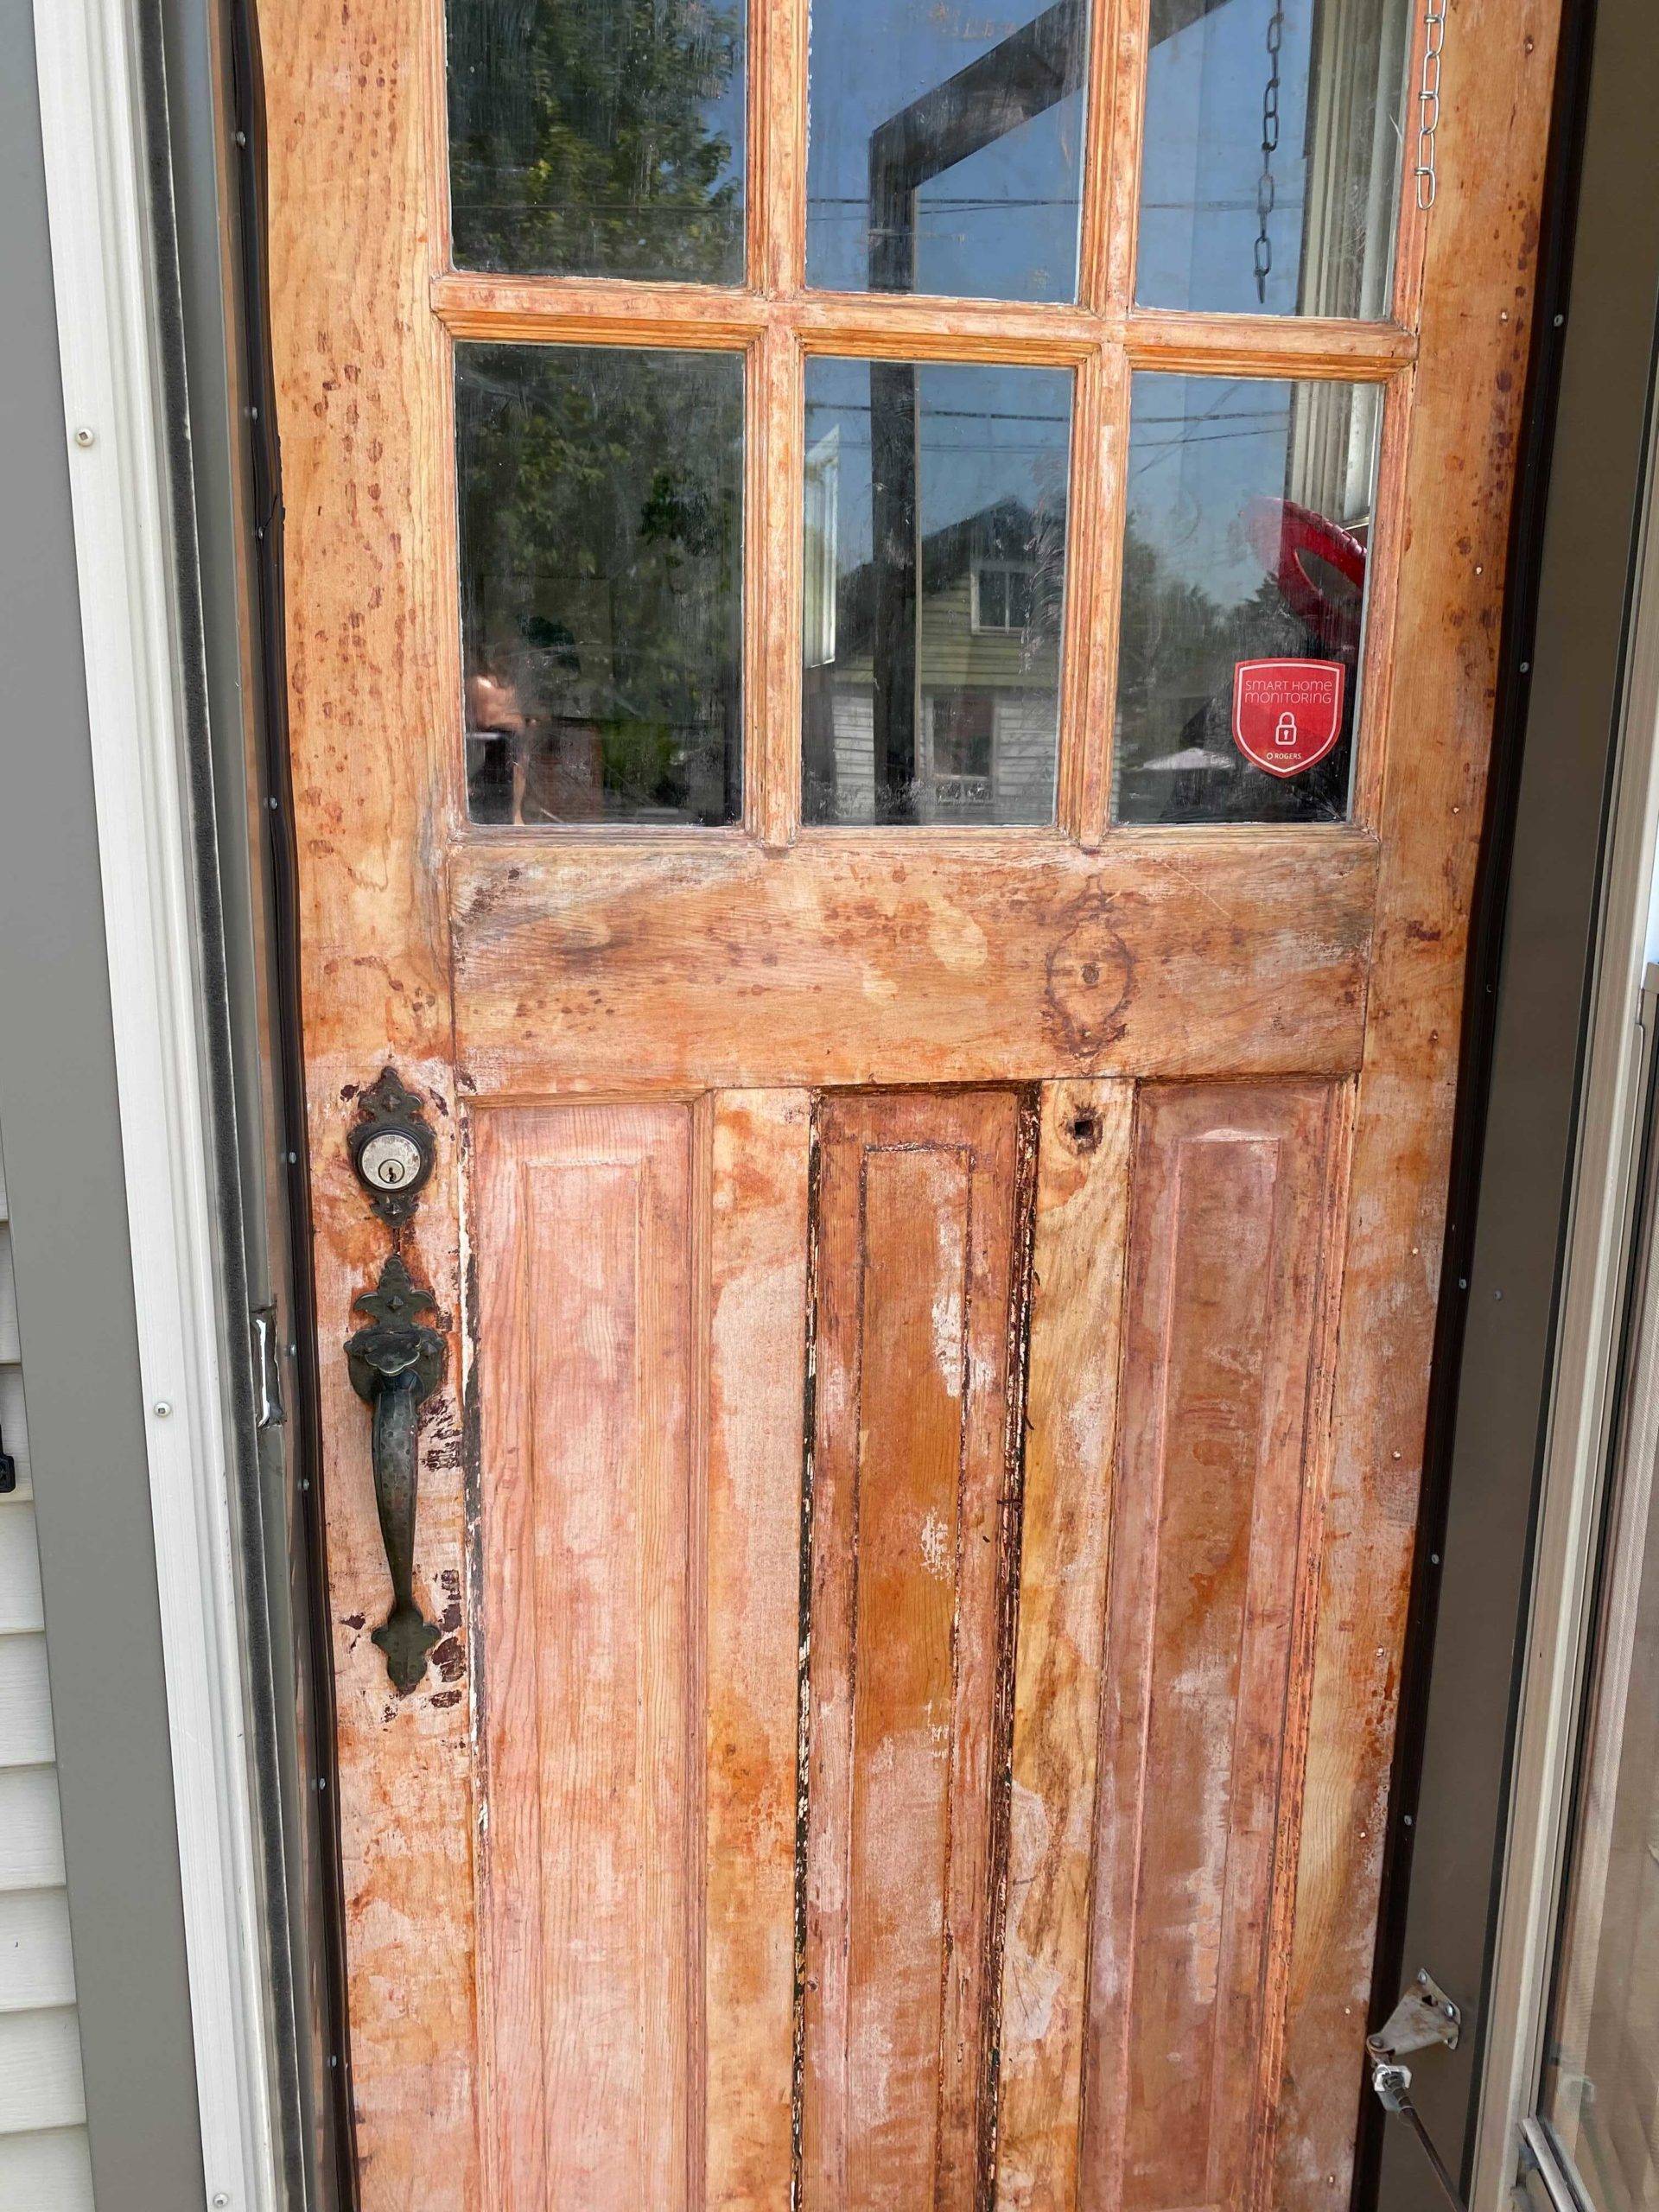
The wood door after being stripped and sanded.
Step 4: Priming the Door
To prepare the door for painting, I primed the wood with a coat of Rustoleum’s Zinsser 123 Primer.
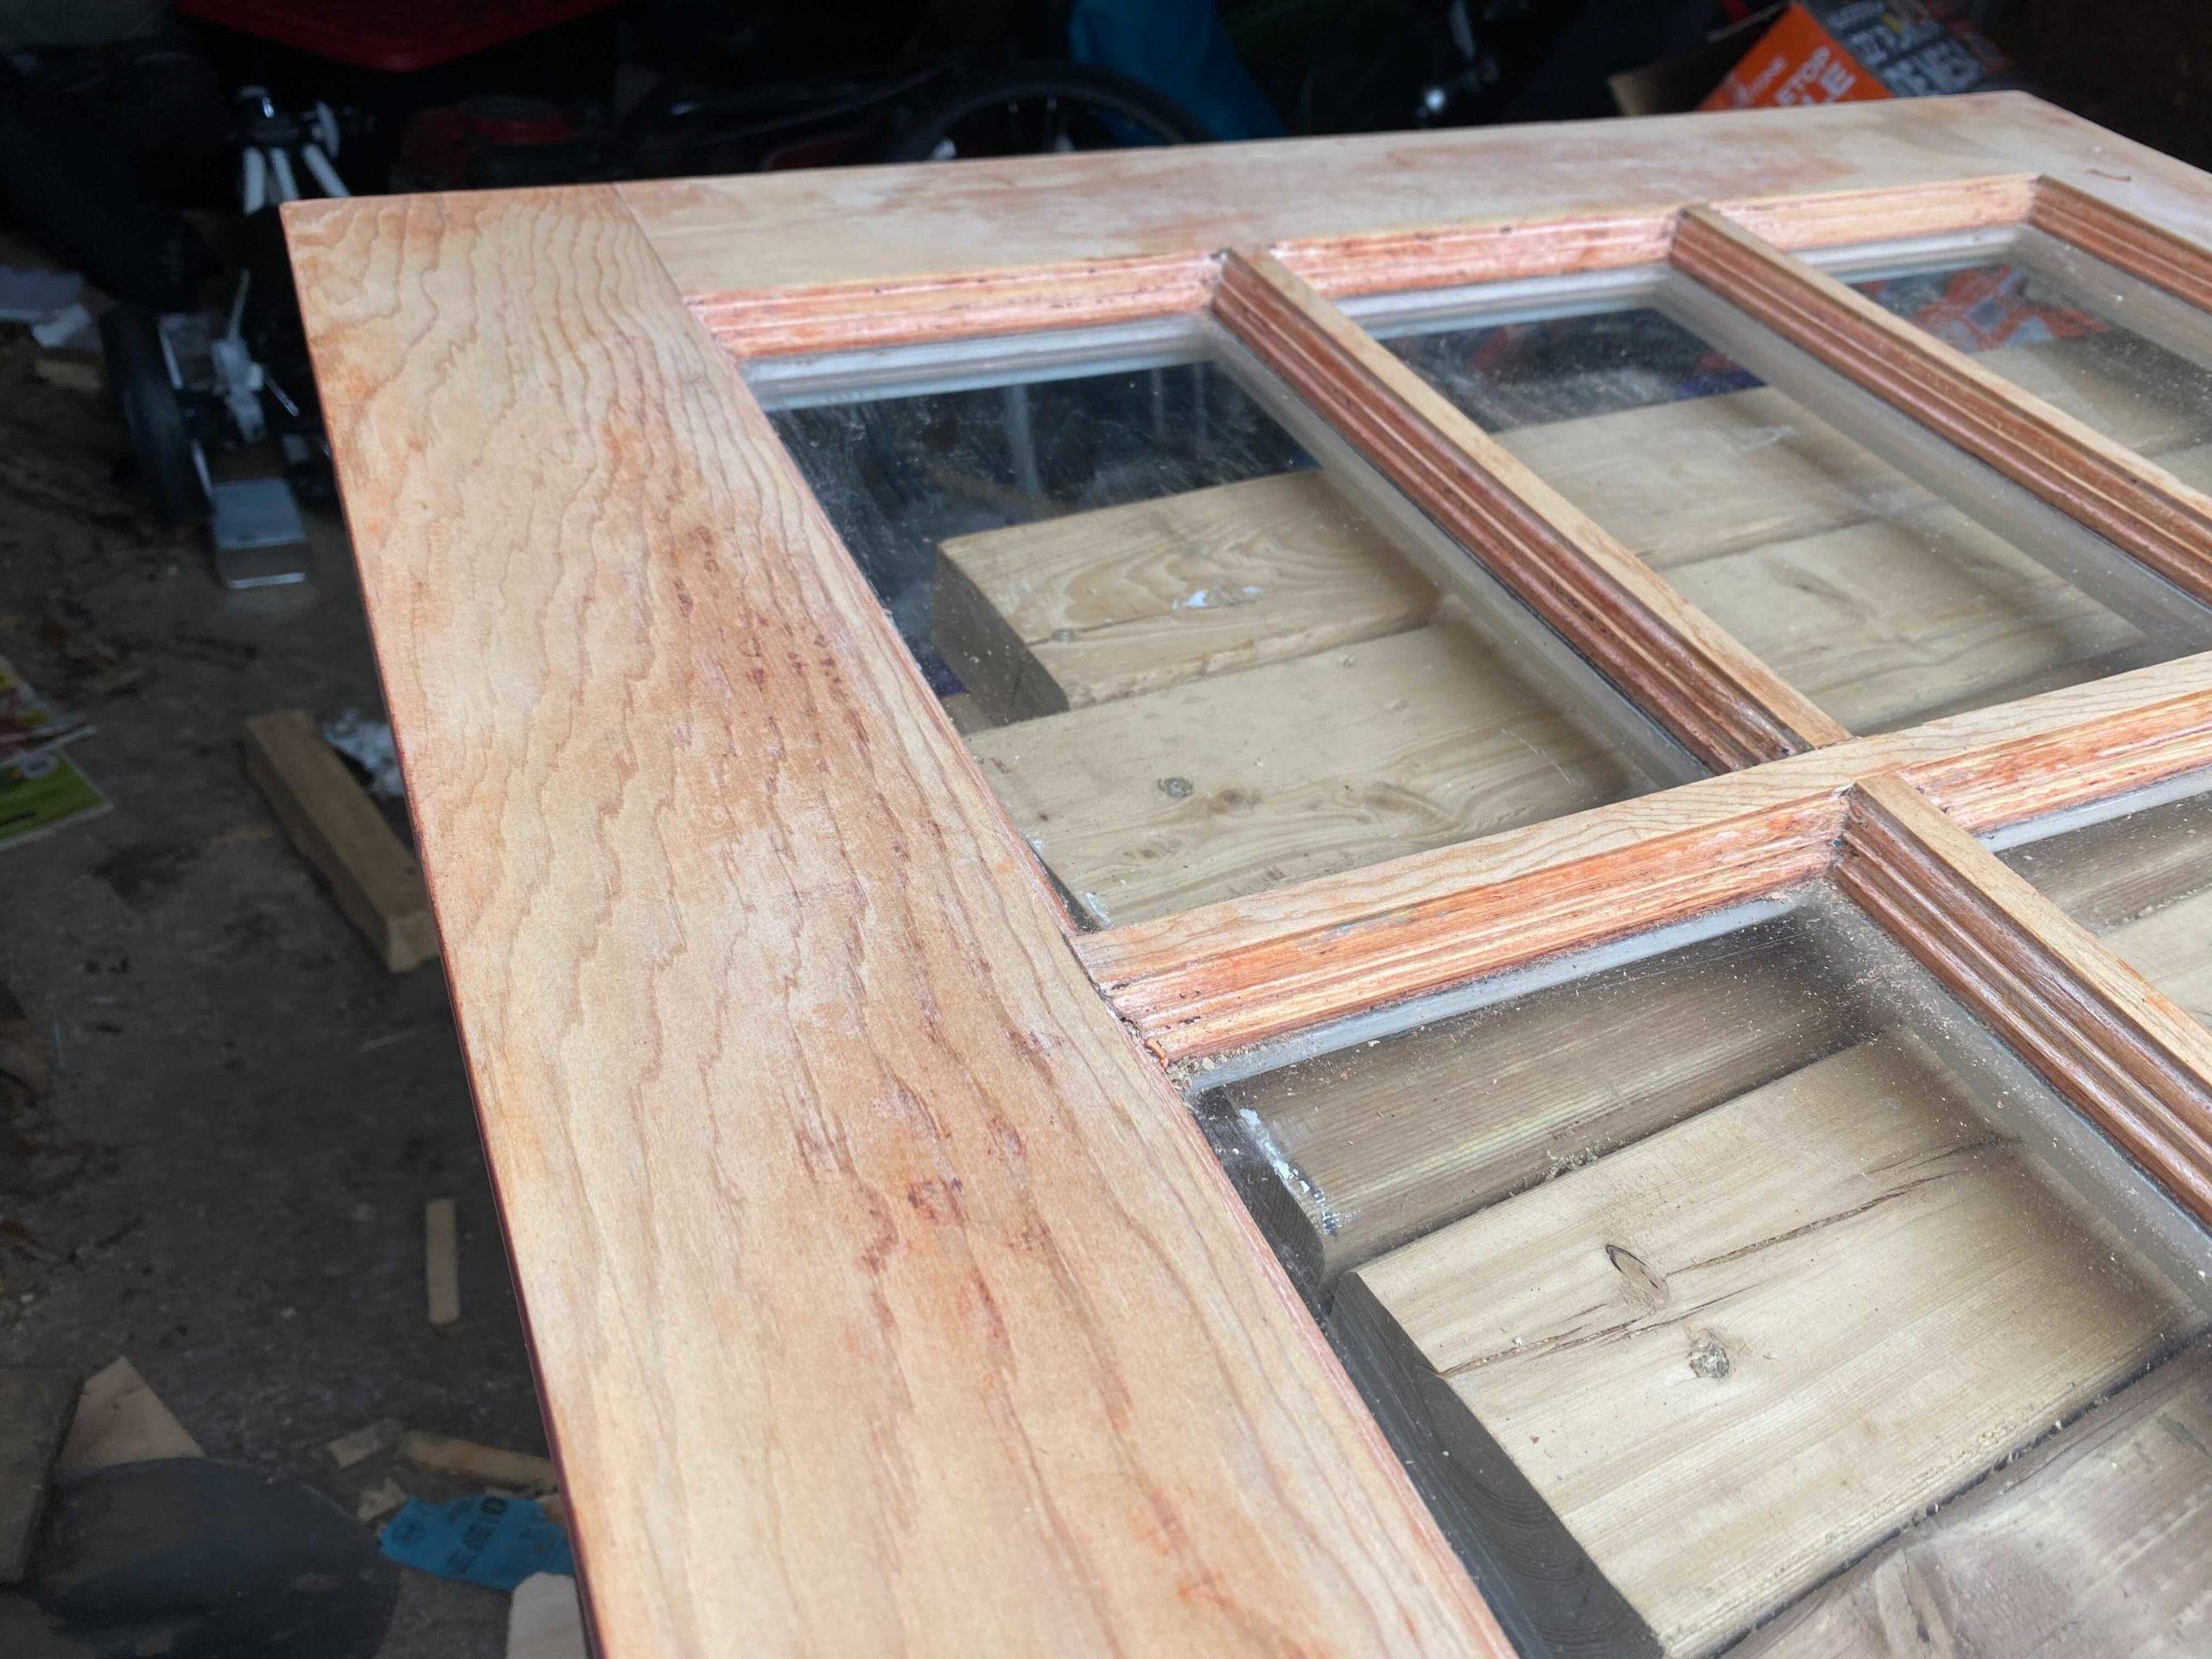
The window pane after being stripped and sanded. Photo by: Charlie W.
Step 5: A Few Coats of Paint
The final step to this project once the door had been stripped, sanded, and primed, was to paint. Two coats of paint later, I reattached the original pewter hardware and it was done!
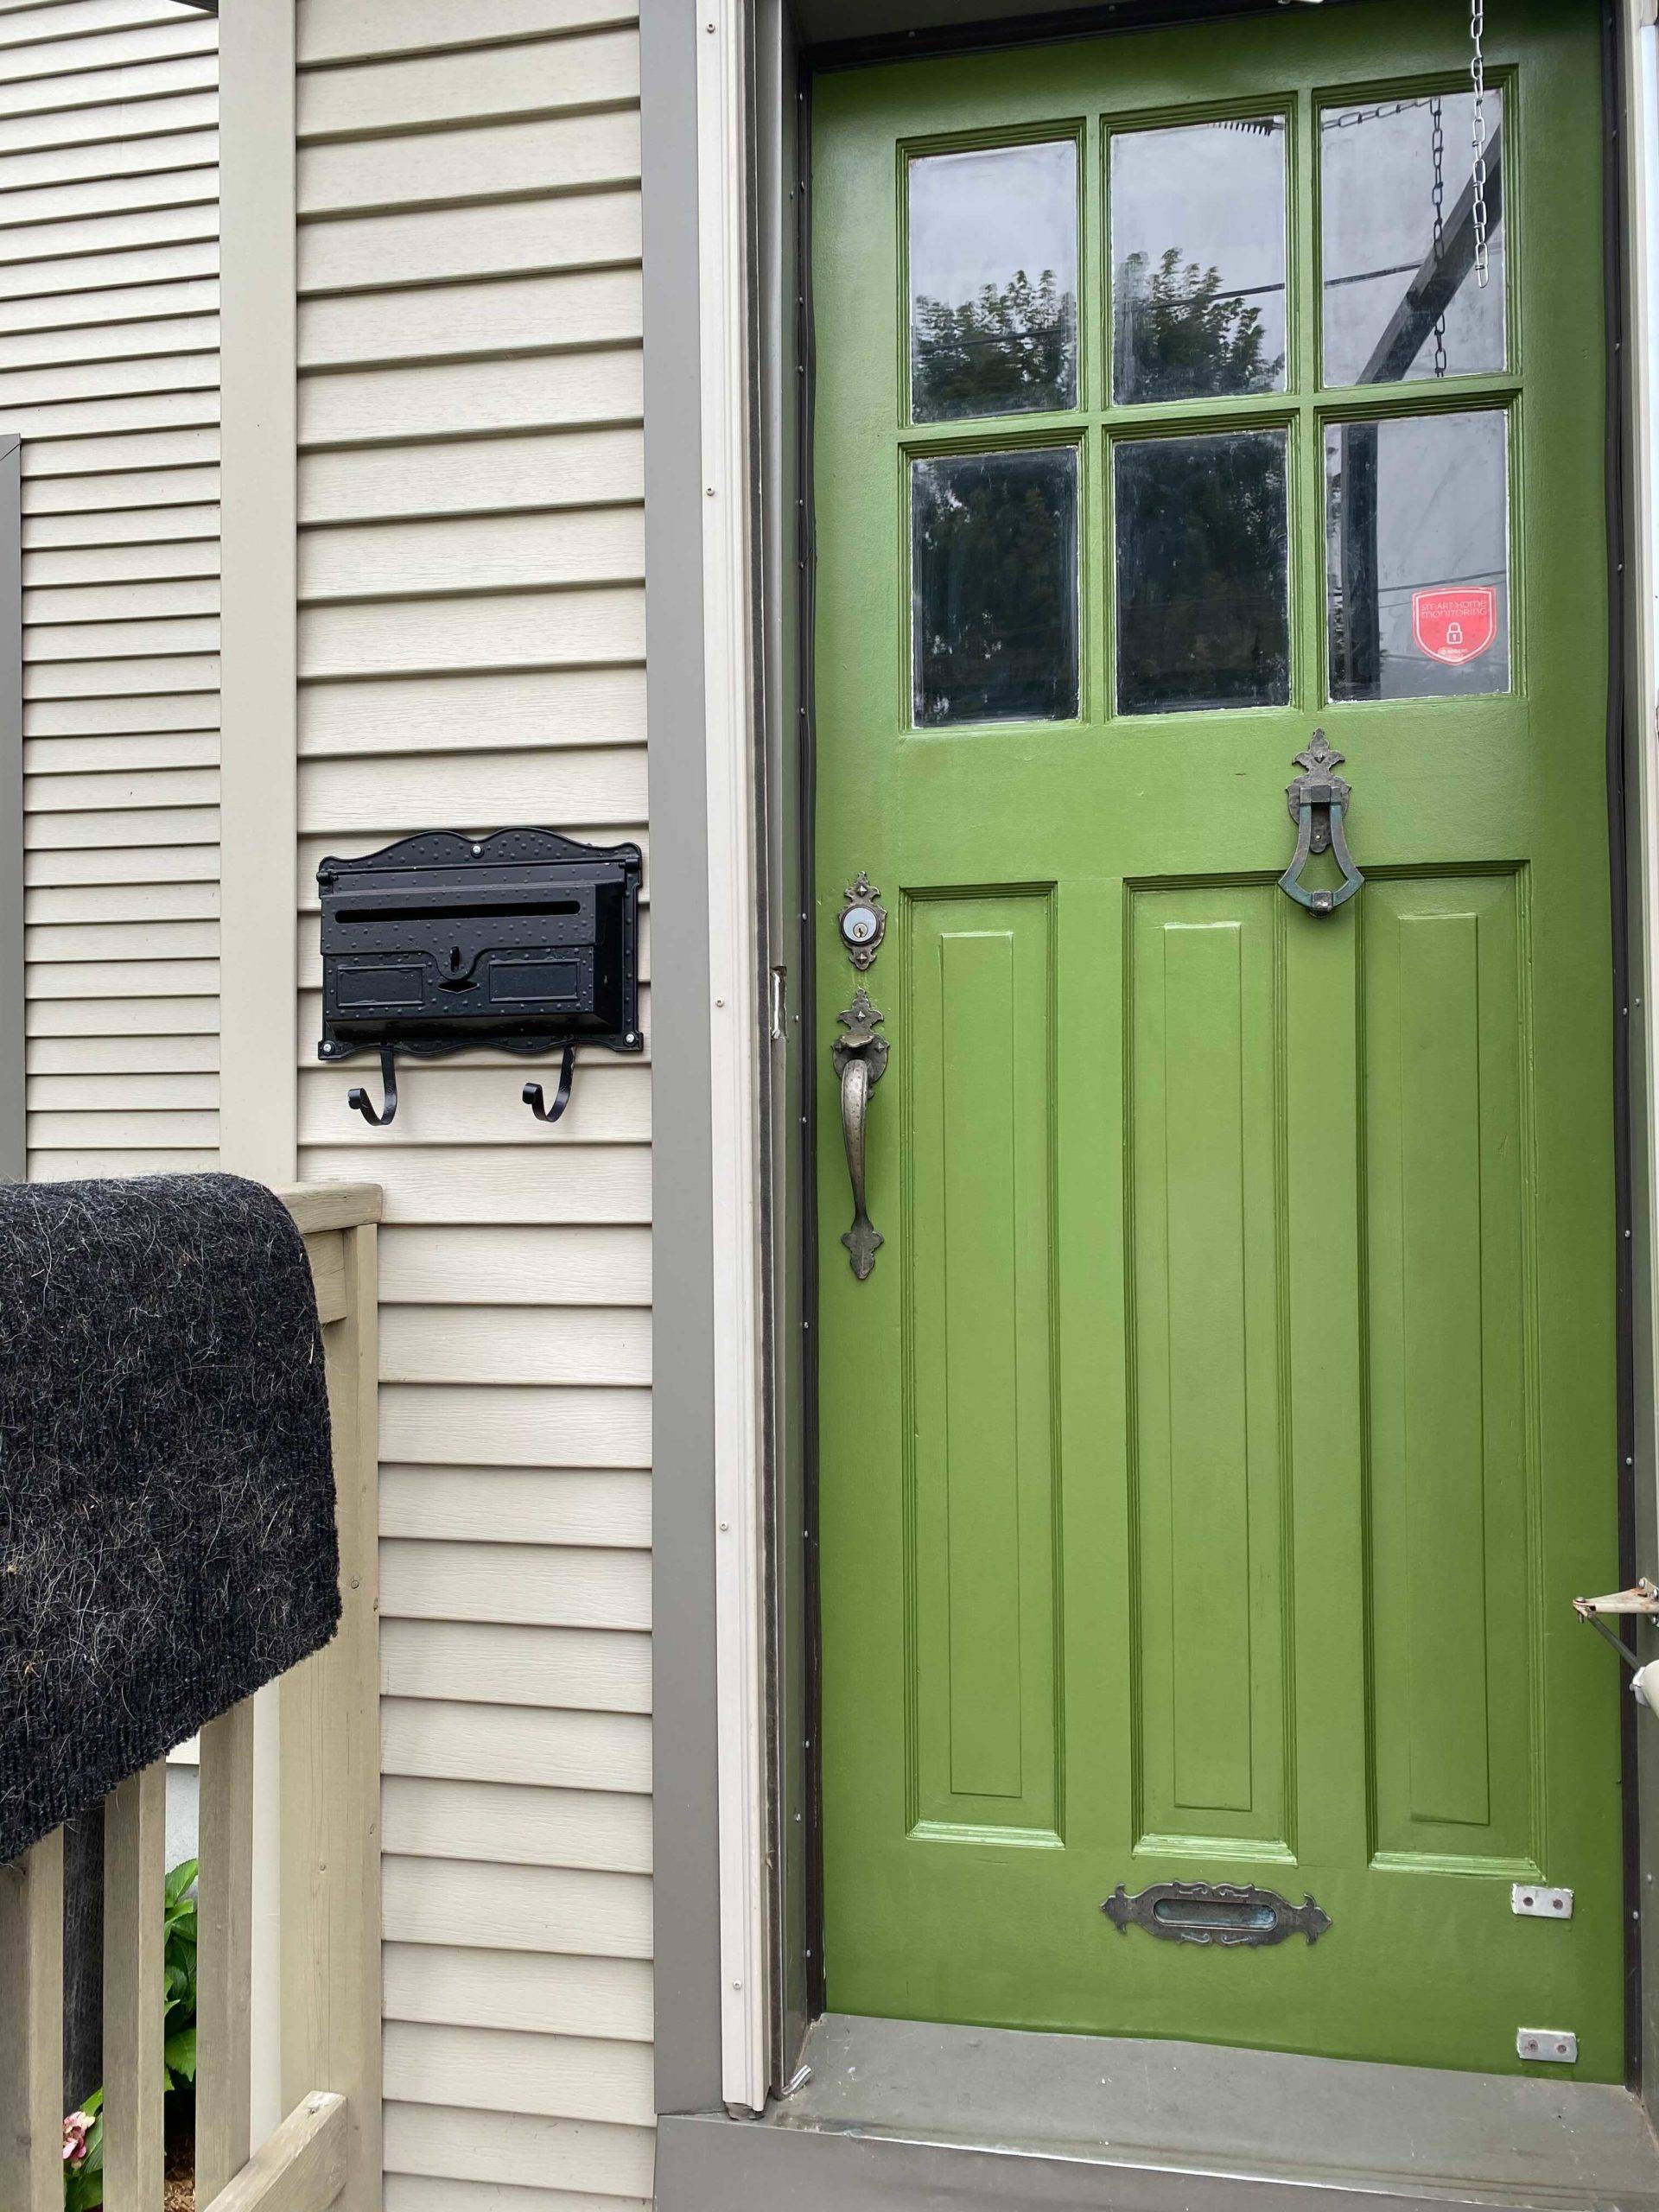
The end result of this wood door refresh. Photo by: Charlie W.



Add comment