Covering existing asphalt shingles with metal is an investment that can pay benefits for half a century. Metal roofing has a lifespan of 50 years—if not more when its well taken care of— so though it may be costly at first, it’ll pay for itself in the years to come. So now you need to know how to put a metal roof over shingles that already cover your home.
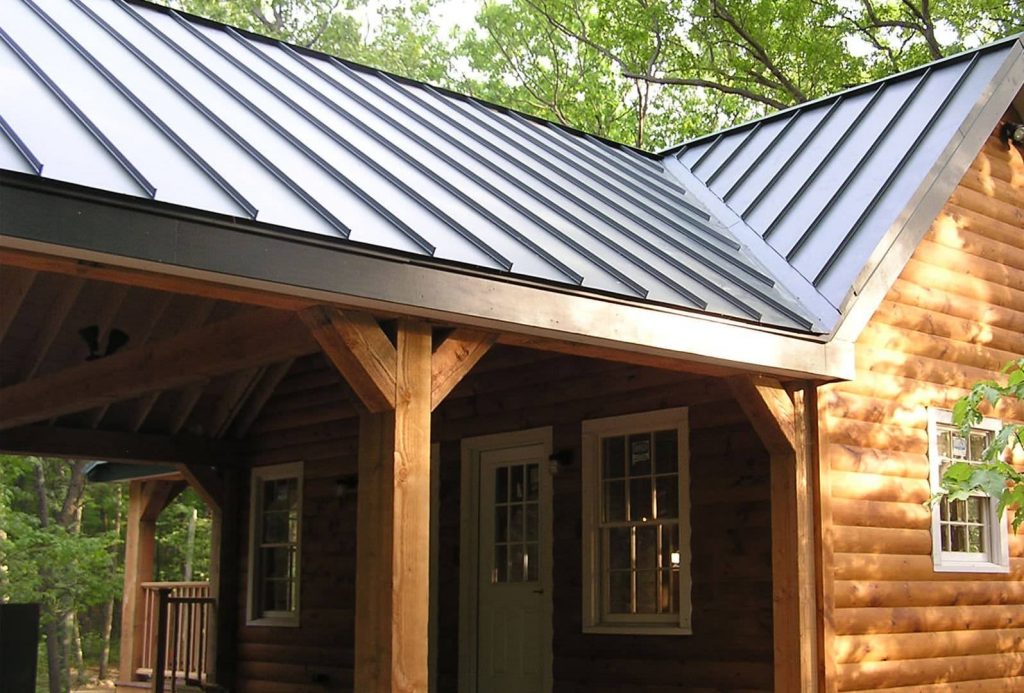
Photo by: Riverside Sheet Metal
Determining whether your existing roof can be overlayed with metal roofing is the first step in a process that is fast to do, but that demands attention at a couple of key points, in order to build a roof with integrity that will last.
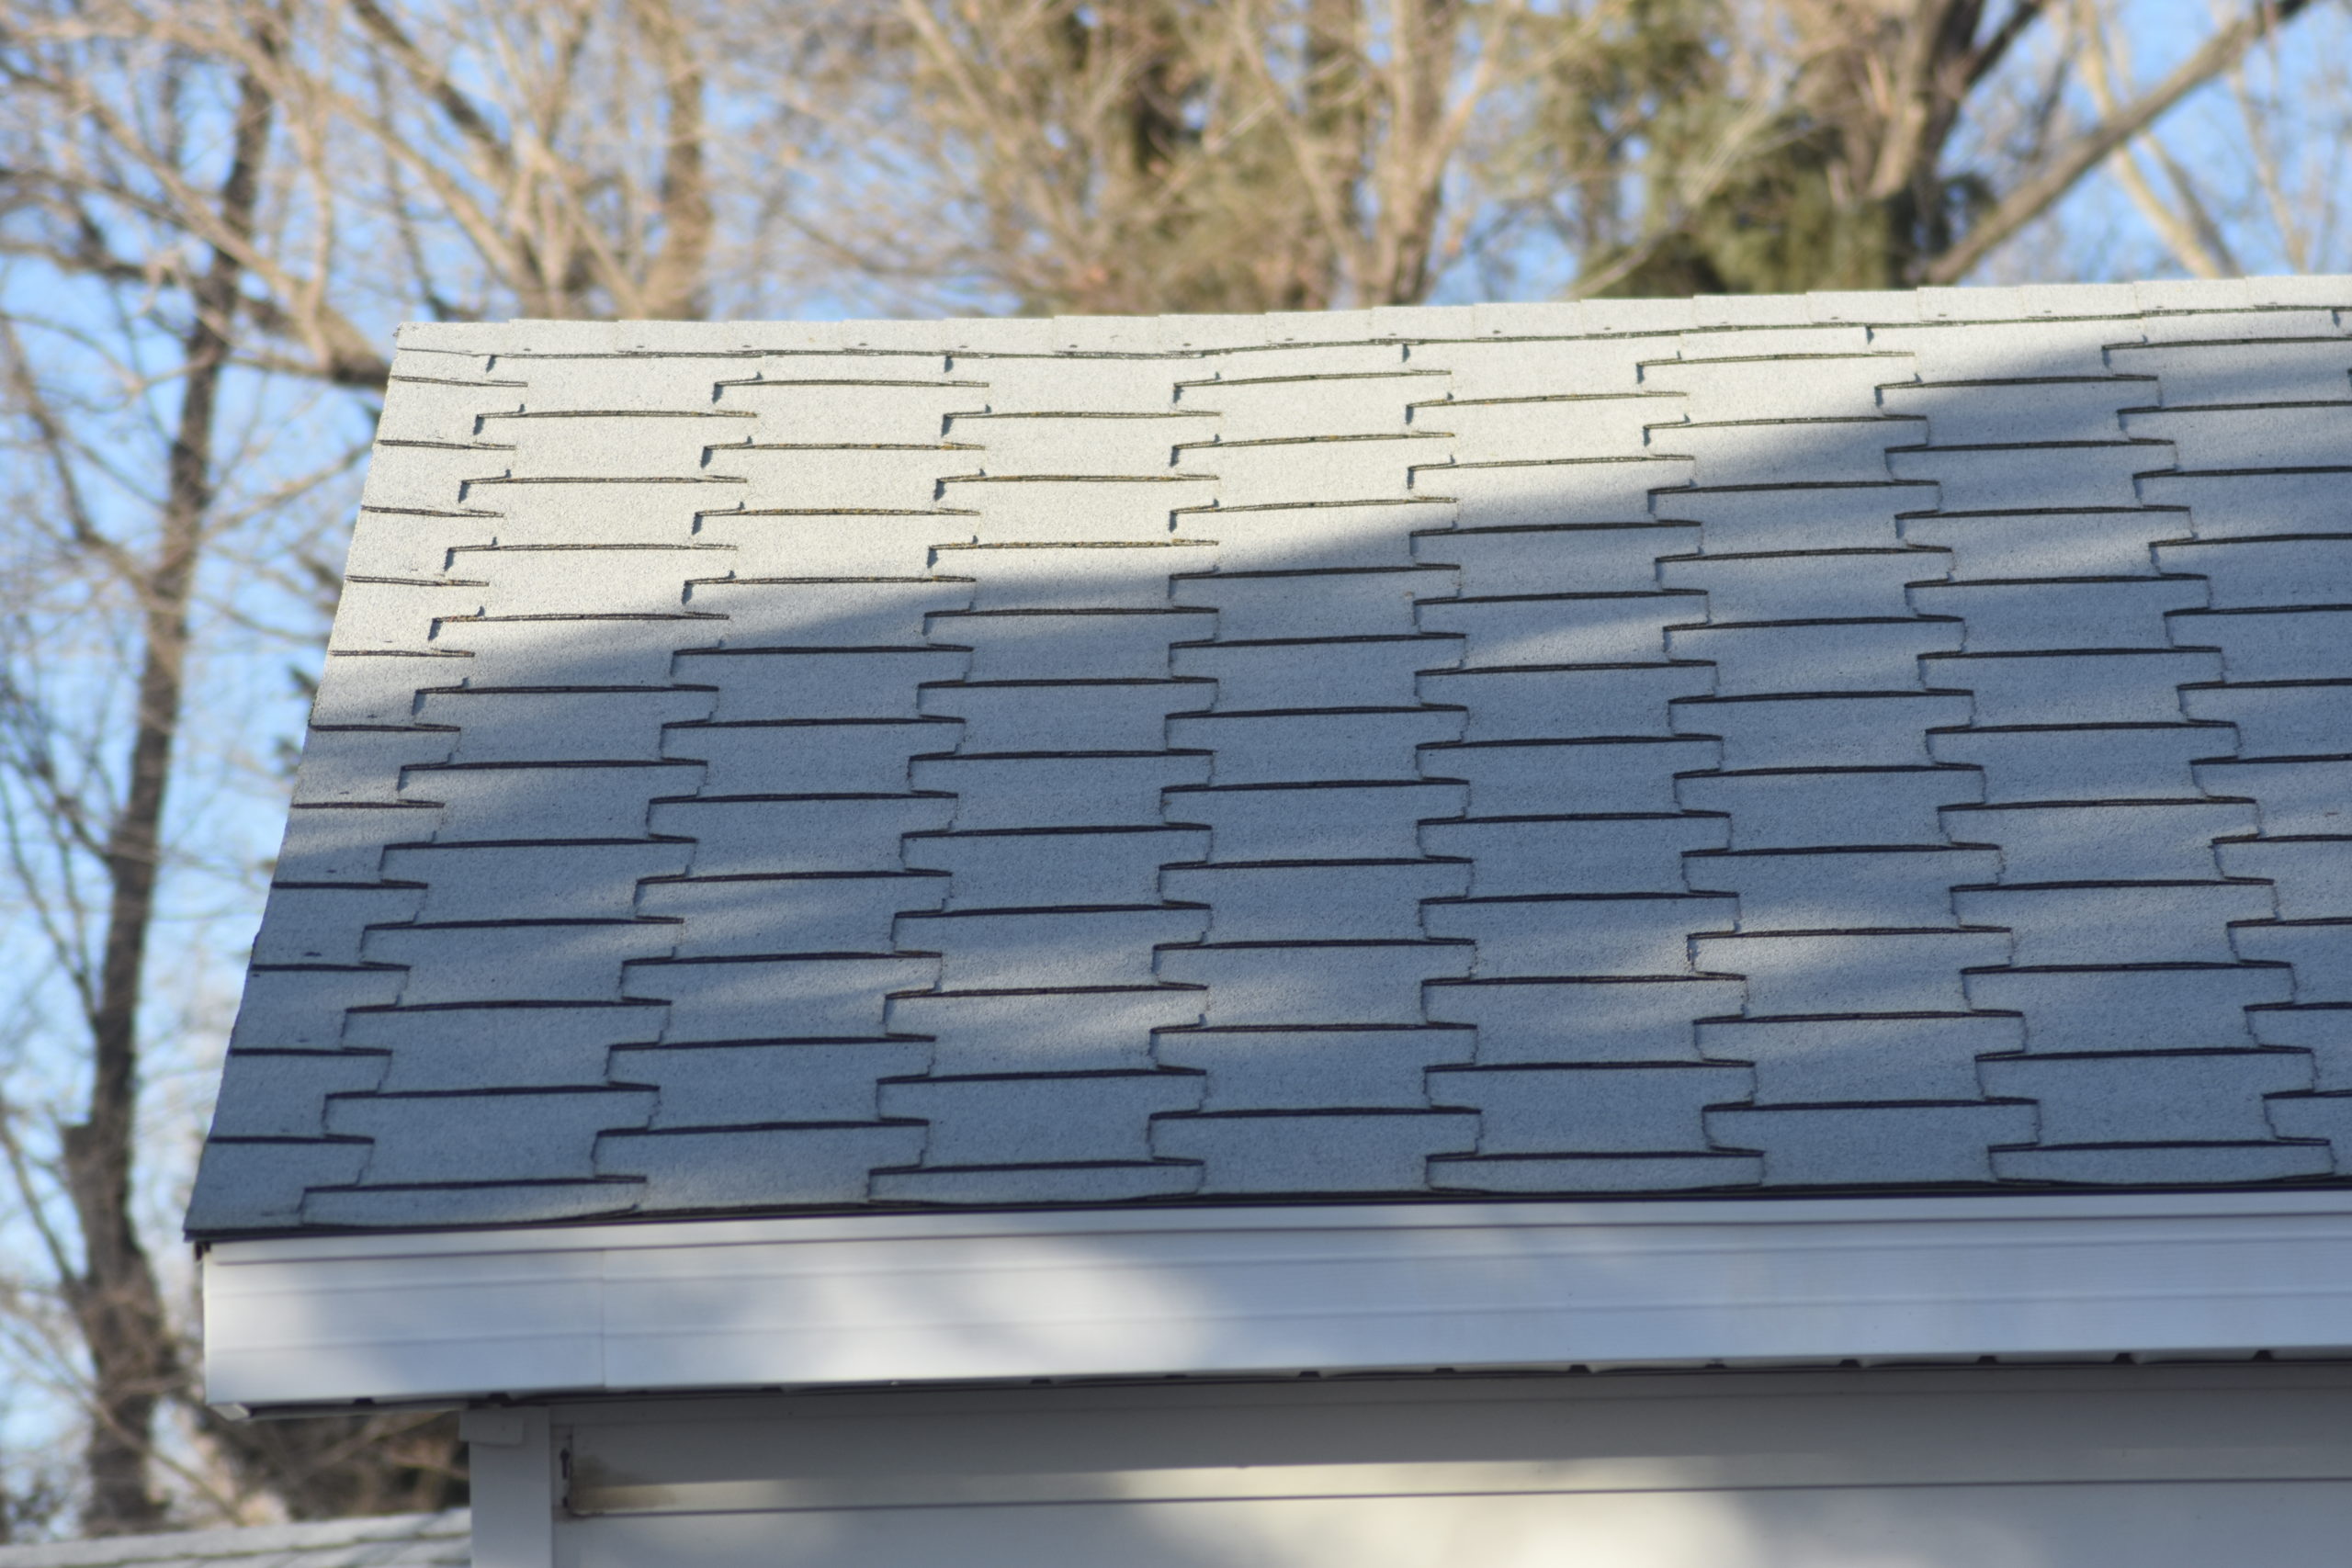
A single layer of shingles can be overlayed with a metal roof – photo by Randy Tucker
Step 1: Inspect the Roof
The first step is to inspect your existing roof. If it has just a single layer of asphalt shingles, it’s a good candidate for a new layer of metal roofing. If there are two layers, you’ll have to strip off all the shingles, repair any holes, and cover the roof with heavyweight tar paper before attaching the metal roofing.
The Uniform Building Code only allows two layers of shingles on a roof. Those two layers may be asphalt, or they can be a layer of asphalt covered by metal roofing, but two is the limit.
Once you’re discovered just a single layer of shingles you can begin the job.
Step 2: Prepping the Roof
All the existing vents, roof jacks, and edge trim must be removed from the roof. If you have attached gutters you’ll need to carefully inspect them and determine if you can leave them in place or if they must be removed and reattached with the new metal roof.
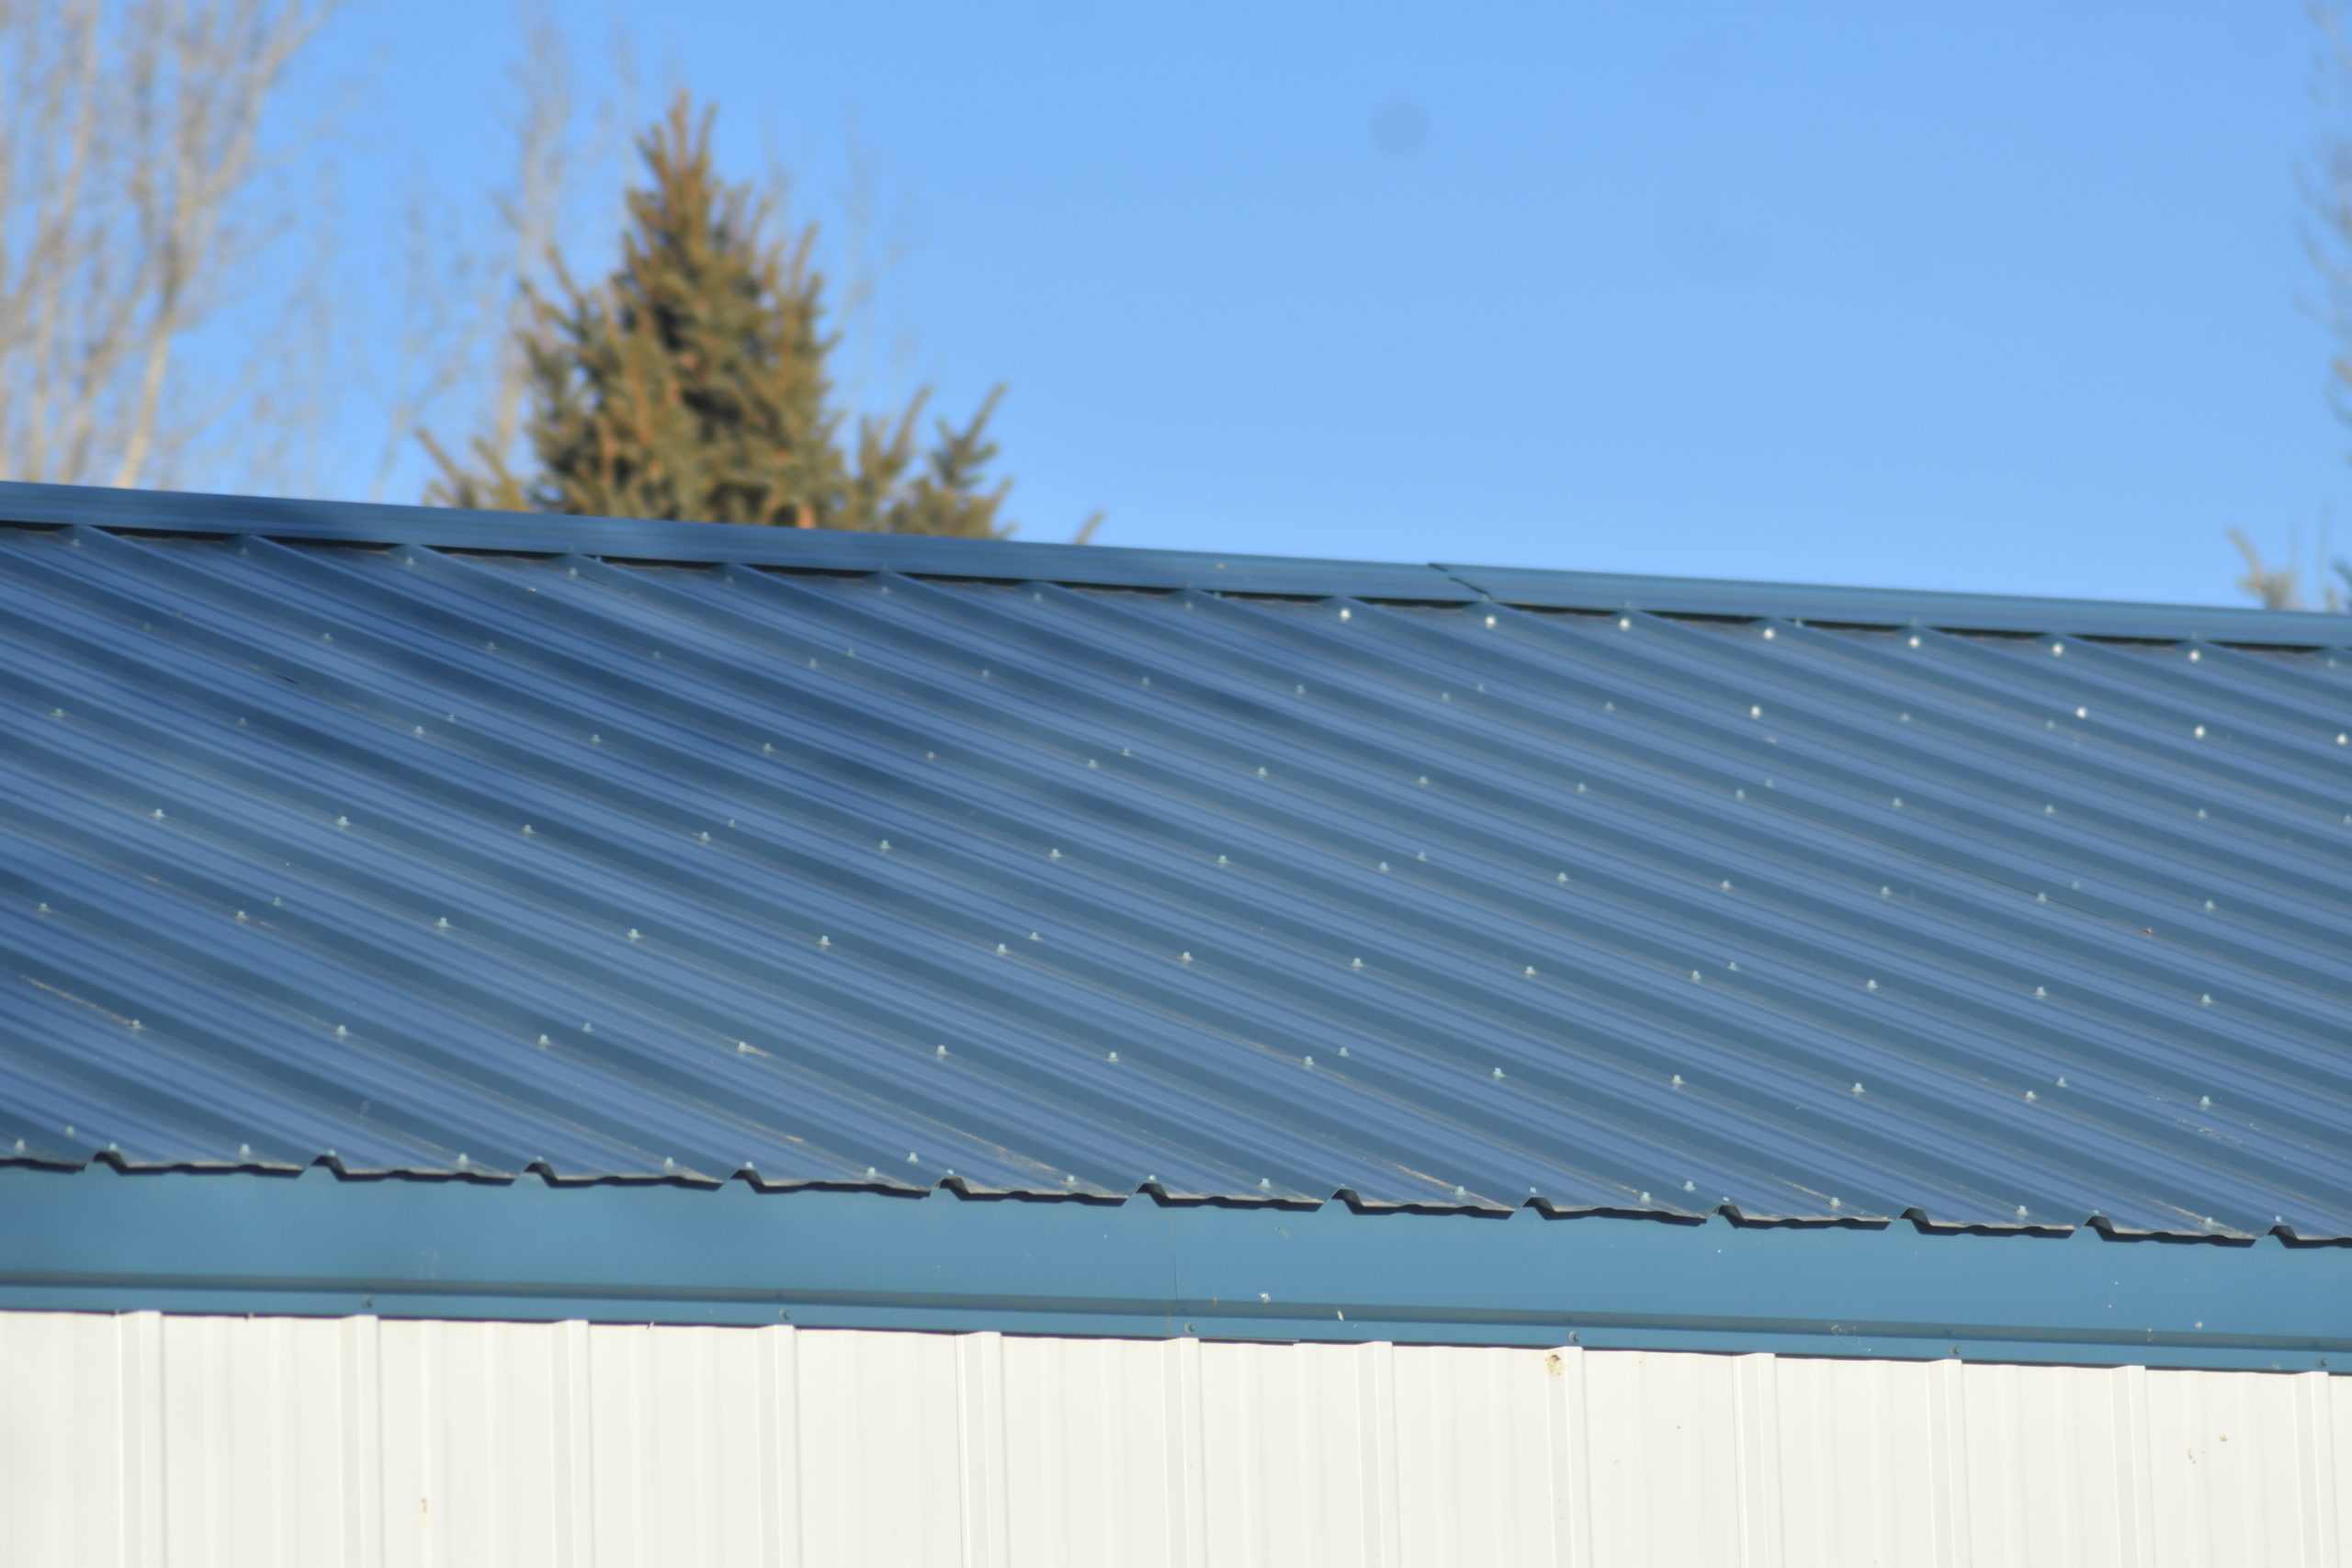
A metal roof can be both attractive and durable – photo by Randy Tucker
Cut around the shingles covering the existing vents, jacks, and all along the edge of the roof. Remove all those vents, jacks, and metal edges you’ve just cut loose.
Step 3: Install New Bottom Roof Edge
The new bottom roof edge must be installed before the metal roofing to allow the natural flow of water off the roof.
The top of the metal should rest about two inches from the center of the peak of the roof.
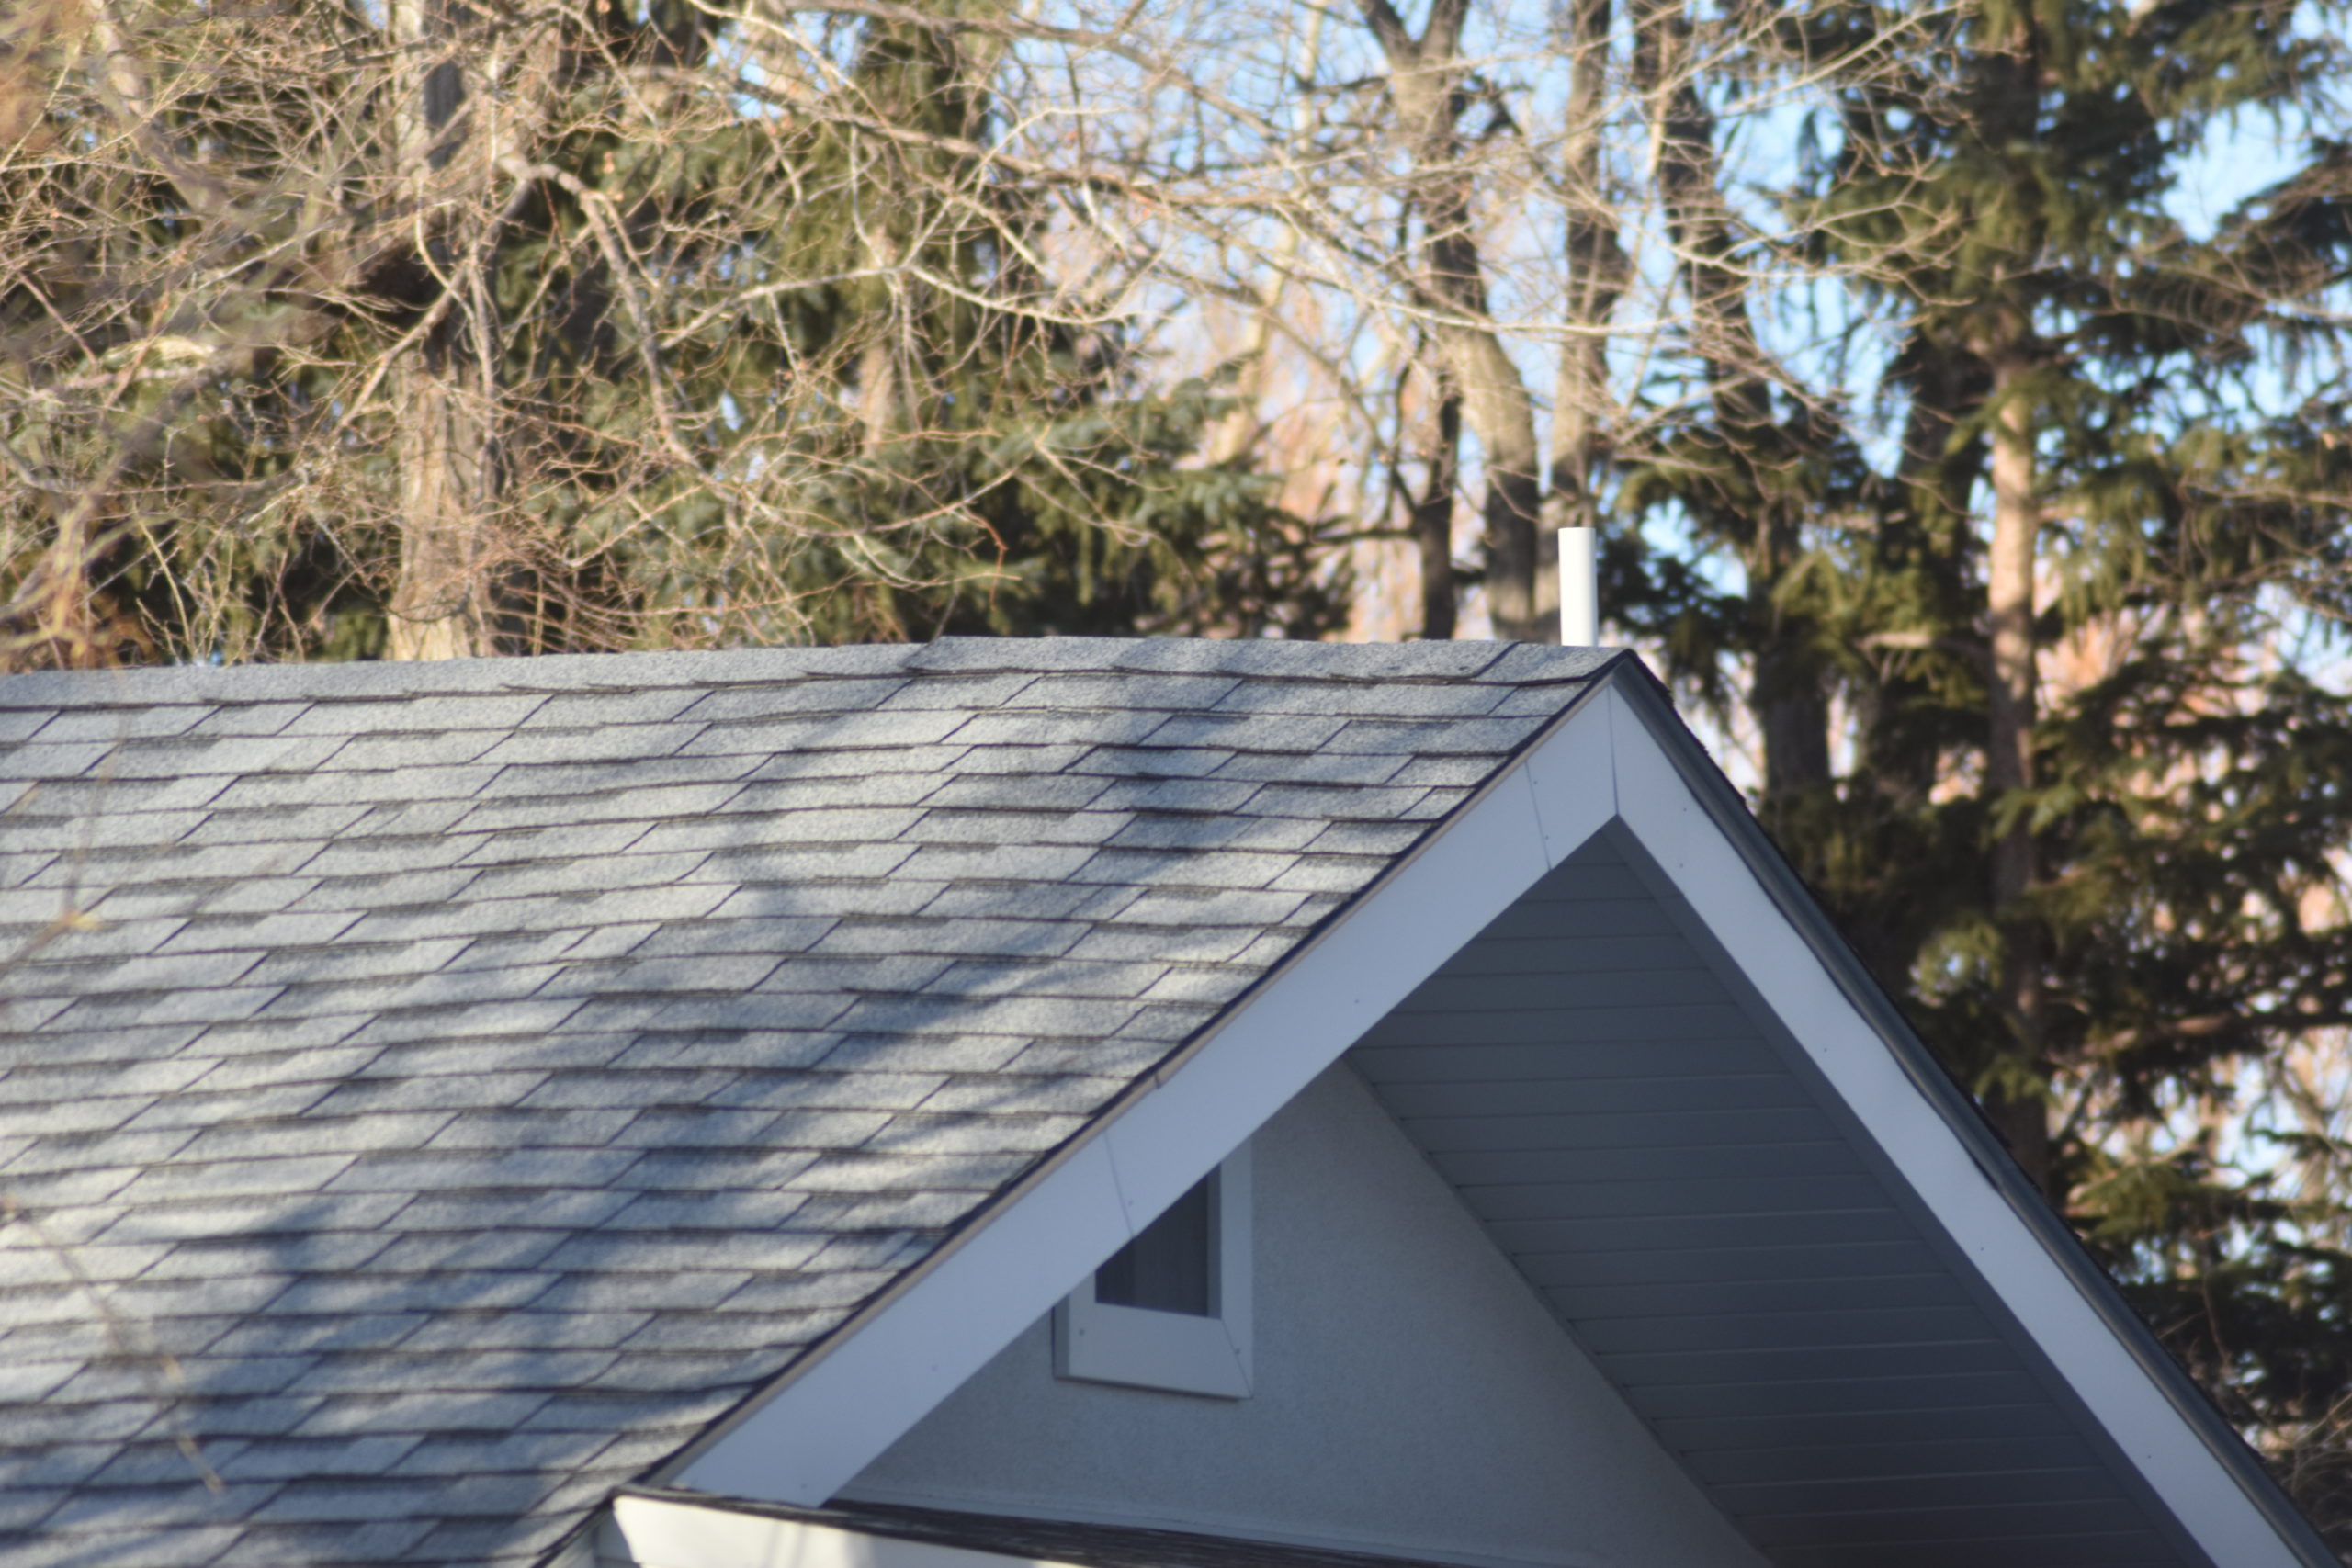
A metal roof can only be applied to a single existing layer of shingles – photo by Randy Tucker
Step 4: Laying Down the Metal
Set the first piece of metal exactly on the leeward side of your roof. Some applicators lay the metal so the seams cover each other away from the primary view of people on the ground. That’s good for aesthetics, but if you live in a windy area, you should lay the metal so the wind blows over the covering seam, rather than into it.
Once the first piece is set, the process is just an assembly line step of adding each additional piece of metal until the job is finished.
Note:
When you come to an opening for a vent or jack you’ll have to measure and cut the exact location of that opening in the metal roof panel about to cover it.
It’s a faster process to attach all the roof panels before you go back and attach the jacks and vents.
Step 5: Attach Covering Panel
Once the panels are completely screwed in with 1 5/8” self-tapping sheet metal screws, it’s time to just zip-screw to attach the covering panel at the seam over the lower panel. The zip screws are shorter and should be placed every 36 inches along the seam.
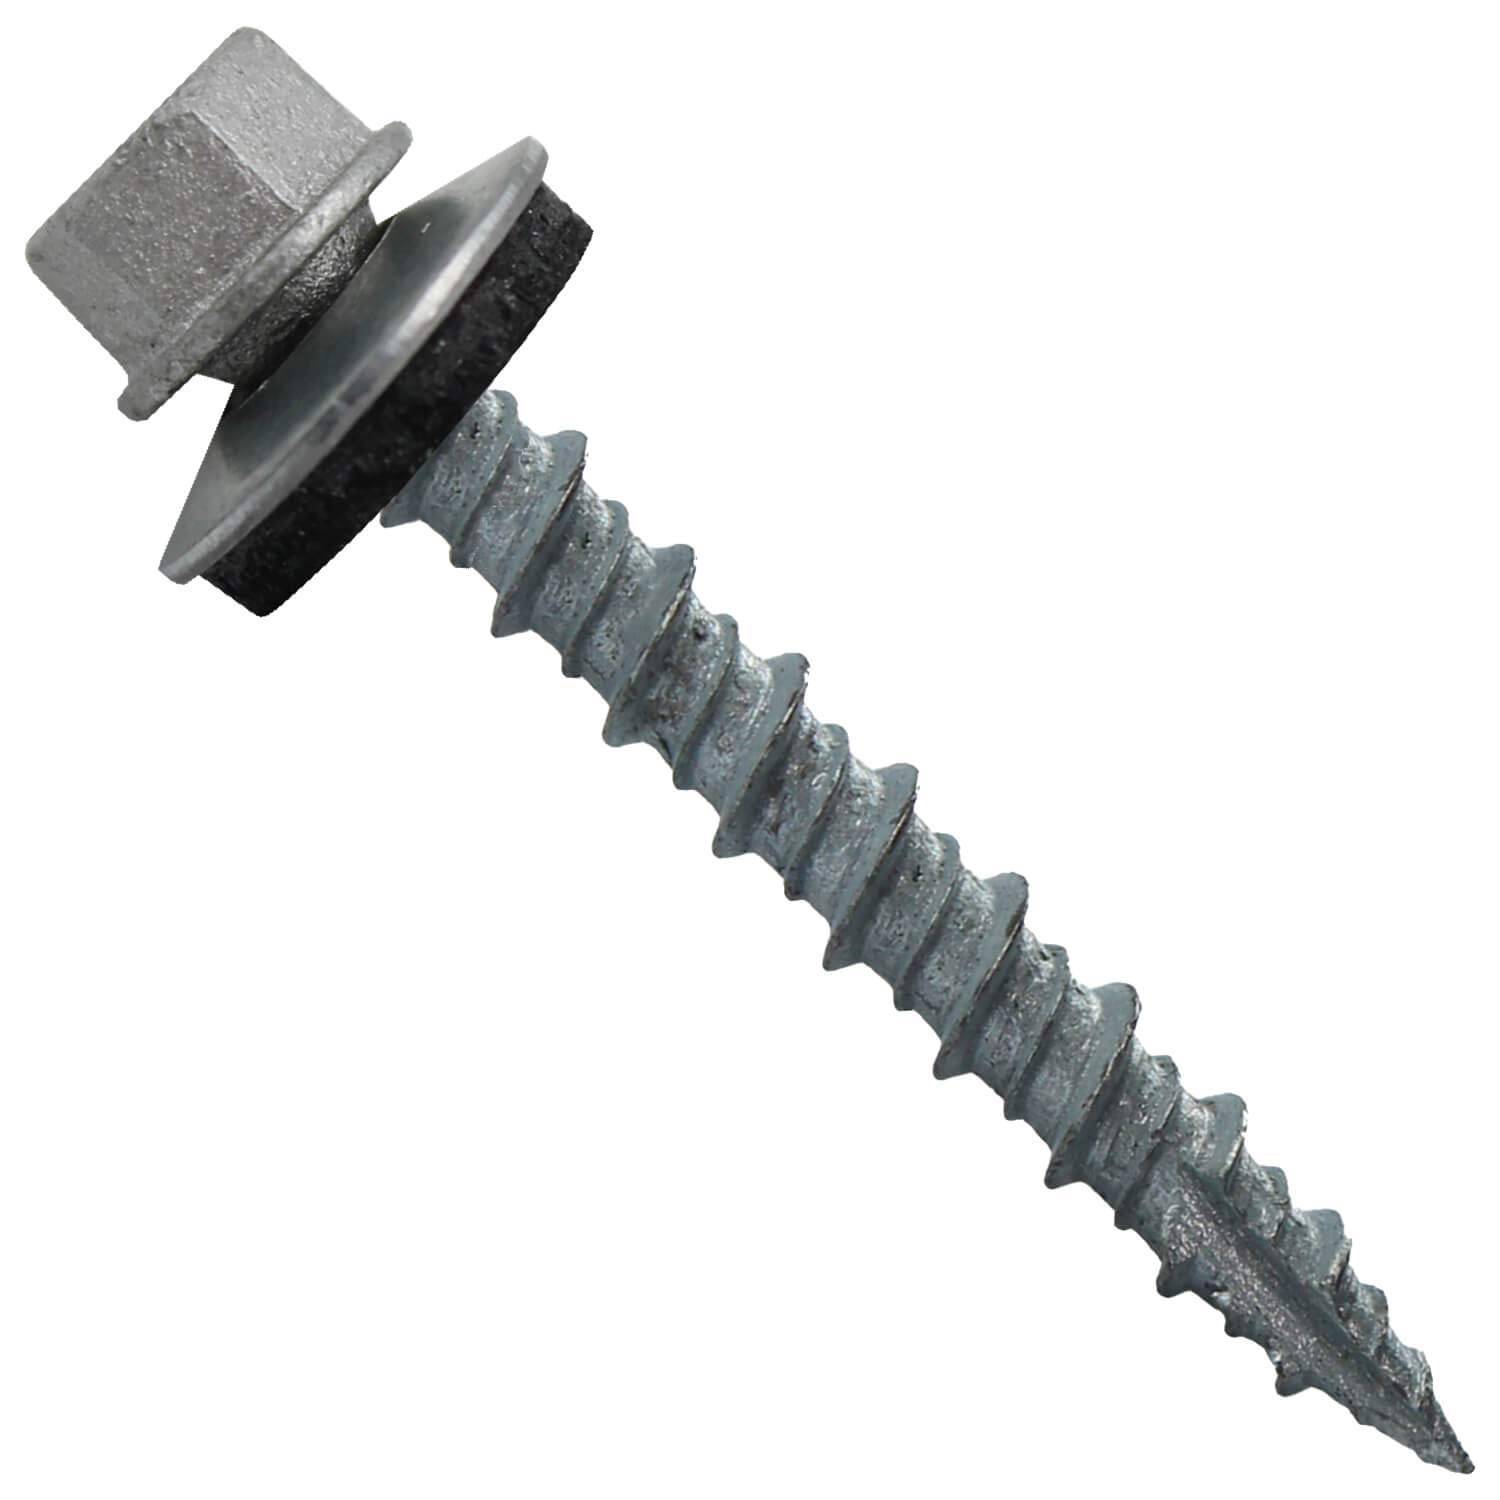
A self-tapping metal roofing screw – note the rubber gasket at the top – Amazon.com
The jacks and vents are specifically designed for your style of metal roofing. The important step is to remember the top edge must go under the roof panels and the bottom edge over it. This allows water to flow without leaks.
Step 6: Sealing the Vents
Another important step is to seal every vent with a layer of acrylic silicon. Spread it out with a caulking gun, then carefully set the vent or jack and screw it into position.

Applying a layer of silicone caulk around vents and jacks ensures a waterproof roof – Amazon.com
Step 7: Install the Edge Panels
The final step is to cover the side edges of the roof with edge panels, and then to cap the roof with a metal top covering.
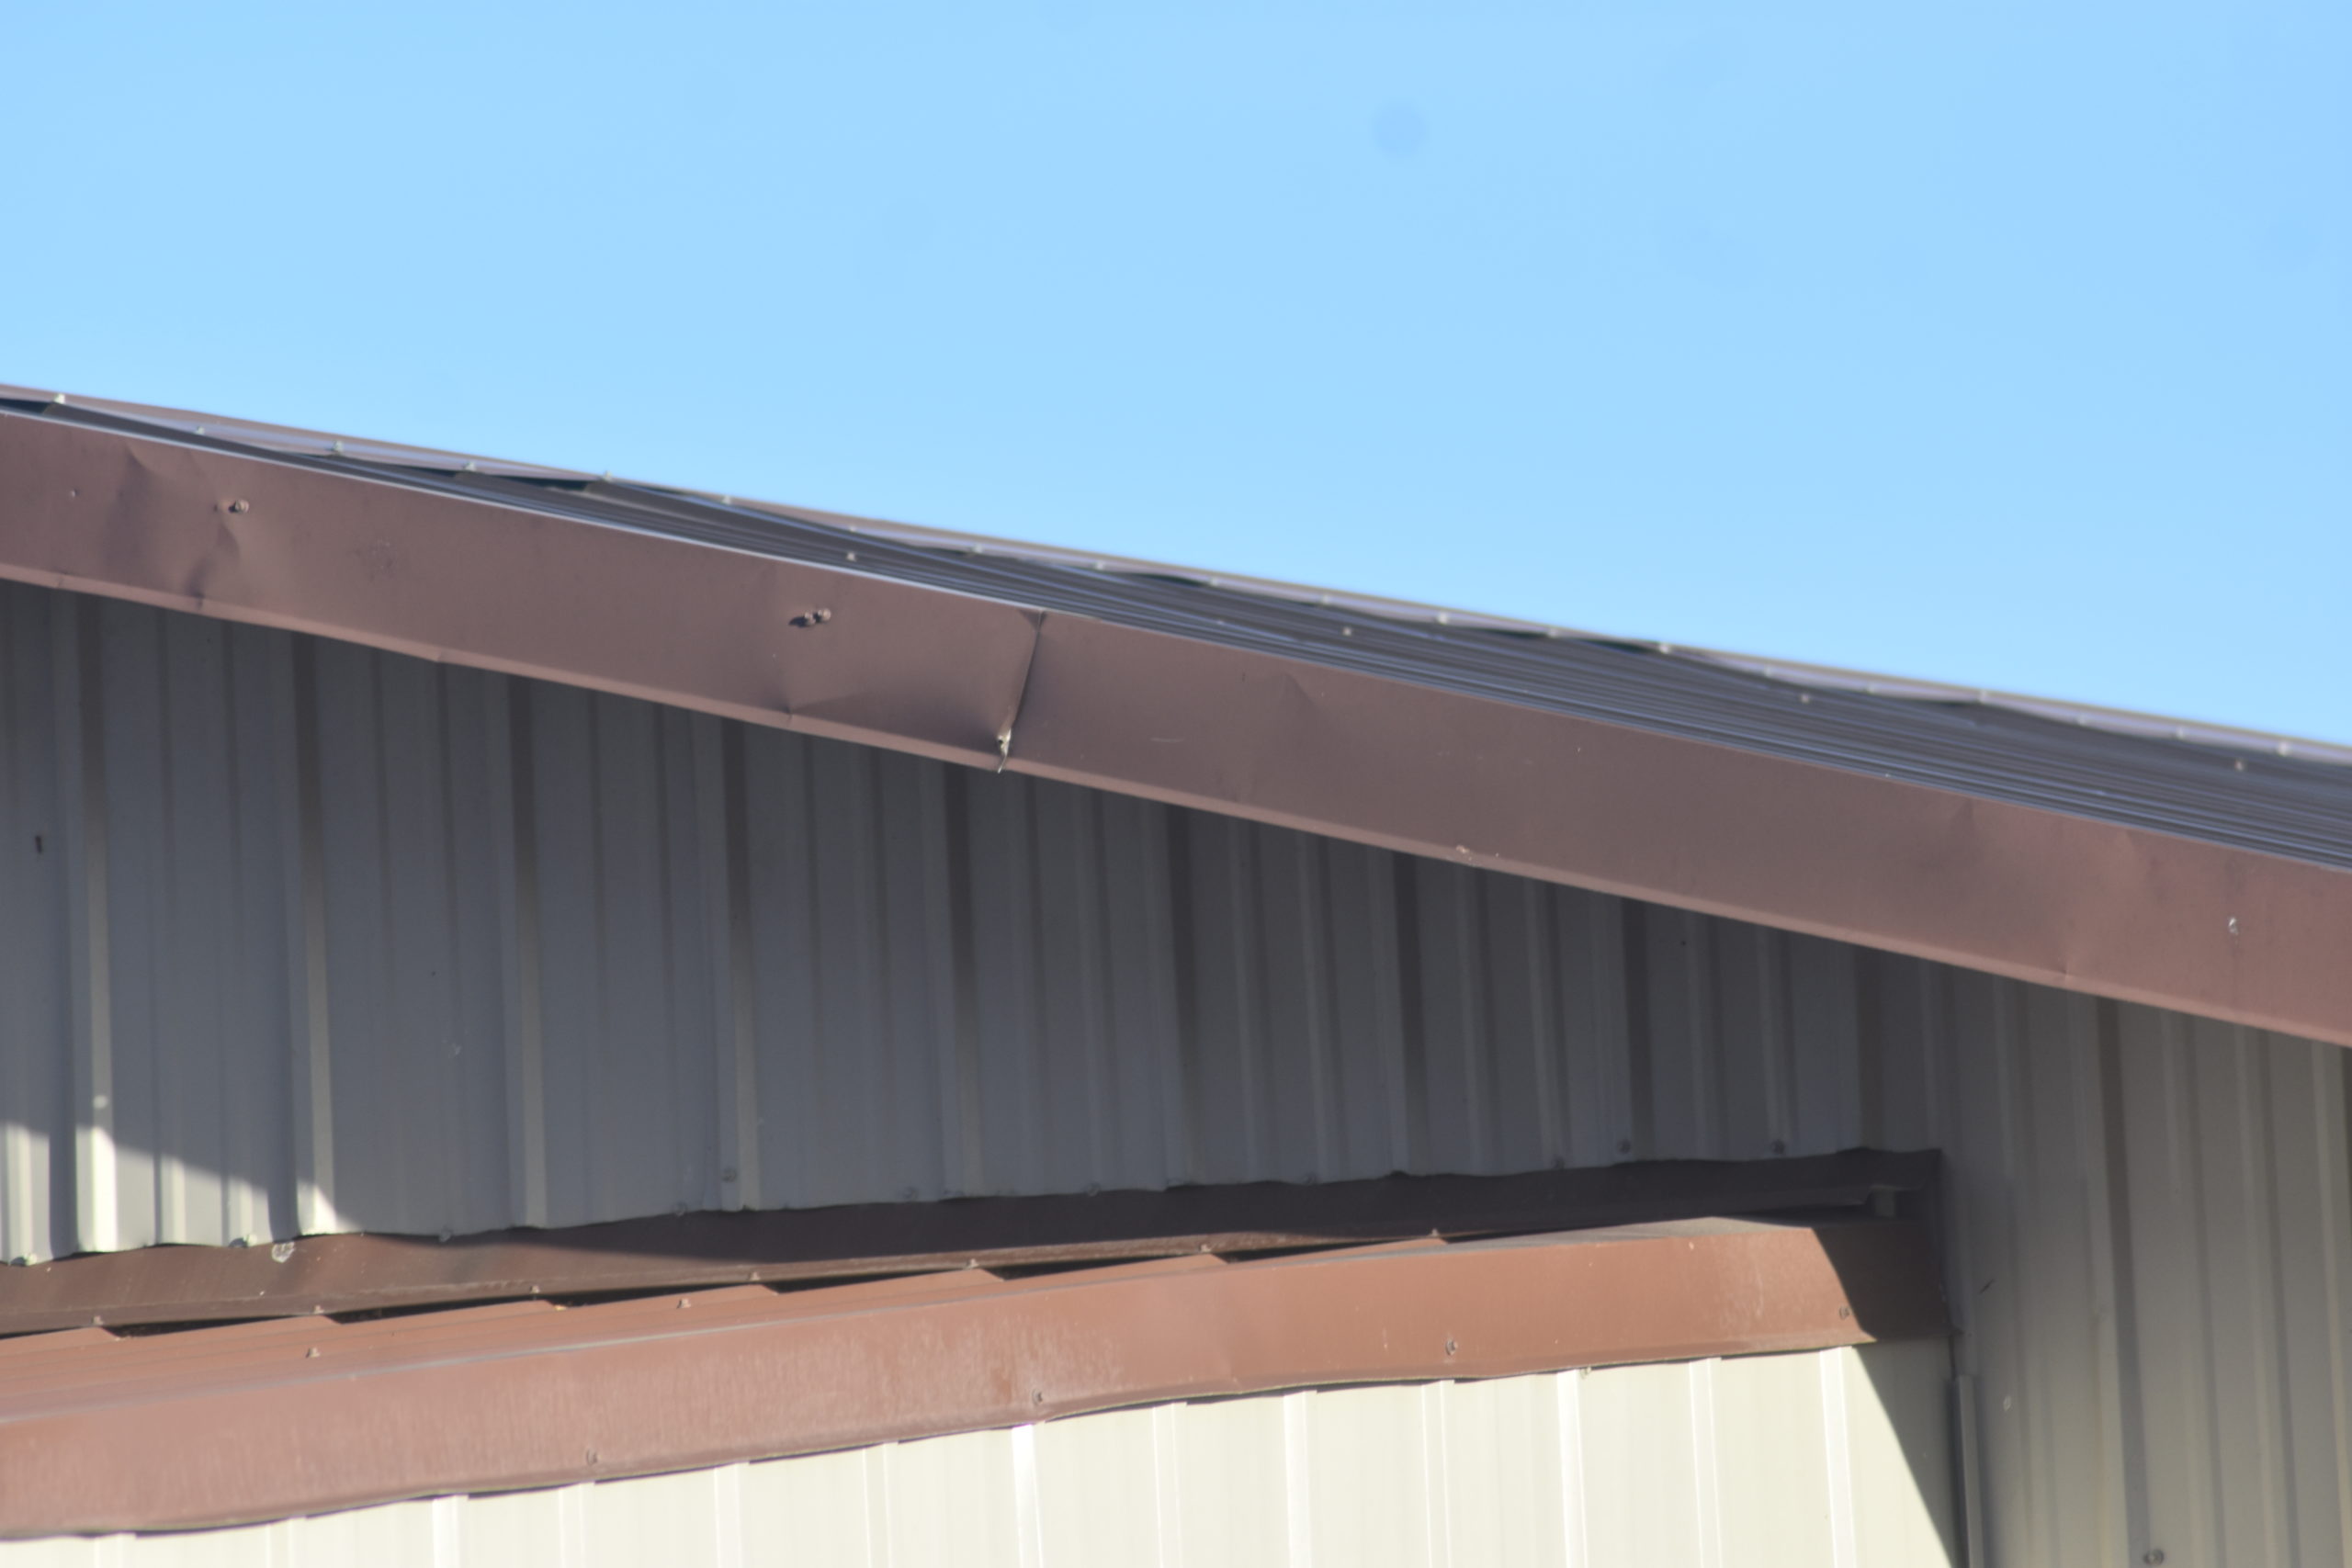
The metal overlap and flashing are important components of a metal roof overlay – photo by Randy Tucker
Foam insulation strips come with every roofing order. They are to be placed along the top edge of the panels where the cap covers. Place the sticky side of the insulation strip down on the roof panel, and screw the top cap into place.
This prevents wind from driving water onto the top seam and bringing moisture into your home.
Attach the gutters if you had to remove them and the process is complete!



Add comment