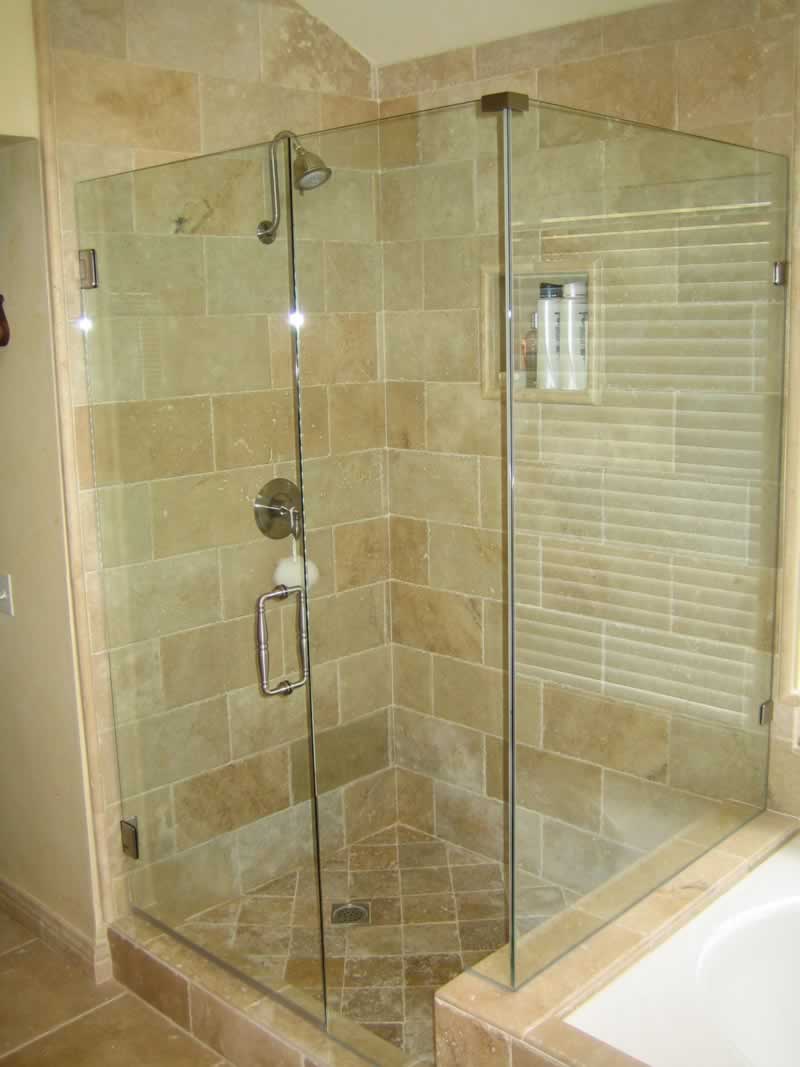
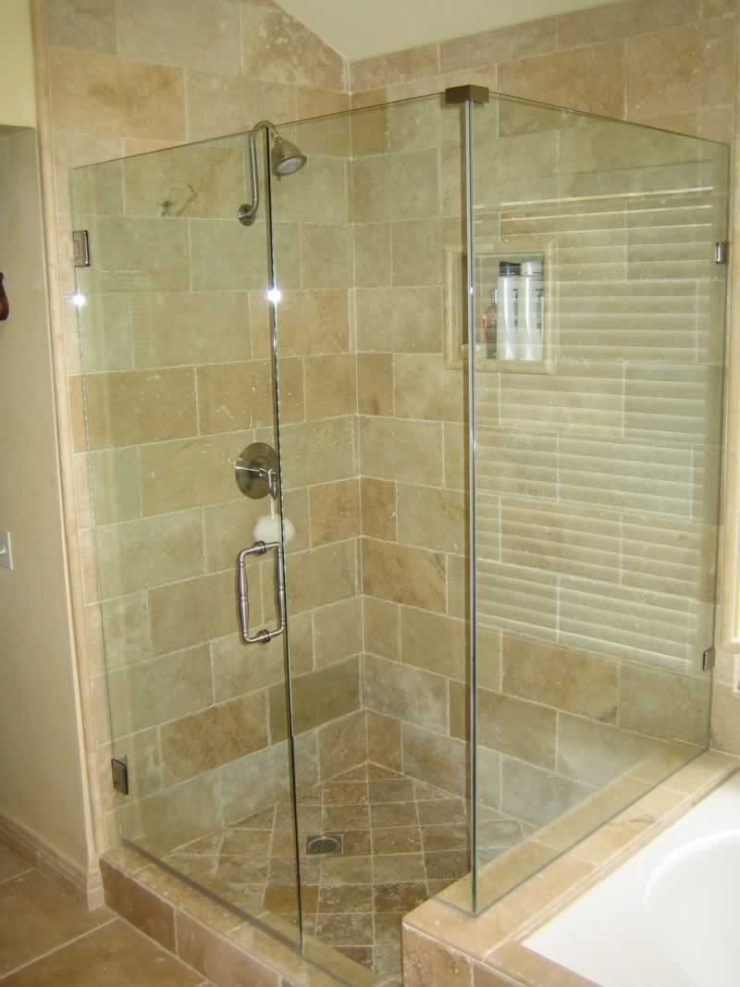
Frameless glass doors present high-quality options to help you get the perfect balance between minimalism and style. They feature a limited amount of visible track to maximize the feeling of exterior and interior spaces as one. So, how do you install frameless glass doors?

These steps present installation styles using a U-channel or bracket to help address different user needs.
1. Take Accurate Measurements
Place painters’ tape on the hinge wall and shower curb while centering it over the fixed panel and door sites. Use a pencil and a straightedge tape measure to draw a centerline on the curb. The line should have the same distance from the curb’s front edge at both ends. Next, draw a plumb line up the hinge wall using a pencil and a 6-ft level. It will be your reference when putting hinges. Create a similar reference line on the opposite wall if your frameless glass doors include mounting brackets.
2. Screw the Curb Mounting Brackets
Set the inner part of every bracket flush with the drawn line on your curb. You want to match the spacing between brackets to the notches in the glass panel. Mark the screw holes, detach the brackets, and drill pilot holes into your curb. Remove the tape and put the brackets in place. Finish the step by securing them via the screws included in the brackets package.
3. Set the Wall Brackets or U-Channel
This step helps you prepare to install the fixed panel, where you start by measuring the panel’s height. Cut a section of the U-channel with the length matching the noted measurement. Drill three evenly spaced holes through its back. Put the U-channel against your wall with its bottom end against the curb line. Plumb it using a level and mark the holes before removing it. Drill pilot holes on your markings before detaching the tape from your wall. Tap a screw anchor into every hole and screw your U-channel to the wall.
If you have brackets, begin by setting the inside part of each bracket against the plumb line you traced. Follow the manufacturer’s recommended spacing, mark the holes on the tape, and drill the pilot holes. Detach the tape and tap in your anchors if needed before screwing the brackets to your wall.
4. Install the Fixed Panel
You will start by removing the tape from your curb when using U-channel installation. Next, you set the plastic shims that typically come with the door on the curb. The shims help protect the frameless glass doors’ bottom edge. Place a bead of silicone caulk in the U-channel’s groove via a caulking gun to secure the panel.
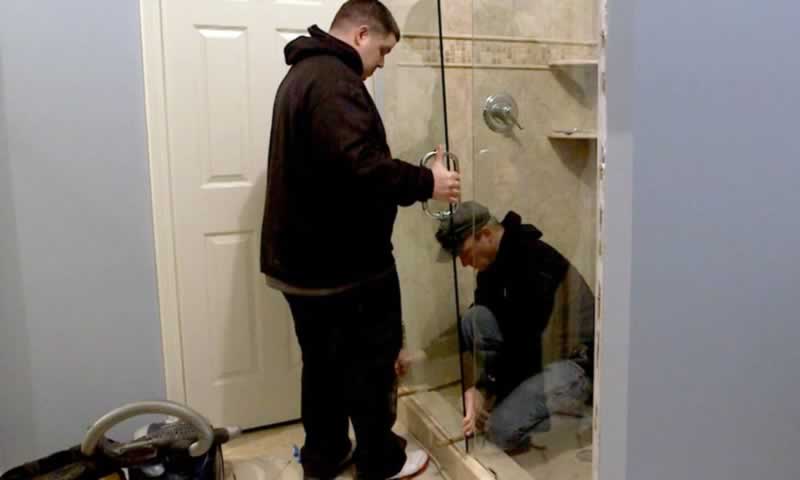
Lift the glass with your assistant into place, pushing one edge as far into the U-channel as possible. Simultaneously, let the bottom edge rest on the shims. Ensure your panel is parallel to the curb. You can achieve precision by measuring from the curb’s edge, near both the panel’s side edges. Use a utility knife to clip the shims flush to the door. Get silicone caulk to seal the bottom edge on both panel sides. Apply it also on the U-channel sides connecting with the wall.
Bracket installation requires placing one of the given gaskets into every bracket. Afterward, place the panel edge against the wall in front of the brackets. This position lets them align with the notches in the bottom and sides of the glass. After this, fit a gasket on the other half of each bracket. Get a screwdriver or Allen wrench to screw the two halves together.

5. Secure the Hinges and Hang the Frameless Glass Doors
Separate every hinge before fitting one of the gaskets onto every half of the hinge. Center the two halves over your door’s notch. Tightly screw them together to stop the hinge from shifting, even when you pull on it. Frameless glass doors come slightly shorter than the fixed panel to facilitate door sweep installation on the bottom edge.
Put two wooden shims on your curb. Next, set the door on them, aligning it with the line drawn on your wall. Adjust the shims to lower or raise the door’s top. Do this step as your assistant holds a level on the top of the fixed panel. Modify the position until the top of your door is flush with the level’s bottom. Mark your hinges’ screw holes into the wall, remove the door, and drill pilot holes on your markings. Detach the tape from your wall, tapping in screw anchors if necessary. Complete it by placing the door on the shims and screwing the hinges to the walls.
6. Modify the Gap and Set Up the Door Sweep
It is best for the gap between the fixed panel and door to be a uniform 3/16 inches. You can loosen the screws and adjust any inconsistencies before retightening the screws. After this, let the caulk fully cure for approximately 24 hours before using the shower. Some glass doors come with a U-shaped plastic or rubber door sweep. You can fix it by opening the door and installing one end onto the door’s bottom outside corner.
If you’re ready to make the upgrade, it’s time to call an installation company. Contact a service that provides frameless glass doors for beautiful high-end rooms with uninterrupted views.


Add comment