Ripping a straight cut in a board without a table saw doesn’t have to be a challenge. A common skill saw, equipped with a modern multi-use blade can do just as accurately a job as the most expensive table saw. But the simple fact is you can’t rely on freehand cuts with narrow boards. It’s too risky. We’ll show you exactly the tools you need to be confident in your cuts with just your average circular saw.

Photo Credit: Ivan Samkov
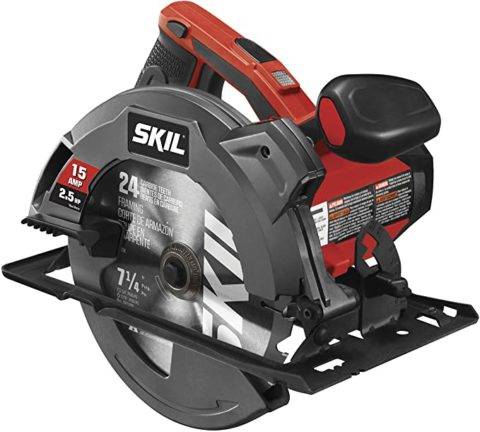
A power saw can cut as straight as a table saw with guides attached – Amazon.com
Invest In A Saw Guide Rail
The key to a straight cut might sound redundant, but it is simply cutting straight. Freehand cuts following a chalk line or pencil marks are fine for rough construction where getting the dimensions within a quarter-inch are acceptable. For finish work, that quarter-inch is a ridiculously loose standard.
There are a variety of methods to make long rip cuts in plywood and dimensional lumber. Every one of them involves setting up a guide prior to cutting the material.
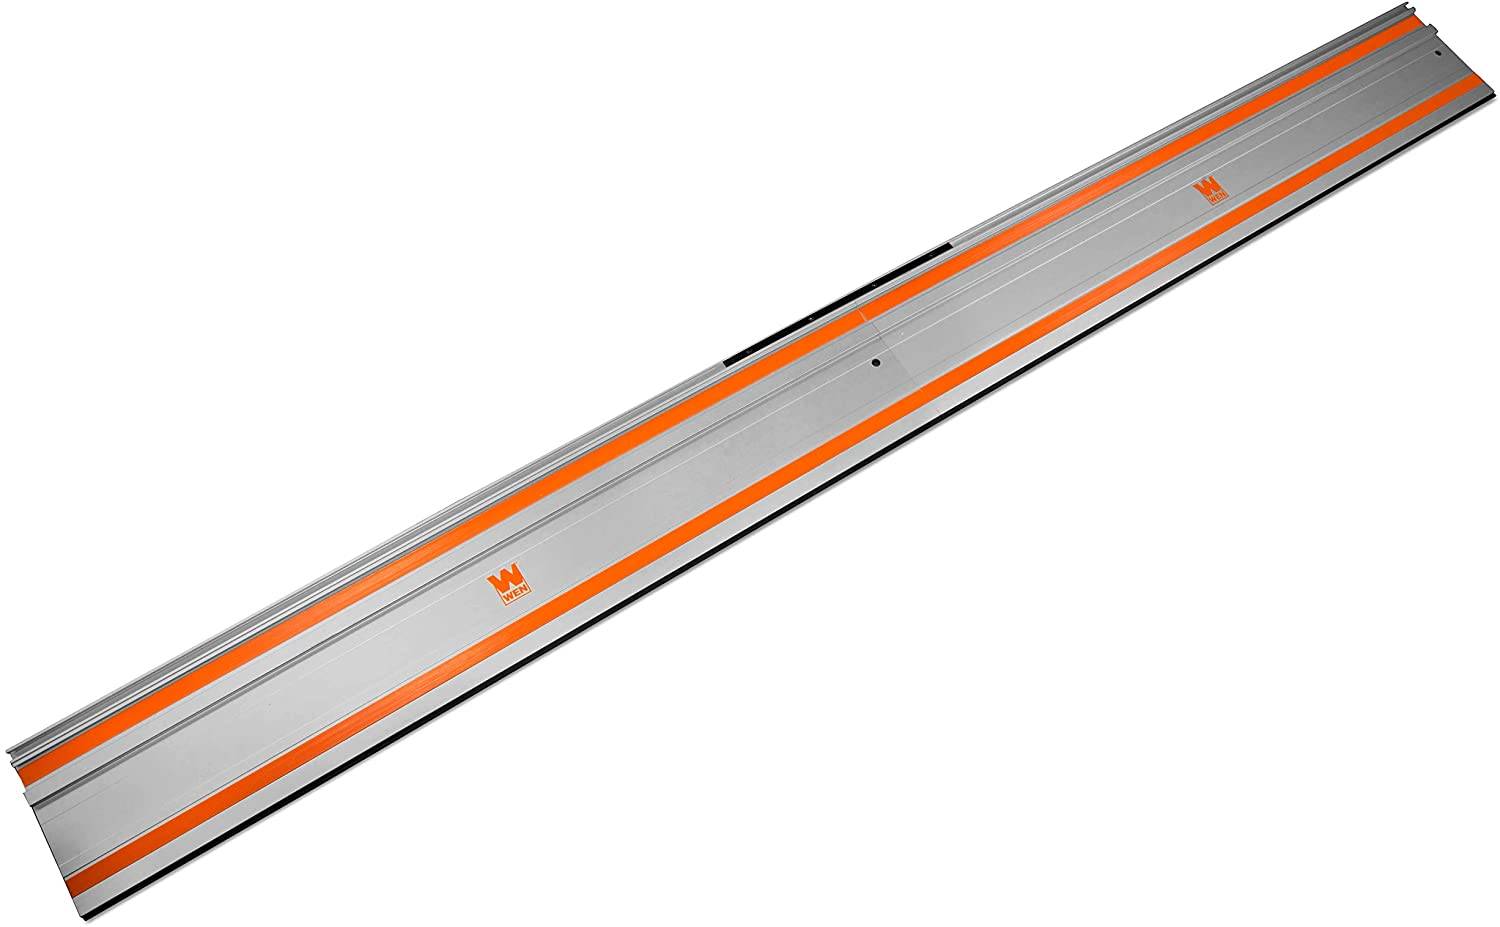
Saw guides are available online, in home improvement centers, and lumberyards. These guides are usually constructed of aluminum and come with built-in clamps that allow you to lock the guide in place before running your power saw along the guide. They come in fixed lengths, starting at two feet and move up in 24-inch intervals. This 100-inch track guide from Amazon will do the job: WEN CT9502 100-Inch Saw Guide Rail
A Level Does The Job On Smaller Cuts
If you’re cutting a lot of plywood a clamp designed to lock on the 48” side of the material makes sense. If your work requires various lengths of material to be cut, a set length saw guide isn’t too useful. What is useful, are common tools and materials around your shop or garage.
A four-foot level, with a couple of adjustable screw tightening style clamps, solves almost every cutting situation.
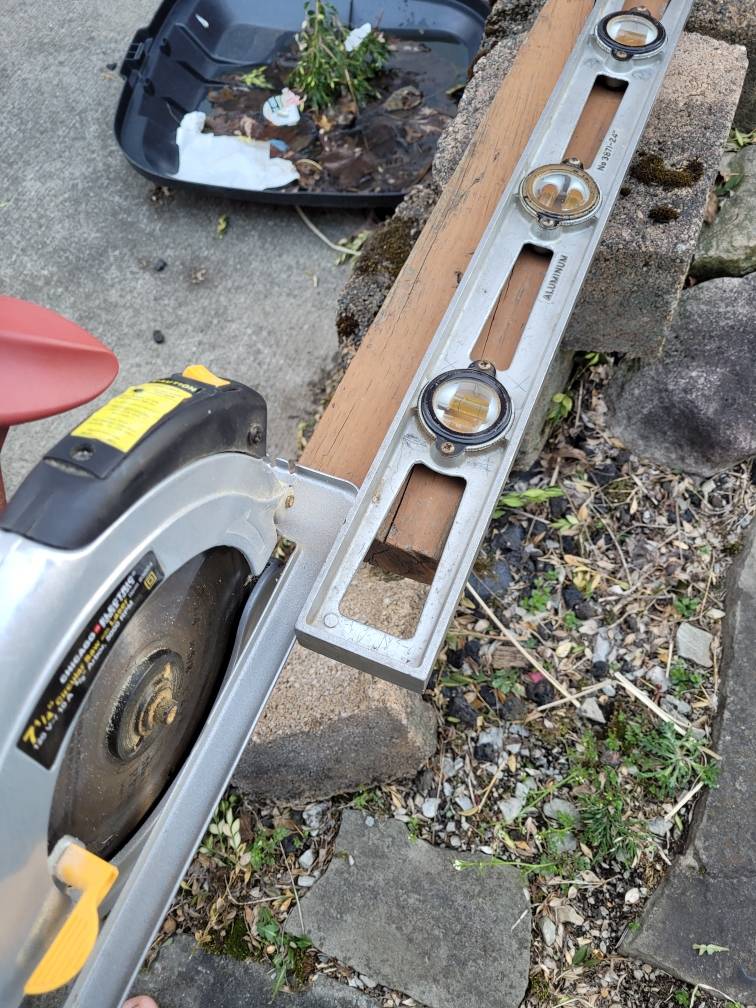
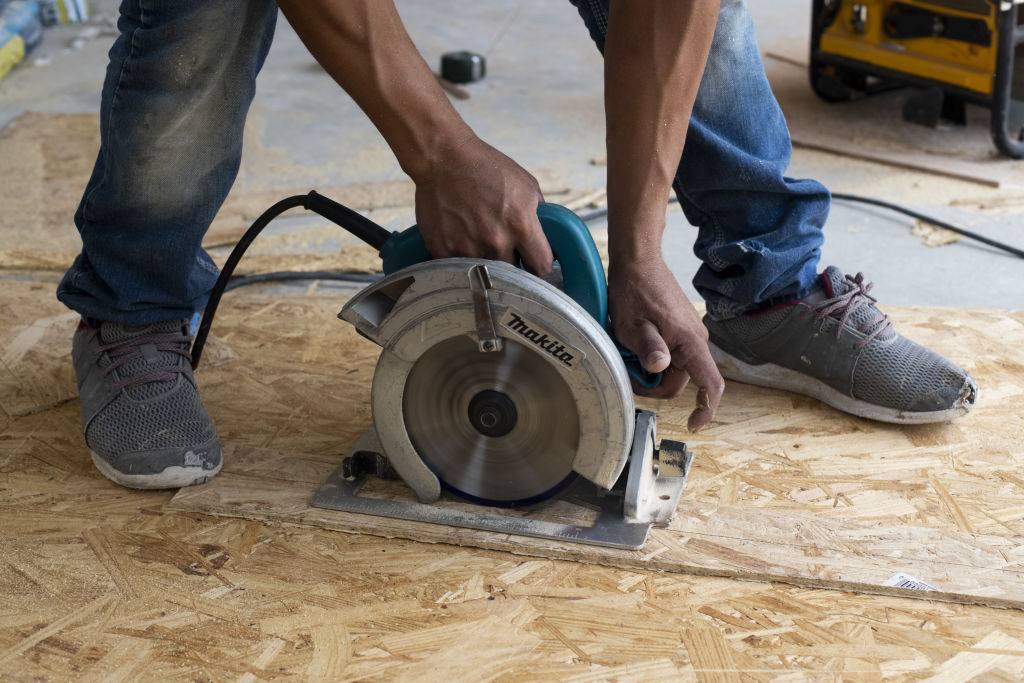
Power saw set to cut along a level as a straight edge – Photo by Randy Tucker
Mark, Clamp, Cut
- Mark your material with a couple of arrow-style, pencil marks. You should always mark material with a “V” or “arrow” mark that indicates the exact location of the mark on the point of the V. Mark a pencil line the full length you wish to cut.
- Once these are marked, lay the edge of the level exactly on the two Vs. With the level exactly where you want it, lay your saw next to it and measure the distance from the saw blade to the level.
- The “shoe” or base plate of the saw is wider on one side in relation to the blade than the other. Set your saw in the direction you plan to cut, then measure the distance from the level to the kerf edge of the saw.
- A saw kerf can vary from 1/8th to 3/16th of an inch depending on the blade. Calculate which side of the blade you’ll be cutting closest to your mark with. Measure the distance, then using a pencil, mark that distance from your original “V” marks. This allows your saw to cut down the exact line you marked earlier with the homemade guide in place.
- Put your saw guide or level on the new adjusted marks, lock it in place with the two clamps.
- Set your saw on the edge of the level and check where the blade hits. If you’ve measured correctly the blade will be in the center of the line you drew. If not, you’ll have to adjust both ends of the level equally to ensure a straight cut.
- Sometimes a larger saw has an extension on the cutting side of the saw that won’t allow you to set it down with the level in place.
Setting It Up Right The First Time Makes All The Difference
If a protuberance on your saw prevents using the level you have other options. You can try a straight 1×4 or 1×6 and see if it clears the side of the saw. If so, just use the board as you would have the level.
If the board is still too high, you can get a piece of baseboard molding. Most baseboard molding varies from ¼ inch on one side to 3/8th of an inch on the other. This material will clear every saw on the market.
The dimensional lumber and the baseboard molding have the added advantage of matching the length of the longest board you might need to rip. You can clamp down lengths of just a few feet up to 16 feet with these guide boards.
Setting up the cut takes the most time. If you do it correctly you can live up to the old carpenter’s adage of “measure twice, cut once.”
Ty Wright/Bloomberg via Getty Images


