An uneven yard is unappealing and a possible safety hazard with a great possibility of causing falls and accidents. Many events can cause your yard to become lumpy, bumpy, and uneven —including leaks in pipes lying beneath the surface, drainage problems, and grass pests like grubs or moles disturbing root structure.
Wrong grading can lead to concerns with a home’s foundation. It’s wise to troubleshoot the underlying problem before you start working to level your lawn’s surface so it doesn’t occur again in the future. If you need to level your yard check out our how-to-guide so that you can turn your yard into a smooth, lush landscape.

Photo Credit: akurtz via Canva
Importance of a Level Yard
A level yard provides stability to your landscape. It also prevents severe damage and expensive repairs to your foundation. Your lawn must gradually slope away from your home to allow rainwater to drain away from your foundation. If rainwater runs toward your home, the water will accumulate around the foundation walls. This will cause moisture to build up, weakening your foundation.
Moisture can seep into the wooden floor joists if your home does not have a basement or is built on a slab. The water will rot the joist threatening your home’s structural integrity. Poor leveling can also harm your gardens, trees, and landscaping.
- Damage: Leveling a yard stops serious deterioration to your house. Lawns must slope away from your house to stop rainwater from pooling around and weakening your house foundation. Flooding may result if rainwater trickles into your house. Excess moisture also causes rot in wooden floor joists, which puts the entire structure of your house at risk.
- Drainage: Uneven lawns can cause drainage problems when low areas fill with rainwater. These low spots promote lawn disease and also breed pests like mosquitos.
- Environmental changes: Yards become uneven for multiple reasons. Home improvement projects, like installing a swimming pool, can result in a rough lawn. Root growth from trees, and the removal of trees, also affect lawn areas.
- Lawn care: A level lawn looks appealing and is more manageable to maintain. Driving a lawnmower over uneven or raised areas cuts grass at different heights and makes mowing more challenging.
- Safety: An uneven lawn is not just an eyesore; divots and sunken areas turn a level yard from a perfect place to play or hang out into a possible hazard.
How To Tell if There is a Landscape Grading Problem
The most simple way to look if you have yard leveling problems is to look for standing water. You know you have a problem if you don’t have proper drainage.
If you want to be more precise with your landscape grading, you can measure your yard’s slope.
What Causes a Lawn to be Bumpy?
There are several elements that can lead to an uneven lawn but what’s very important is to make sure you diagnose the problem and find the cause before fixing your uneven lawn to prevent it from happening again in the future. You want to ensure that you will have a long-term fix when you fix your unlevel lawn.
Sometimes bumps and depressions can result from drainage problems, broken water, or irrigation pipes causing erosion. If there are, for example, two to three low spots around areas where there may be water or drainage pipes, you should investigate to ensure that nothing is leaking. It may be necessary to consult a professional.
A sprinkler system is a familiar culprit for erosion since the water lines are prone to damage, and the whole system needs routine maintenance. To investigate, check that the spray heads and rotors are working properly and popping up to their full height, that the nozzles are not clogged or damaged, and that the heads are not leaking.
Ground settling is another common cause of a bumpy lawn. Over time settling occurs, which causes depressions. This is greatly inescapable. Specifically, if you have a new lawn, or if you’ve had yard work done or large equipment on your lawn. Freezing and thawing cycles can emphasize this in cold-winter climates. These cycles can cause soil to heave and become uneven. In Spring, bumps often appear as clay soil thaws unevenly. It can heave and create ripples in your lawn like a bunched-up carpet.
Another source of lawn unevenness is merely having a thin lawn from a disease or insect problem that is depleting an area. This results in patches of bare soil. These areas then erode even deeper with rainfall, wind, and activity, resulting in depressions compared to the surrounding area of a healthy lawn.
Other origins of bumps can include buried objects such as wood debris from construction (this should be removed), people walking on lawns that are too soft (like in the early spring or after heavy rains), and animals. Animals, both wild and domestic, sometimes dig holes in lawns. If the bumps are from burrowing animals, like groundhogs or moles, they must be removed or repelled. Lastly, ant mounds can be a cause of significant bumps. These will be readily apparent due to the presence of ants. Ants don’t harm the grass, for the most part, and can actually help keep other pests in check; however, when they form large mounds, it becomes a problem.
Yard Leveling Tools
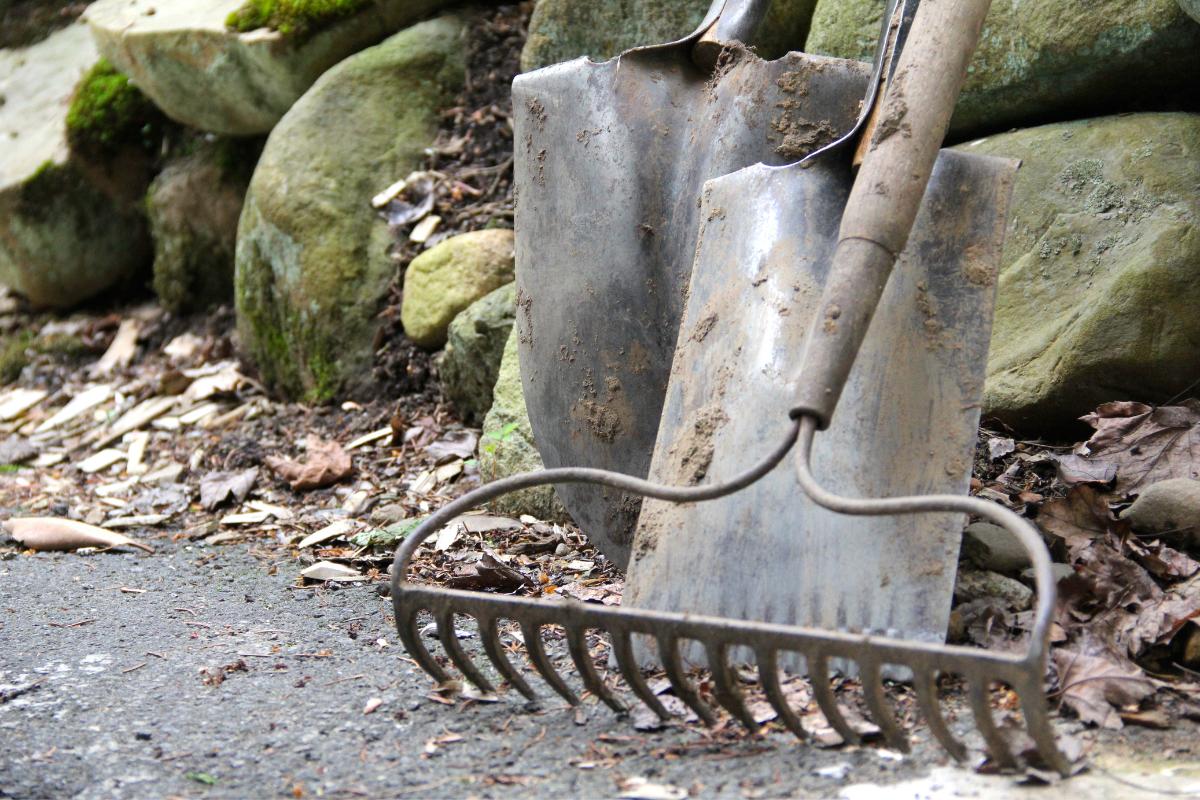
Photo Credit: ErimacGroup via Canva
If your lawn needs to be leveled and you have decided you want to attempt to do it yourself, here are some tools that you will need:
- Lawn Mower
- Sand
- Topsoil
- Compost
- Wheelbarrow
- Edger
- Shovel
- Hand rake
- Thatch Rake
- Plastic leaf rake
- Large push broom
How to Level a Yard
Step 1 – Mow
The first crucial step in leveling your lawn is ensuring your property is mowed. You will want to make sure you cut your grass short but be careful not to cut it too short. If you cut it too short and the stems of the grass blades are visible, your grass may dry out.
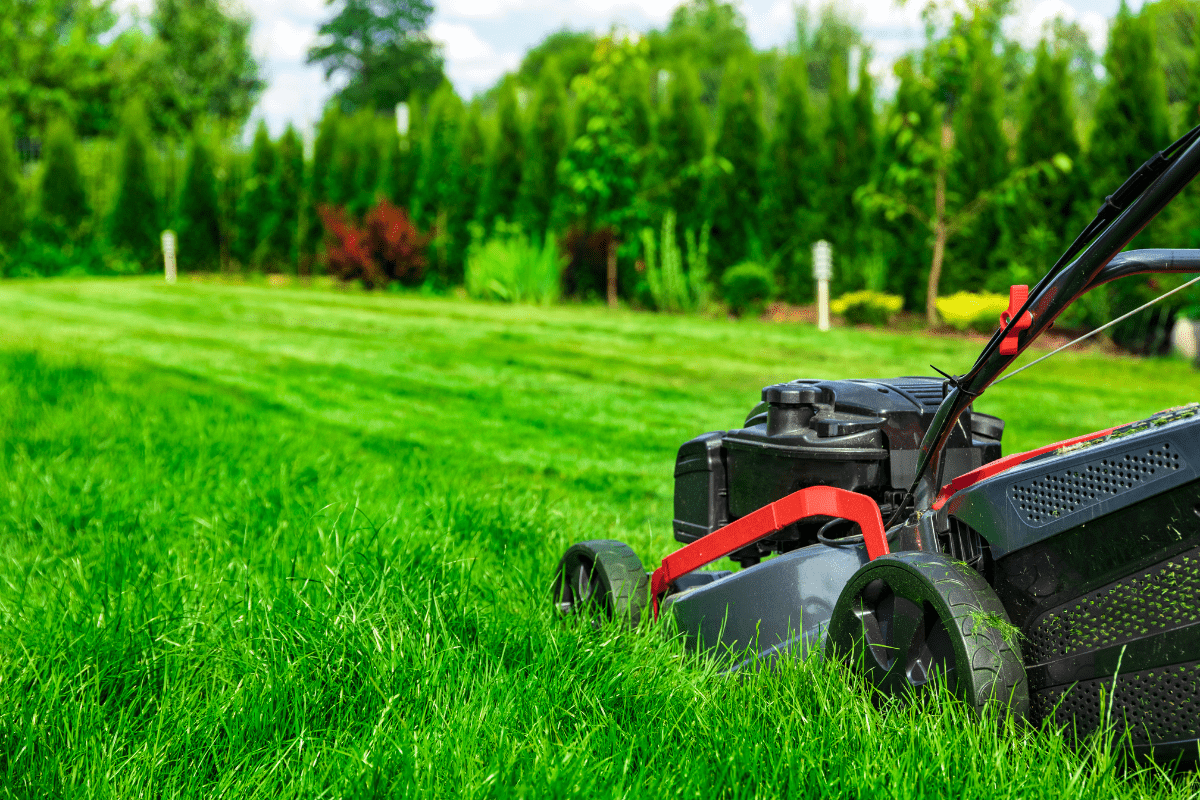
Photo Credit: MariuszBlach via Canva
Step 2 -Dethatch
The thatch is a mix of living and dead plant material in a layer where the grass stems meet the soil and roots. You will need to closely examine the roots of your grass and assess your lawn’s amount of thatch. A thatch greater than 1/4 to 1/2 inch will prevent your grass from getting proper water and air, so remove the thatch if you have more than 1/2 inch.

Photo Credit: nycshooter via Canva
If you have a small yard, you can use a thatch rake. For more extensive lawns, use a dethatching machine, which you can rent at most home improvement stores.
Step 3 – Dig
Dig up the grass in the recessed area of the lawn. You will want to check your yard for divots and low spots deeper than 2-3 inches.
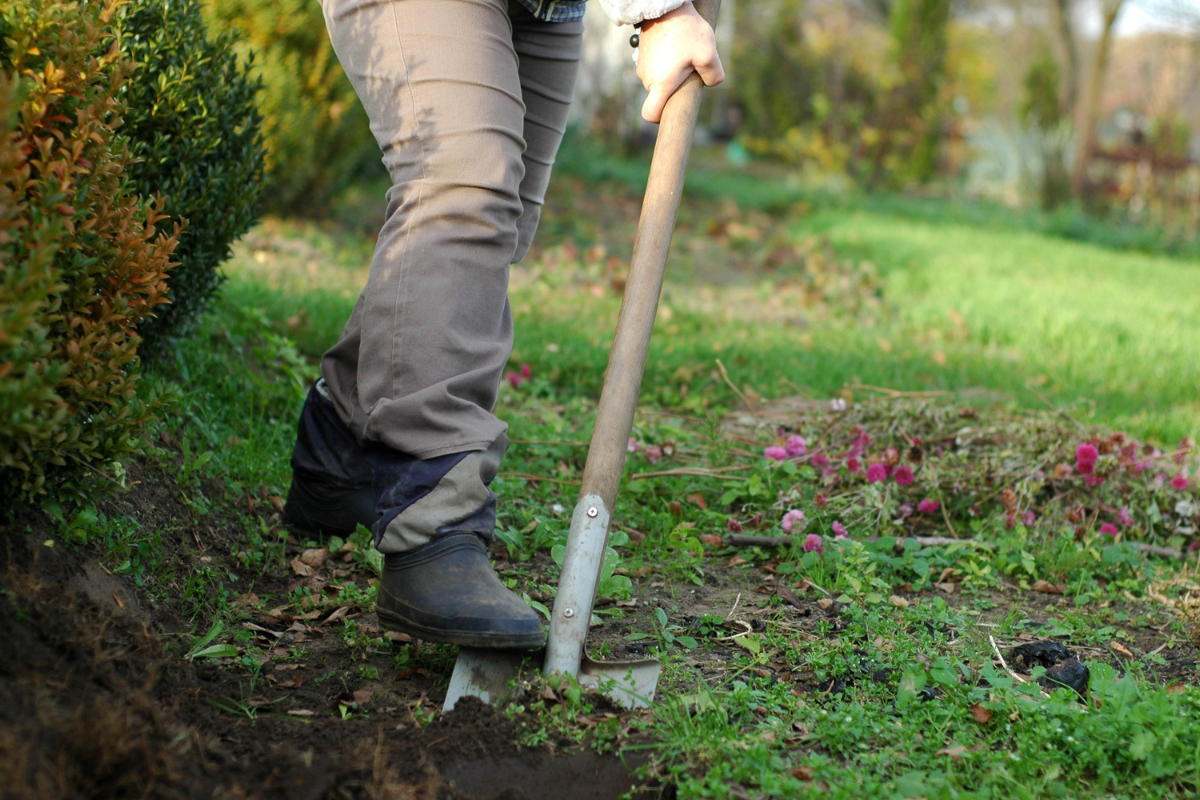
Photo Credit: alicjane via Canva
Put the blade of a shovel on the outer edge of a low spot to remove the grass from on top of the divot. Slide it down and under about 2-3 inches to ensure you get under the roots of the grass, and then remove the sod by prying the grass up with the shovel, exposing the dirt underneath.
Step 4 – Soil Mix
Make a top dressing mix to fill in the area beneath the grass in sunken areas of your lawn. This dressing is made of topsoil, sand, and compost.
- 2 parts topsoil
- 2 parts sand
- 1 part compost

Photo Credit: piyaset via Canva
Your grass will need nutrients to survive, and the topsoil and compost will provide that — sand, on the other hand, does not easily compact, so that it will keep your yard level over time.
Step 5 – Fill
Using the mixture you made in step 4, fill in all holes and divots. Once you have filled all holes, take the remaining mixture and cover your lawn with about 1/4 to 1/2 inches of the mix. You will want to keep this layer thin, though. If you put too much down, you may clog your grass.
Step 7 – Water
Give your yard a healthy dose of water by running sprinklers to water your lawn. This will help the soil mix settle in the grass to fill air pockets and revitalize your property.
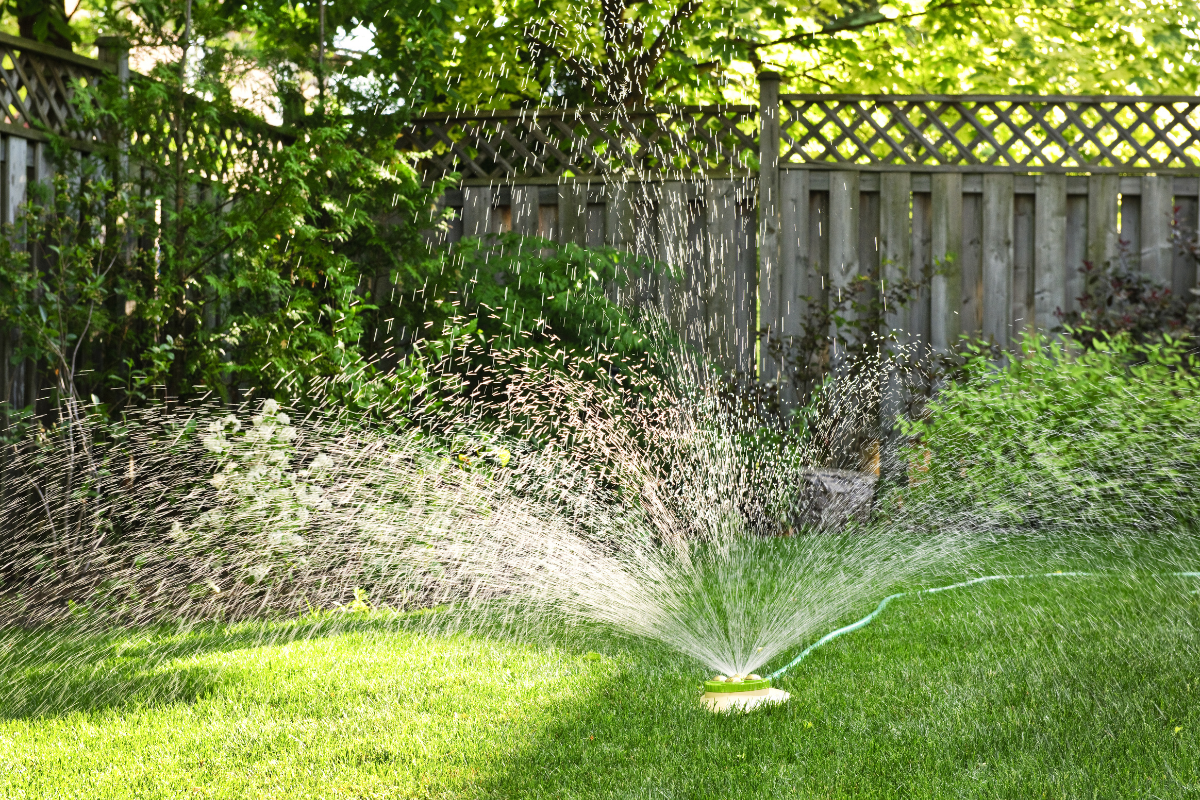
Photo Credit: Elena via Canva
Step 8 – Reapply
Reapply soil mixture as needed. You might have to do more than 1 layer of the soil mix to level your yard thoroughly. You should apply the 2nd layer by repeating steps 5 and 6 after you see the grass begin to grow or when you can’t see the first soil mix layer anymore.

Photo Credit: Yarygin via Canva
Minor Depressions, Bumps, and Divots
Leveling a yard isn’t always a major problem. Sometimes over time, your yard will develop minor depressions, bumps and divots. These are super easy fixes and do not require a lot of work.
This is the easiest of the concerns to address. Use topsoil to fill in the depressions. Then, rake over with a garden rake, a broom, or a leveling rake. Your goal is to have the new soil at the same level as the surrounding area.
Next, add a little compost and work in some new seeds. Keep moist until the new grass is about an inch high.
To press down minor bumps, rent or buy a water roller. Fill it with water – the more you use the more it will compact the soil – and slowly roll over the bump.
However, if the raises or depressions are more than an inch or two deep, you’ll have to do a bit more work. These are considered moderate bumps or divots.
Moderate Depressions, Bumps, and Divots
Remove the sod in the affected area (you will want to make sure you do this carefully so that the roots come up as you remove each strip.) Keep the strips to no bigger than 18 inches. This makes them easier to handle, and you’re less likely to harm the grass.
If there is a depression, fill it with additional soil. Make the backfill a little higher than the surface of the surrounding lawn to allow for settling.
For raised areas, shovel away the excess soil. Rake everything to smooth it out and make it even. Water lightly as you backfill to aid in settling to remove air pockets.
Replace the sod and water lightly again. If you’ve damaged the sod or it was in inadequate condition to start with, you should sow new grass seed.
Best Time to Level a Yard
The best time to level your yard is in early spring. If you’re doing this to re-sod or re-sow, this gives the best chances for everything to regrow.
You can leave it till later in the season if you are leveling for other reasons, such as a new garden bed or making your yard easier to maintain, but spring is ultimately best. Be sure not to leave it too late, though. You do not want the ground to become dry and compact as you approach summer.
The ideal time depends on your particular area. If you have snow in winter, the snowmelt will put a lot of water into the ground. If this is the case, leave it until the ground is dryer and firmer.
Possible Problems and Solutions
Plants and Small Trees In The Area
If you need to level your yard and there are small trees or plants in the way, remove them carefully so that you can replant them later after leveling the yard. You can also move them to a completely different part of the yard.
Buried Pipes and Cables
If your yard level issue is minor, you should be fine leveling over any buried cables or pipes. If your leveling requires you to dig more in-depth, it would be in your best interest to get the plans from your local authorities to show the location of pipes and cables, and then avoid them if necessary.
If this is the case, you may need to build the ground up rather than dig down to level things out.
Compact Ground
If you have heavily compacted ground, you may find you have no option but to hire a contractor to do it. You can rent heavy equipment like diggers, but hiring someone may be less expensive, depending on the amount of work involved and the equipment needed.
You can price your options before beginning, and most professionals will come out and give you a free estimate.
Best Tips for Yard Leveling
- Yard leveling is done best during dry seasons – if you’re going to get a lot of rain, there’s a greater chance of soil erosion.
- Ensure you don’t scalp your lawn – avoid cutting the grass too short before leveling.
- Rent a dethatching machine – if you have a lot of thatch, it may be best to rent a device that will make this step smoother and faster.
- Make sure you have all the tools you need before starting.
- Yard leveling doesn’t have to be difficult, but understanding the steps involved—and knowing some handy tips—always help.
Alternative Methods For Yard Leveling
While there are only two methods for moving dirt, there are several ways to measure slope and determine where the dirt should go. Below are 3 methods that you can use to figure out where to place your fill.
String Method
This is probably the most common method. Begin by pounding stakes into the ground around the perimeter. Tie a string close to the ground on the high side and stretch it as tightly as possible before tying it to the stake at the low side. You will want to make sure there’s no droop in the middle. Hang a line level on the string and move the end on the low side up or down as needed to center the bubble.
The difference in measurements from the string to the ground at both ends tells you how much dirt you need to bring to the low-end level.
Water Level
Water has been used for centuries to measure ground elevation. You can fill a transparent plastic tube with water and leave a small amount of air in each end. The water levels at the ends will always rise to the same height relative to the earth’s center of gravity. You can also dye the water so that it’s easier to see.
Laser Level
Set the transmitting unit on the highest ground and a 2×4 on the lowest end. Both need to be vertical, or it will not work. The difference in heights between the two indicates the slope. Then add the amount of fill needed to correct it.
Frequently Asked Questions (FAQs)
How much does it cost to level a yard?
Fixing an uneven yard caused by foot traffic, digging, plantings, or thatchy grass should cost no more than a few tools and materials. You probably have most of the tools required already taking up room in your shed or garage. If you need a dethatcher, you can rent one that is on average $80/day, depending on where you live. If you can get away with using a manual thatch rake, you should be able to find one for around $50.
Regarding the materials required to level, such as topsoil, you can sometimes move soil from high spots to low areas, but in other circumstances, you may have to purchase topsoil and sand.
When should I level my lawn?
Typically, spring is the most suitable time to level your lawn. Warm-season grass is coming out of inactivity. Any plugs of sod you unearth up and replant after leveling stand a more promising chance of surviving in spring temperatures before summer.
How do I level my whole yard?
To level your whole yard, mow the grass and fill lower spots while digging out bumps or elevated spots. Put the grass back in place once level, top-dress the lawn with a ½-inch layer of compost, and level the lawn with the back of a bow rake.
Use leveling sand to improve uneven pavers or paths. If your whole yard has a grade issue, you may need to hire a yard-leveling expert to slope the property accurately.
What is the best equipment to level a yard?
A shovel or a pickaxe is often all needed to make the yard more level and valuable. In extreme cases, renting a dethatching machine may be required, but in most cases, regular garden and lawn hand tools are all you need.
How much topsoil do I need to level my lawn?
To figure out how much topsoil you need, multiply the length by the width by the depth of soil required. Divide the cubic feet by 27 (that’s the number of cubic feet in one cubic yard). Round off your answer to 1.4 cubic yards.




Add comment