Soap scum is the distasteful name for the unwelcome grim that manages to form on bathtubs and showers as we use them. The majority of it is created by minerals in water, meeting the fatty acids in a bar of soap, but it can also contain dirt, dead skin cells, and bacteria. Undoubtedly, it’s crucial to keep your shower clean so that you can avoid all this nastiness in your home — plus, it doesn’t look nice.
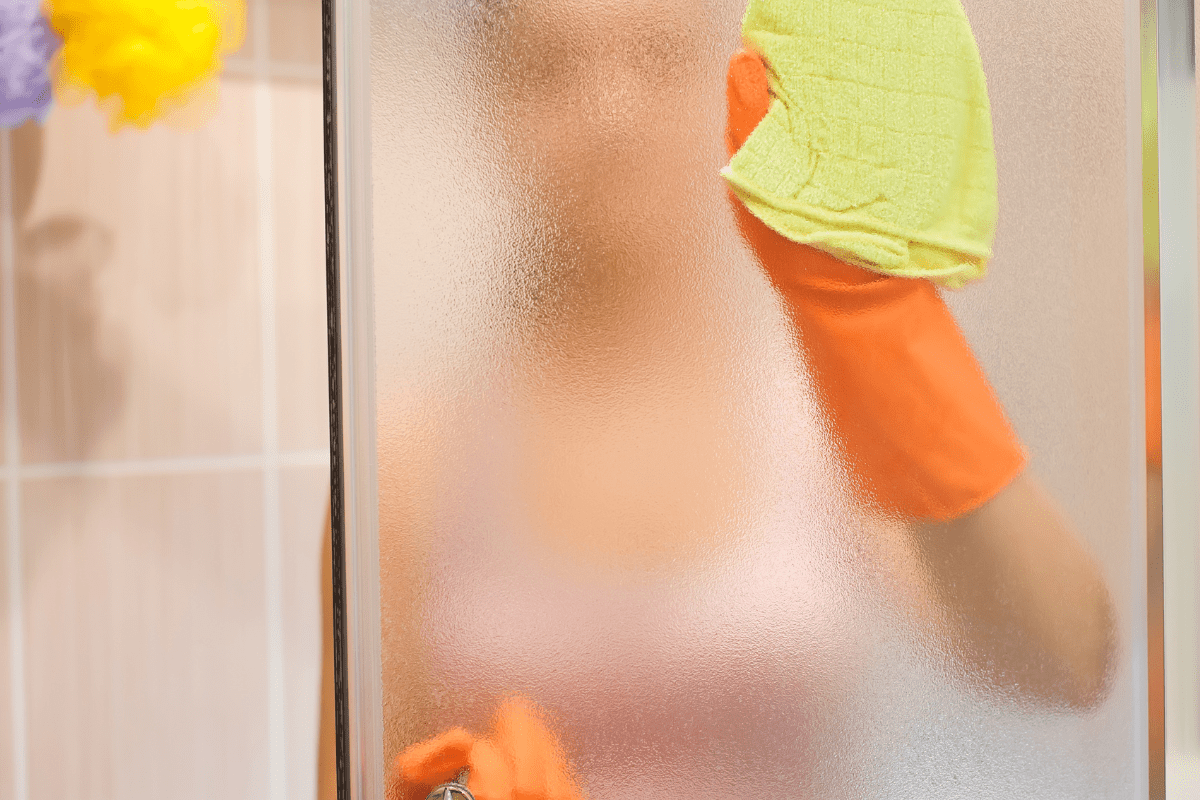
Photo Credit: Nagiants via Canva
If you need assistance maintaining a clean bathroom and ridding yourself of soap scum, this article will put you on the right track to removing that dreaded soap scum once and for all.
While there are some general cleaning methods that will work on most surfaces, soap scum is often problematic to remove, and using the wrong products can potentially damage bathroom fixtures and appliances.
What Is Soap Scum?
When the minerals in water and soap fat mix, you create a very undesirable reaction called soap scum. This combination forms a whitish-yellow scaly crust that lines your shower and tub walls, along with your shower doors. It can also get thicker the longer that it is left, creating that unwelcome bathroom ring.
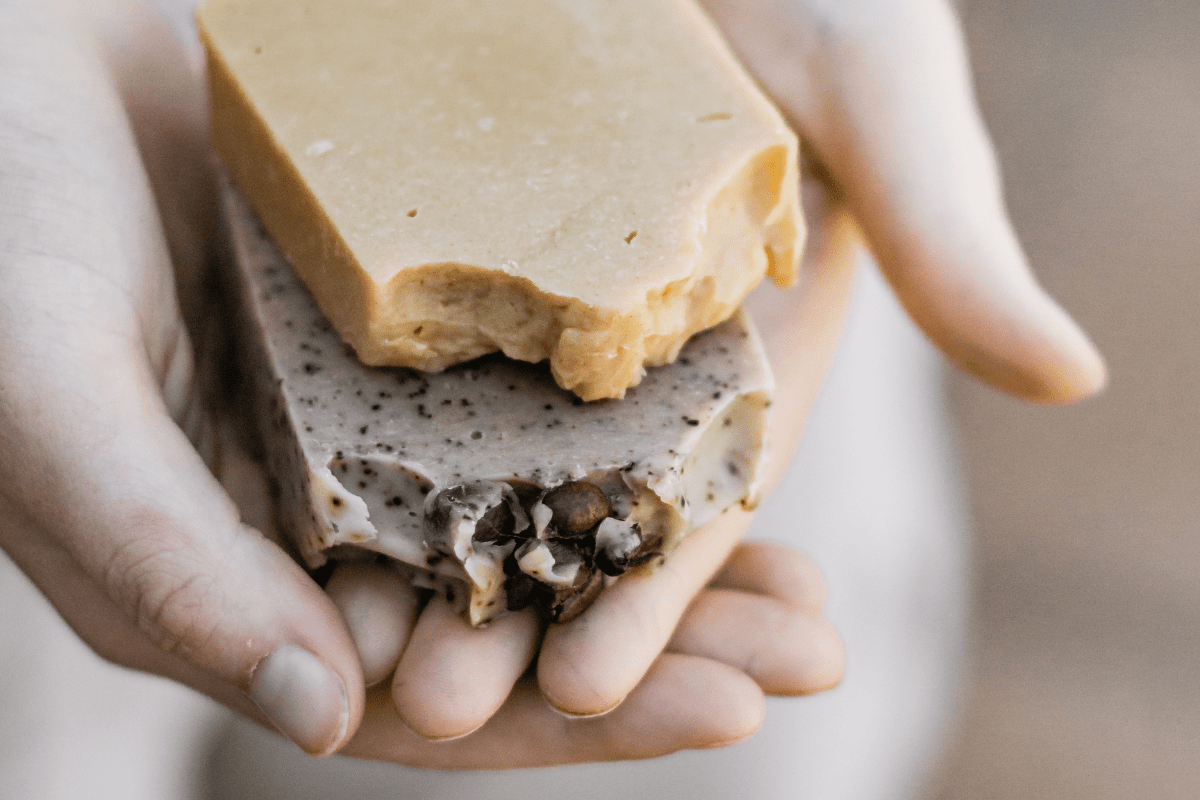
Photo Credit: Sincerely Media via Canva
Since it isn’t an option not to use soap or a shower, it is best to learn how to clean up this challenging mess.
How Often to Remove Soap Scum
Typically, a little attention to bathroom surfaces every day will help keep soap scum from collecting. However, weekly cleaning is sufficient. Removing thin layers of soap scum is much easier than waiting for months to tackle thicker layers.
Homemade Cleaners
Cleaning soap scum can be difficult to remove despite your best measures. It can stain your glass, tiles, fixtures, and tub. Not only that but the lengthier it sits, the more demanding it can be to remove.
Before you head out to the store to pick up a commercial cleaner, you can try a DIY homemade solution first. Many of these times, you may already have in your pantry.
For these homemade recipes, you’ll need:
- Baking soda
- White vinegar
- Dish soap (Blue Dawn is best)
- Spray bottle
- Sponge
- Soft bristle brush
- Hydrogen peroxide
- Bowl
- Cloth
Homemade Cleaner for Shower Walls
You can try a vinegar spray if you are trying to clean your glass, fixtures, shower walls, or shower doors. Not only will it take away the dingy white glaze, but it can restore your shine.
- In a clean spray bottle, combine 1 cup of water and 1 cup of vinegar — for an extra kick, add a tablespoon of dish soap.
- Give it a good shake and spray down your shower walls, fixtures, and glass doors.
- Allow it to sit for about 20 minutes or so.
- Using the sponge, scrub in slow circles — bust out the soft bristle brush for significantly scaly areas.
- Rinse and repeat as necessary.
Glass can stand up to a little more abrasiveness, too, so you can try a vinegar and baking soda paste, but if that isn’t getting the job done, you can dip your sponge in the paste and then in a bit of table salt for extra scrubbing power.
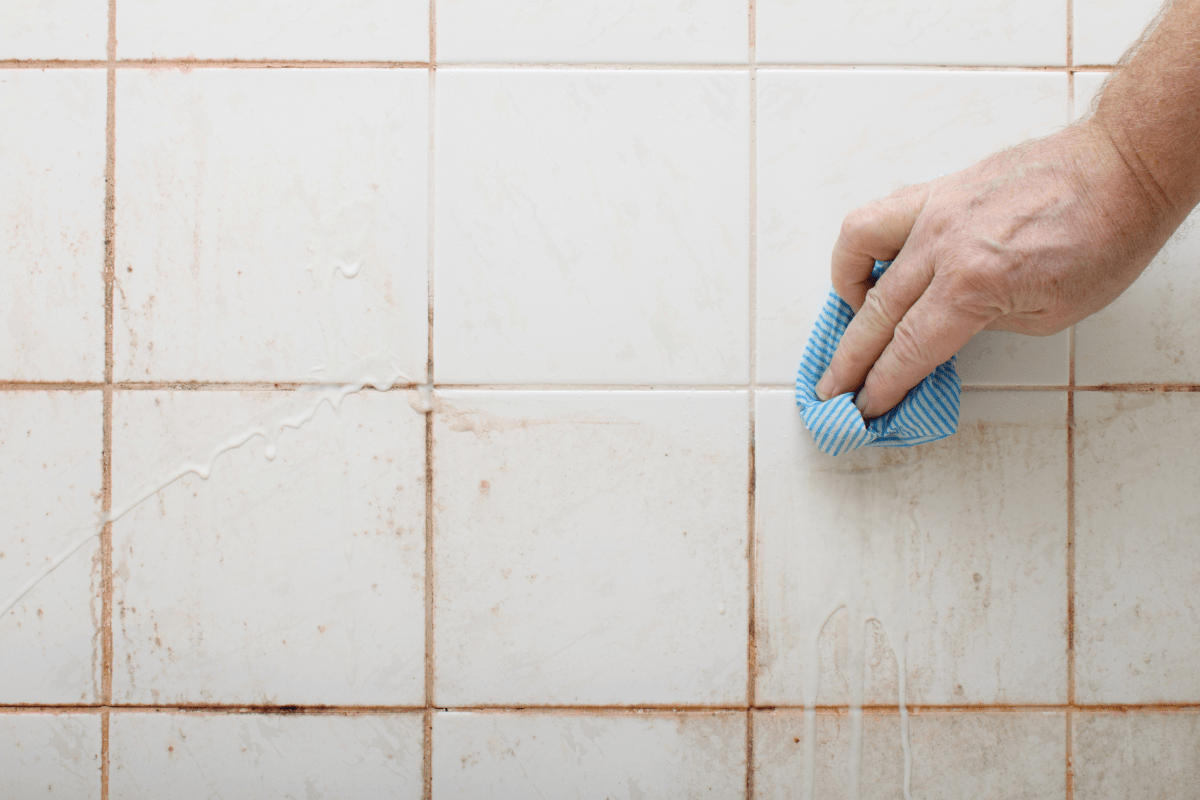
Photo Credit: kbwills via Canva
Glass shower doors gather the most easily visible evidence of soap scum, so prevention is extremely important here. Scrape down the shower door with a squeegee every time you bathe, which will remove most of the soap deposits and water to prevent them from drying into the residue.
In addition, plenty of spray-on products promise to keep soap scum from forming if you use them after every shower. The vinegar and dish soap mixture, sprayed and rinsed away after every shower, will also help a great deal.
Homemade Cleaner for Tubs and Sinks
The interior of your fiberglass or porcelain tub and sink can see the worst of soap scum if you take baths or have really hard water. For these areas, you might want a little more fighting power. Baking soda works great in this instance because it adds a bit of grit to scrub that soap scum.
- Add a cup of baking soda to about 1/4 to 1/3 cup of vinegar.
- Mix together to form a scrubbing paste and let it foam.
- Using a sponge, add the paste to the tub or sink, paying special attention to thick soap scum areas.
- Allow it to sit on the tub or sink for 20-30 minutes.
- Using the brush, scrub the whole area in circular motions.
- Rinse and repeat as necessary.
Homemade Solution for Years of Soap Scum
Vinegar and baking soda are a mighty and strong combination. Nevertheless, if you have years of soap scum removal, it’s just not going to be tough enough. Hydrogen peroxide has all the power of vinegar but with a bleaching agent that is great for those really tough stains.
- Mix 2 cups of baking soda with 1 cup of hydrogen peroxide. If you need a smaller batch, just mix it 2:1.
- Using a cloth, spread the paste over the soap scum.
- Let it sit for at least an hour.
- Add a little water, and then use the brush and scrub the tub in circular motions. P
- Add baking soda to the brush and give it a little elbow grease for the most challenging areas.
- Rinse and repeat as necessary until it’s all gone.
Homemade Cleaner for Tiles
When it comes to your tile walls, grab the Dawn and vinegar. These two are like a prizefighter when it comes to soap scum removal on your tiles.
- Heat up 1-2 cups of vinegar in the microwave for 30 seconds. You want it warm, not boiling.
- Add equal amounts of Dawn to a spray bottle.
- Pour in the heated vinegar and then shake to mix.
- Spray down the tiles.
- Allow the mixture to sit for 25-45 minutes.
- Wipe it down with a warm sponge.
- For any remaining soap scum, add a little baking soda to the sponge and scrub in circular motions.
If your tub or shower enclosure is made of actual porcelain, you’ll probably have an easier time removing soap scum. Ceramic can withstand quite a bit of scrubbing and harsh abrasives, so you might not even need a cleaning product.
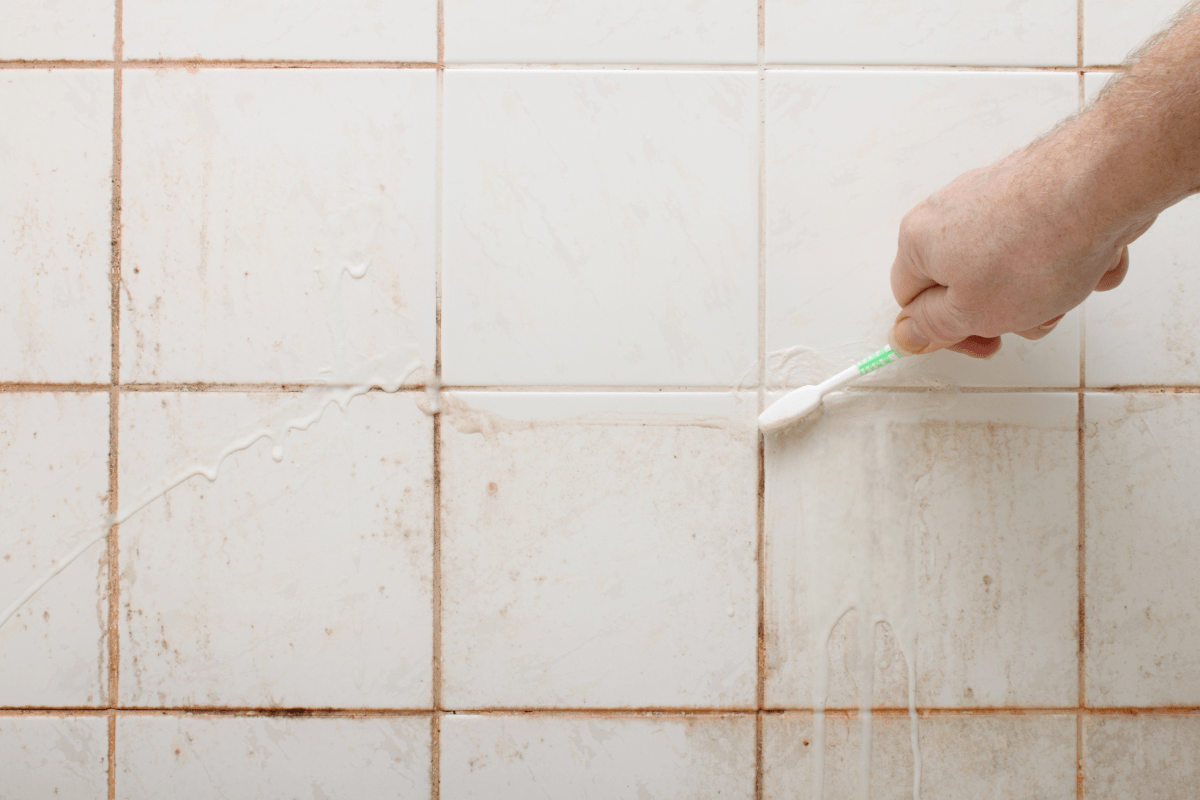
Photo Credit: kbwills via Canva
For this method, invest in a pumice stone. Always make sure to get the stone totally wet before using it, and then carefully scrub away the layer of soap scum. Never use a pumice stone on fiberglass, as it will ruin the tub’s finish.
Homemade Cleaner for Fixtures
Faucets, handles, and shower heads can all show proof of soap scum deposits. Undiluted white vinegar is your finest bet if your fixtures have a protected metal finish like chrome or stainless steel.
You can even clean a showerhead without needing to remove it. Simply fill a plastic bag with vinegar and place it so that the shower head is submerged in the vinegar. Secure the plastic bag with a rubber band and leave it there for about an hour. After that, take the bag off and rinse.
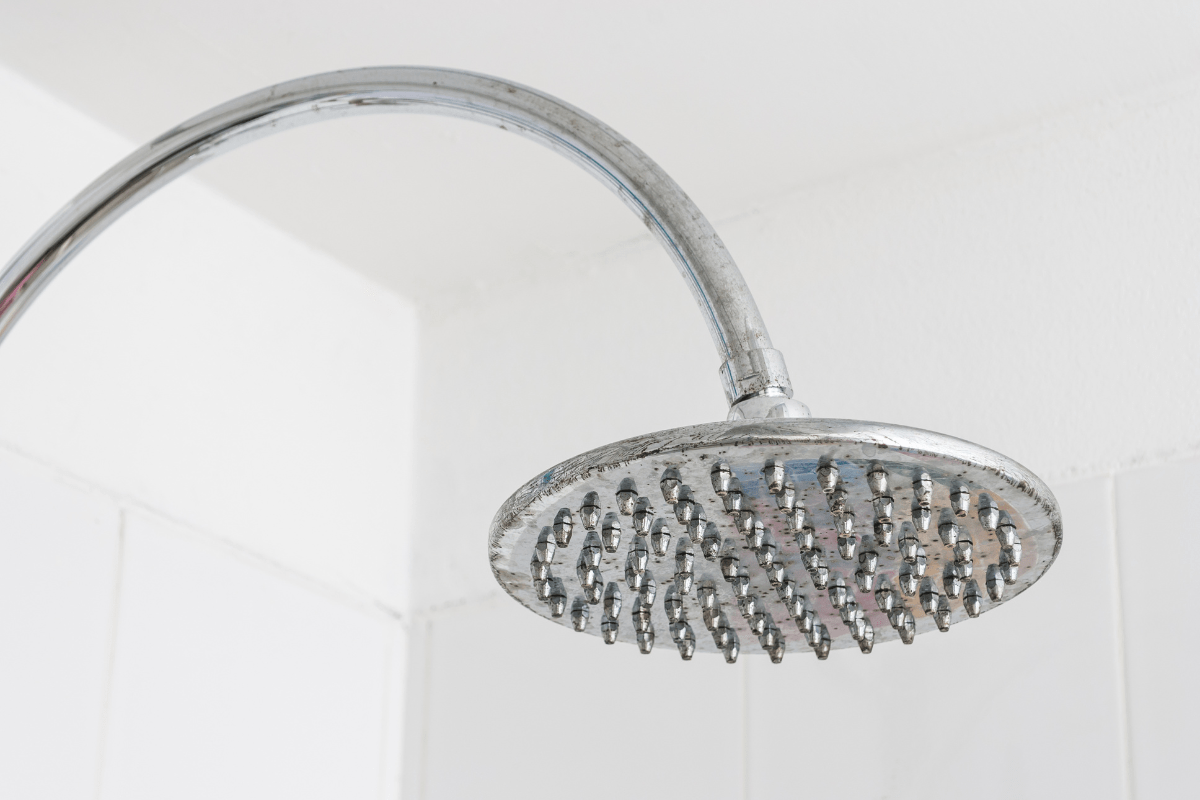
Photo Credit: NNL Sutdio via Canva
Oil-finished bronze or brass fixtures may require special cleaning, so consult the manufacturer’s recommendations for these products. Always test cleaning products on a small, less-visible area of the fixture before cleaning the entire thing.
For fixtures with gold, bronze, or brass finishes, it is suggested that you use only water for cleaning. This is extremely true of fixtures with “living finishes” that are intended to change over time.
Refer to the manufacturer’s care instructions since cleansers can damage a specialty surface. If in doubt, always test a cleaning product on an unnoticeable part of the fixture so that any harm to the finish is hard to spot.
If you choose to tackle soap scum with a home mixture, dilute the distilled vinegar with an equal amount of water. To remove tough spots, mix a paste of baking soda and distilled white vinegar or lemon juice. Use a non-abrasive cloth or sponge to apply the mixture. Let it dry and then rinse and buff with a soft, dry cloth.
Use a 50/50 mix of vinegar and water for chrome surfaces to avoid damaging them. Use undiluted vinegar to wipe down stainless steel surfaces. Always rinse fixture surfaces well after cleaning and dry them with a soft cloth.
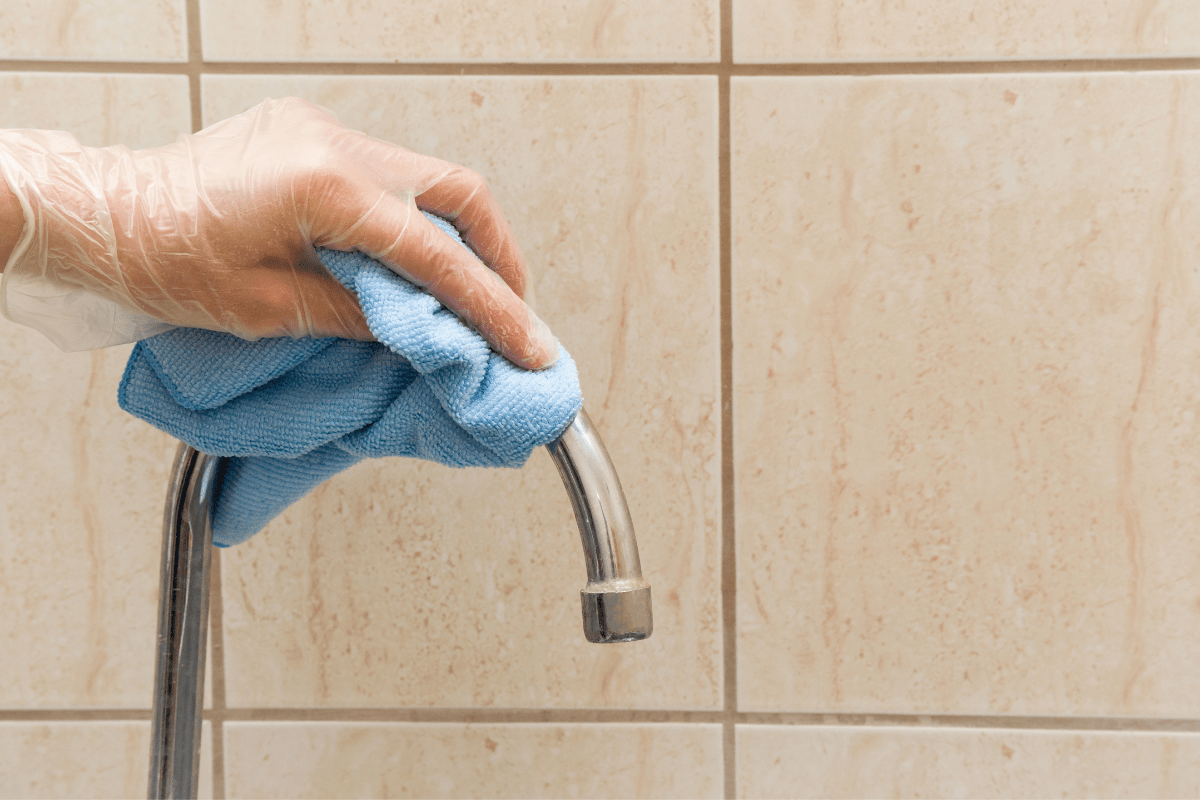
Photo Credit: Canva
Homemade Cleaner for Plastic Shower Curtains and Liners
Soap scum can build up on fabrics and plastic shower curtains, so follow these steps to rid your favorite shower curtain of disgusting soap scum.
- In a bathtub, large plastic container, or washing machine drum, mix enough equal amounts of distilled white vinegar and water to completely cover the submerged plastic curtain.
- Allow it to soak for at least eight hours — overnight is better.
- To machine wash, toss the curtain into the washer with a few towels and wash with regular detergent on a warm water cycle.
- Hang to drip dry. NEVER place a plastic shower curtain in a clothes dryer.
Homemade Cleaner for Fabric Shower Curtains
Follow the washing instructions on the care tag but add one cup of distilled white vinegar to the washer drum at the beginning of the cycle. This will help cut through any soap scum build-up. Hang to drip dry or toss in a tumble dryer for a few minutes to remove wrinkles. Remove while still slightly damp and hang to dry.
Commercial Soap Scum Cleaners
Several top cleaning brands entrusted in homes around the world sell cleaners particularly targeted at removing soap scum. Many are great for soap scum and work awesome for mold and mildew. Just a few of the cleaners include:
Mr. Clean Magic Eraser: This cleaner works great for fiberglass tubs and showers. Micro scrubbers in the pad and foaming cleaners work to break down and lift the soap scum.
Bring It On Cleaner Hard Water Stain Remover: Designed especially for hard water stains, Bring It On uses oxygen bleach to break down the calcium and residue left by soap.
Kaboom: With the power of Oxi Clean, Kaboom breaks down soap scum, making it wipe away.
Scrubbing Bubbles: Using the power of bleach, Scrubbing Bubbles thick formula sticks to the soap scum, quickly dissolving it.
CLR: Ideal for all surfaces, CLR uses a remarkable formula to break down hard water, soap scum, and calcium.
Using commercial cleaners is easy. Follow the instructions and spray the cleaners onto the soap scum. Allow it to sit, and simply wipe it away. Just make sure to follow all the instructions.
Tips for Avoiding Soap Scum
Since you aren’t going to stop showering, it can be hard to avoid soap scum. However, there are a few things that you can do to make it more challenging for soap scum to form.
- Keep a spray bottle of vinegar and water in your bathroom and spray everything down after your shower. Wipe it down with your towel.
- Try out liquid body soap rather than bar soap. Using a shower gel can cause a significant reduction in that filmy yuck.
- Use your towel and quickly dry your bathtub and shower. The water and soap need to get together and have a party to form soap scum particles. Wiping the water away will reduce the reaction.
- The more minerals you have in your water, your soap scum problem will be worse. Consider investing in a water softener if you have especially hard water.
- Add a bit of Epsom salt to your bath to ensure that the minerals and soap don’t get a chance to react. Plus, Epsom salt is great for sore muscles.
Of course, there are many bathroom cleaners that are specially formulated to tackle soap scum, so if you want to use those, make sure you follow all directions on the packaging. You may need to apply them and let them sit for a few minutes to allow the cleaner to soak in and loosen the residue. Everyone has a different opinion on the best soap scum remover, so you may need to try a few before you find one that works.
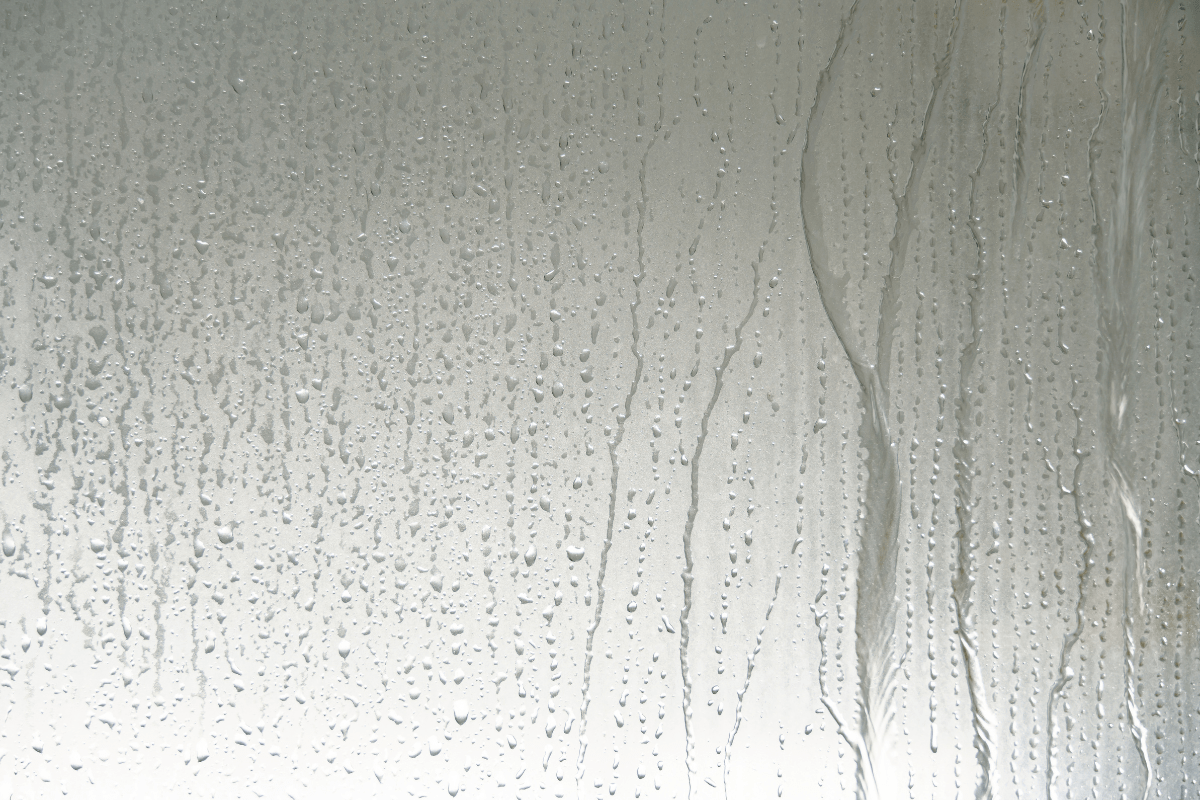
Photo Credit: Bonatawat via Canva
While you won’t be able to totally prevent soap scum from developing in your bathroom, you can cut it down to a manageable level that will make it easier to keep up with. Also, if hard water is a difficulty in your home, you might consider investing in a water softener.
Frequently Asked Questions (FAQs)
What causes soap scum?
Which bar soap causes less soap scum?
Glycerin soaps contain Tetrasodium EDTA, which helps prevent soap scum build-up making them an ideal bar of soap to use.
What best dissolves soap scum?
Does Magic Eraser remove soap scum?
Hard water, soap scum, and grime are no match for his foaming cleanser. Simply wipe your Magic Eraser firmly across the glass shower doors with a firm, steady swipe. All it takes is a few wipes to break through soap scum and hard water. Your doors will go from grimy to shiny in no time at all.
What is the best bathroom cleaner for hard water?
There are plenty of DIY natural remedies out there, but we find that the best hard water stain remover is a paste of white vinegar and baking soda. Spread over affected surfaces, let it sit for 30 minutes, then wipe clean with a dry microfiber cloth to quickly brighten bathroom surfaces.



Add comment