[ad_1]
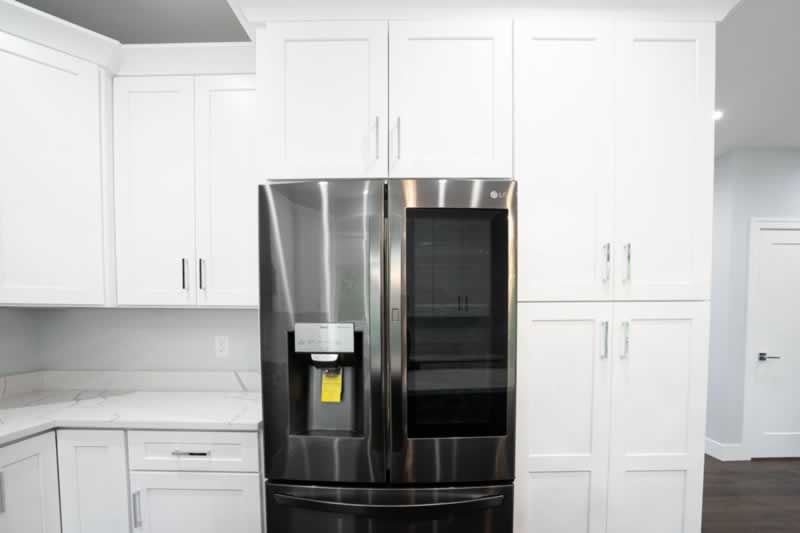
Does your kitchen need a makeover? Painting your cabinets can be the fastest way to make that happen. A new cabinet color can completely change the look and feel of your kitchen and can even make old, worn-out cabinets look brand new. Unless your cabinets are in really rough shape, it likely doesn’t make financial sense to replace them – a fresh coat of paint will accomplish the same thing! Fortunately, this is a job that most people can do themselves, which makes it even more affordable.

However, there are nuances that you should know about if you decide to paint your kitchen cabinets. Without the proper knowledge and taking the necessary steps, this project can go from a makeover to a hack job! Because the kitchen is one of the most important parts of your home, we have described the entire process here so that you can paint your cabinets like a pro. Dig in to figure out how to paint your kitchen cabinets and give your kitchen a brand new look!
Cleaning Your Cabinets
Cleaning isn’t the most fun topic, but it is vital to take this step seriously when painting your cabinets. If you fail to clean them properly, you could have adhesion issues later. If your cabinets aren’t too dirty, washing them with a trisodium phosphate (TSP) mixture will likely do the job. If they have more of a buildup on them, you’ll probably need to start with a degreaser and then follow that up with TSP.
Sanding for a Good Bond
After you have thoroughly cleaned your cabinets, it’s time to give them a light sanding. There’s no need to go crazy here and pull out the power sander. Just some fine 220-grit sandpaper is all you should need. The goal is to give the primer a decently rough surface to grab onto. After you’ve sanded everywhere, use a damp rag to clean off all the dust left behind from sanding.
Spraying vs. Rolling
As you get ready to paint your cabinets, you will need to decide whether to spray the paint or roll it. Spraying will undoubtedly give a better finish. A proper spray job is buttery smooth with no streaks, brush marks, or roller texture. However, spraying your cabinets might not be practical for your situation. First off, you might not have access to a sprayer. And if this is the only time you plan to paint cabinets, you probably shouldn’t buy one just for this. However, you could consider renting one from Home Depot.
Another consideration when deciding between spraying and rolling is that spraying will require much more masking to avoid getting paint everywhere. Unless you plan to repaint your walls and install new flooring and countertops, you must ensure everything is properly covered when spraying. One common compromise to avoid having to mask everything is to spray the doors and drawers and roll everything the cabinet frames. Since you will likely be removing the doors and drawers anyway, you can spray them in an area where overspray isn’t a concern. Since the doors and drawer fronts cover most of the visible space, this compromise gives the look of spraying without having to perform a significant masking job.
Masking
Whether you decide to roll the cabinet frames or spray them, you’ll need some level of masking. If you are rolling and brushing on the paint, just some painter’s tape at each edge that meets an unpainted surface will suffice. However, if you plan to spray everything, you will need to cover everything in the vicinity with drop cloths, plastic, and masking paper. Even though it may seem something is out of harm’s way, the paint dust from a sprayer travels further than you might think.
Remove Doors and Drawers
To get a professional-looking finish, it is highly recommended to remove the doors and drawers and paint them separately. Not only does this allow you to spray them if you want to, but it also prevents you from getting paint on the hinges and drawer slides. It is a good idea to remove all the hardware and group it together to re-install once the painting is complete.
Using the Right Primer
Even though you won’t see the primer once everything is finished, it is extremely important. In fact, the type of primer you use is arguably more important than the paint. The primer on your cabinets serves two primary purposes: 1) It provides a strong bond, and 2) It blocks stains from showing through. The kitchen is a very high-traffic area, and the cabinets take a beating. If you choose the wrong type of primer, your cabinet paint job likely won’t stand the test of time. A weak bond will cause portions of your new coating to flake off when they get nicked and scuffed. Zinsser BIN Primer is one of the best primers for your cabinets. It is shellac-based and provides a super-strong bond to the cabinets. It is also a great stain blocker, so you won’t have to worry about stains coming through over time.
Choosing the Right Paint
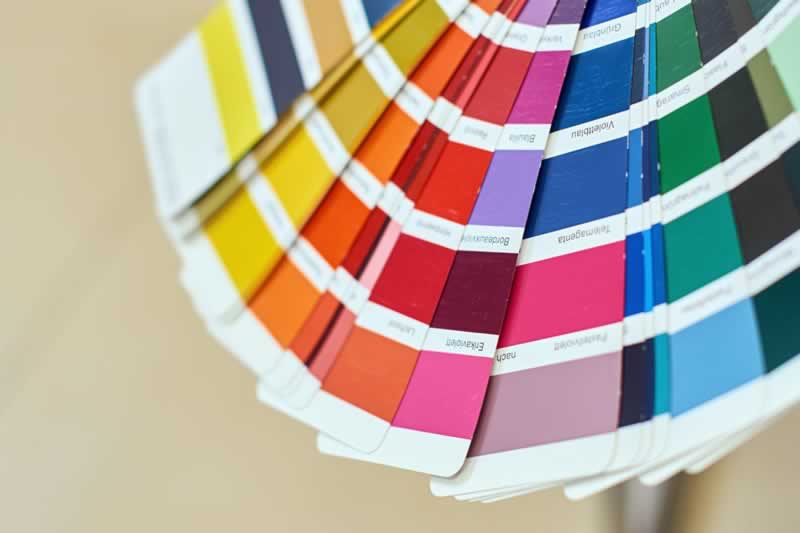
There are a few decisions you must make when selecting paint for your cabinets. The most obvious decision is the color. You’ll want to choose a color that complements the rest of your kitchen. Even though white is the most common color for painted cabinets, it might not be your best option if the rest of your home has warmer tones. Two of the most common colors for cabinets are white and espresso. White works well when the other features in your kitchen are neutral, such as gray walls and flooring. Espresso is a better option to pair with warmer beige tones.

Your next decision will be to choose which type of paint to use. Benjamin Moore Advance paint is an excellent option because it is specifically formulated for cabinets and trim and will give a smooth and durable finish. No matter which brand you choose, it is best to use their premium paint to ensure it will last a long time. Lastly, you will need to choose the right paint sheen. The two most common choices are semi-gloss and satin. This decision will ultimately come down to your personal preference. Semi-gloss will give a glossier finish, while satin will be slightly more matte.
Painting Your Cabinets
Now that you have done all the prep work and chosen your paint, it’s time for the fun part! If you decided to spray your doors and drawers, you’ll need to take them to another location where you don’t mind having a little overspray. It is wise to have a couple of test runs on some scrap pieces to determine the speed of the sprayer. It is better to err on the lighter side, because spraying it on too thick can result in the paint running and even peeling in the future.
You’ll likely have some areas inside where you will need to roll and brush on the paint, and you should buy high-quality tools for this. There are rollers specifically designed for cabinets that leave behind an ultra-smooth finish, which is much smoother than the texture left by rollers you would use on walls. Once again, try to avoid rolling and brushing the paint on too thick. Assume going in that you will have to apply a couple coats. This will give you a much better result than applying it too thick and the paint dripping everywhere.
Painting Your Cabinets Can Completely Transform Your Kitchen
Once you’re finished painting, your last step is removing all the masking and re-installing the doors and drawers. Now you can sit back and admire your brand new kitchen! There aren’t many renovation projects that can transform your kitchen quite as much as painting your cabinets. That’s especially true if you consider the price. Painting cabinets can be very affordable, especially if you do it yourself. We hope this guide has given you the confidence to take on this project yourself. If you follow these steps and take your time, we’re confident you will be happy with your results!
Author Bio: This article is provided by Jordan Fulmer who is the owner of Momentum Property Solutions, a house-buying company in Huntsville, AL. They specialize in buying houses in tough situations and renovating them to either sell or rent. Jordan also runs the SEO side of their business and regularly writes content about real estate investing, home improvement, SEO, and general real estate topics.
Source link


Add comment