
![]()
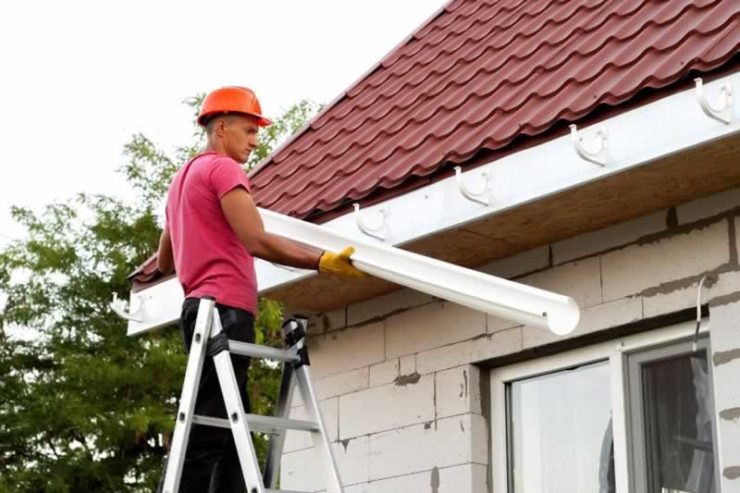
After a few years of use, the gutters on your house will inevitably start to show their age. Even if you’re diligent about keeping them clean, they can still develop cracks, tears, and holes. It may not seem like a big deal at first—those little holes don’t seem like they could cause much damage—but once the water starts to leak through them and into your walls, things can get serious fast! When it comes down to it, you can hire the specialists about gutter repair like this, gutter repair in Brisbane. Another way, DIY gutter repair isn’t hard work at all. There are plenty of tutorials out there for do-it-yourselfers with no experience whatsoever.

Here’s everything you need to know about repairing those dents in your home’s foundation.
Clean Your Gutters
The first step to repairing your gutters is cleaning them. To do this, you can use a gutter cleaning brush, power washer, or garden hose with a spray nozzle. If you don’t have access to any of these tools, then you may need to climb up on a ladder and clean out your gutters manually. Use the gutter cleaning brush or power washer to remove any debris that has accumulated in your gutters over time (this includes leaves and other plant matter). Next up: use either method again but this time aimed at getting rid of any moss growing in between each shingle along the length of each downspout–this will help prevent water leakage into your home through cracks caused by erosion over time!
Patch Holes in the Gutter Guards
When you’re repairing the gutter guards, you’ll want to patch up any holes that may have been created. This can be done by using a small piece of aluminum or other metal and hammering it into place. Make sure that you get all of the edges nice and smooth so that water doesn’t pool up around them. You can also use plastic if you don’t have any scraps lying around from your last project! Once you’ve fixed up any broken pieces in your gutter guards, they must stay intact for future use. To prevent this from happening again, make sure that when installing new ones on top of old ones (or vice versa), always overlap with at least one inch between each side–this will ensure there’s no room for movement between layers upon installation or removal later down the road!
Repair a Damaged Gutter Hanger Bracket
If you have gutter damage to the hanger bracket and want to fix it, there are two ways you can go about repairing your gutter. One way is to replace the entire bracket with a new one. The other option is to repair the old bracket by reinforcing it with metal straps or brackets that can be purchased at most hardware stores. The first step in repairing your damaged gutter hanger bracket is identifying what part of the bracket has been damaged, as well as how much damage has occurred. If only one side has suffered significant damage (e.g., cracking), then all you need to do is reinforce that side with some additional support materials (described below). However, if both sides have been damaged equally or differently from each other–for example one side has cracked but not broken off while another side broke off entirely–then replacing both sides together may save time and money over simply buying two new brackets altogether.

Replace a Broken Flashing
Replacing a flashing is a simple task that can be done in a matter of minutes. You’ll need the right tools, but if you have them on hand already (or purchase them at the home improvement store), it’s easy to tackle this project yourself. If your gutter has been leaking for some time and the flashing needs replacing, start by cleaning out any debris from around your gutters and downspouts so that nothing prevents water from flowing freely down into them. Next, remove any old or broken pieces of flashing with pliers or snips; then measure out where you want your new piece of flashing to go based on its size and shape. Once you’ve determined where each piece needs to go, set aside those pieces until later so they don’t get mixed up with other parts during installation–this will make things easier when installing onto existing gutters later on!
Conclusion
DIY gutter repair is easy. You can fix most problems yourself, but if you’re not comfortable doing so, it’s always best to call in a professional. Gutter cleaning should be done at least twice a year (more often if you live in an area with lots of trees or leaves) and should include inspecting the entire length of your gutters for damage and fixing any issues before they become bigger problems. You can repair your gutters. You just need to make sure that you have the right tools, know what to look for, and understand how to fix it. If you follow these tips, then you’ll be well on your way to DIY gutter repair success!
Share this tip with your friends!
Page load link


Add comment