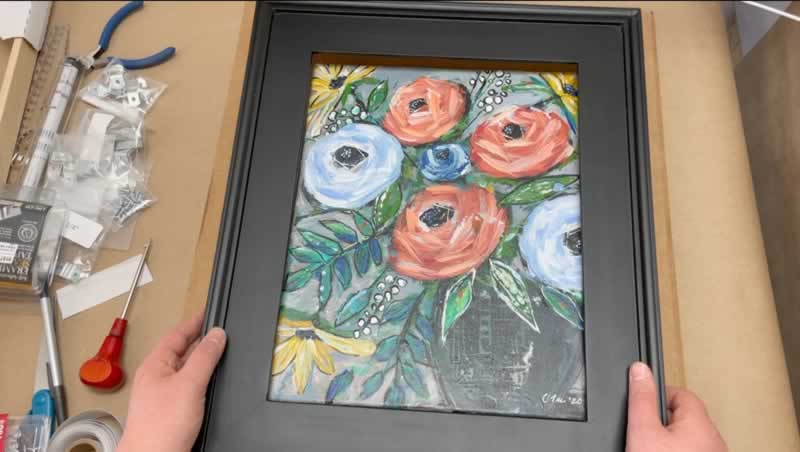
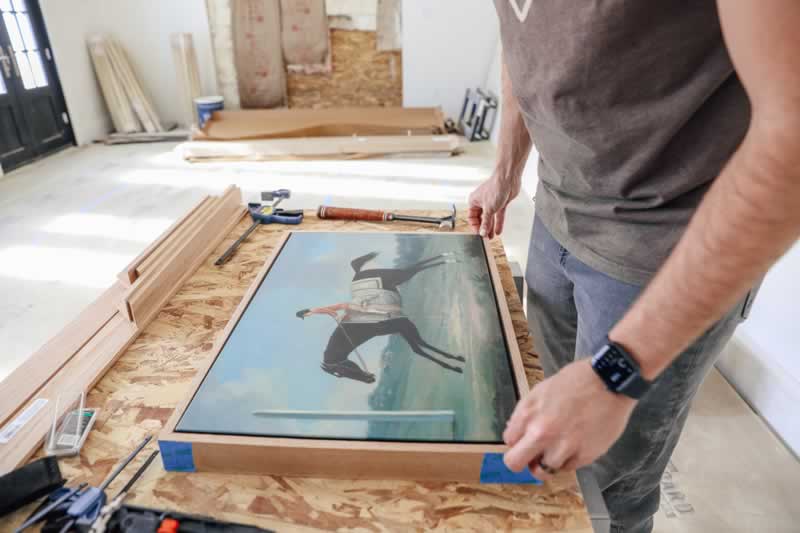
Framing your canvas art is a standard and elegant way of displaying it. Framing the canvas preserves it, by protecting the edges and corners. The wooden stretcher that makes up the canvas also strengthens over time ensuring that the canvas remains rigid as time passes.

Follow the step-by-step guide on how to frame canvas art and keeping your work safe from the elements.
Guide to Framing Your Canvas Art
If you have created or purchased a rolled canvas, you will have to stretch it before you can learn how to to frame canvas art. Stretching it will keep your canvas in shape and reduce the stress on the paint. To stretch the canvas:
- Measure the width and height of your canvas. Remember to leave some inches of the canvas, so that it may be easily wrapped around the stretcher bars. If necessary, you can cut the canvas if it’s too large.
- Place the canvas on a flat surface, with its face down. Turn the corners of one side of the canvas onto the bar, and secure it in place with staples or adhesive.
- Repeat the previous step for all edges and secure the canvas tightly over the bars.
Now that your canvas is stretched, let’s proceed to frame the canvas. You will need to choose whether you want to frame your canvas in a wooden, metal, or plastic frame. Floater frames are used specifically for canvases and may also be used. Follow the instructions below to create a wooden frame.
- Head to a hardware store to purchase finger joint boards that will be used to build the frame.
- All of your measurements need to be precise for your canvas to fit into the frame perfectly. So, measure the sides and the lengths of your canvas based on which you can purchase the board.
- Lay your canvas on a flat surface and place your boards beside it. Mark the boards with the lengths and width of the canvas and saw them.
- If you want, paint the board according to your desired color and leave them to dry.
- You can drill in pilot holes at the corners to screw the corners of two of the boards together. Screws will hold the frame together tightly.
- Once the screws have been drilled into the stretcher, you have successfully framed your canvas.

Tips to Remember
- Remember to paint your board even on the sawed-off edges. These will be visible after the drilling and will give off an uneven effect.
- The screws will also be visible on the edges of the frame. Paint over the screws to make them look less conspicuous.
Conclusion
Framing the canvas is the simplest way to protect your artwork, while also adding some style to it. The frame keeps the edges safe and the canvas rigid and allows the artwork to remain in pristine condition. Following the few simple steps, you will allow your canvas to be presented in a customized frame for years to come.


Add comment