A tape measure is a simple yet powerful tool that can help you measure distances accurately. However, understanding how to read a tape measure can be a bit challenging, especially if you’re not familiar with the different parts of the tool. In this article, I’ll guide you through the steps needed to read a tape measure like a pro.
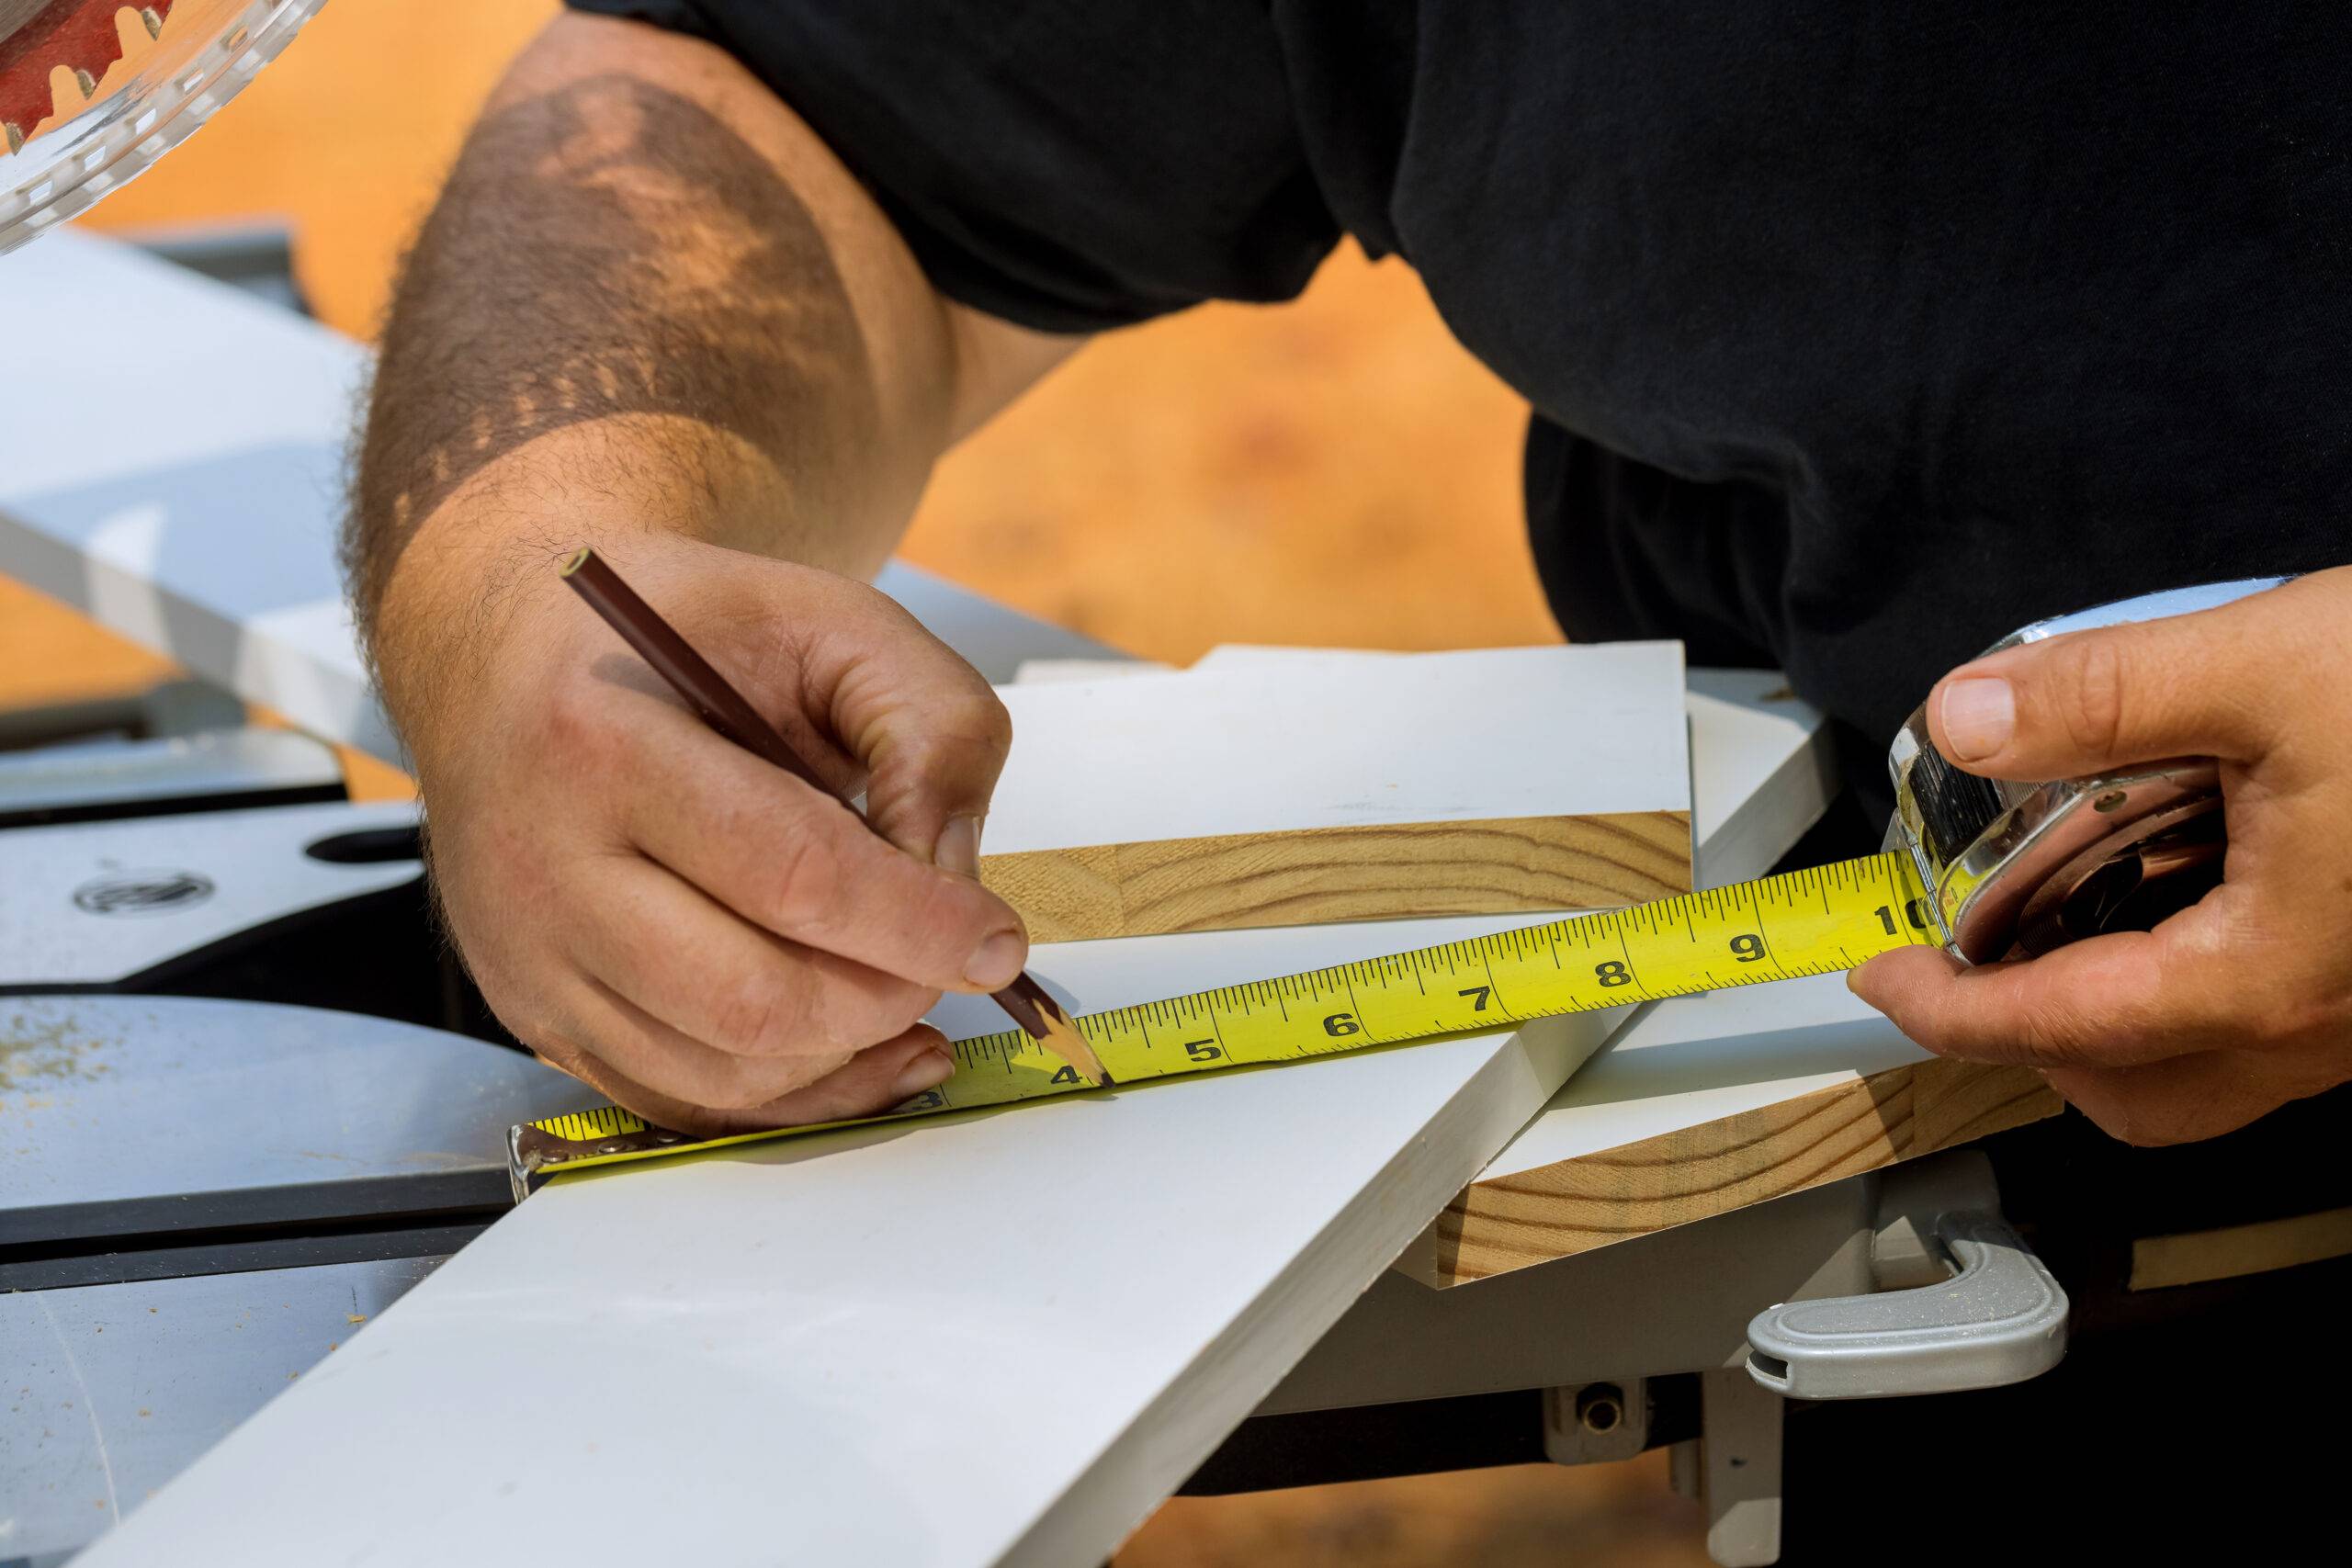
Photo Credit: photovs via Envato Elements
Step 1: Understand the Parts of a Tape Measure
Before you start using a tape measure, it’s essential to know the different parts of the tool. A typical tape measure consists of a tape blade, a hook, a lock, and a case. The tape blade is the long, flat, and flexible part of the tape measure that contains the measurement markings.
The hook is the small, metal piece at the end of the tape blade that hooks onto the object you’re measuring. The lock is the little switch or button that keeps the tape blade in place once you’ve extended it. Lastly, the case is the plastic or metal housing that holds the tape blade when it’s not in use.
Step 2: Start Measuring
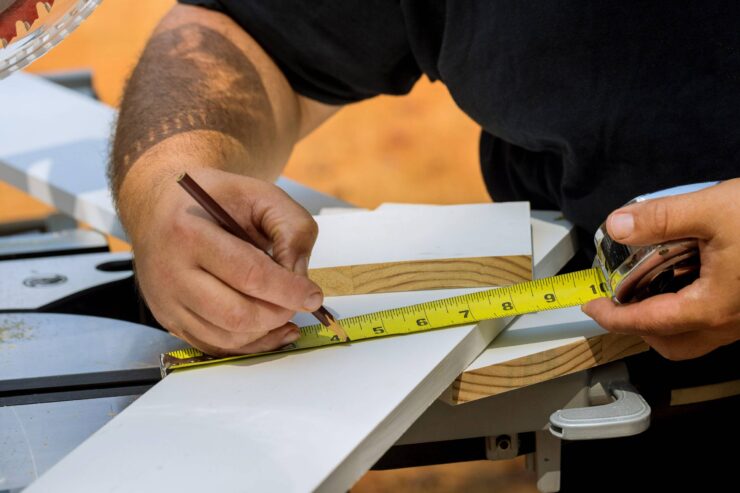
To start measuring, grab the hook at the end of the tape measure and hook it onto the edge of the object you’re measuring. Hold the tape measure taut and extend the tape blade until it reaches the other end of the object. Make sure that the tape blade is straight and not twisted or bent. If the tape blade is bent, the measurement will be inaccurate.
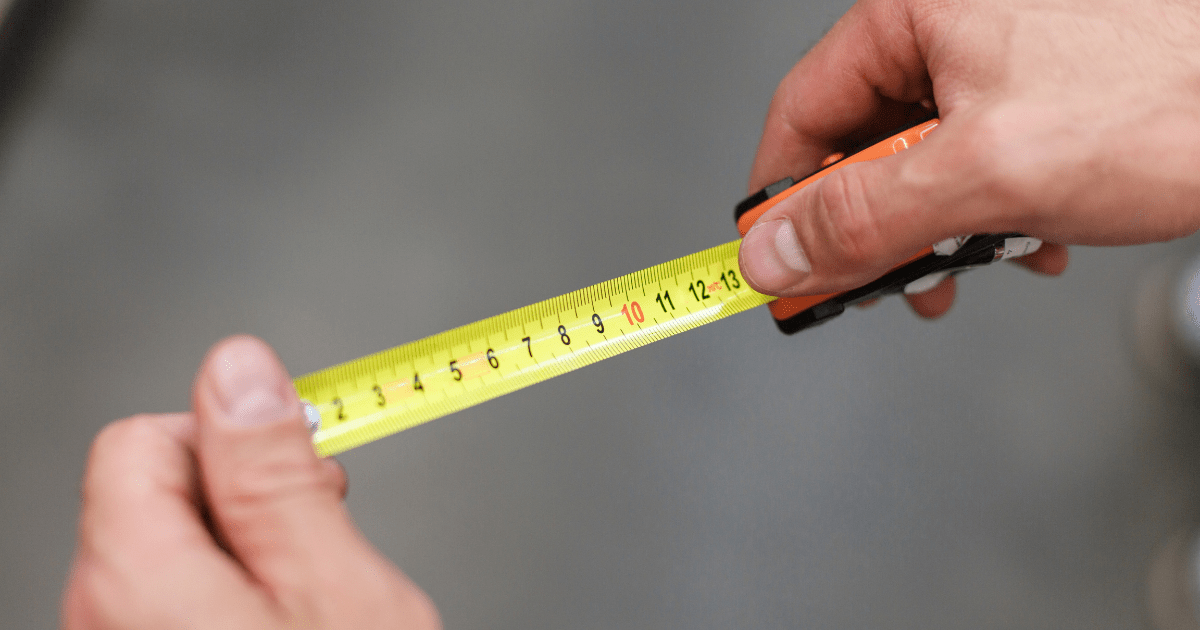
Photo Credit: Chibelek via Envato Elements
Step 3: Read the Measurement
Once you’ve extended the tape blade, look at the measurement markings on the tape. The markings are usually divided into inches, feet, and sometimes centimeters.
The inch markings are the most prominent and are usually numbered from 1 to 12. Each inch is divided into 16 smaller markings, which represent sixteenths of an inch. The feet markings are usually numbered from 1 to 6, and they indicate the number of feet between the inch markings.
To read a measurement, start with the largest measurement unit and work your way down to the smallest. For example, if you’re measuring a length of 5 feet and 6 inches, locate the 5-foot mark and then count the number of inches from that mark to the end of the object. In this case, you would count six inches, which would give you a total measurement of 5 feet 6 inches.
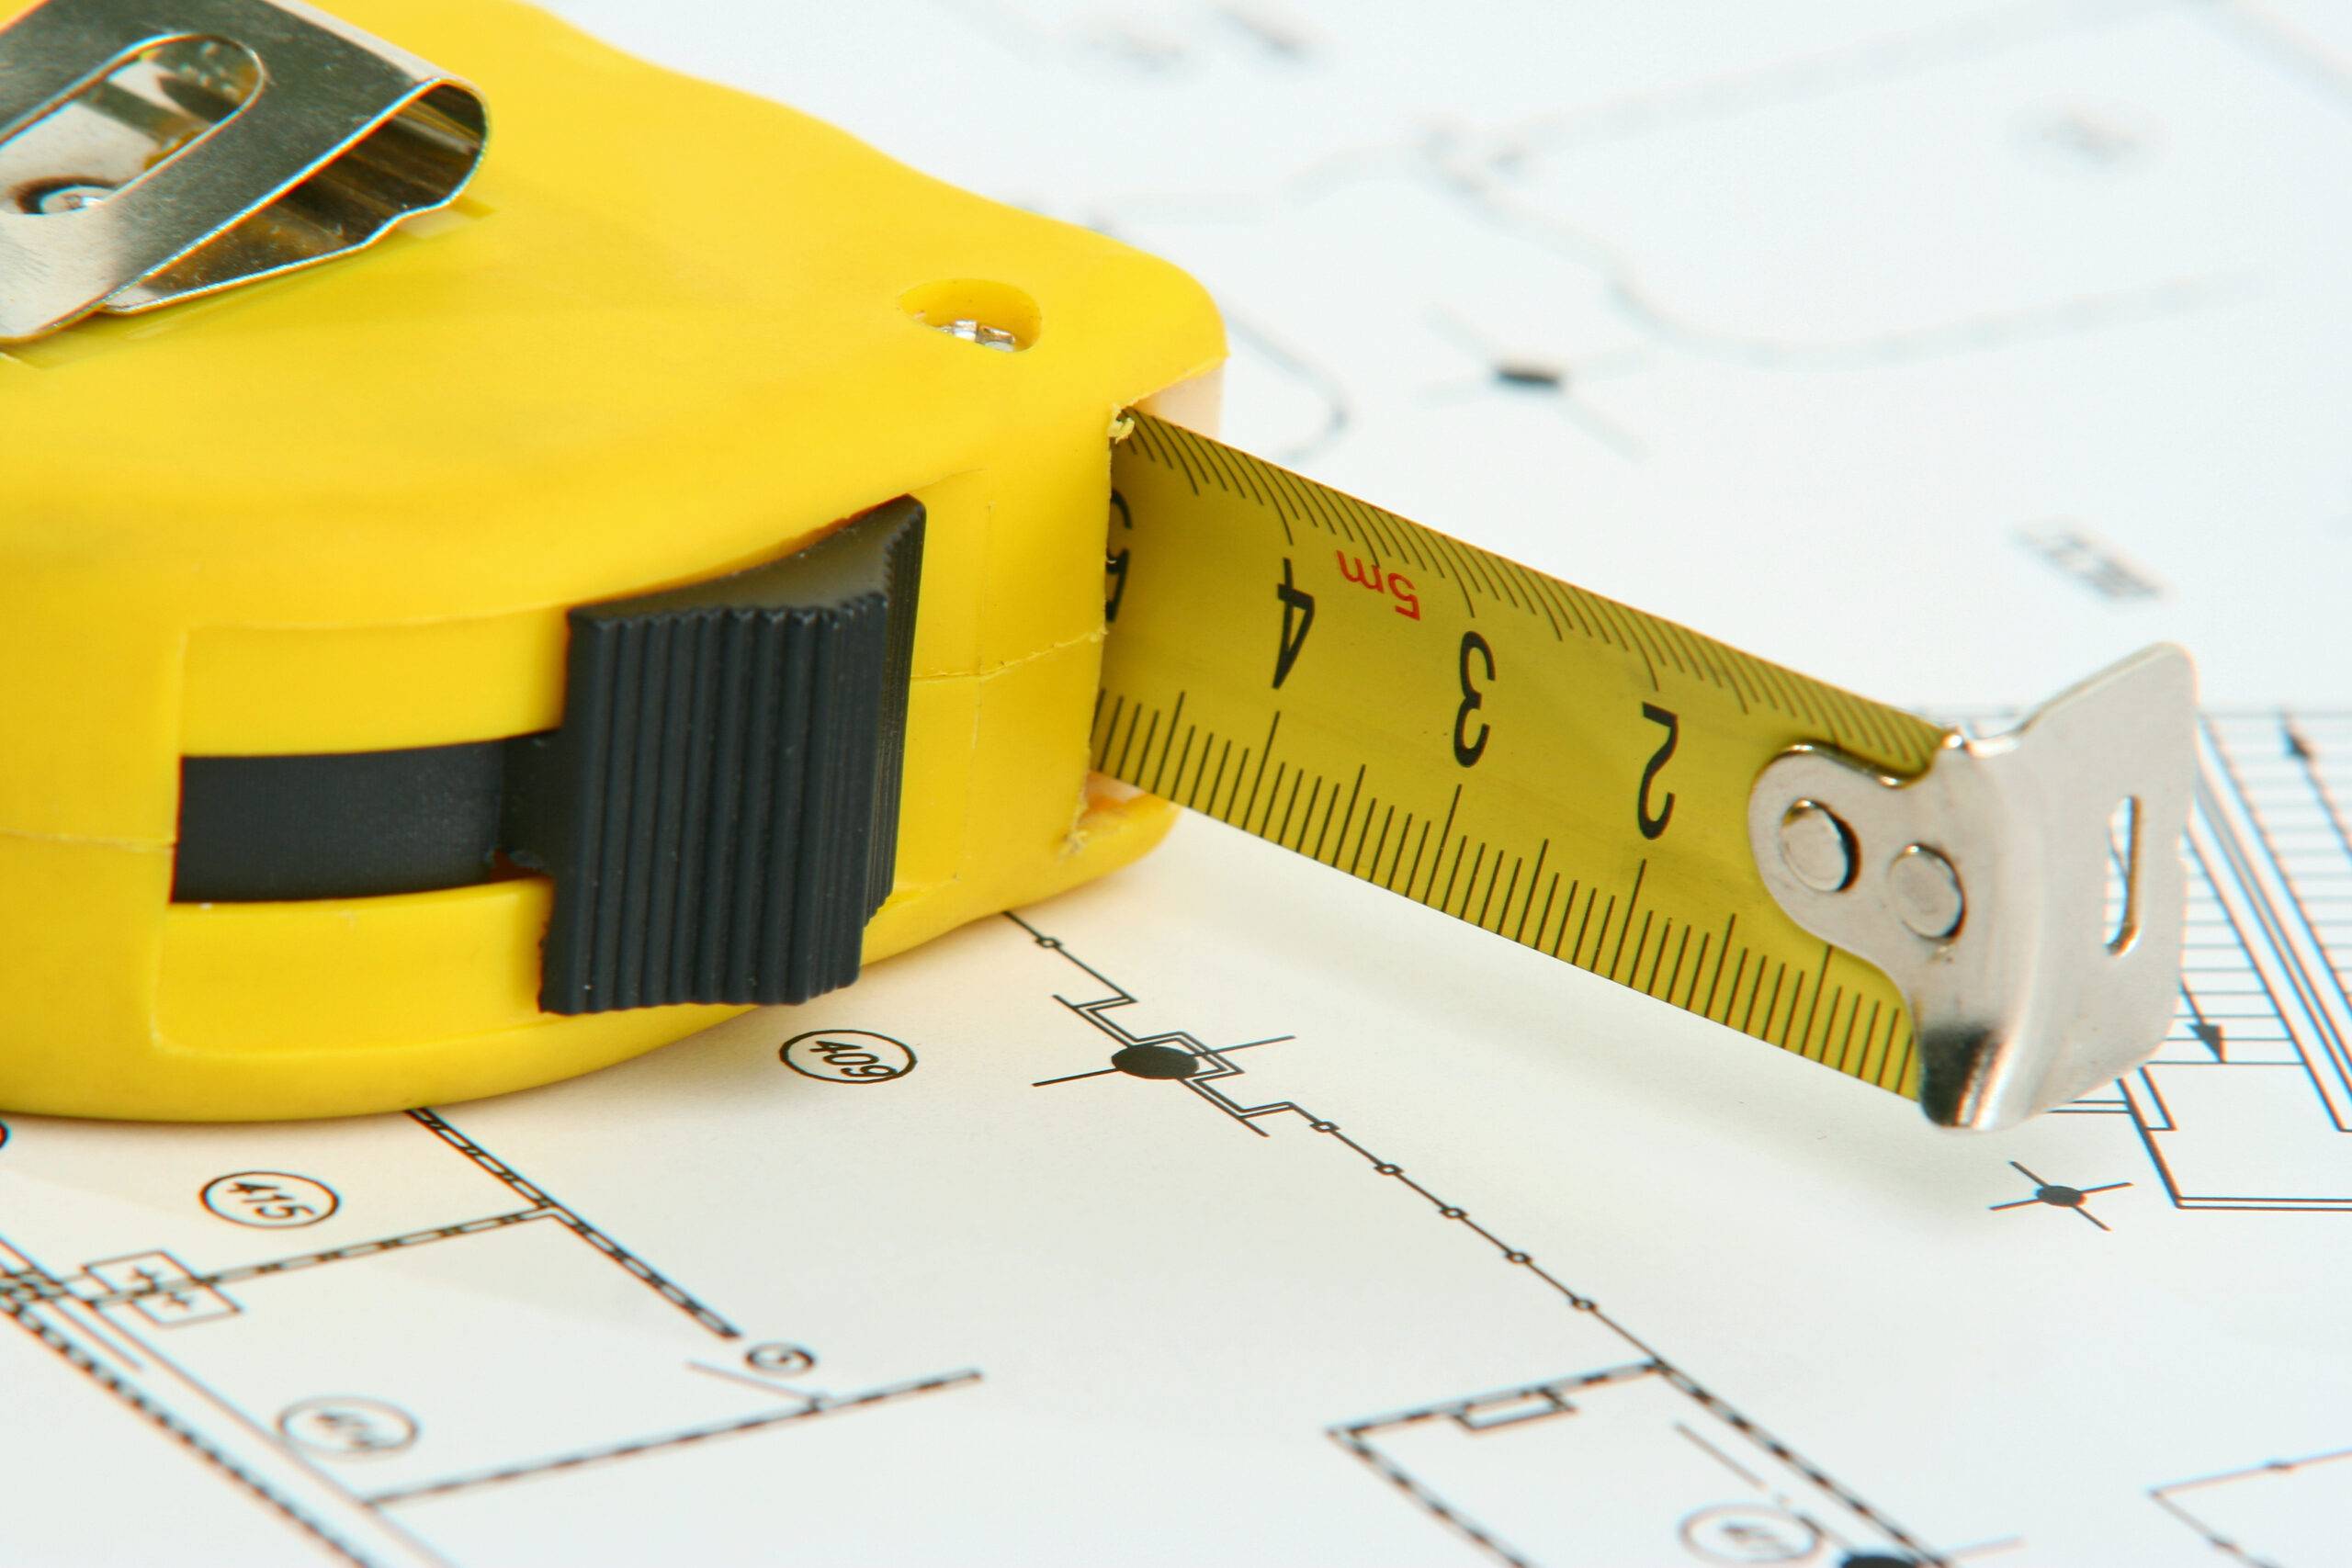
Photo Credit: photobac via Envato Elements
Step 4: Use the Lock
If you need to take a measurement that’s longer than the length of the tape blade, you can use the lock to keep the tape blade in place. Once you’ve extended the tape blade to the desired length, slide the lock into place to keep the tape blade from retracting. This will give you more time to record the measurement or make adjustments as needed.
Step 5: Practice Makes Perfect
Reading a tape measure takes practice, so don’t get discouraged if you don’t get it right the first time. Keep practicing, and soon, you’ll be able to read a tape measure like a pro. Remember to always hold the tape measure taut, keep the tape blade straight, and read the measurement markings carefully.
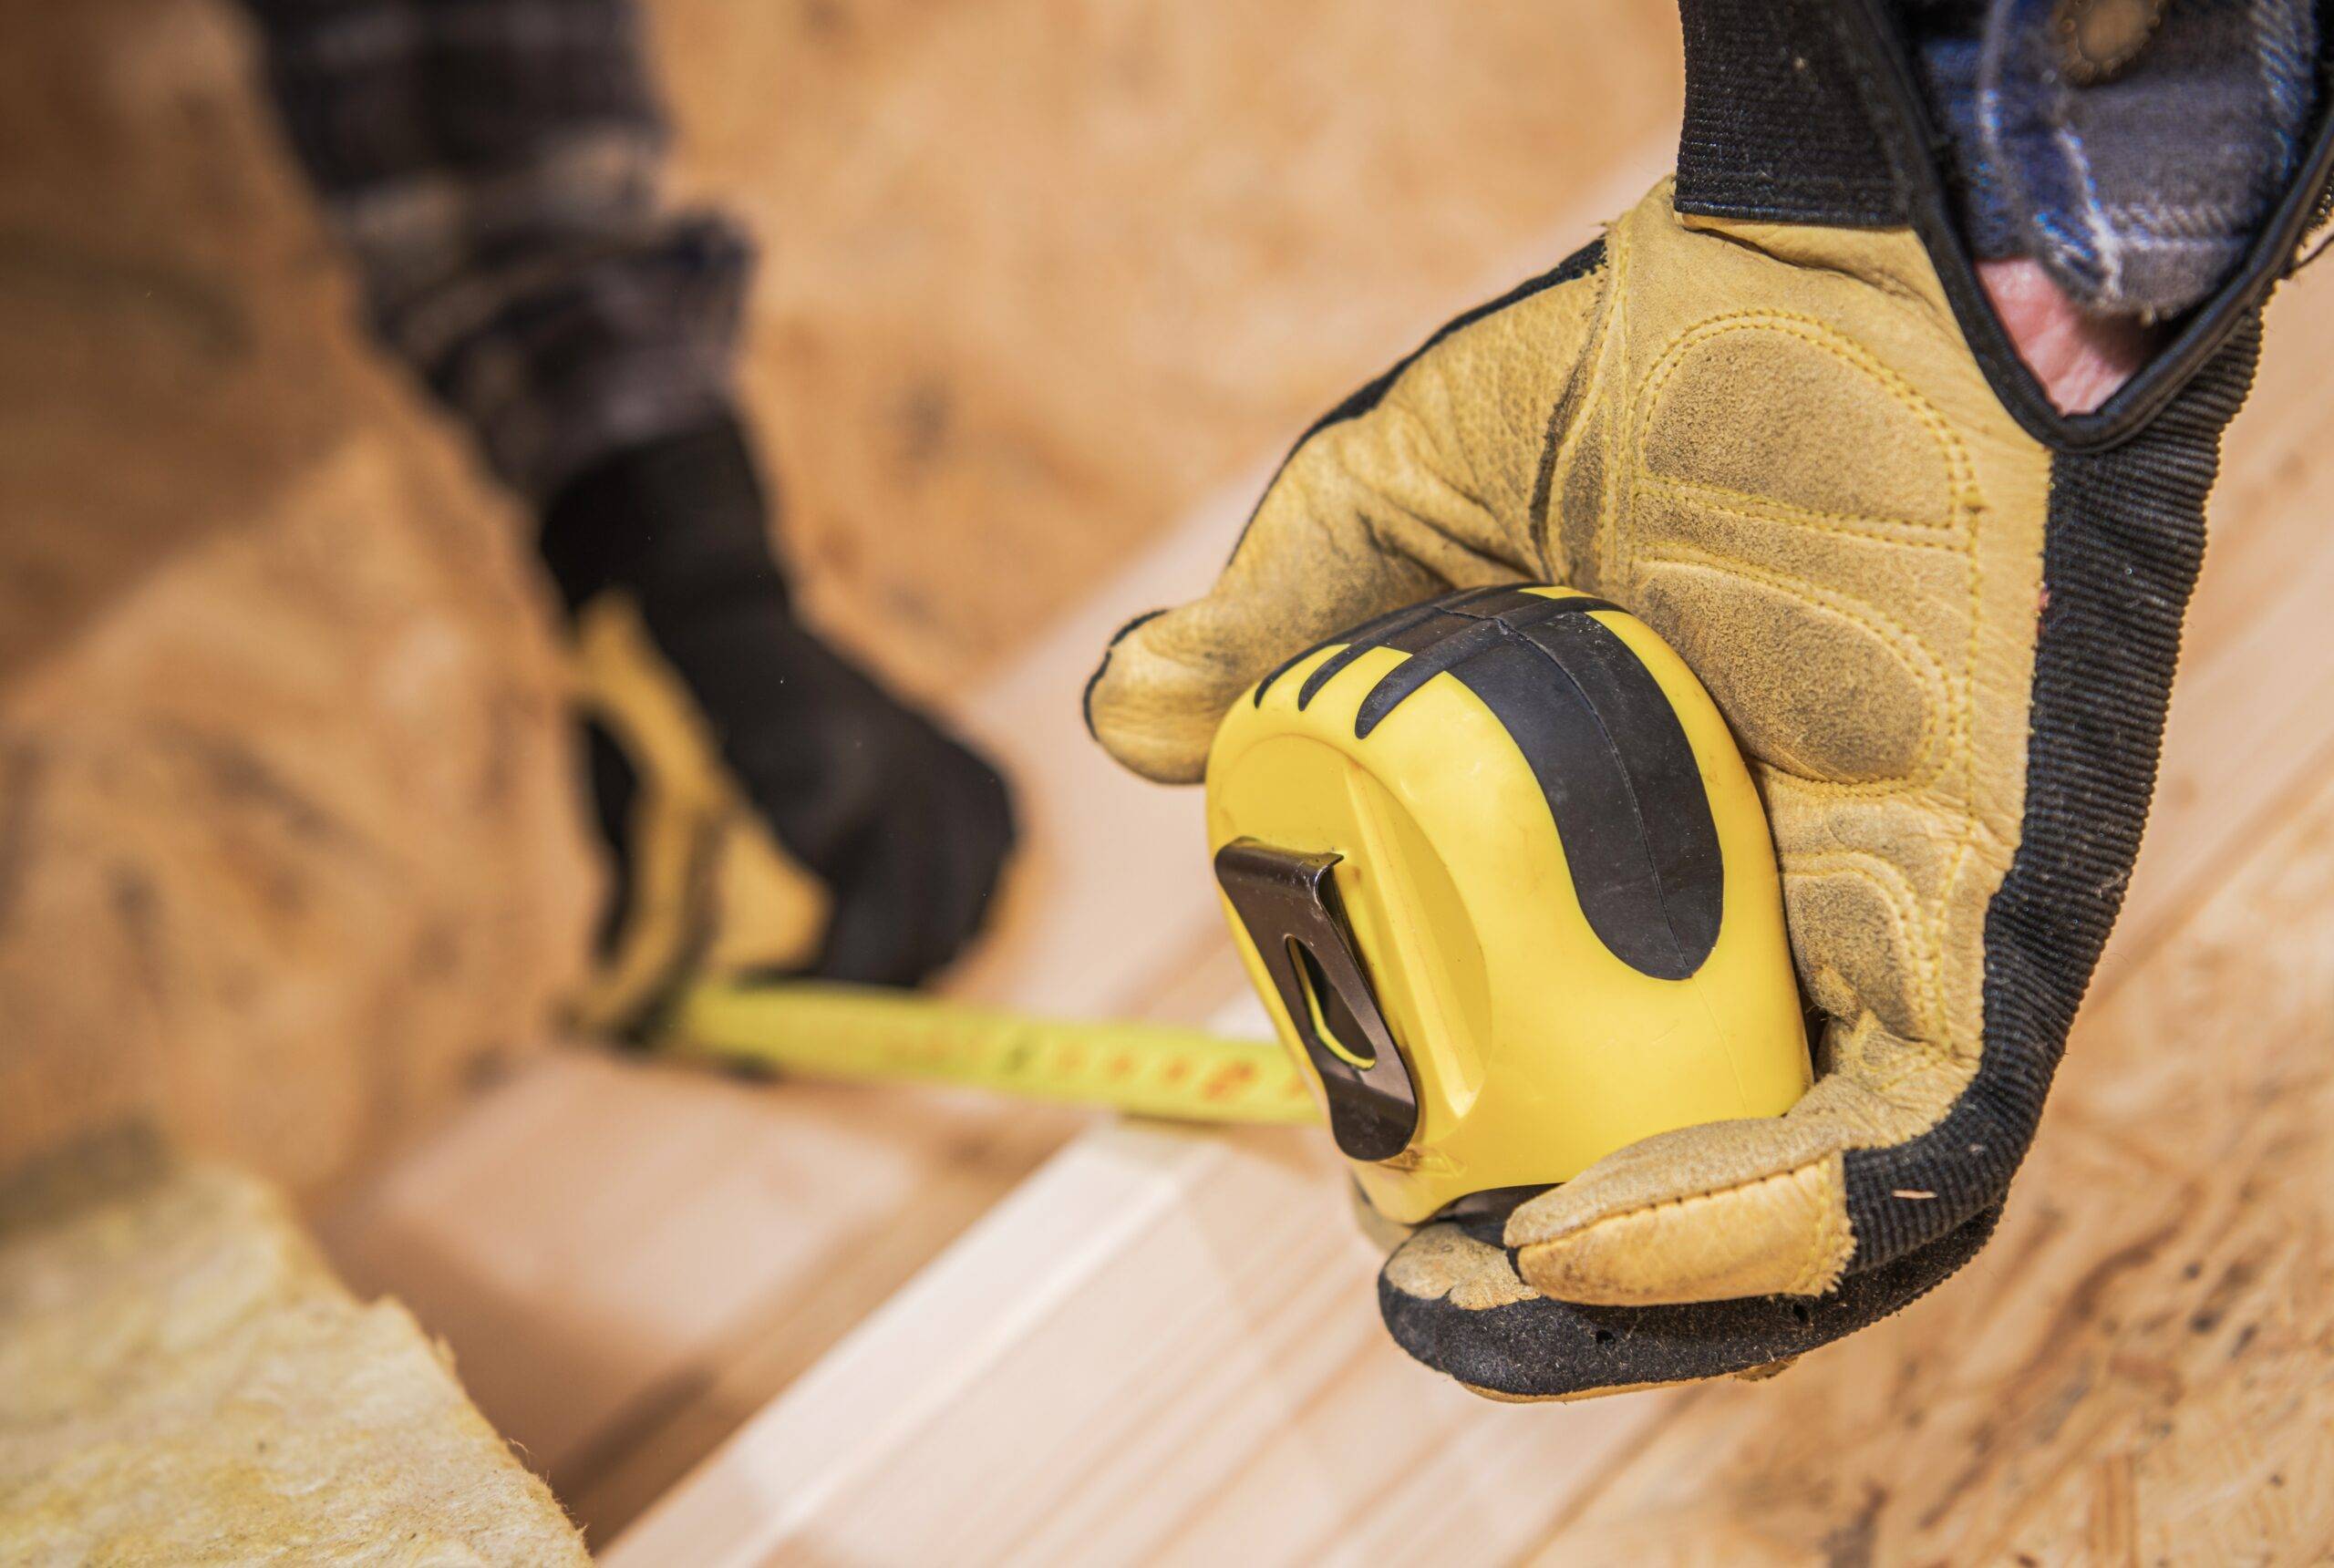
Photo Credit: duallogic via Envato Elements
Tape Measure Hacks
As well as using a tape measure to get the measurement of an object, there are several hacks you can do with one! Here are 5 of our favorite:
- Measuring angles: If you need to measure an angle but don’t have a protractor, you can use a tape measure. Place one end of the tape measure at the vertex of the angle and align the other end with one of the arms of the angle. Read the measurement on the tape measure to determine the angle.
- Drawing circles: If you need to draw a circle but don’t have a compass, you can use a tape measure. Place one end of the tape measure at the center of the circle and extend the tape measure to the desired radius. Use a pencil to mark the circumference of the circle as you rotate the tape measure around the center point.
- Finding the center of a board: If you need to find the center of a board but don’t have a ruler, you can use a tape measure. Place one end of the tape measure at one end of the board and extend the tape measure to the other end. Divide the measurement in half to find the center of the board.
- Measuring inside dimensions: If you need to measure the inside dimensions of a box or other enclosed space, you can use a tape measure. Place one end of the tape measure at one end of the space and extend the tape measure to the other end. Use the hook at the end of the tape measure to measure the depth of the space.
- Measuring height: If you need to measure the height of a wall or other vertical surface, you can use a tape measure. Place one end of the tape measure at the base of the wall and extend the tape measure to the top of the wall. Use the hook at the end of the tape measure to measure the height of the wall.
These are just a few of the hacks that you can do with a tape measure. With a little creativity, you can find many more uses for this versatile tool.
Knowing how to read a tape measure is an essential skill that can come in handy in a variety of situations, from DIY projects to construction work. By following these simple steps, you can learn how to read a tape measure accurately and confidently. Just remember to practice and be patient, and you’ll be measuring like a pro in no time!



Add comment