[ad_1]
Plumbers are expensive, one of the most expensive professionals you can hire to work in your home. While some projects require a professional’s skills, replacing a toilet or repairing a leaky toilet seal doesn’t have to be one of those.
If your toilet is cracked, leaking, or you’re changing the look of your bathroom, a big part of that process will be seating the toilet with a new wax seal to create a waterproof connection between the toilet and the household drain.
Toilet Mounting and Flange Sizes
A toilet mounts on top of a flange that is connected to either a 3- or 4-inch drain. The good news is that flanges vary in thickness at the base to accommodate the two different-sized drain lines, but they are all the same interface between the toilet and the flange on the top.
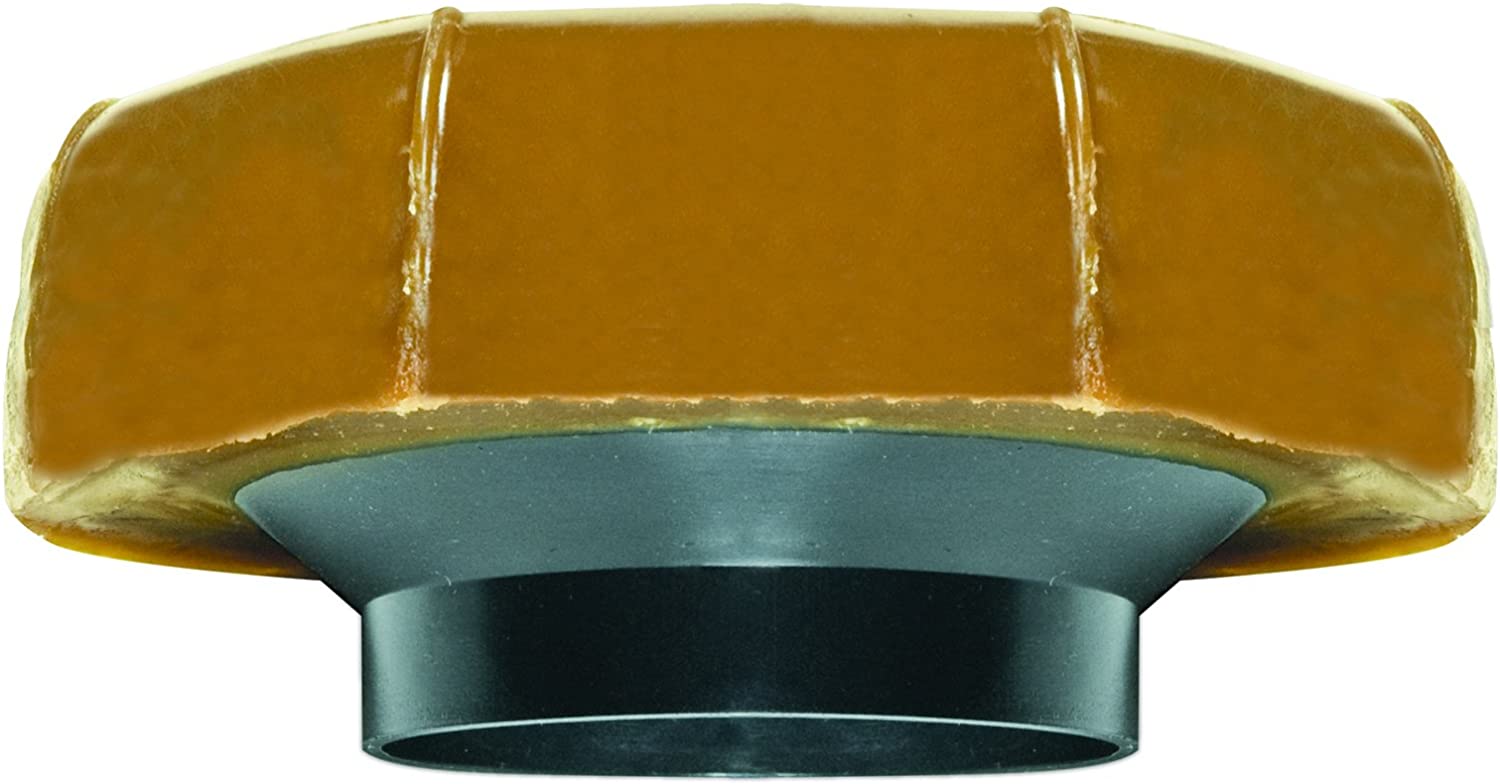
The wax seal is the key to getting these two together.
How To Begin Replacing A Toilet Wax Seal
Aside from very old buildings that may have cast iron drains, most homes now use PVC as drain and flange material. Porcelain remains the predominant toilet material.
The wax seal compresses to create a tight gasket between the toilet and the drain.
There are a few steps to follow in this project that must be done in order.
Begin By Shutting Off Water Supply
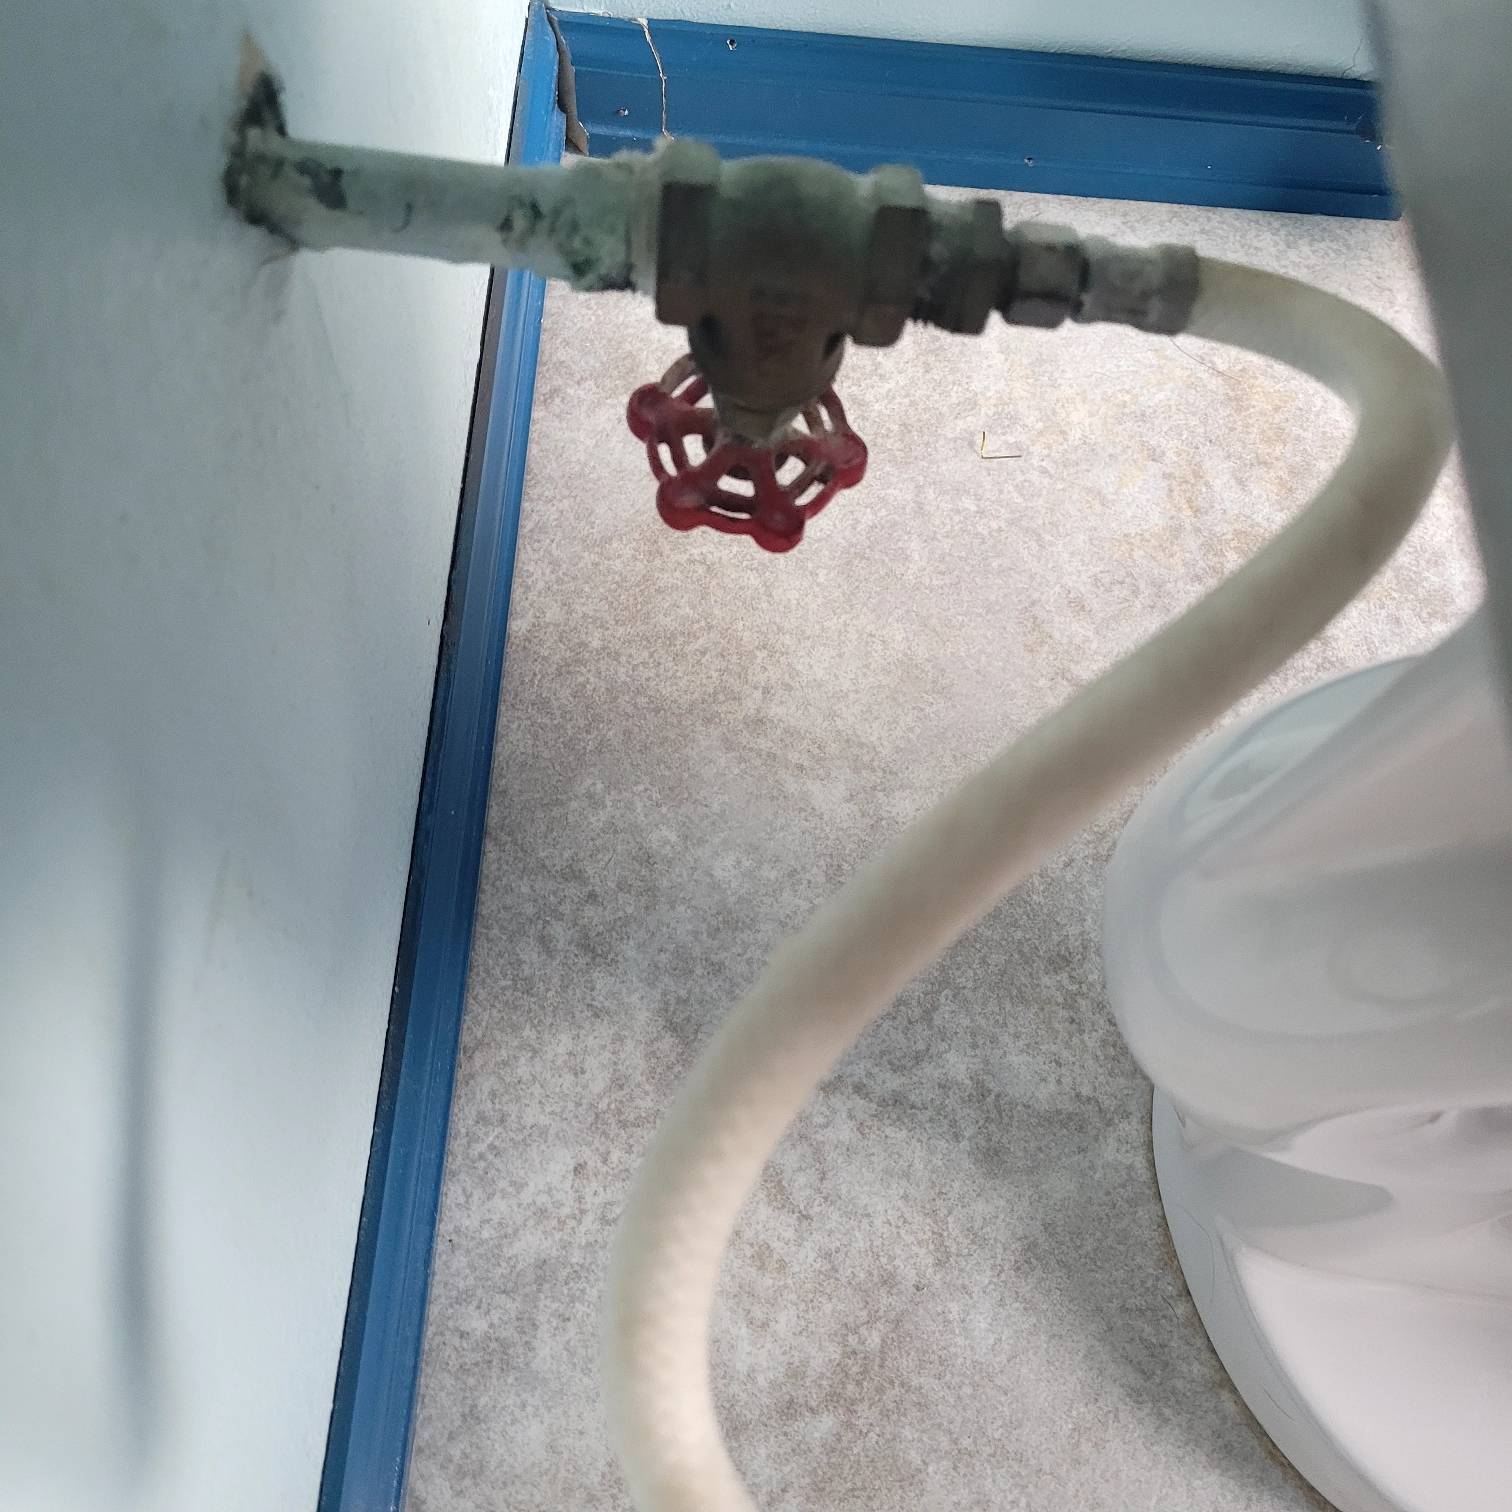
Photo Credit: Randy Tucker – Shut off valve behind a toilet.
First, shut off the water supply to the toilet tank.
Doing so will ensure that you keep your bathroom dry and clean during this project.
Drain Remaining Water From Toilet and Connections
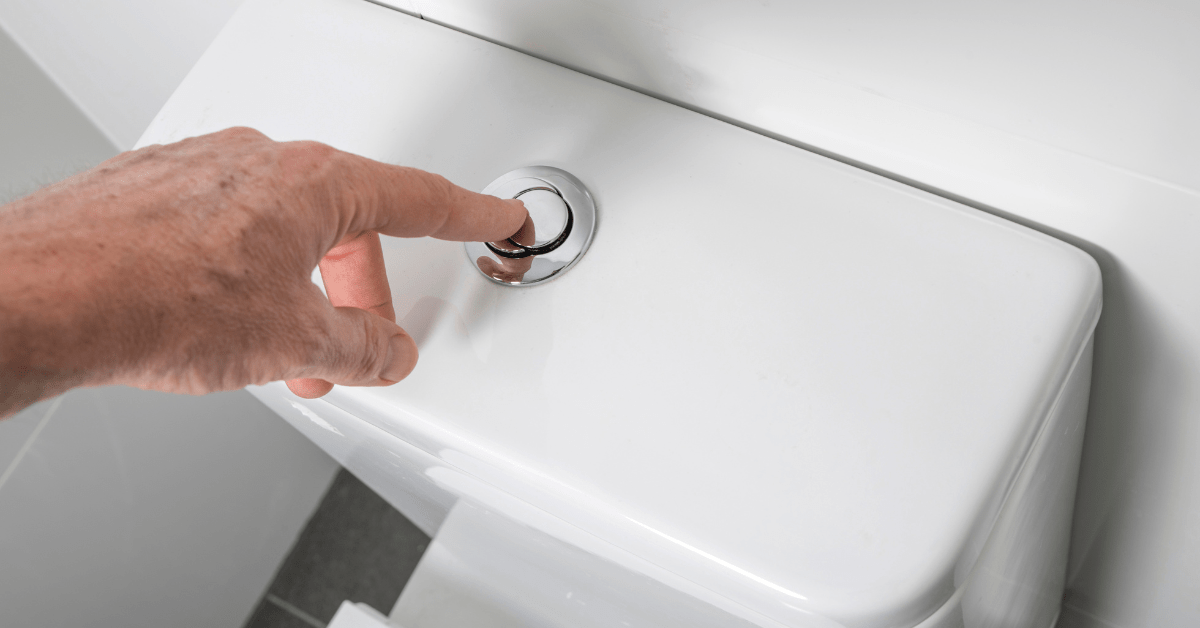
Photo Credit: Canva Pro – Flush toilet to empty the water tank.
Once the water is off, you should flush the tank to remove excess water and remove the tank lid to set it aside.
Take a small bucket and place it under the water supply connector entering the tank.
Most water connections are only hand-tightened, but a set of channel lock pliers will loosen the connector if it’s tight.
Disconnect Water Connection and Catch Remaining Water
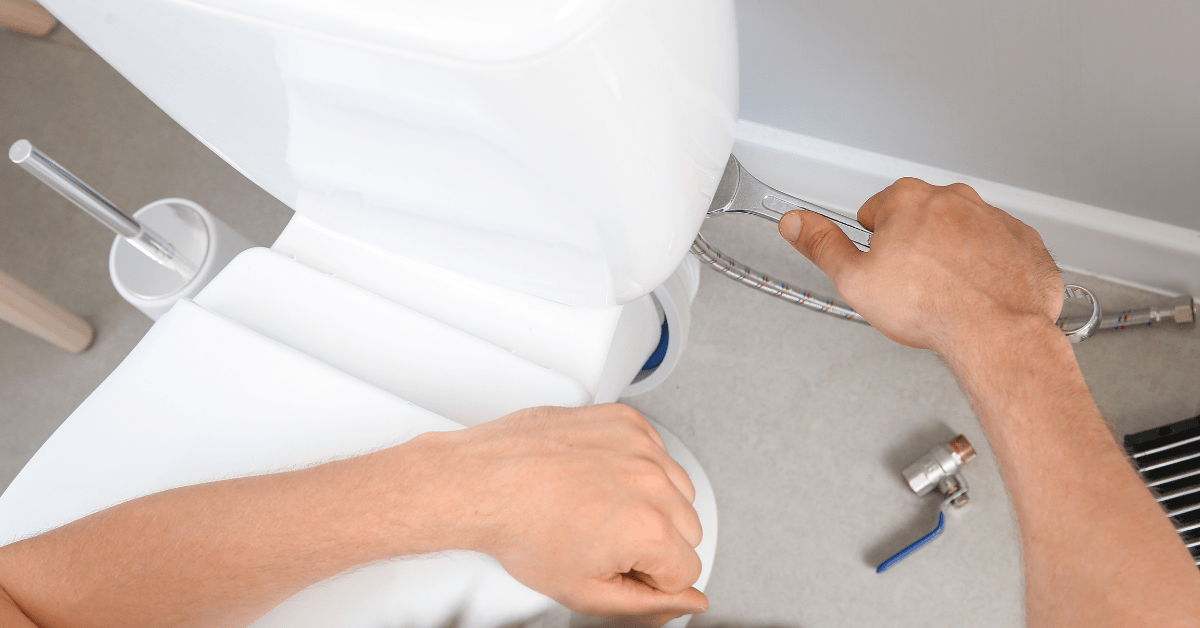
Photo Credit: Canva Pro – Disconnect the water lines from the toilet.
As you loosen the connector, place the hose in the bucket to catch any remaining water left in the pipes.
You’ll get a small amount of water, and if you spill a little, it’s no big deal; just use a towel to dry the area.
With the water supply separated and the tank empty, it’s time to loosen the nuts on the mounting bracket at the base of the toilet on each side, which plastic covers could hide.
Remove Toilet Mounting Hardware
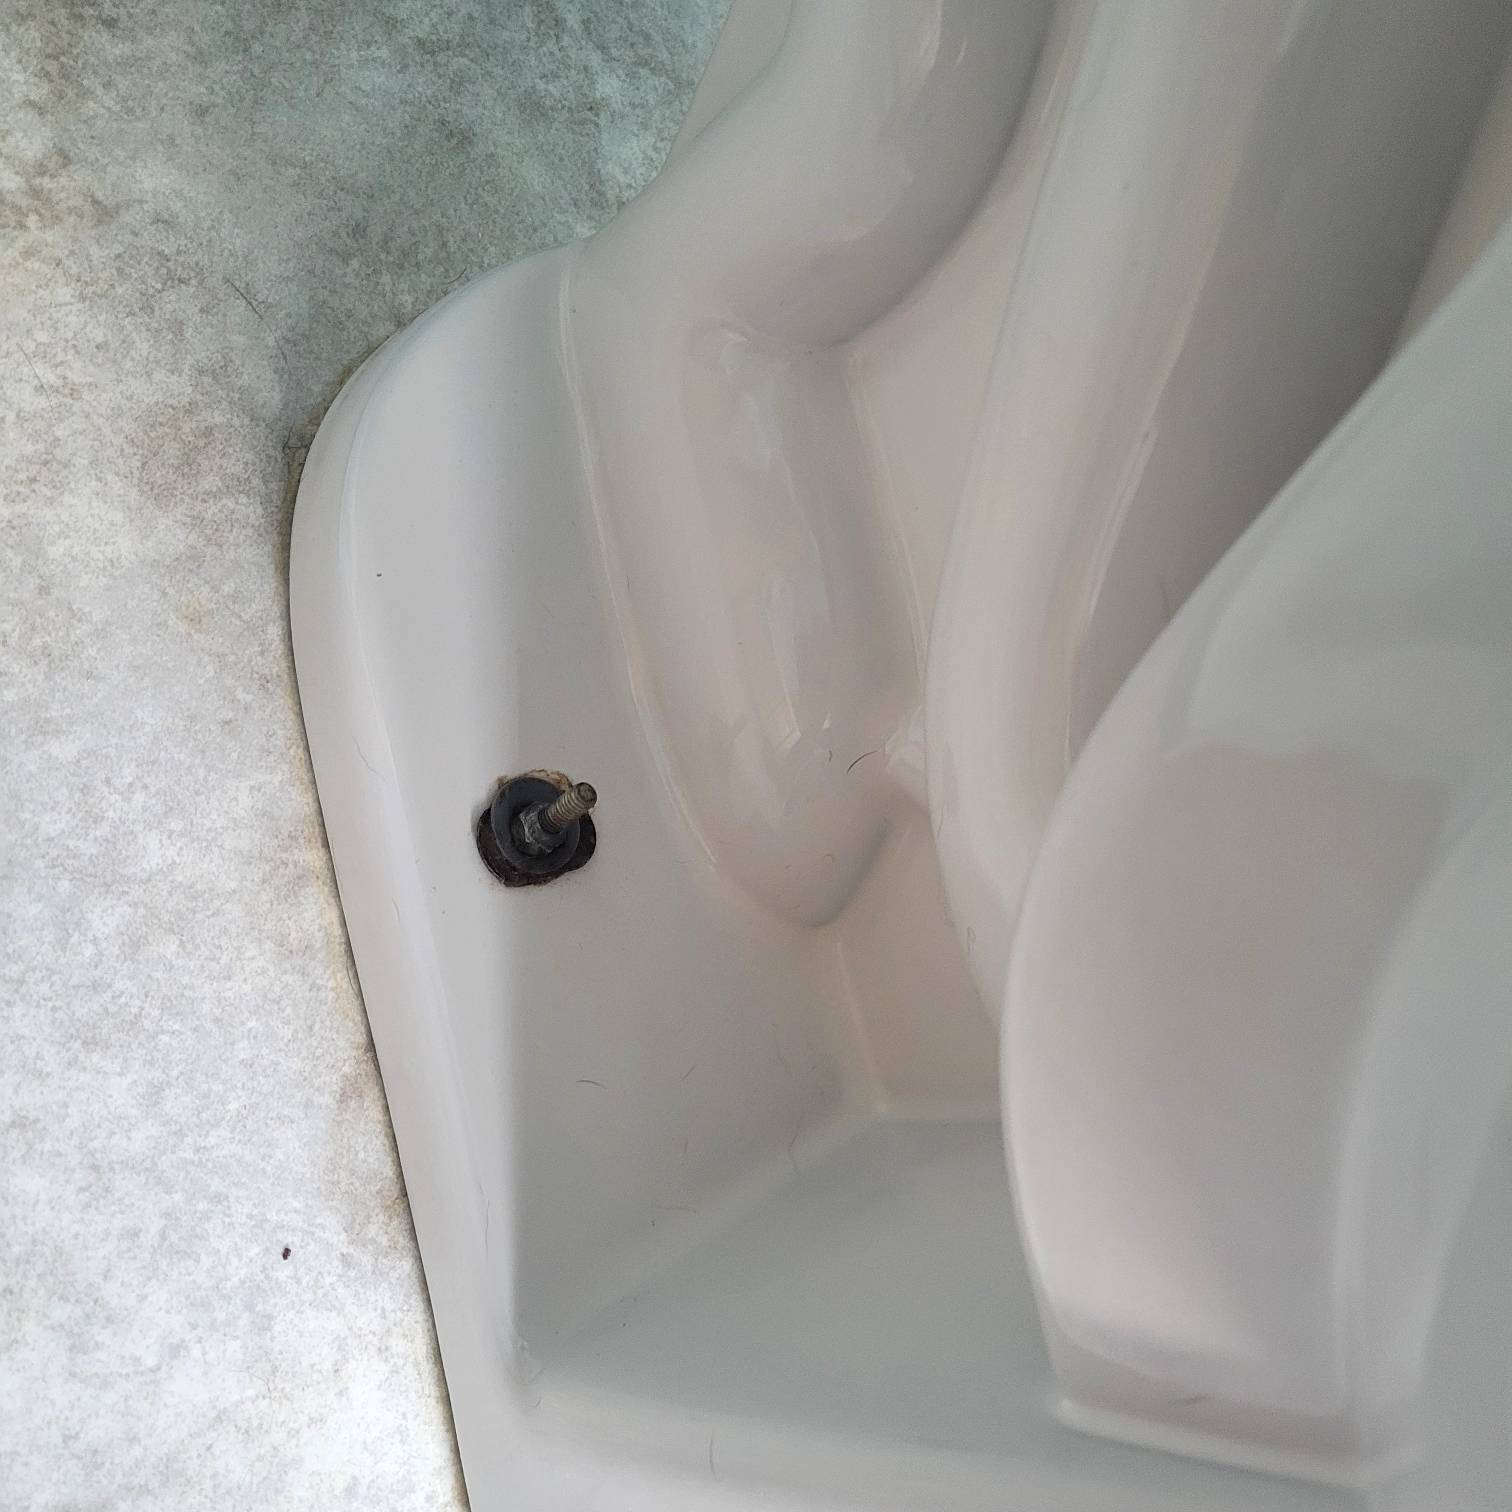
Photo by Randy Tucker – Mounting bolts with decorative caps removed on the base of the toilet.
A small combination wrench does a great job of this. On rare occasions, when the bolts are rusted, you may have to cut them off with a hacksaw.
With the bolts removed, rock the toilet side to side and lift it off the flange, making sure to hold it from the base, not the tank.
If you’re replacing the toilet, remove the tank assembly and then carry the two parts out of the bathroom.
For a new toilet, don’t assemble the tank and base until the base is mounted.
If you’re just replacing the flange, keep the entire toilet together, but set it aside once cleaned in either the bathtub or a safe space outside the bathroom.
Clean Old Wax and Prepare New Wax For Installation
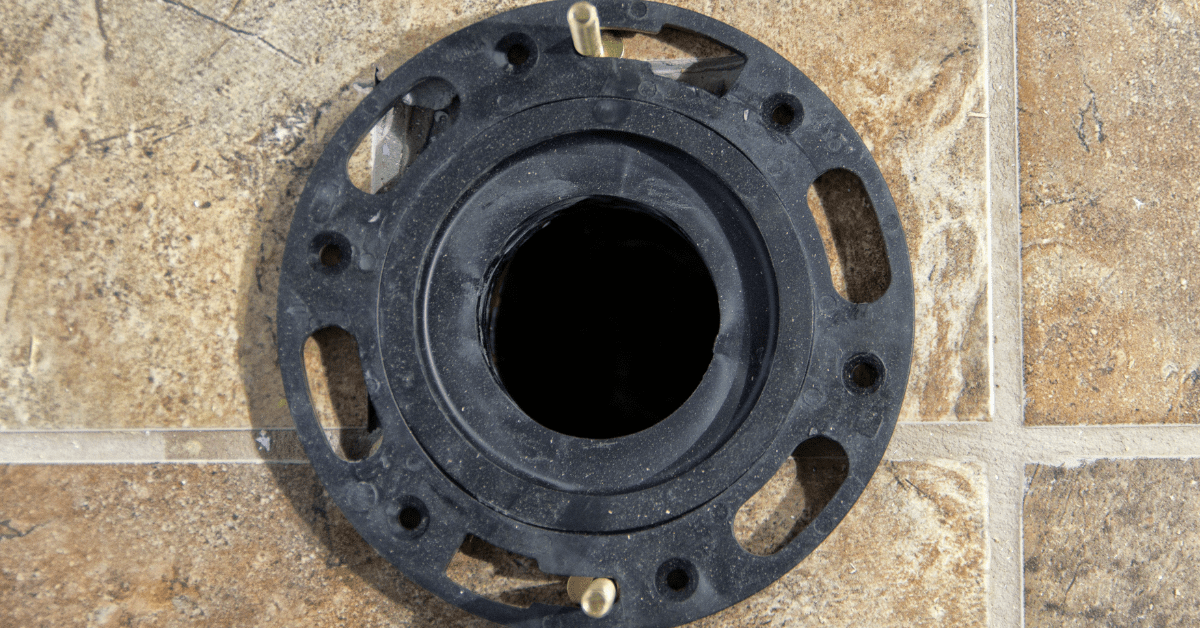
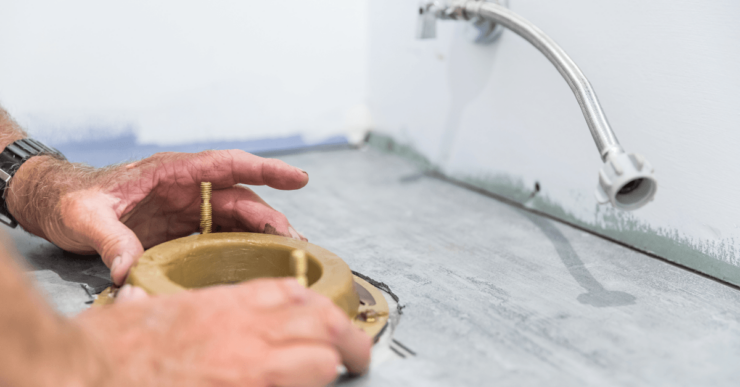
Photo Credit: Canva Pro – Toilet flange ready for wax seal.
Take a putty knife and remove all of the old wax seals. It will be messy, but you can contain the old wax in a plastic bag or newspaper and then toss it out to keep things clean.
Not only will you need to clean the flange surface, but you must clean the wax off the underneath of the toilet as well.
Remove the new wax seal, pull off the clear plastic retainer on the top, then place the seal inside the flange.
Replace Hardware and Toliet
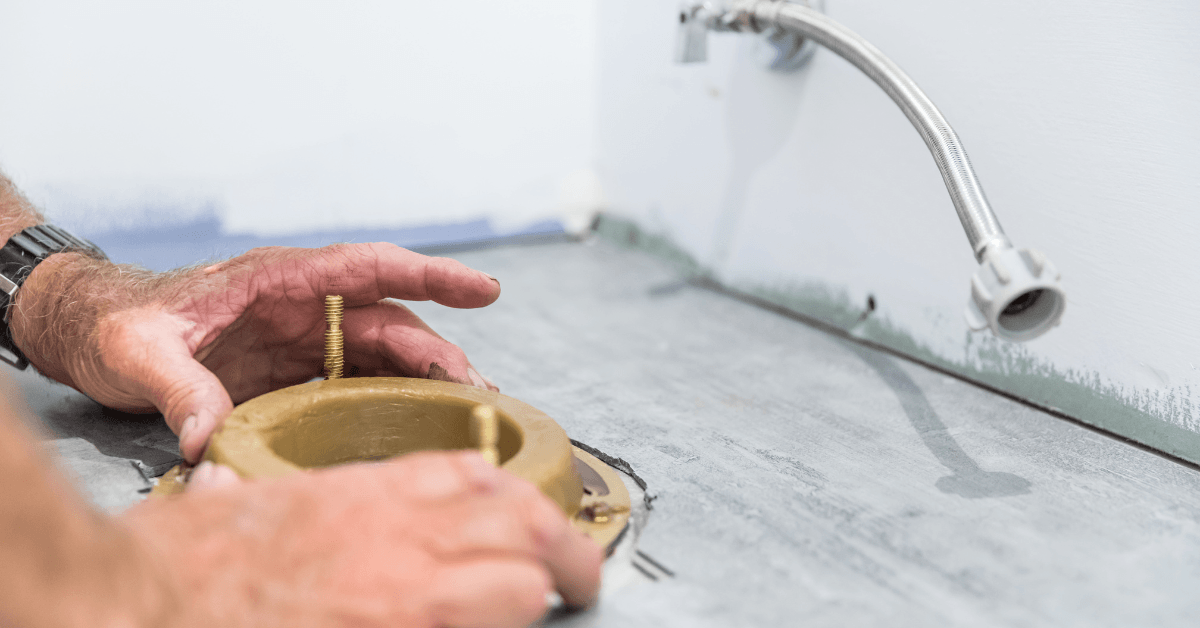
If the bolts are damaged or rusted, take a couple of new brass bolts and pivot the narrow channel of the bolt head into the flange. The wax will help hold these bolts in place as you put the toilet over them and onto the flange.
Ease the toilet onto the bolts, and press firmly to force the wax into each area of the flange and toilet base.
Sit on the base and rock a few more times to set the seal.
Install Hardware and Reconnect Water Supply
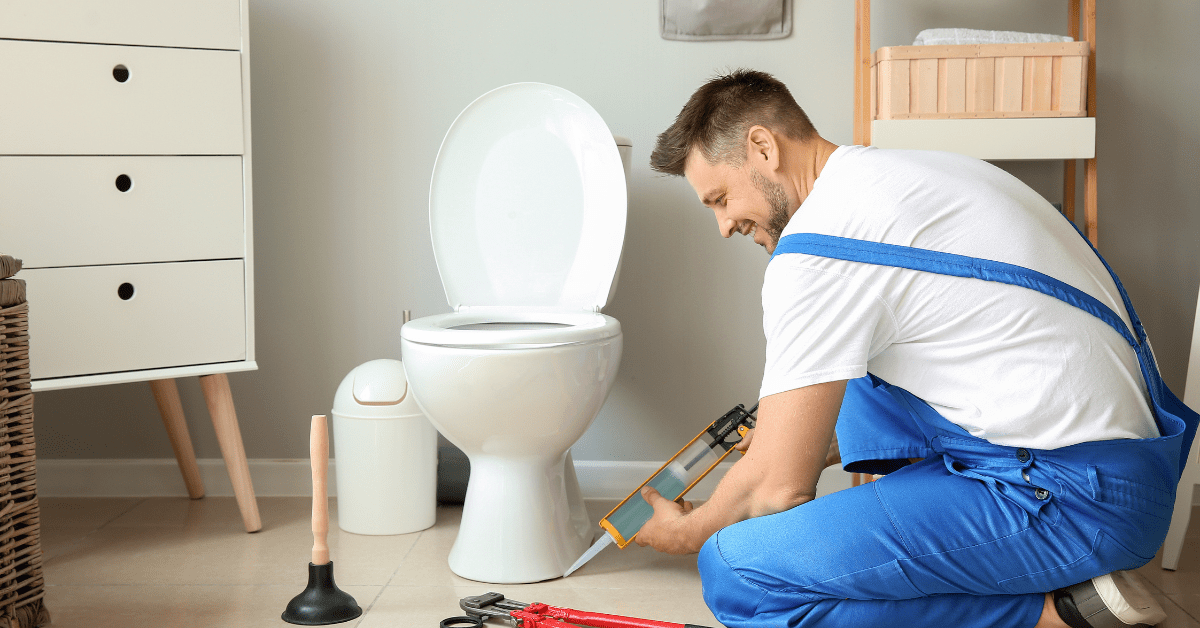
Photo Credit: Canva Pro – Worker sealing the toilet to the floor after installation.
Put the washers on the bolts, tighten up the nuts, and cover the exposed bolts with decorative caps.
If you install new hardware, you might have to cut the bolts to length and file them to allow for the decorative caps to fit.
Connect the water supply, turn on the water to fill the tank, and test flush.
Other toilet-related how-to guides from us: How To Repair A Broken Toilet Seat Hinge, How to Repair a Toilet That Won’t Stop Running, How To Unclog A Toilet Without A Plunger.
An optional final step is sealing the gap between the toilet and the floor using silicone caulking or seal to eliminate potential odors.
You are finished.
[ad_2]
Source link



Add comment