Drywall cutting is an essential skill for anyone involved in home improvement or DIY projects. Whether you’re renovating a room or making repairs, the ability to cut drywall accurately and efficiently is crucial for achieving professional-looking results. Regardless of your DIY experience, we will provide you with the knowledge and techniques needed to master the art of drywall cutting while emphasizing the importance of safety precautions and the proper tools required for the task.
Understanding Drywall
Before diving into the cutting process, it’s essential to have a basic understanding of drywall. Also known as gypsum board or plasterboard, drywall is composed of gypsum sandwiched between two layers of paper. It is available in various thicknesses, with the most common being 1/2 inch and 5/8 inch. Understanding the composition and structure of drywall is crucial for selecting the appropriate cutting tools and techniques for your specific project.
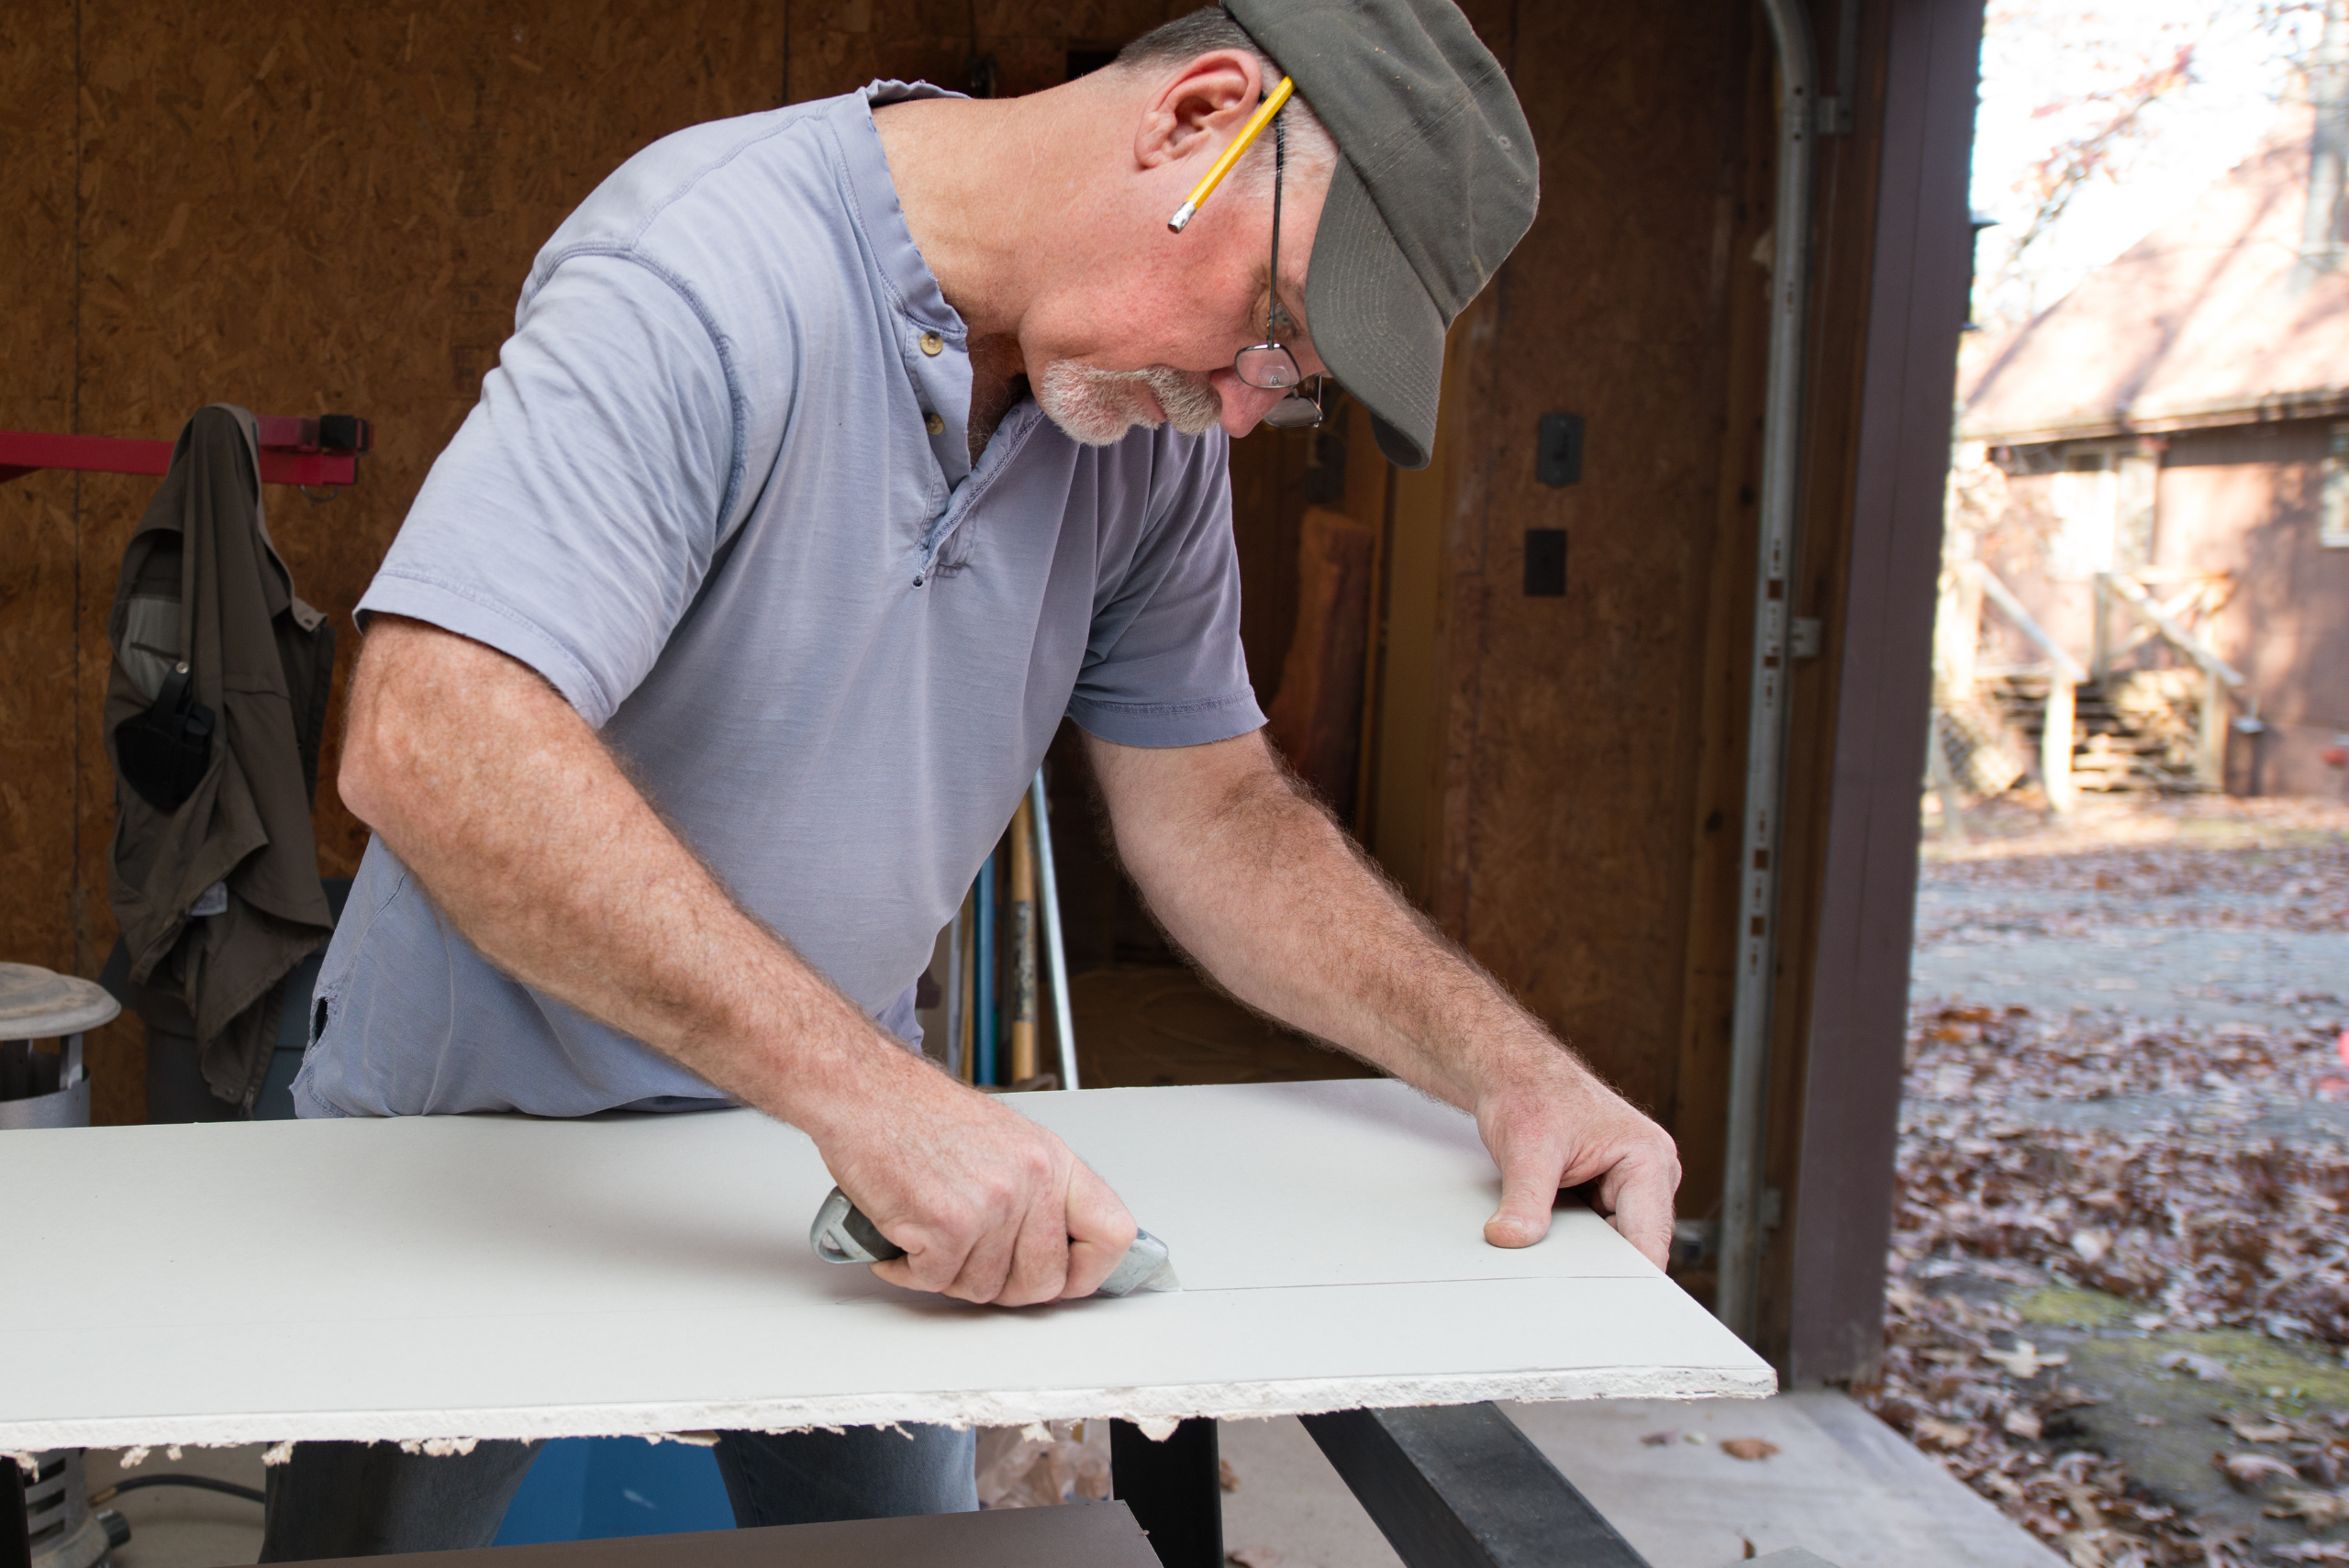
Photo Credit: Canva Pro
Preparing for Cutting
Proper preparation is key to achieving precise cuts in drywall. Begin by measuring and marking the drywall according to your project’s specifications. Gather the necessary tools and equipment, including a T-square, utility knife, oscillating tool (optional but helpful), drywall rasp, and safety gear such as gloves and goggles. Having all the required items on hand will streamline the cutting process and ensure a smoother workflow.
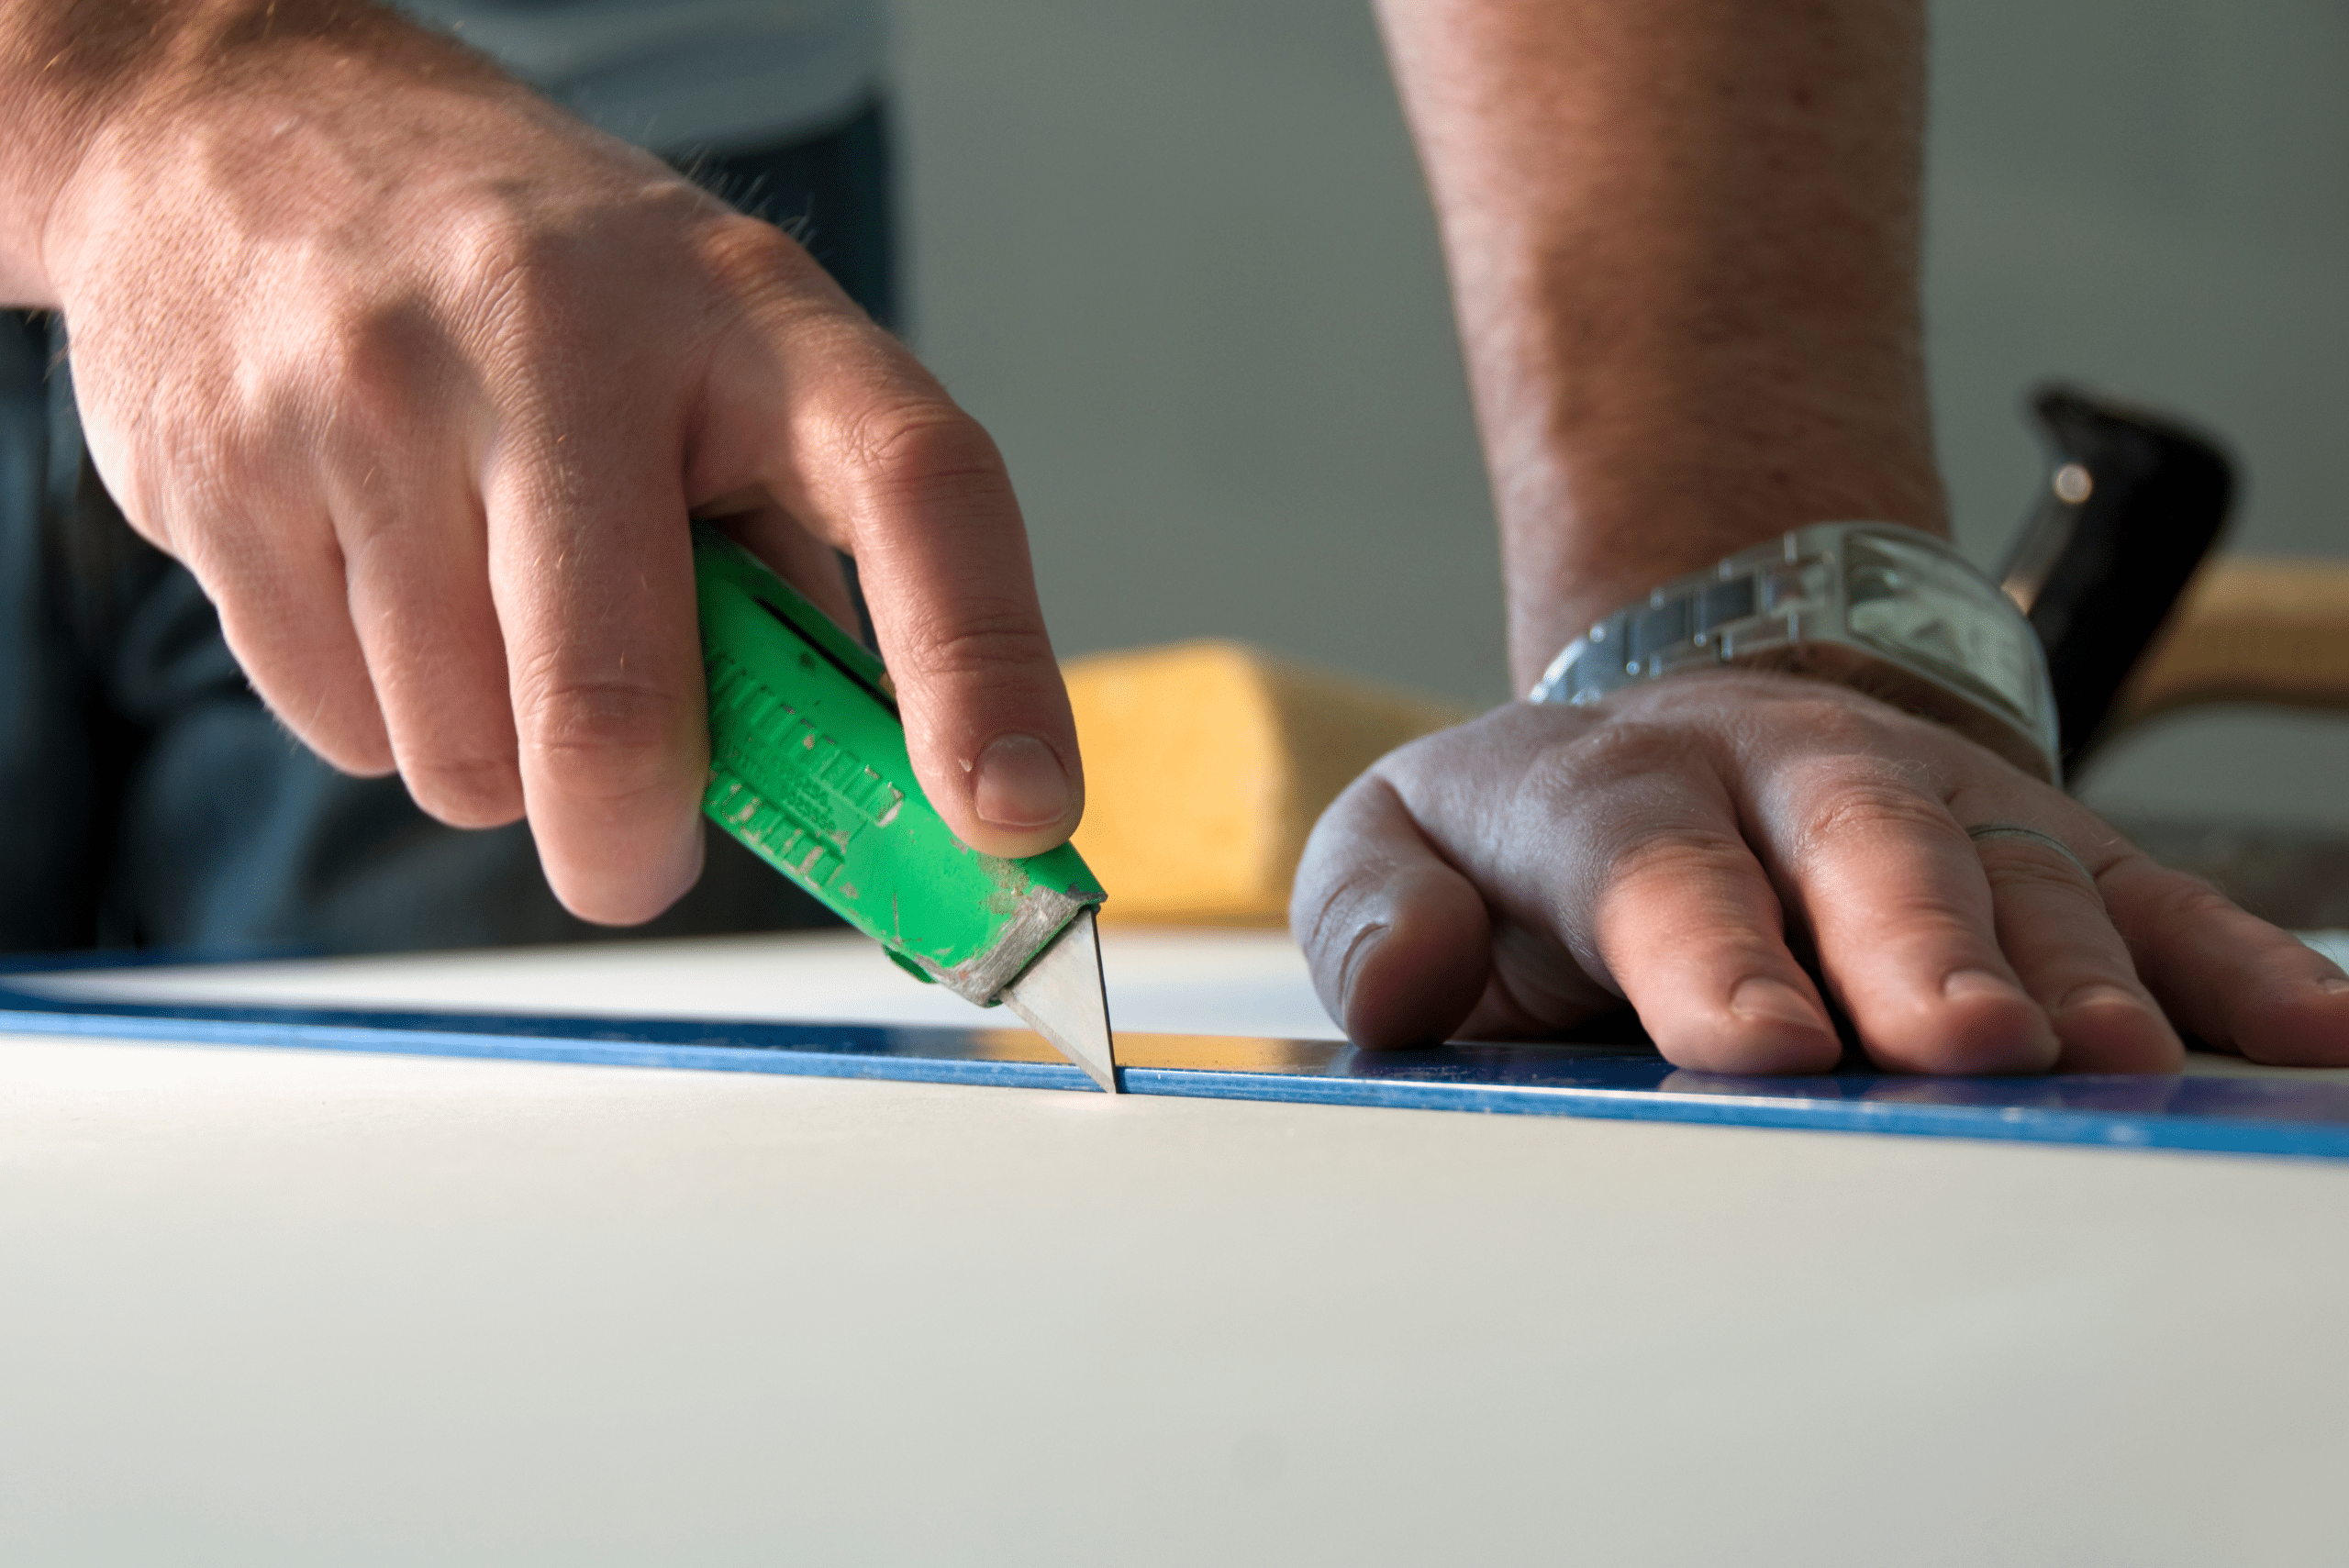
Photo Credit: Canva Pro
Techniques for Straight Cuts
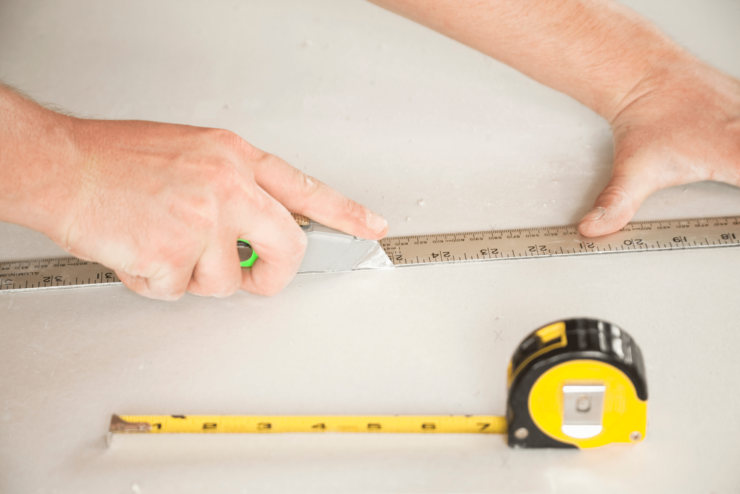
When it comes to making straight cuts in drywall, two primary techniques are commonly used. The first involves using a T-square to guide a utility knife along the marked line, scoring the paper surface before snapping the board along the cut line. Alternatively, a drywall T-square and rotary cutter can be employed for a more efficient and precise cutting process, especially when dealing with thicker drywall.
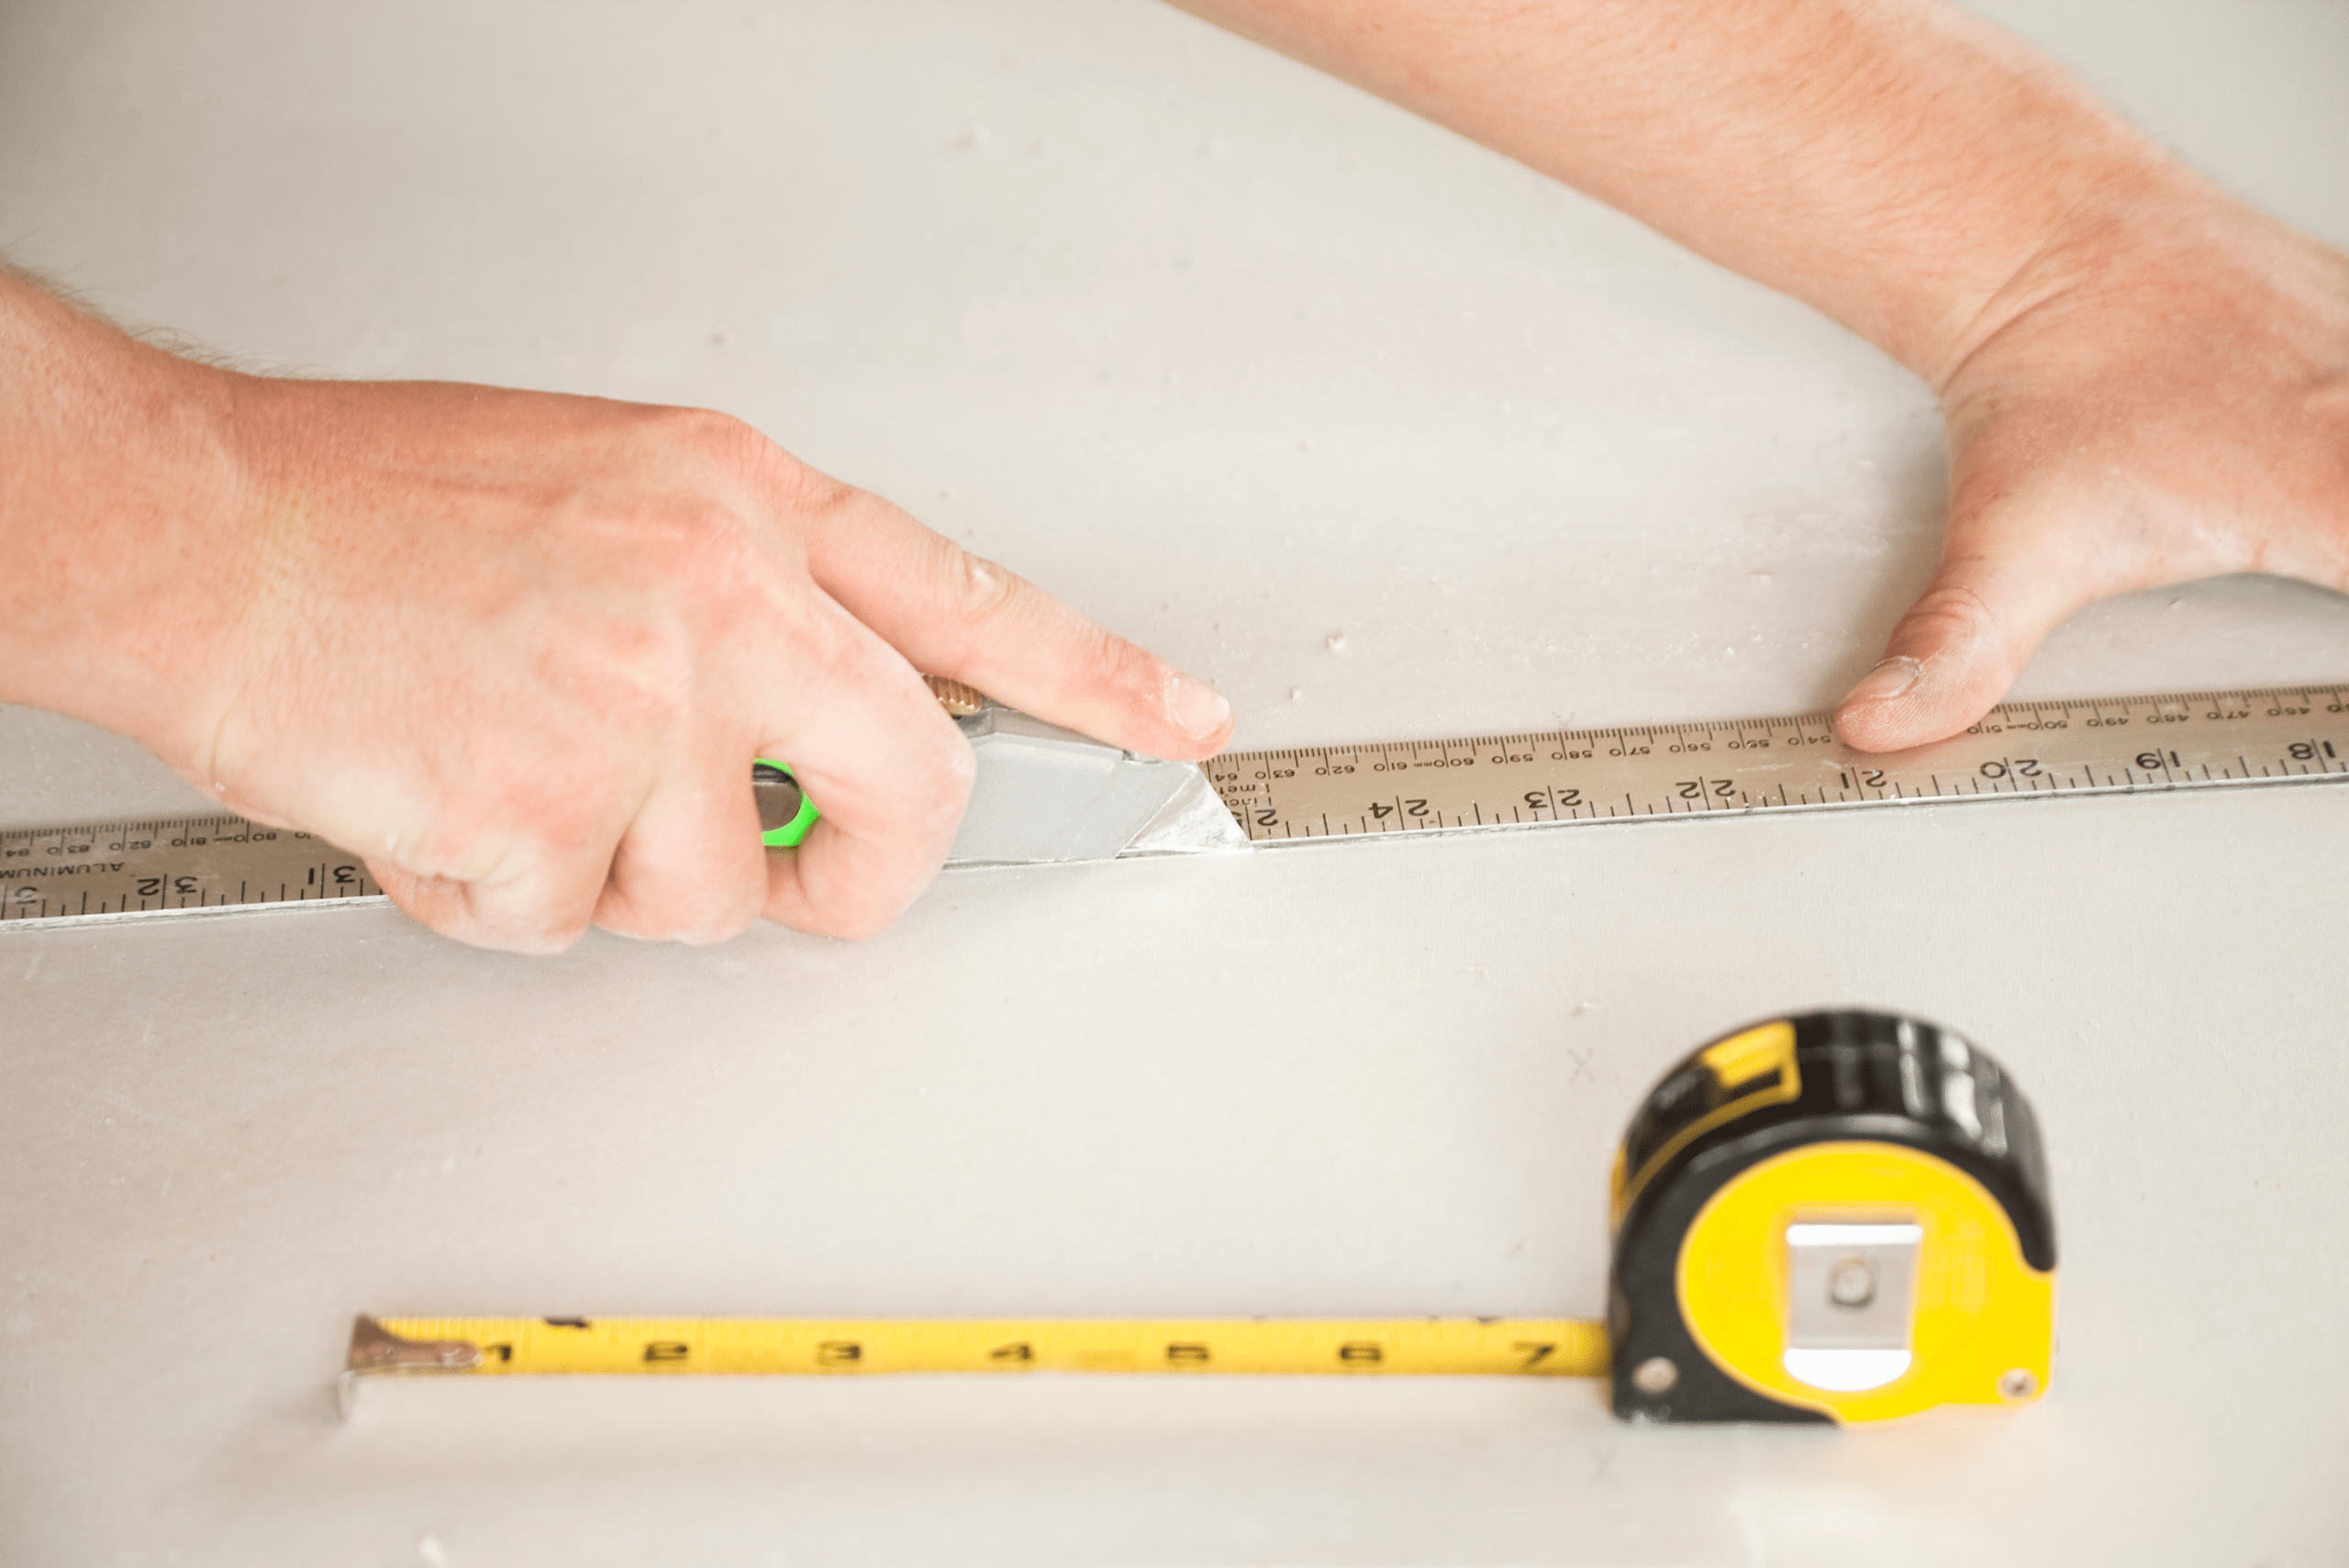
Photo Credit: Canva Pro
Making Curved Cuts
In situations where curved cuts are required, such as for archways or custom shapes, tracing and cutting along the marked lines with a utility knife can achieve the desired results. For more intricate curves, a drywall rasp can be utilized to sculpt the drywall with precision, ensuring a seamless fit for your project. For circular holes, you can use a drill with a drill hole saw to get accurate and clean cuts.
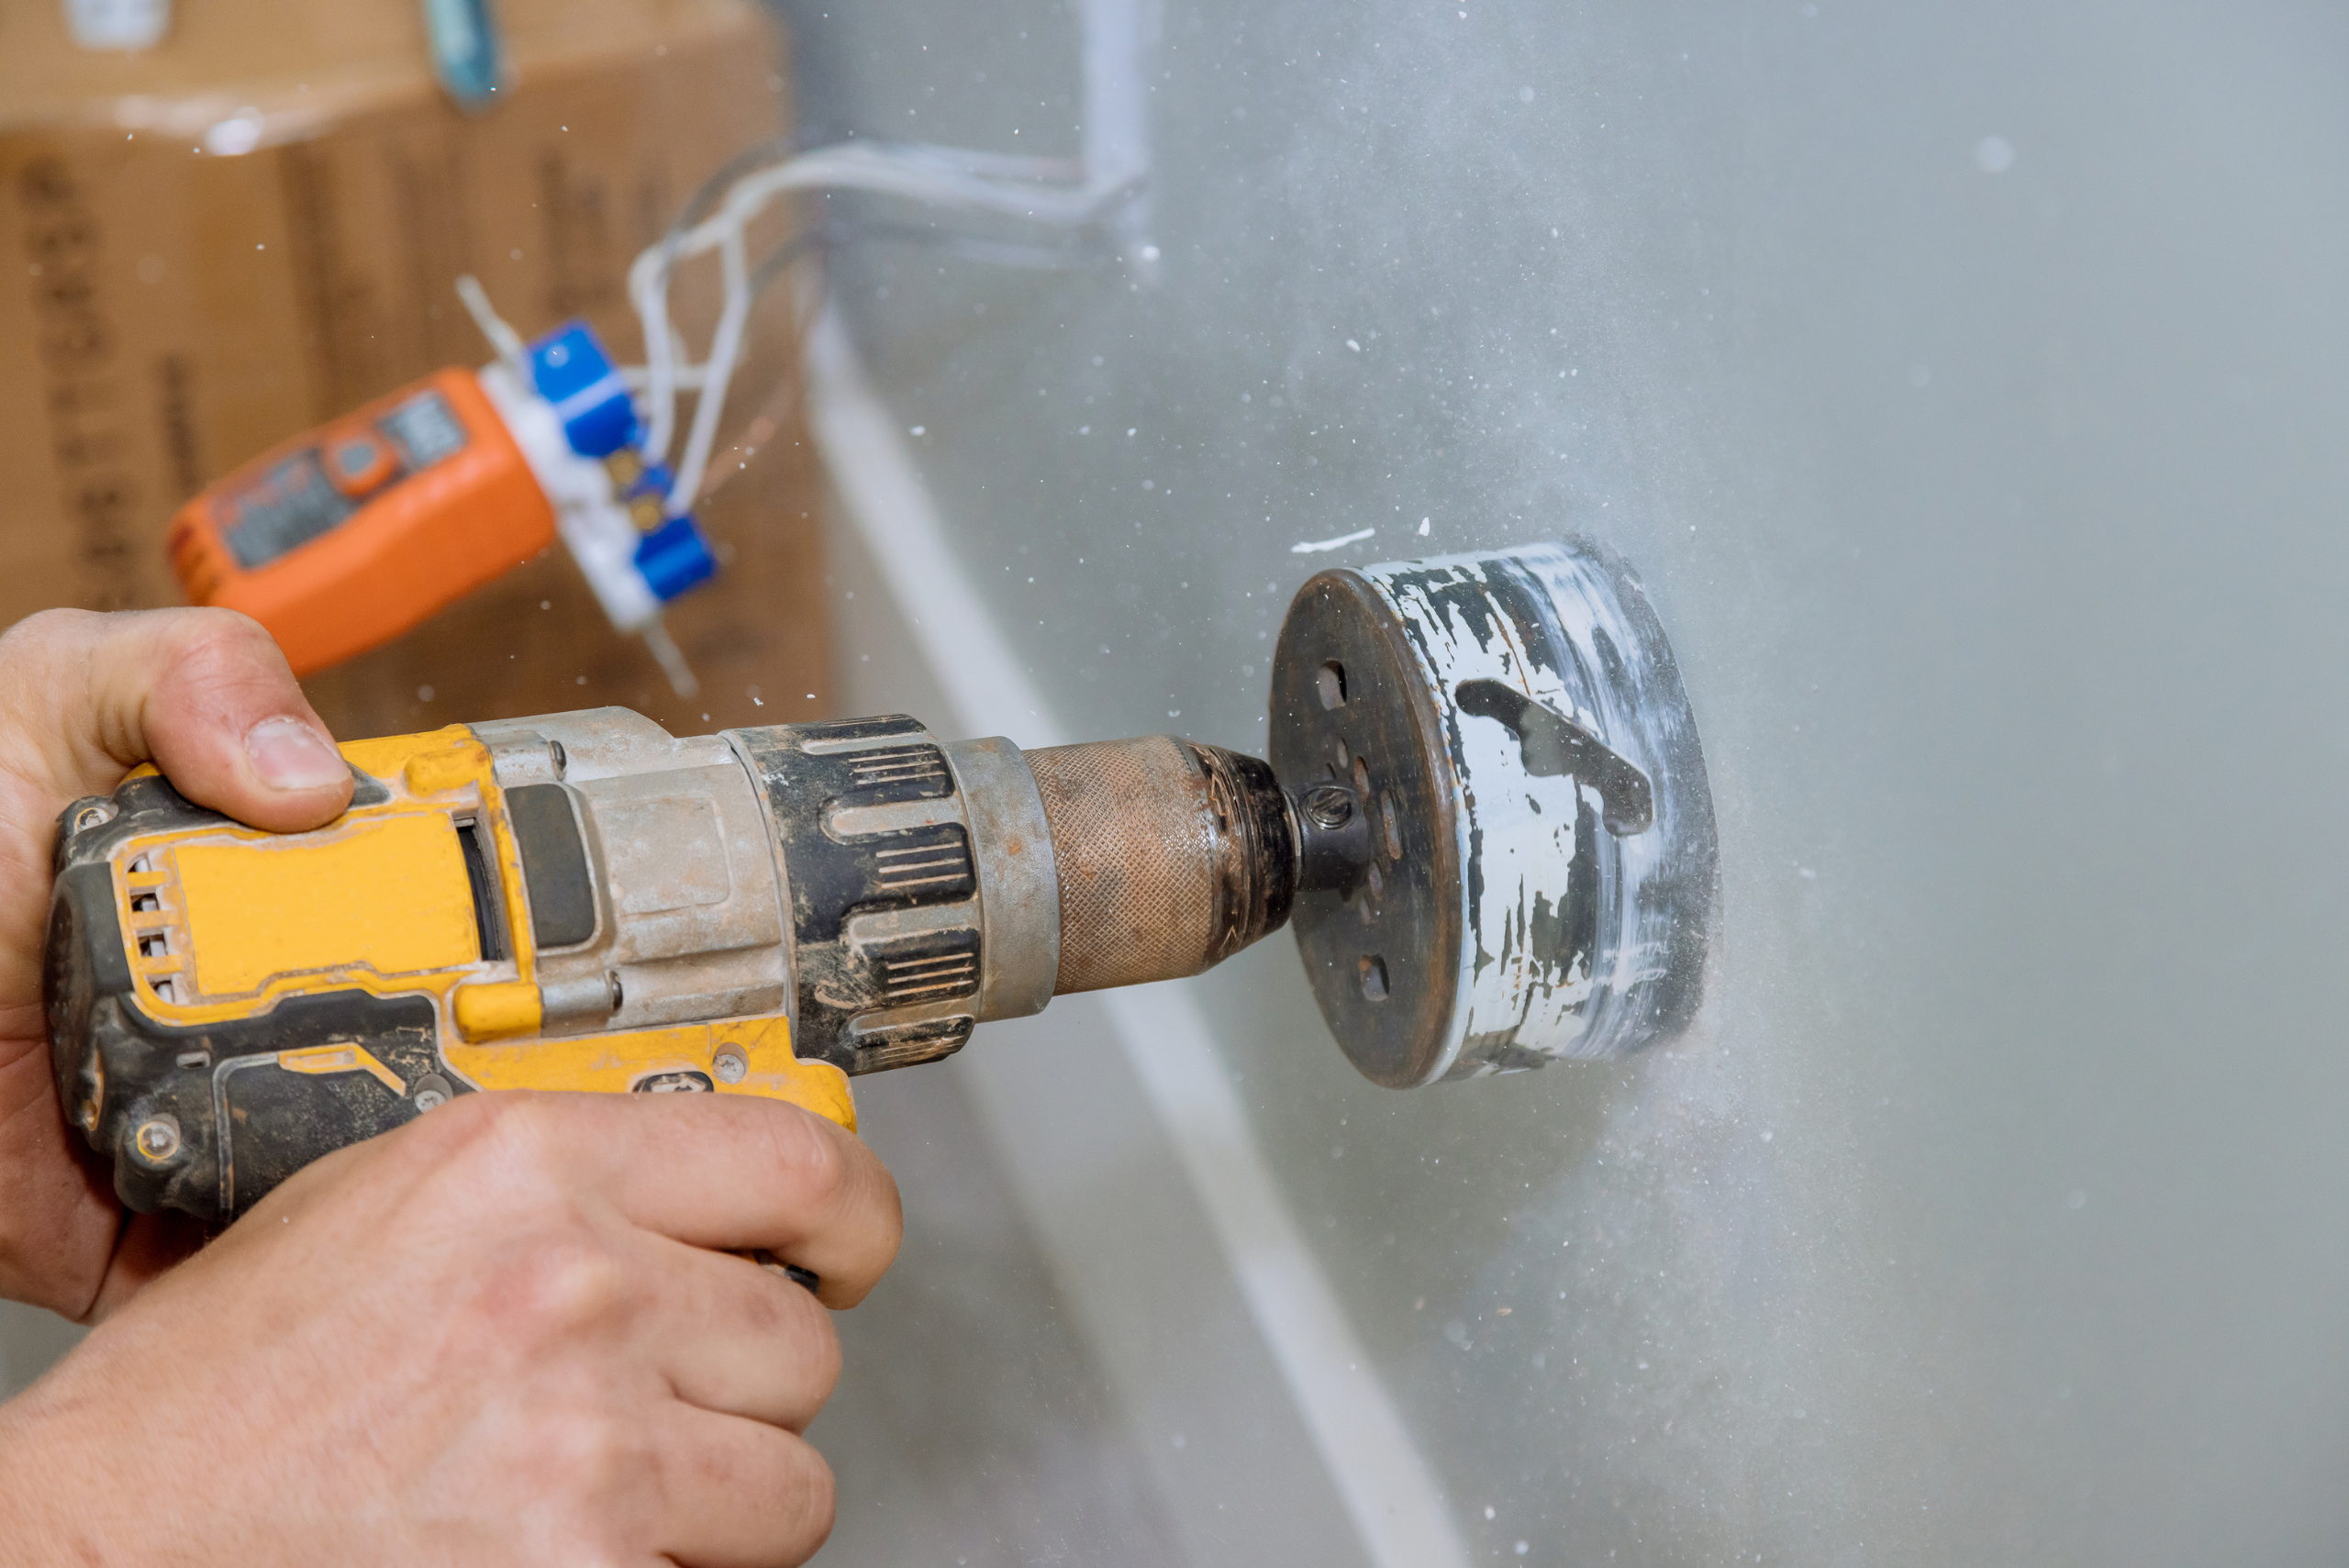
Photo Credit: Canva Pro
Navigating Obstacles
Cutting around obstacles such as outlets, fixtures, and angled surfaces can present challenges. Carefully measuring and marking the cut lines is crucial, followed by using a utility knife or rotary cutter to make precise adjustments. For angled cuts, employing a drywall T-square and rotary cutter can help ensure clean and accurate results, even in challenging scenarios.
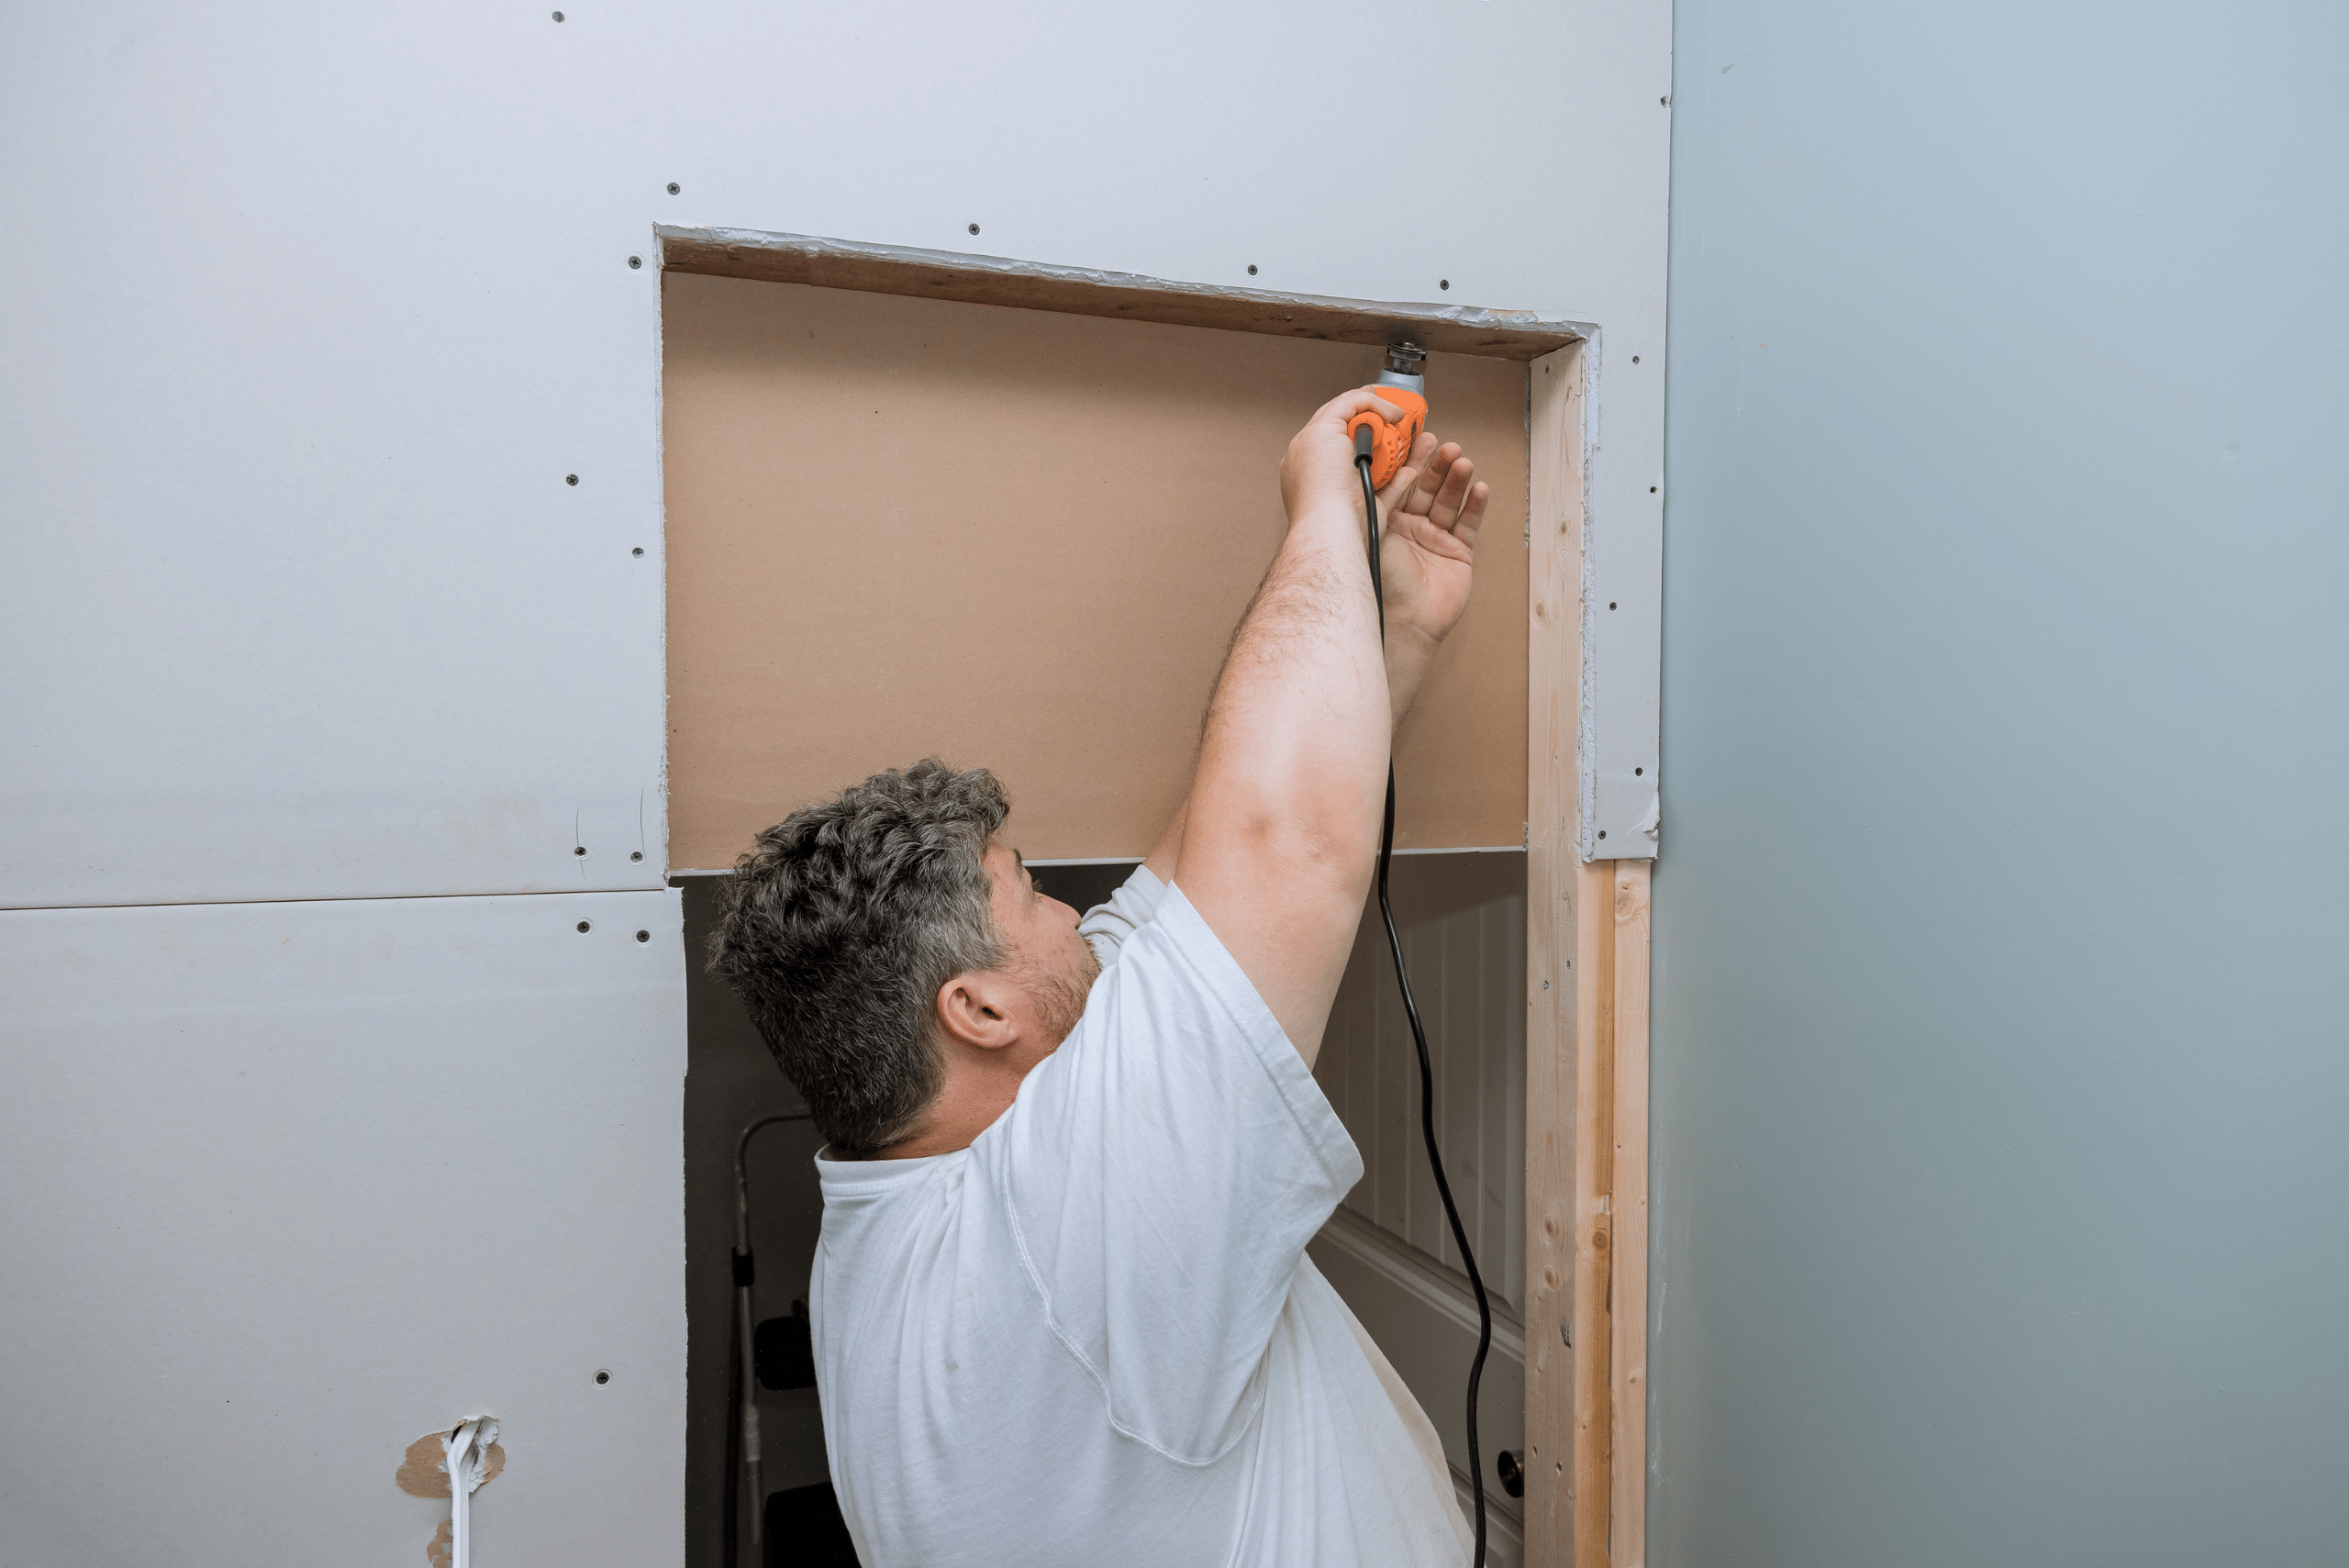
Photo Credit: Canva Pro
Tips for Efficient Cutting
Maintaining a clean and organized work area is essential for efficient drywall cutting. Keeping tools and materials within reach and disposing of scraps promptly can streamline the process and reduce the risk of accidents. Also, adjusting your cutting techniques based on the thickness of the drywall being used will help achieve optimal results, whether working with standard 1/2-inch drywall or thicker 5/8-inch boards.
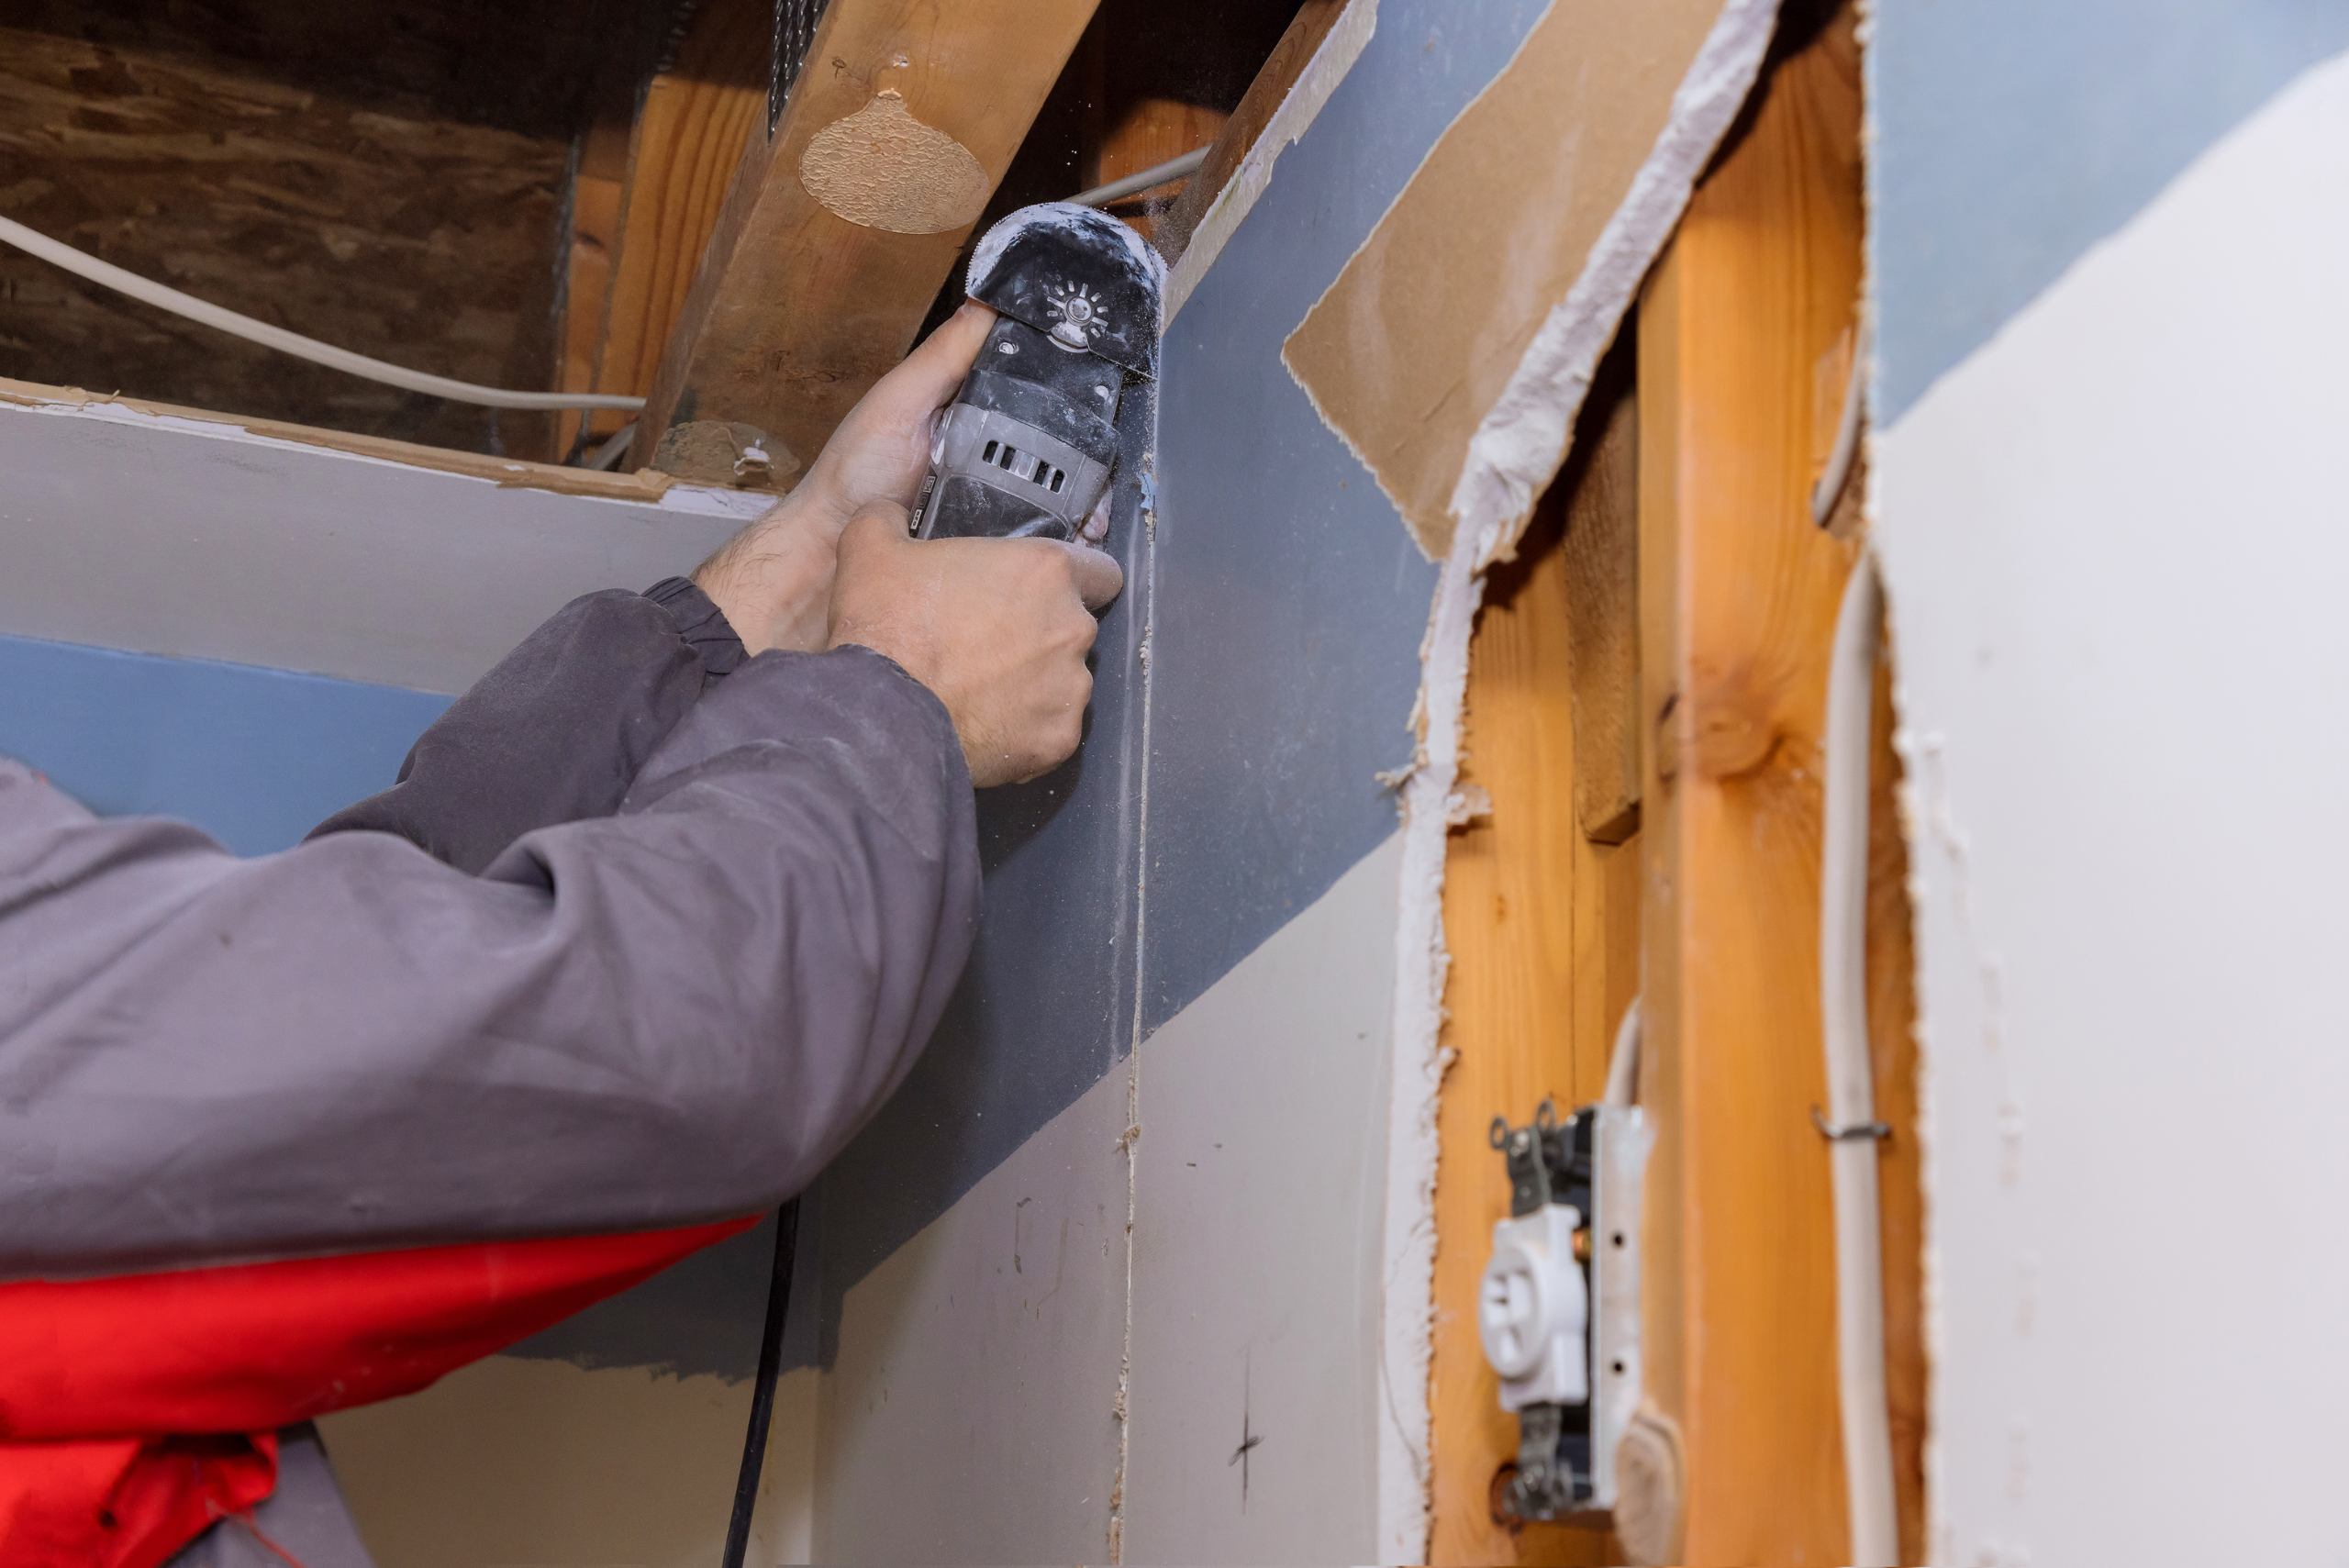
Photo Credit: Canva Pro
Finishing Touches
After the cutting process is complete, smoothing the edges of the drywall and sanding any rough surfaces will prepare the boards for installation. Applying joint compound to the seams and joints will ensure a seamless finish, ready for priming and painting. Taking the time to refine the edges and joints will contribute to the overall professional appearance of your project.
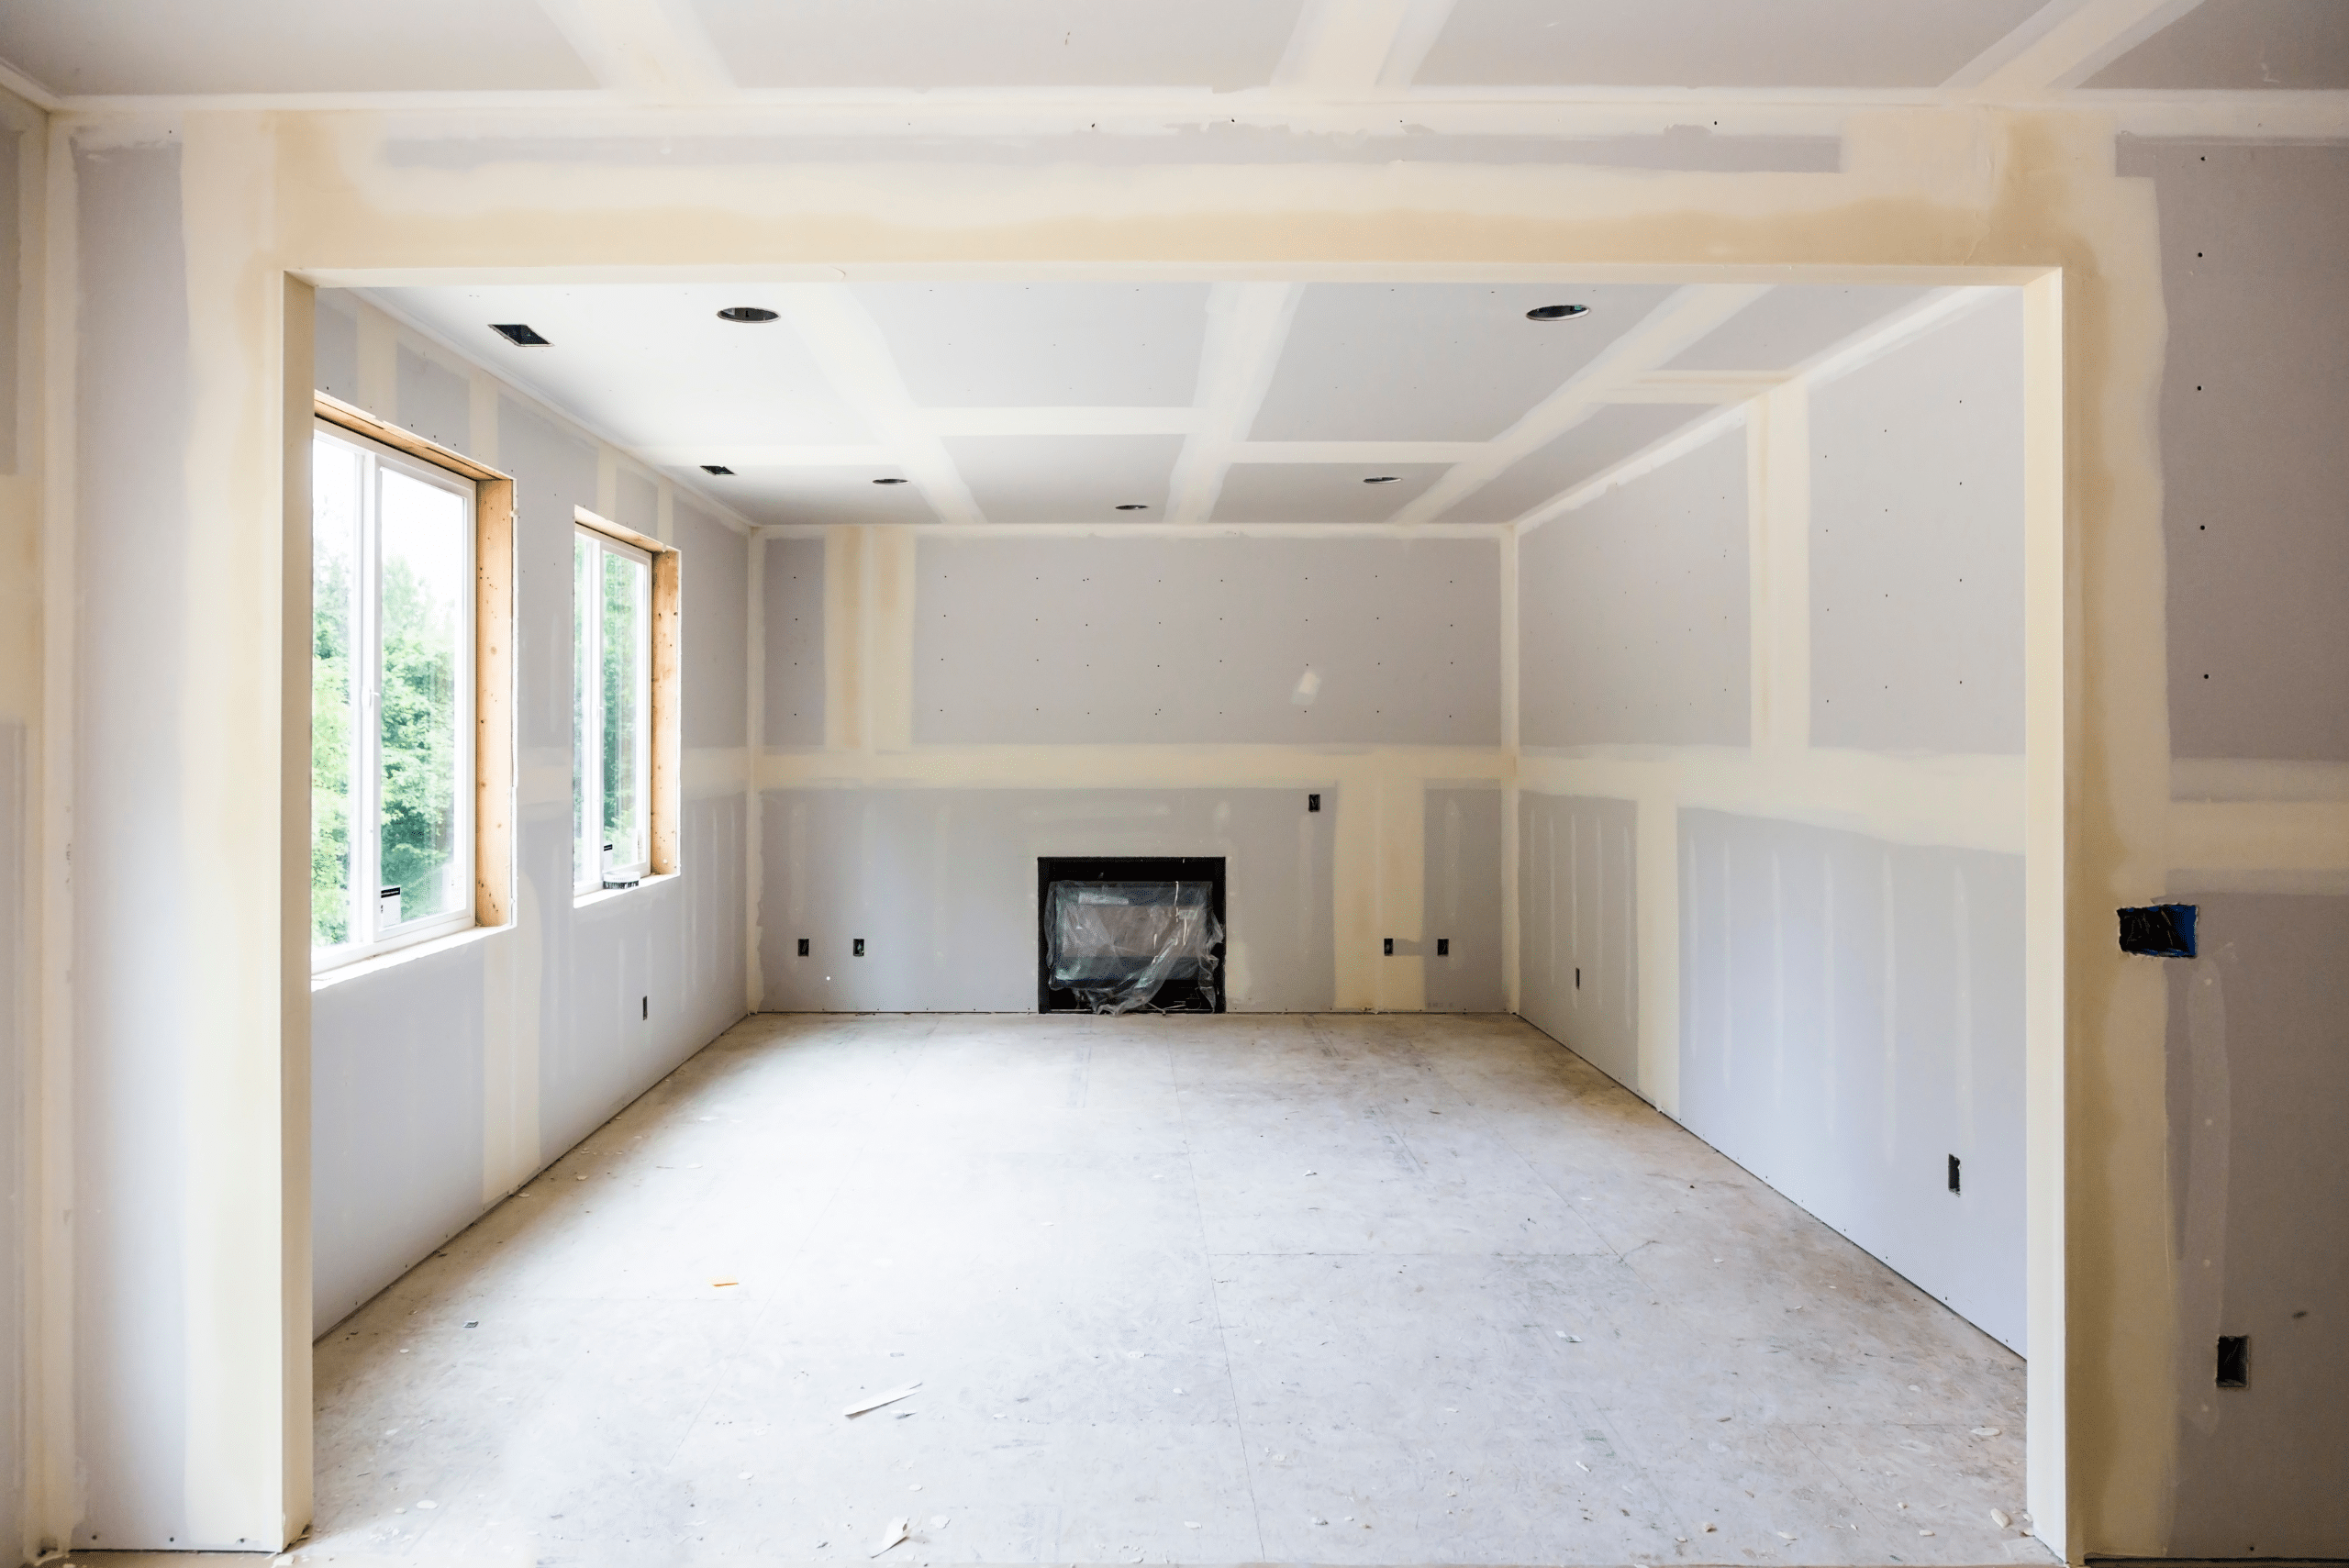
Photo Credit: Canva Pro
Safety Measures and Clean-Up
As with any DIY task, safety should always be a top priority. Properly disposing of drywall scraps and cleaning the work area to remove dust and debris is crucial for maintaining a safe and organized workspace. Storing your cutting tools safely and securely after use will prolong their lifespan and prevent accidents. By following these safety measures and clean-up practices, you can ensure a successful and hazard-free drywall-cutting experience.
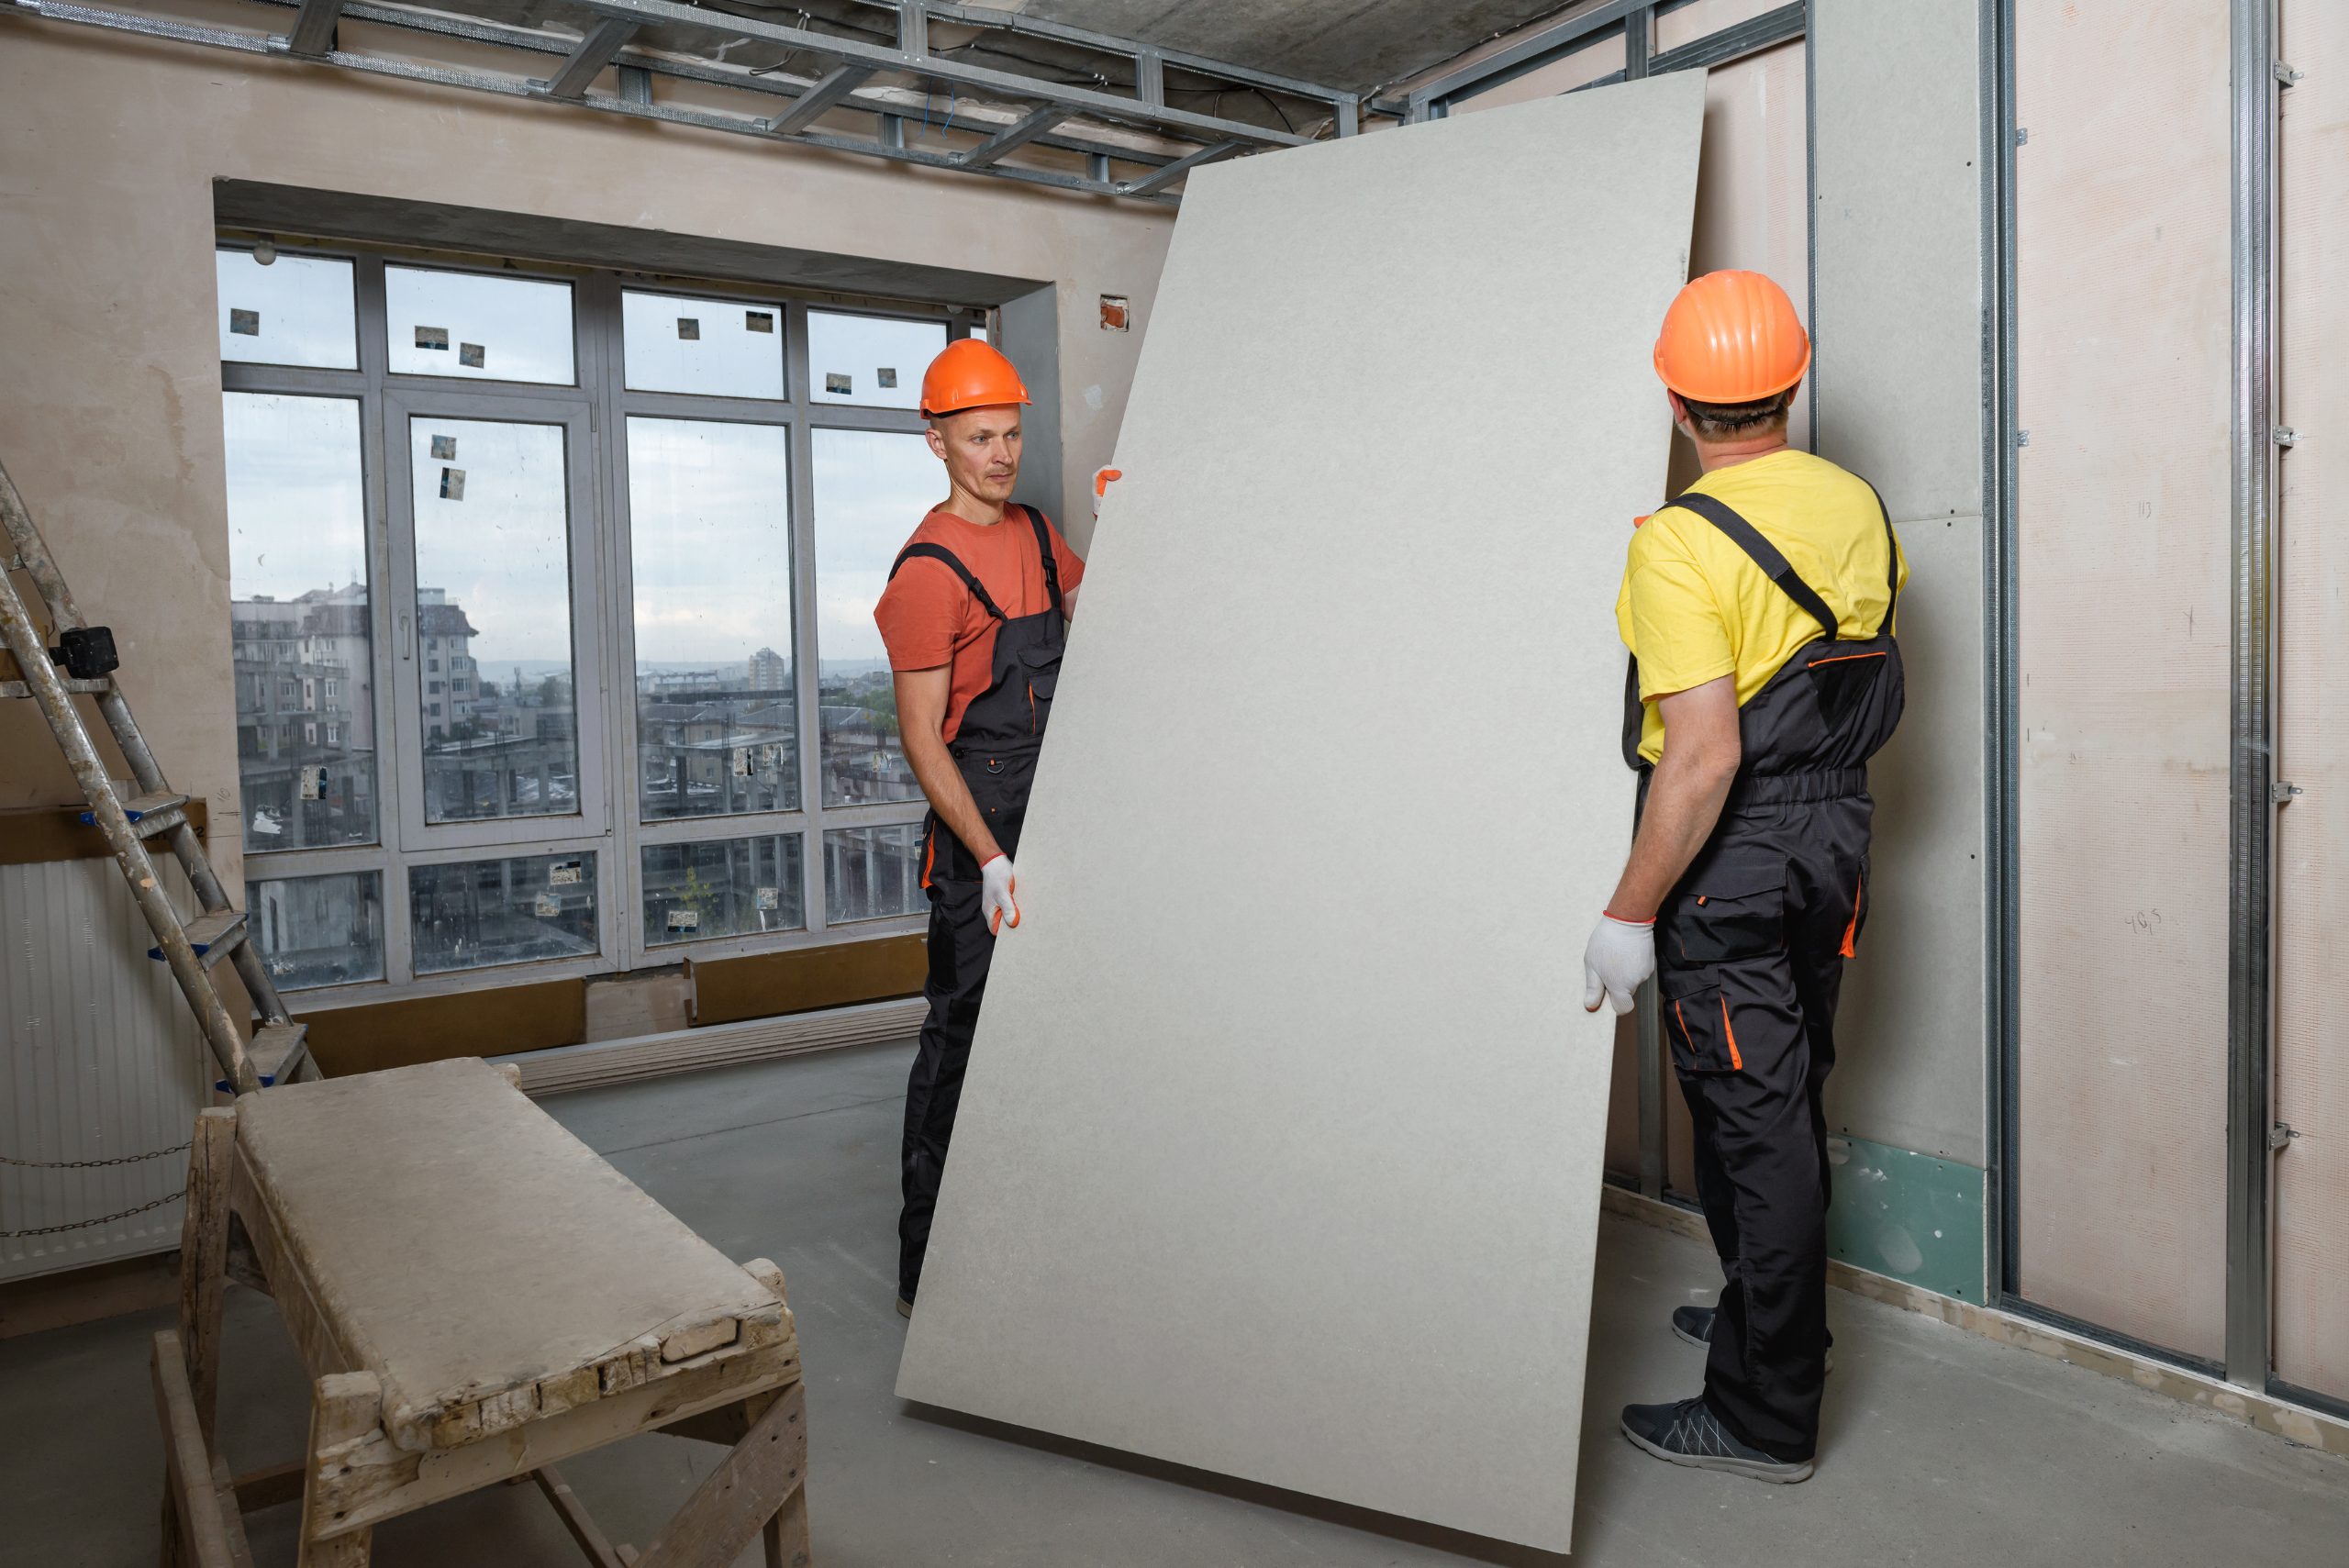
Photo Credit: Canva Pro
Other Related Articles:
Mastering the art of drywall cutting is a rewarding skill that empowers individuals to tackle a wide range of DIY projects with confidence. By having the right tools, taking the necessary safety precautions, and with a bit of practice, you can take on drywall-cutting tasks with ease and satisfaction, enhancing the overall quality of your home improvement endeavors.



Add comment