Pickleball is an exciting and fast-paced sport that combines elements of tennis, badminton, and table tennis. Whether you’re a seasoned player or just starting, having the ability to practice on your own can significantly improve your skills. In this DIY guide, we’ll walk you through the steps of creating a portable pickleball rebounder using easily available materials. The best part? It’s designed for convenient disassembly and transportation, allowing you to practice anywhere, anytime.
The Allure of Pickleball: A Dynamic Blend of Racquet Sports
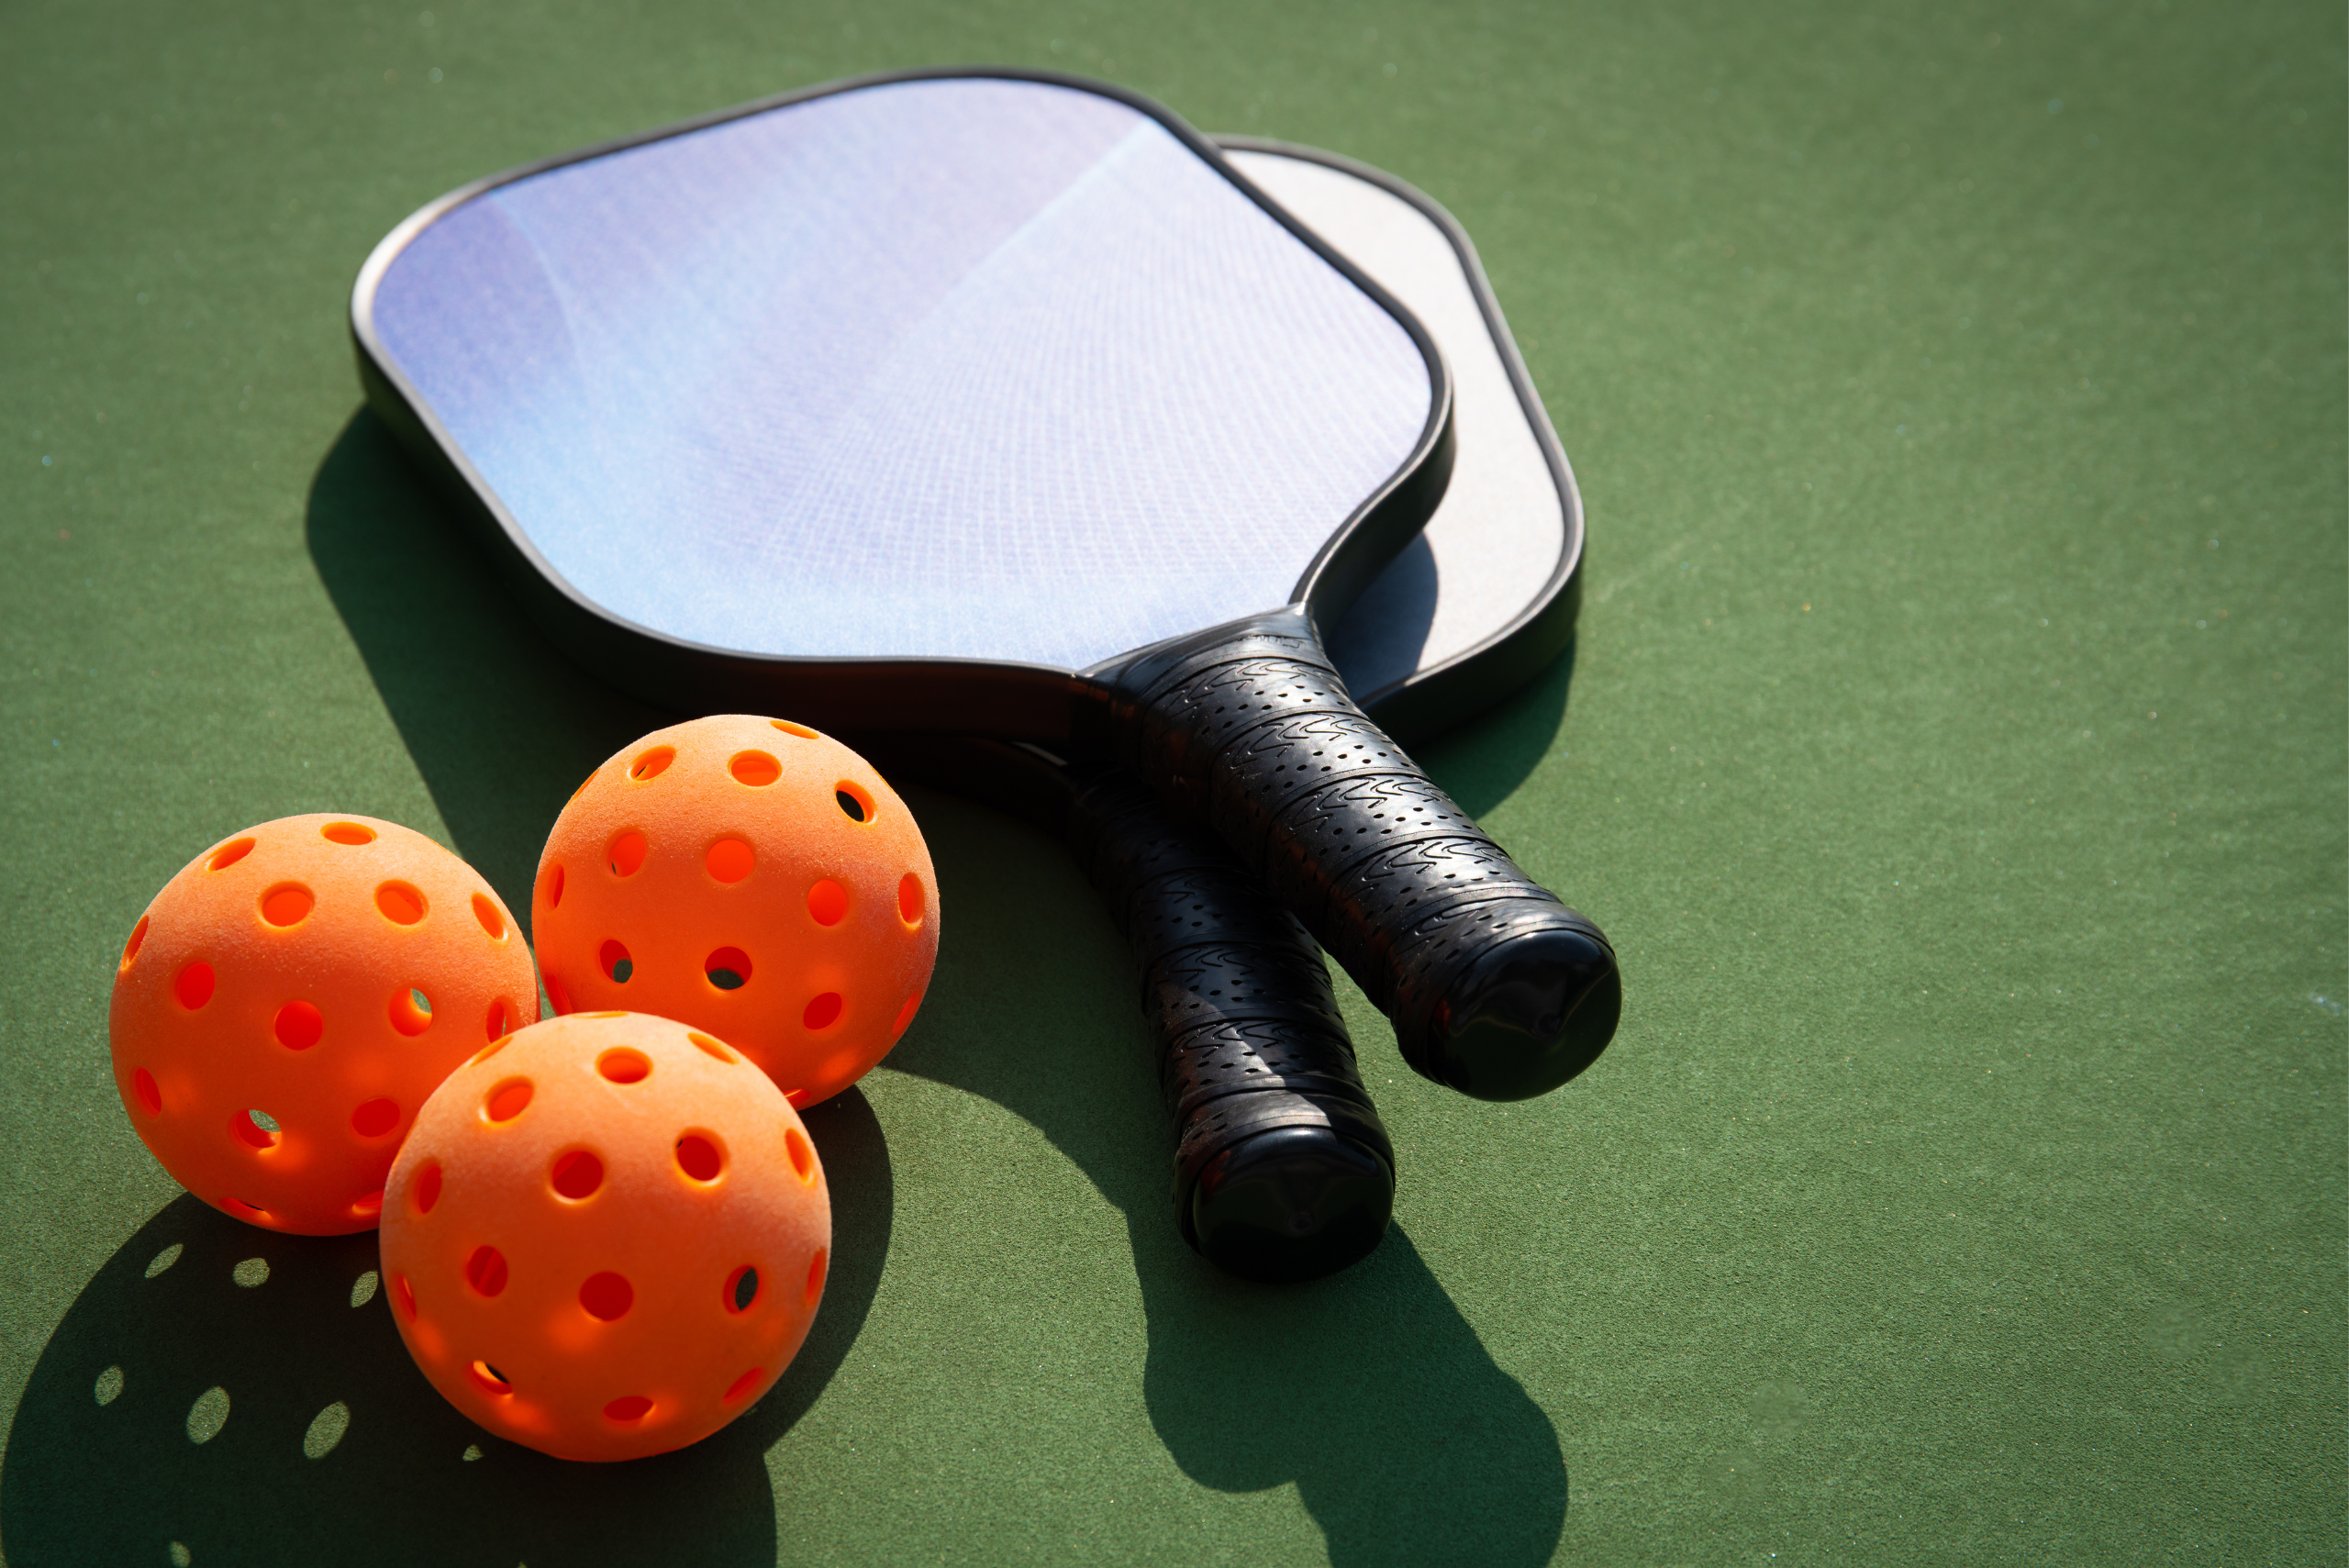
Pickleball is a dynamic paddle sport played on a smaller court with a lowered net, it features solid paddles and a perforated polymer ball. The game accommodates players of all ages and skill levels, emphasizing agility, strategy, and quick reflexes. Its growing popularity can be attributed to its accessibility and the engaging blend of various racquet sports, making it a favorite choice for both recreational and competitive players worldwide.

Photo Credit: Canva Pro
Build Instructions and Helpful Design Tips
Materials Needed
Scrap Wood:
Two pieces (for the vertical sides): 4 feet x 2 feet
Two pieces (for the horizontal top and bottom): 6 feet x 2 feet
PVC Pipes or Metal Pipes:
Four pieces (for the vertical posts): 4 feet each
Two pieces (for the horizontal crossbars): 5 feet each
Netting or Mesh Material:
Sized to cover the top half of the frame (approximately 4 feet x 6 feet)
Screws and Nails:
Depending on the thickness of your wood, choose appropriate screws for assembly.
Tools
Saw
Drill
Screwdriver
Measuring tape
Pencil

1. Design the Frame:
Cut PVC or metal pipes for the frame.
Vertical posts: 4 feet each
Horizontal crossbars: 5 feet each
Assemble the frame with 90-degree connectors for easy disassembly.
2. Attach the Surface:
Cut scrap wood to the frame dimensions.
Vertical sides: 4 feet x 2 feet
Horizontal top and bottom: 6 feet x 2 feet
Attach the wood with bolts and wingnuts for easy removal.
3. Add the Rebounding Mesh:
Cut netting to cover the top half of the frame.
Attach netting securely using removable ties or clips.
4. Stabilize the Rebounder:
Add extra support if needed.
Consider adding weights or anchors for stability.
5. Optional Features:
Paint the wood or frame for outdoor use.
Add lines or markings on the wood surface to simulate different areas of the pickleball court.
You can cut the wood surface into halves and attach them using hinges for compact storage.
Purchase a pre-made outline/template to attach to the face.
Compact Carrying Method

Duffle Bag:
Choose a duffle bag large enough for the disassembled frame.
Bundle pipes together with Velcro straps.
Store components in separate compartments for easy access.
Quick Assembly on Court

Photo Credit: Canva Pro
Quick Connectors:
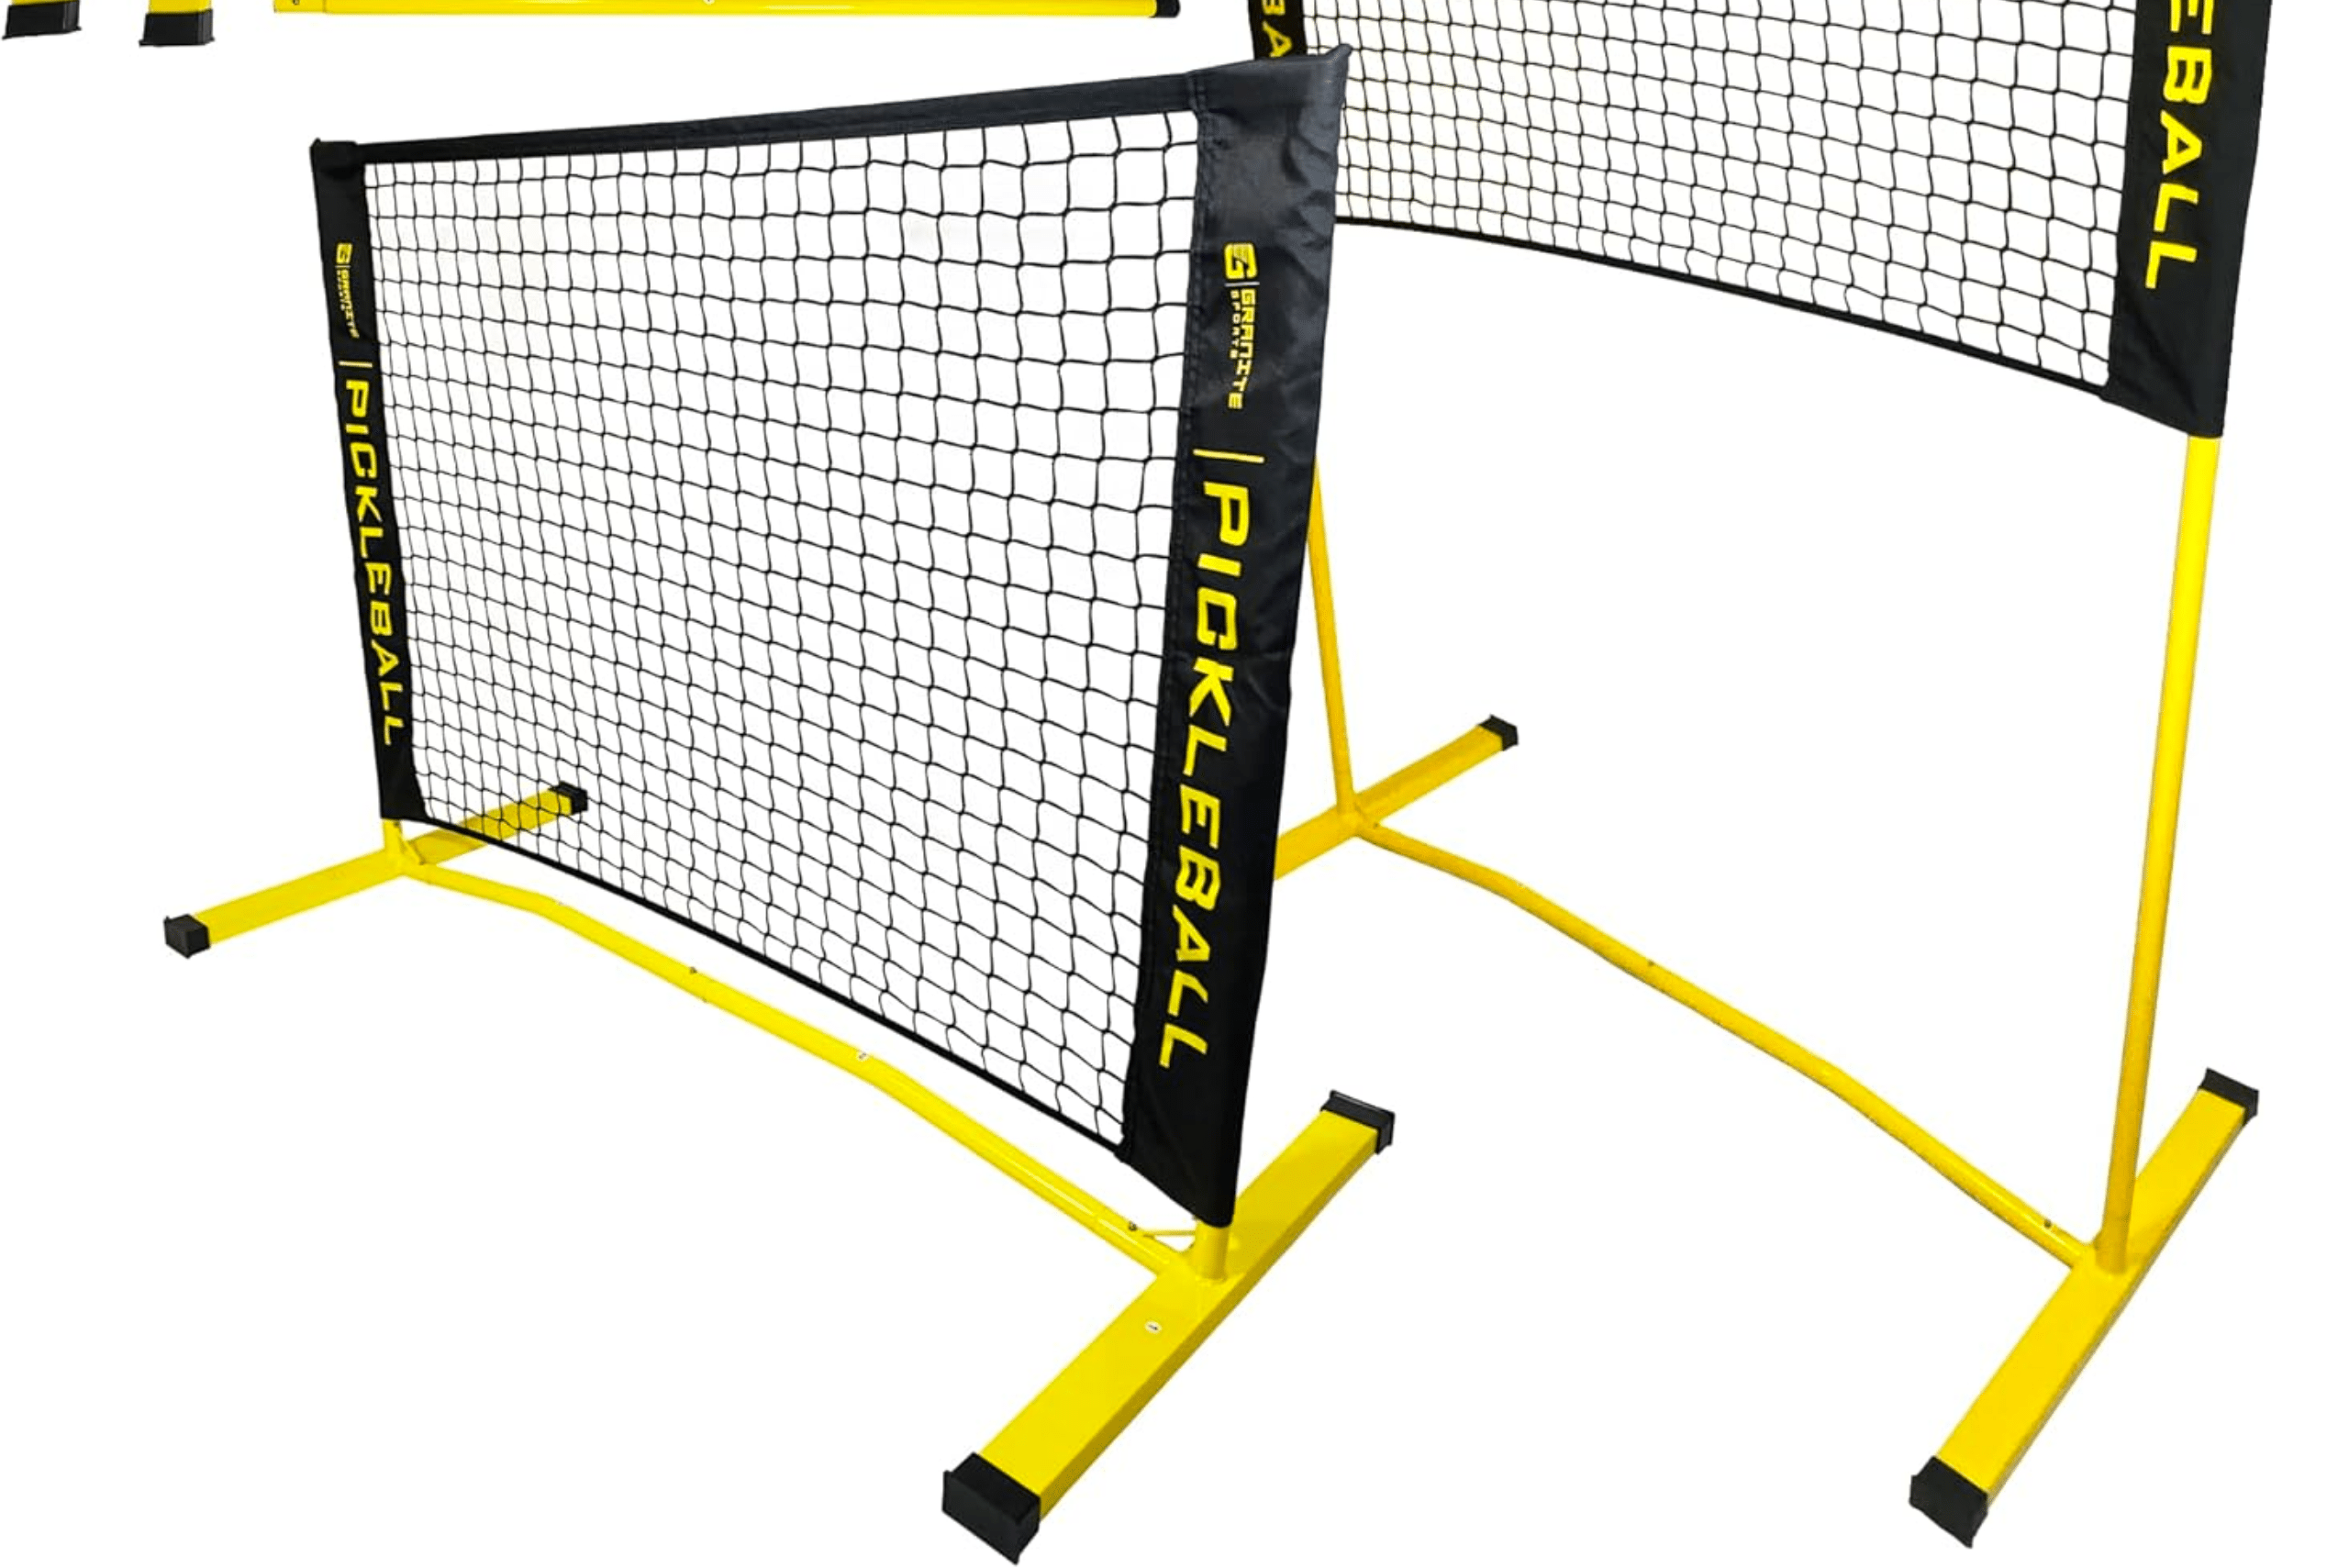
Assemble the frame by connecting pipes with quick-connect fittings.
Attach Wood Panels and Netting:
Secure wood panels with pre-attached bolts and wingnuts.
Clip or tie the netting to the frame.
Stabilize:
Add stabilizing components for stability, such as weight plates or sandbags.
Other articles you might enjoy:
Congratulations! You’ve now created a DIY portable pickleball rebounder that allows for solo practice anywhere, anytime. With its easily disassembled design and compact carrying method, you can take your pickleball practice to the next level, honing your skills whenever the inspiration strikes. Enjoy your games and continue to innovate by improving the design to suit your specific playing style and transportation needs.


Add comment