Building a homemade smoker has become a popular project for DIY enthusiasts who love the art of slow-cooked, flavorful meats. The process of creating your own smoker can be as simple or as complex as you wish, depending on your design preferences and the level of customization you desire. This guide will walk you through the essential steps and considerations for constructing a homemade smoker that can rival any store-bought model.
What You Need to Know to Start Your Homemade Smoker Build
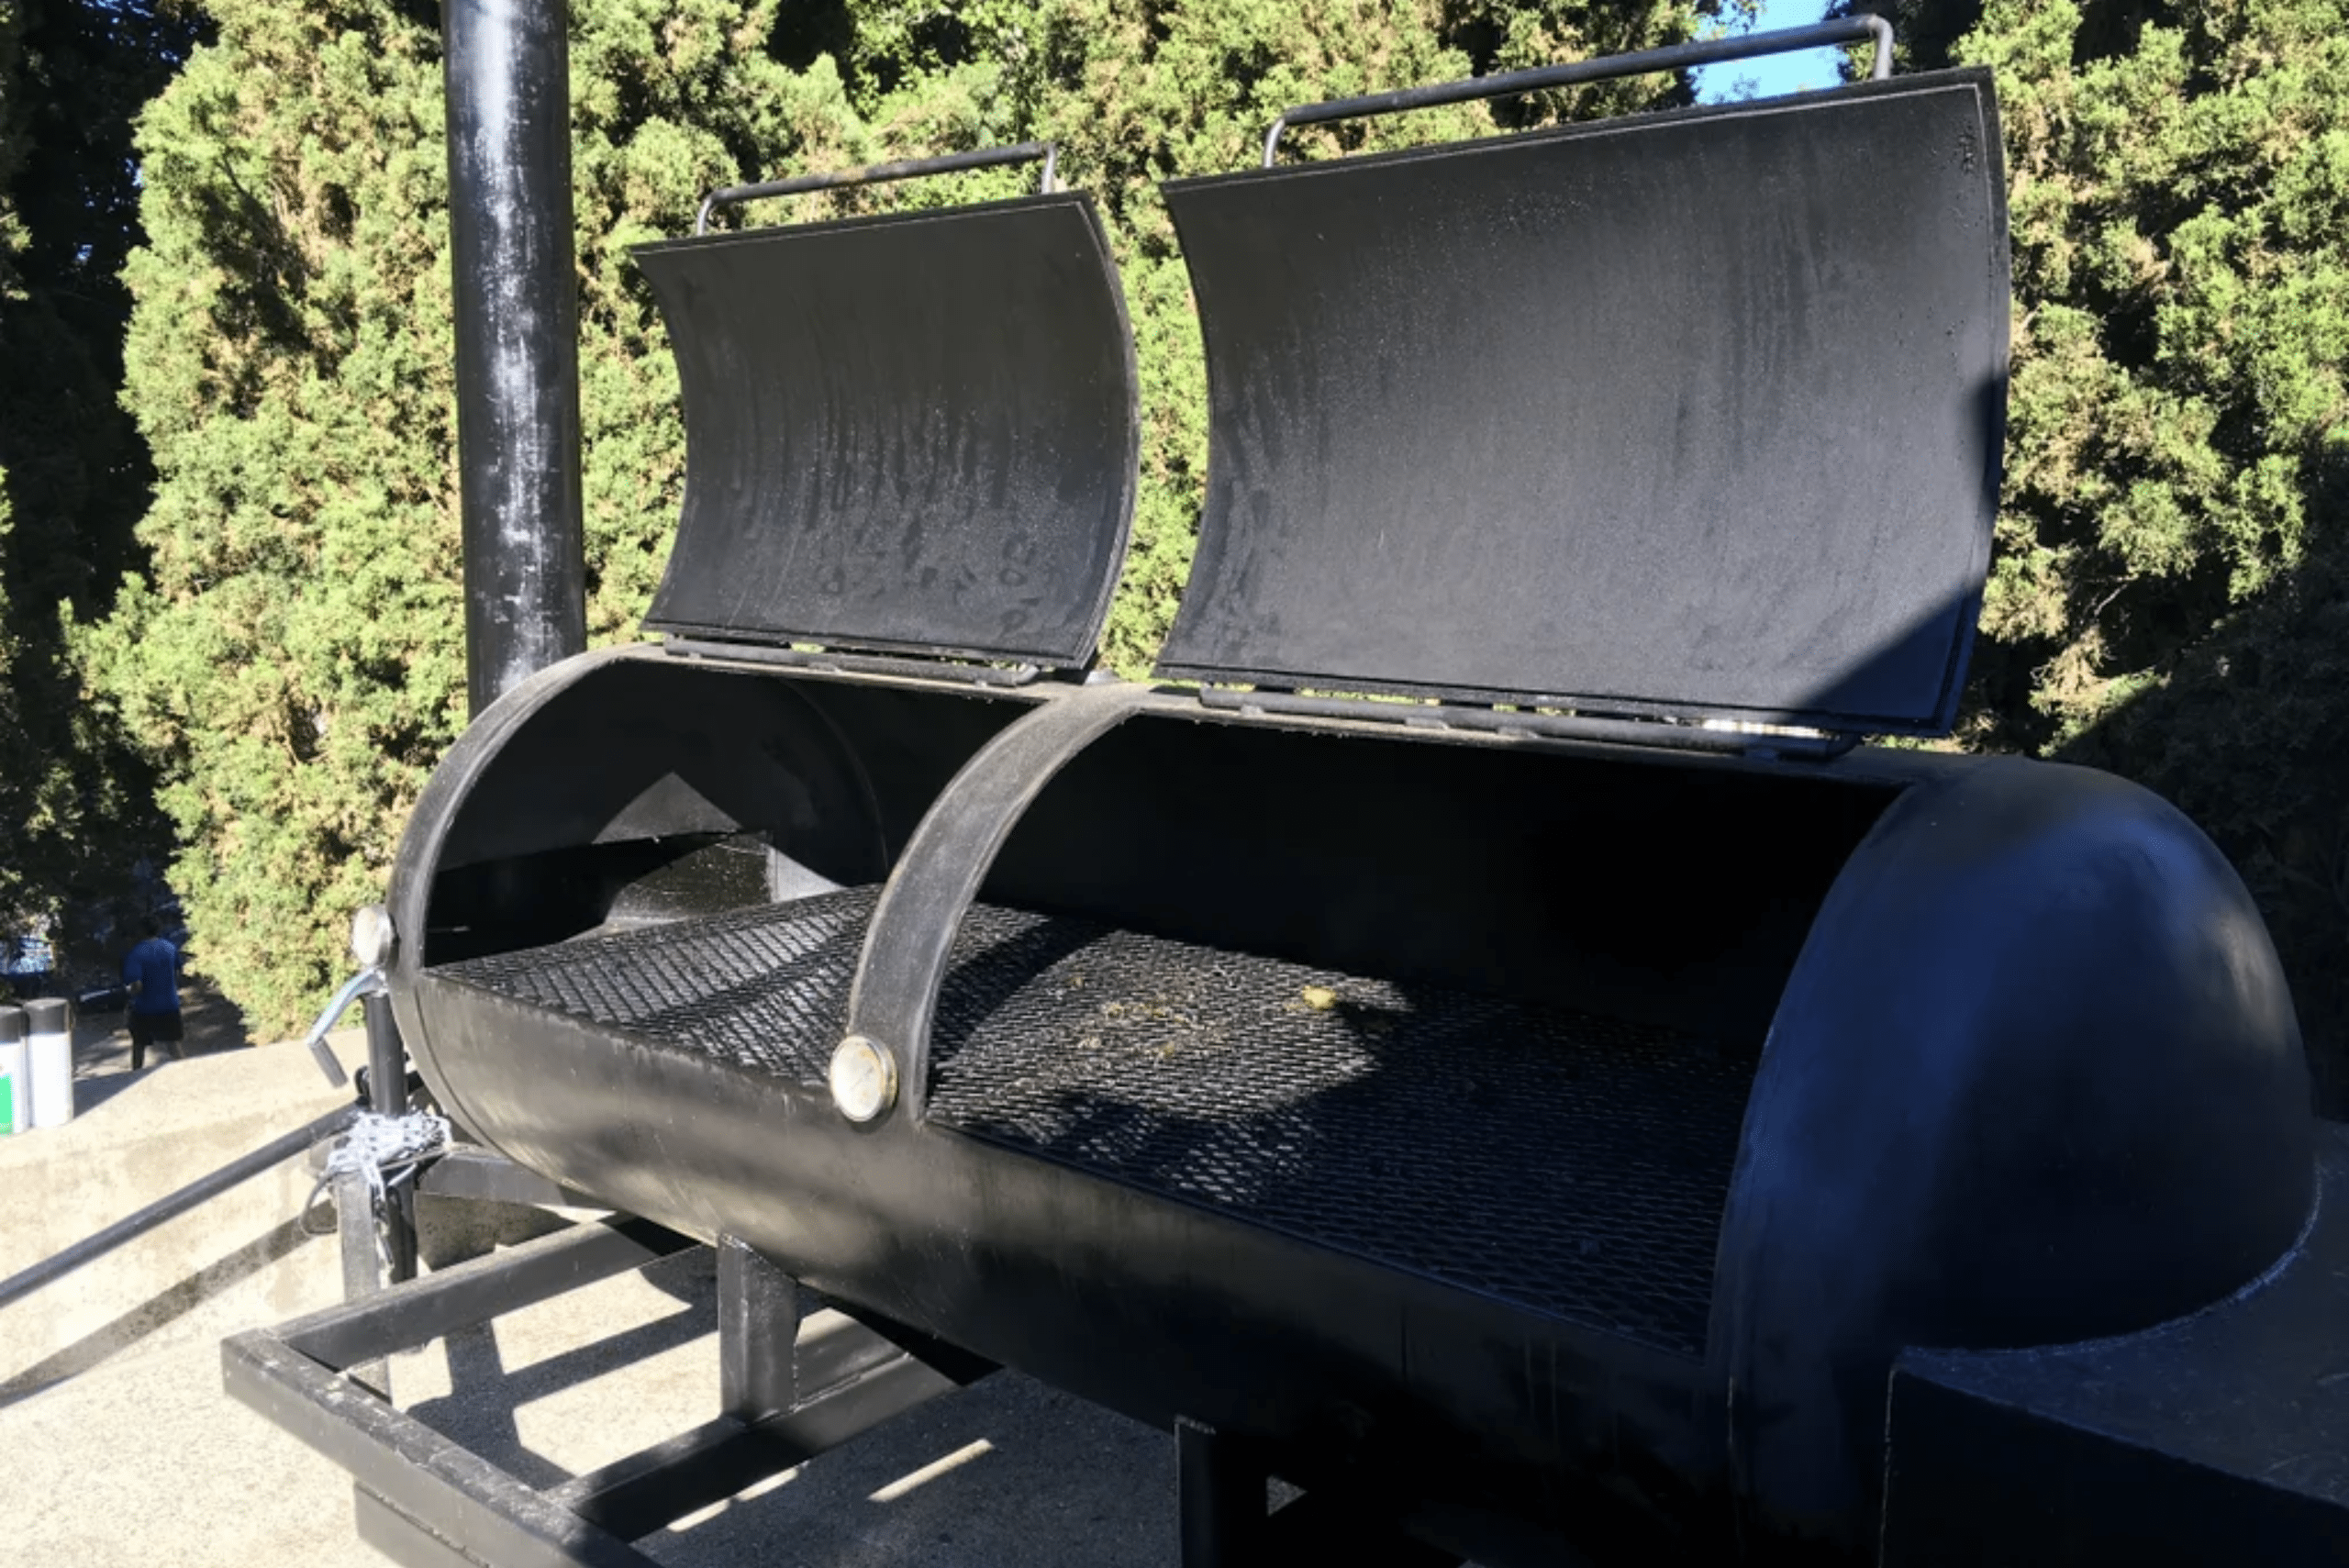
Starting on a homemade smoker build begins with planning and preparation. The first step is to choose the right materials. Most homemade smokers are built using steel drums, old refrigerators, or custom-welded steel frames.

Photo Credit: Canva Pro
Each material has its advantages, depending on the size and type of smoker you want to build. For instance, steel drums are inexpensive and relatively easy to work with, making them a popular choice for first-time builders. It’s crucial to consider the size of the smoker as well; think about how much meat you plan to smoke at a time and whether you’ll need a portable or stationary unit.
Designing Your Smoker – Features That Enhance Performance and Usability
When designing your smoker, it’s important to focus on features that will enhance its performance and usability. Airflow is critical in any smoker design. Proper ventilation will help control the temperature and smoke flow, which are essential for cooking meat evenly and infusing it with flavor.

Photo Credit: Canva Pro
Think about incorporating multiple air vents that can be easily adjusted. Additionally, consider the heat source. Many DIY smokers use charcoal or wood, which can add a distinctive taste to the meat. However, some builders prefer propane or electric elements for ease and consistency.
Step-by-Step Guide to Constructing Your Smoker
Step 1: Gather Materials and Tools
Before you start building, make sure you have all the necessary materials and tools. You’ll need:
Materials:
55-gallon steel drum (preferably food-grade)
Steel grating or wire racks
Charcoal grate
High-temperature paint (optional)
Hinges and latches
Thermometer
Firebrick or concrete blocks (optional, for stability)
Tools:
Drill with metal drill bits
Jigsaw or reciprocating saw
Angle grinder (optional, for smoothing edges)
Screwdriver
Paintbrush (if painting)
Step 2: Prepare the Drum
Clean the steel drum thoroughly to remove any residues or contaminants. If it previously contained chemicals or non-food items, it’s best to avoid using it for smoking food.
Step 3: Cut Openings
Using a jigsaw or reciprocating saw, cut out the necessary openings for the smoker. You’ll need one large opening near the bottom for the firebox and a smaller one near the top for the chimney. Make sure to leave a lip around the openings for attaching hinges and securing the doors.
Step 4: Install Grates and Charcoal Grate
Insert the steel grating or wire racks inside the drum to create shelves for holding your meat. Additionally, install the charcoal grate at the bottom of the drum to hold the charcoal or wood chips for smoking.
Step 5: Attach Hinges and Latches
Attach hinges to the doors you cut in Step 3, and then attach latches to keep the doors securely closed during smoking sessions.
Step 6: Add Thermometer and Chimney
Drill a hole near the top of the drum for the chimney and insert the thermometer. Make sure the thermometer is positioned at grate level to accurately measure the temperature inside the smoker.
Step 7: Paint the Smoker (Optional)
If desired, you can paint the exterior of the smoker with high-temperature paint to protect it from rust and corrosion. Make sure to use paint rated for high temperatures.
Remember to always follow proper safety precautions when using a smoker, such as keeping it away from flammable materials and never leaving it unattended while in use.
Tips for Testing and Making Adjustments to Your Homemade Smoker
After assembling your smoker, testing and making necessary adjustments is key to ensuring it works well. Begin by seasoning the smoker. This involves heating it to a high temperature to remove any residues from construction materials, which might impact the flavor of your food.
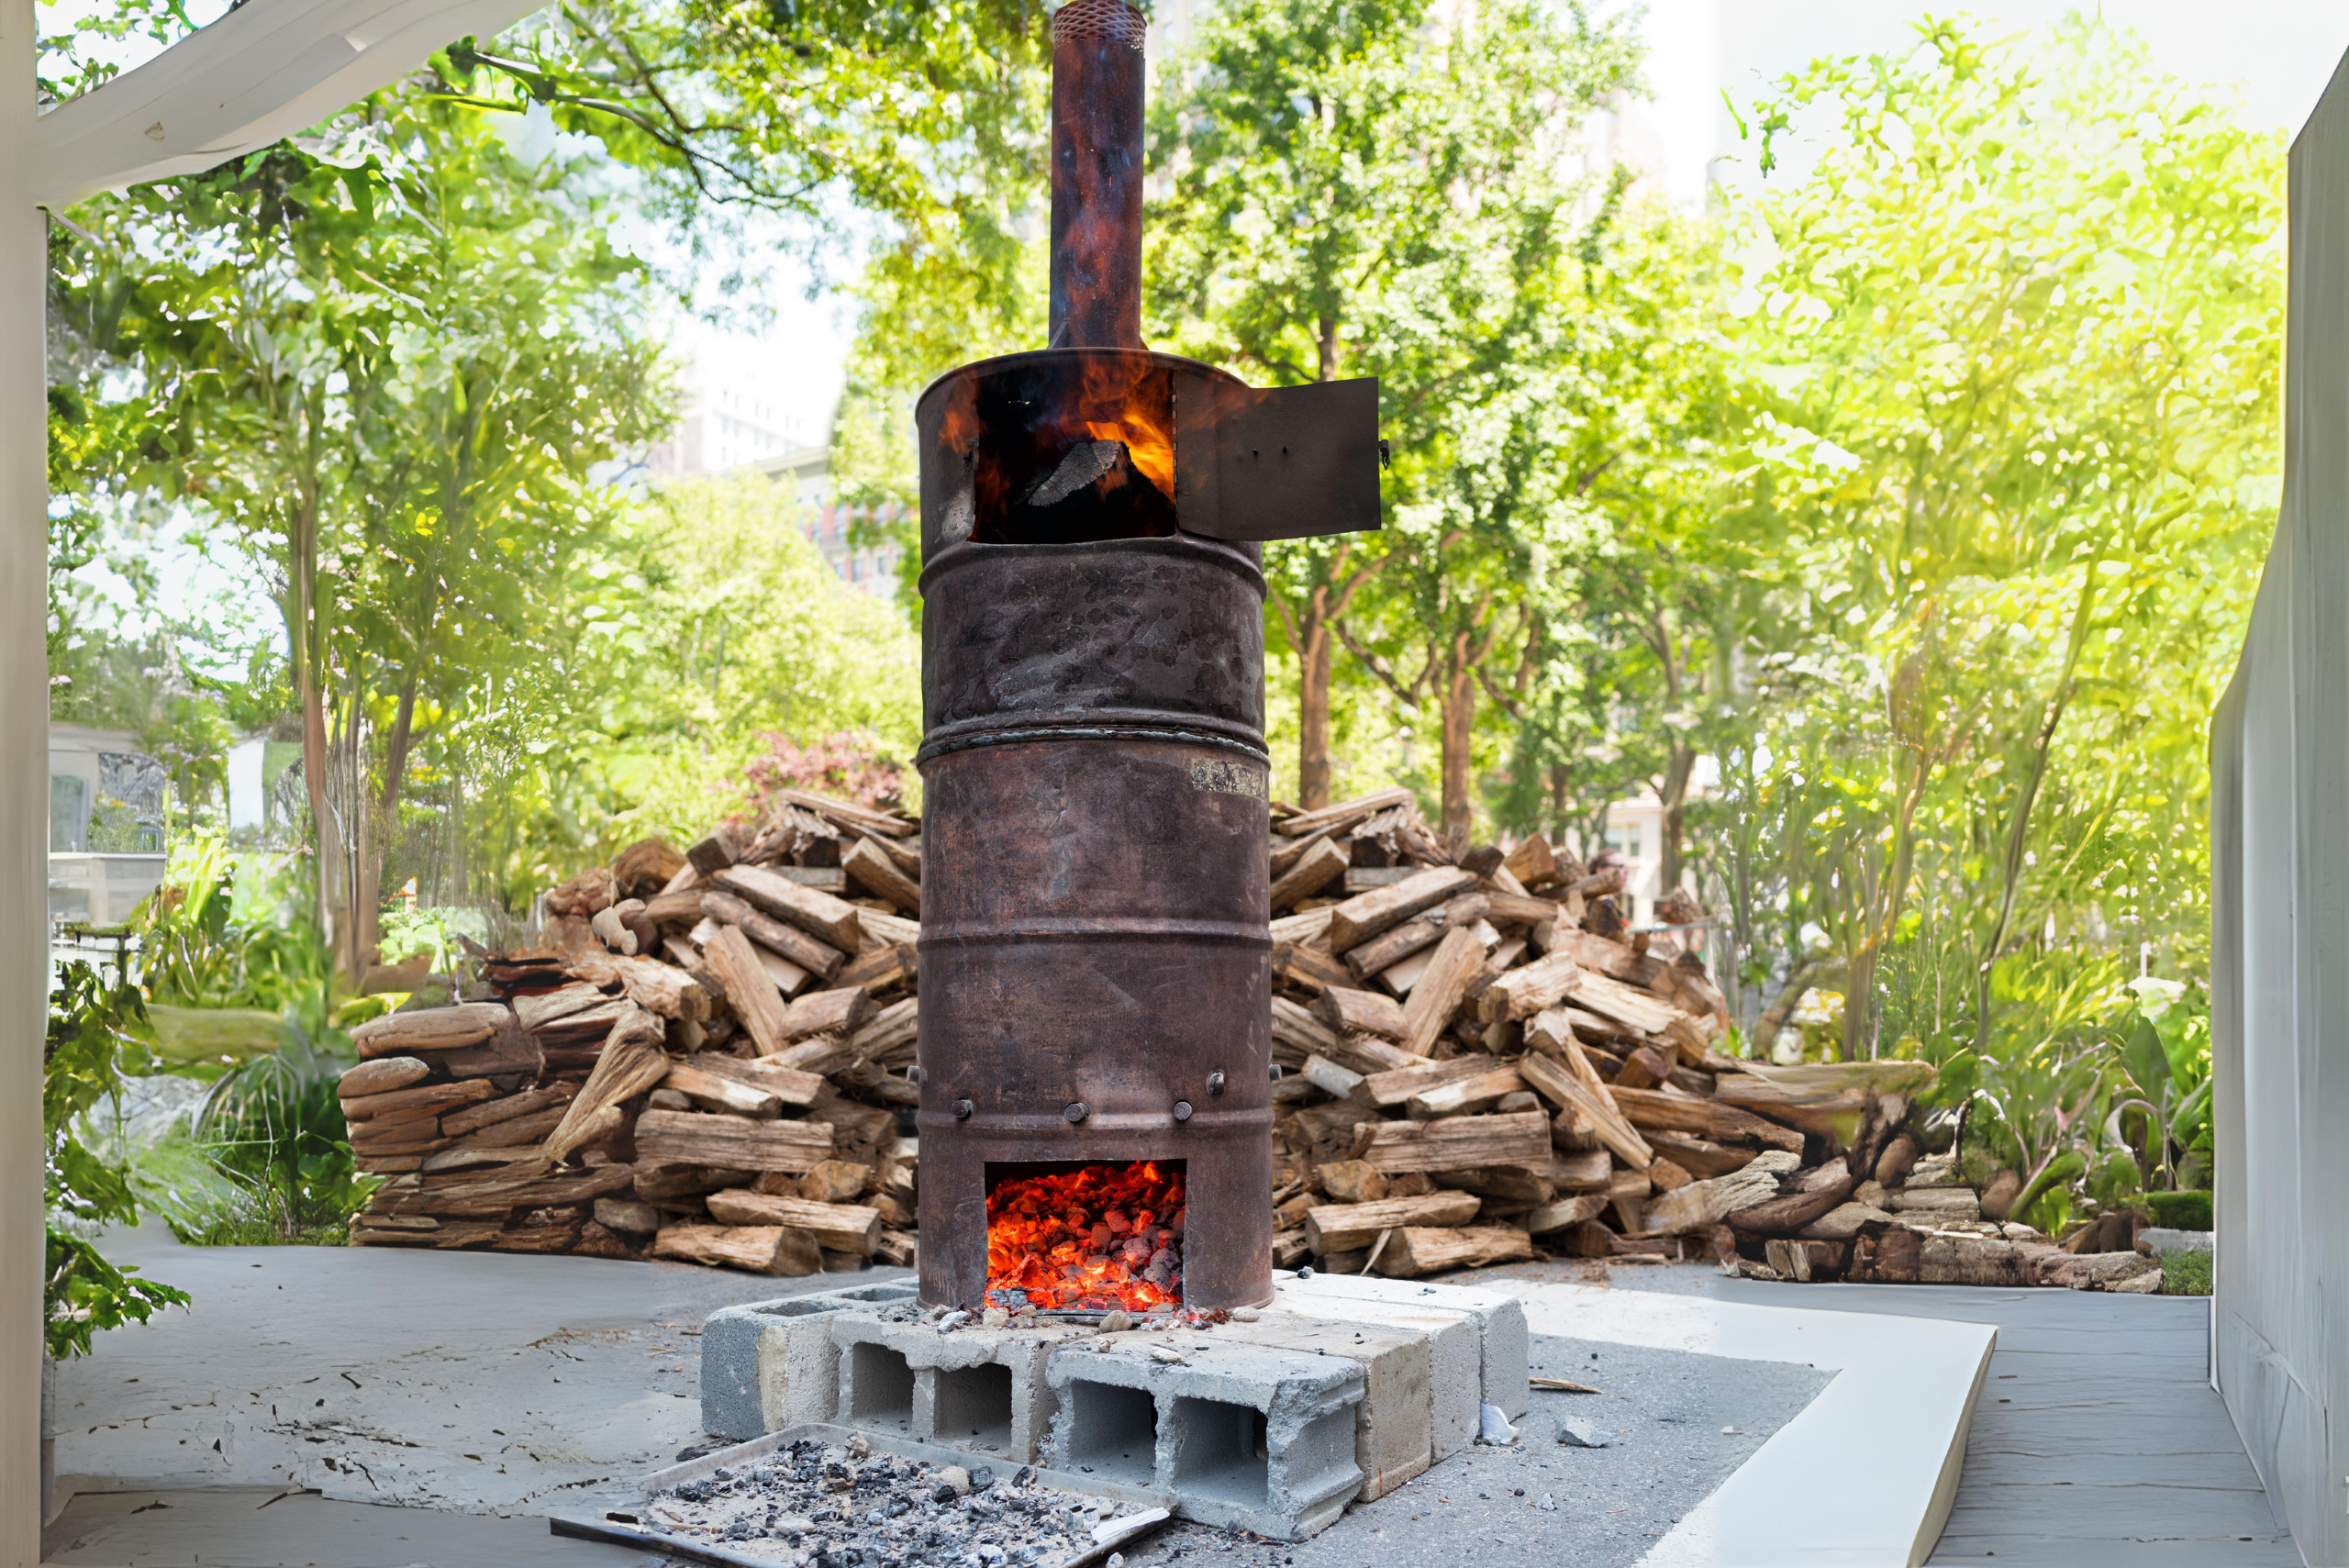
Photo Credit: Canva Pro
Then, do a trial run with a small amount of food to see how the smoker maintains temperature and smoke. It’s common to find that adjustments are needed, particularly with airflow and heat distribution. This iterative process helps refine your smoker’s design for the best cooking results.
Enjoying Your Homemade Smoker – Recipes and Maintenance Tips
Finally, once your homemade smoker is built and properly adjusted, it’s time to enjoy the fruits of your labor. Experiment with different woods like hickory, mesquite, or applewood to create unique flavors. There are plenty of recipes online that can guide you on marinating and cooking times tailored for smoked meats.
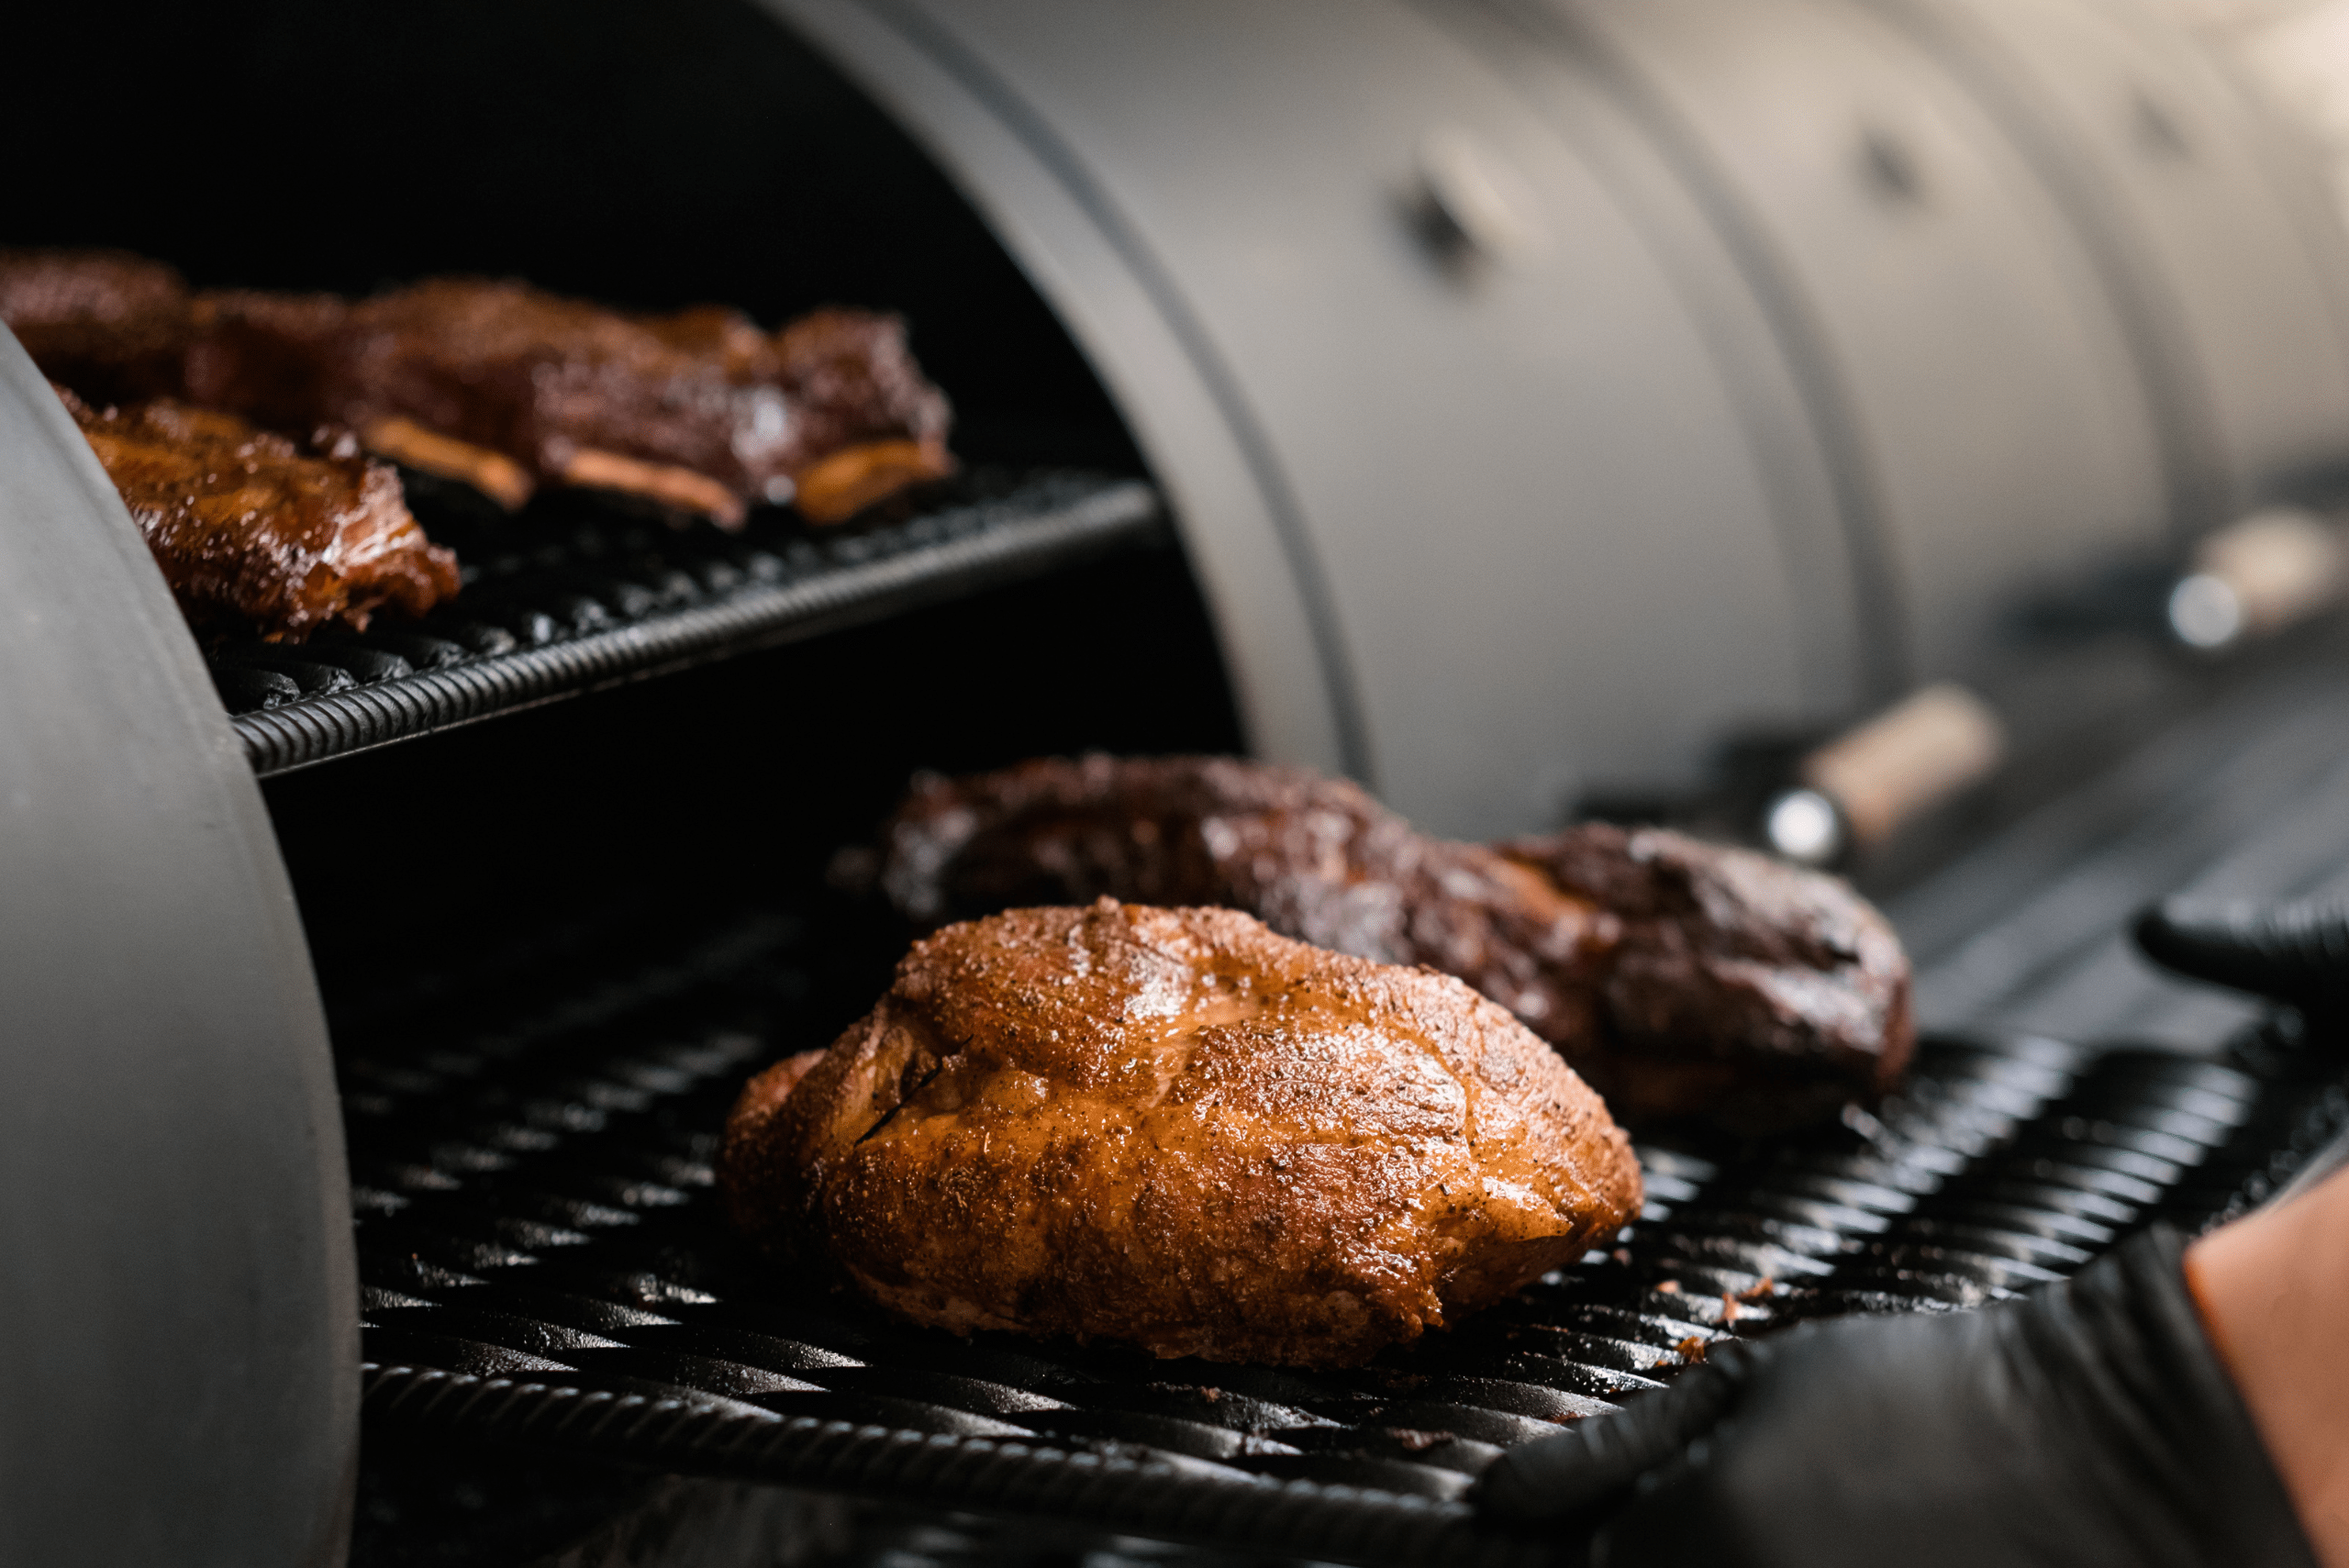
Photo Credit: Canva Pro
Maintenance is also crucial to keep your smoker in good condition. Regularly clean out ash and food residues, and check for any rust or wear, especially if your smoker is kept outdoors. With proper care, your homemade smoker can provide many years of delicious meals and become the centerpiece of many outdoor gatherings.
Related Articles
Building a homemade smoker can be a challenging yet incredibly rewarding project. Not only does it give you control over the design and features, but it also allows you to develop new cooking skills. Whether you’re a seasoned BBQ chef or a curious novice, a homemade smoker is a great addition to your culinary arsenal. Enjoy crafting your smoker and the many tasty experiences that will follow!
Ready to start your next project? Join our DIY community to receive tool tips, how-to guides, and exclusive creative insights. Subscribe to the ManMadeDIY newsletter now! Click here to unlock a world of hands-on inspiration.




Add comment