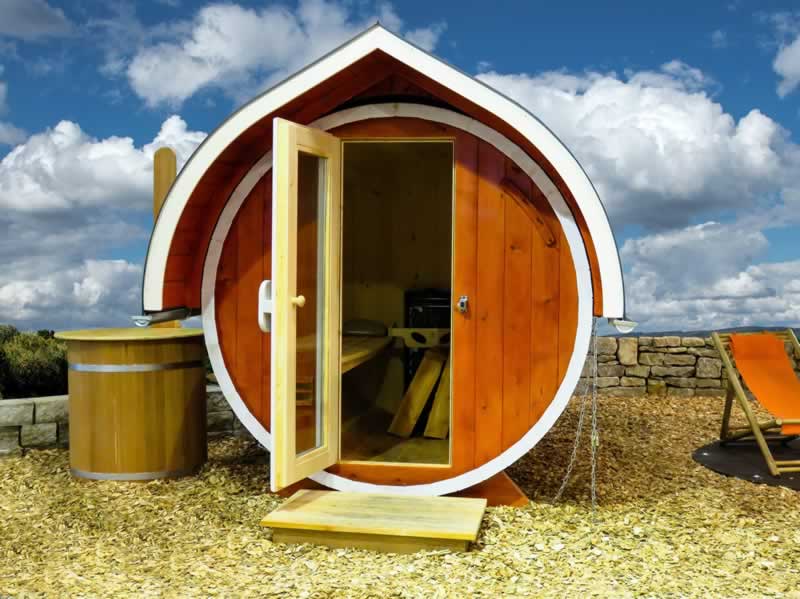
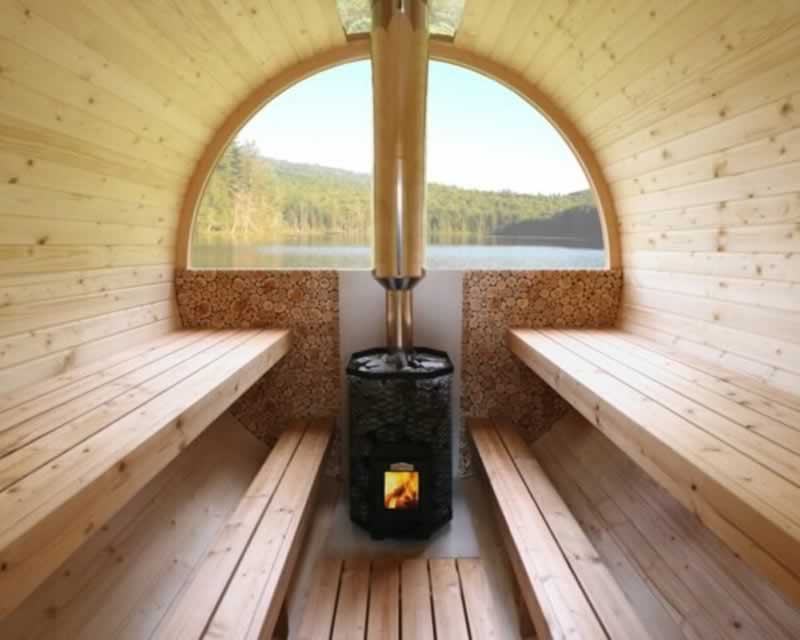
An outdoor sauna is a perfect way to de-stress yourself after a long tiring day or when you just want to relax. However, getting an outdoor sauna installed by a professional can be a bit expensive. But don’t be disheartened. You can still have an outdoor sauna for yourself without spending too much money. How you may ask? By building it yourself of course! Now you might be wondering how to build an outdoor sauna? Well, that is why we are here to help you out.

We noted down all the steps below that you can follow to build a full functioning outdoor sauna for yourself, without spending too much money. If you are not a regular DIYer we suggest you go through each step slowly and study this matter more before diving in. There are a lot of ways to build an outdoor sauna. In this article, we will be explaining how to build it from a shed. Now without any further ado, let’s get started.
Steps to building an outdoor sauna
Unlike other DIY projects, building an outdoor sauna can be a bit complex. Especially if you are not a regular DIYer or are unaware of the basic hardware jargon. If you do find the below steps hard to follow you can buy semi built parts and then install them all together. It is a bit pricey overbuilding it from scratch but it is definitely cheaper than getting it done by professionals. But if you want to do it yourself, we noted down all the basic steps below to build an outdoor sauna.
Step 1: Selecting a location
The first and foremost step of building an outdoor sauna is selecting the perfect location. The location should be convenient and on plain land. It could be in your backyard, somewhere near your house, or any safe and convenient spot. If you don’t have a previously built shed that you could work on to turn into a sauna, then you need to build one from scratch. In that case, you need to select a location that has the right kind of soil to build the perfect foundation.
Step 2: Planning
Now that you have selected the right location to build your outdoor sauna, your next step is to plan. This is a very important step. If you head into this project without proper planning then you will definitely face a lot of problems on the way. Firstly you need to plan out the layout of the room. Plan out where will be the sauna room, the changing room, the heating area, and each of their dimensions. Then plan on the existing points and extra features like windows, seating area, a closet, etc.
Step 3: Selecting supplies
After planning everything out, it is now time to select and collect all supplies to build your sauna. Start with the basic necessities like chimney parts, stove, led light, hardware tools if you don’t have any, and the right kind of wood. The most popular choice of wood is cedar. As it is durable and has a natural resistance to moisture. But you can also use aspen, Scotts pine, Norway spruce, American ash, etc. You can also use wood from old furniture if they are suitable for saunas. That way you can save more cash.
Step 4: Build the hearth
To set up your stove in the sauna you need to build a hearth according to the dimension of your stove. You can use stones, bricks, concrete, or any other strong fire-proof component to make the hearth. I used a concrete slab and bricks to build my outdoor sauna. If you want to do the same as me then buy a separate concrete slab that is a bit bigger than the dimension of your stove. Then build up its height and sides by layering it with bricks and concrete.

Step 5: Set up the stove and chimney
After you’re done building the base of your hearth, carefully place the stove over the hearth. Make sure to be careful about the placement. This is why it is very important to measure your hearth properly while building it. After you’re done placing it, build the top side of the stove. Then install your chimney in place. Hang a plumb bob from the ceiling over the top of the stove and then mark the inside of the roof to cut out the clearance hole. Then secure everything from the stove to the chimney cap. Make sure to cover the extra gap on the roof beside the hole with cement or any other similar material. To cross-check the installation for smoke leaks, test fire the store a few times to make sure that the smoke is coming from the chimney only.
Step 6: Interior furnishing
Now that you are done setting up the core features, it is now time for you to set up the rest of the features in the sauna. Such as the flooring and the walls. If they are shabby polish them and cover them with wood. For a seating space make a lifted area with the wood. Install the door and sliding door for the changing room. Then install the windows (if you plan on having any), lights, etc. Before installing the wooden wall make sure to insulate it with a vapor barrier. You can leave the changing room and the storage room uninsulated. Also, make sure to make proper ventilation points to make the room ventilated. A sauna room needs to have proper ventilation. Congratulations! Now you have an outdoor sauna that you can enjoy. If you made it this far then make sure to give a pat on your back.
Conclusion
If you have followed our instructions so far you will be able to build the perfect outdoor sauna for yourself. And if you are new to the entire building things from scratch concept, then don’t worry you call still build a full functioning sauna by following our instructions. Just make sure to take things slow. We hope you found this article helpful. We tried our best to provide you with all the relevant information that will help you build your outdoor sauna. Thank you for being patient and staying with us till the end.


Add comment