originaloriginal.jpg)
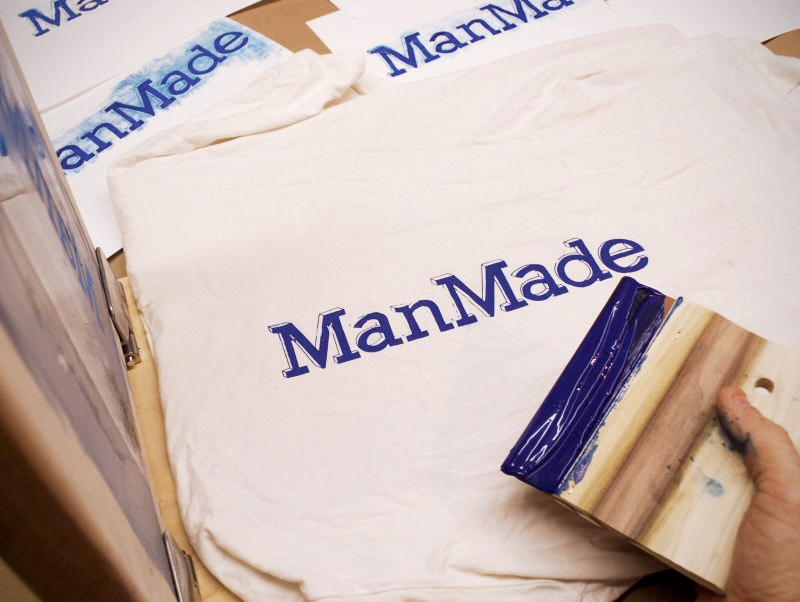
We all have designs, and we all have ideas. And sometimes, they just have to get out of our heads and into the real world. Screen printing is a great way to ink art on just about anything from shirts to posters to wood. If you figure out how to do it right, it’s the easiest way to create dozens of copies fast. So here’s our look at the right gear and techniques you’ll need to get started today.
The Essentials ($50):
original.jpg)
1. Ink mesh ($15) – Start with a simple 110 mesh. This is tight enough to allow detail, but still open enough for the ink to flow without much pressure. Sure you can buy pre-made screens for about $15 each here but for that same price I bought nine feet of mesh. That and some scrap wood built up into square frames means I can make about two dozen screens for the price of one. Here’s the process to make your own.
2. Printer’s Squeegee ($10) – Get a few sizes in these so you can be sure to have the right width for a single swipe. It’s worth getting the rubber version as well for a bit more forgiving control.
original.jpg)
3. Printing ink set ($20) – When you’re starting out, go for dark colors, they’re easier to transfer. I went for a small variety pack to try out some different colors before grabbing a big bottle.
4. Photo emulsion and diazo ($10) – Stick to a smaller bottle on this stuff as it goes bad over time. It comes in two bottles, and takes a few hours to combine after mixing so plan accordingly. If you want, add an emulsion scoop ($10) to make the process a bit cleaner and more consistent.
Helpful Extra Gear to Finish Up Your Kit ($50):
5. Waterproof transparent film ($15) – You can use office supply transparencies, but these can hold more ink for a much more solid image and better pattern development.
original.jpg)
5. Hinge clamps ($20) – This simple set of hinges make any board into a workstation. It holds the screen just above the surface for the bounce you need for a crisp ink transfer.
7. UV exposure light ($10) and darkroom safelight ($5) – There are a few options here, and it comes down to preference. The photo emulsion cures with exposure to UV light, so you can use the sun, a high wattage bulb, or a special exposure bulb placed about 12″ above the screen. The UV light takes about 10-15 minutes (or less, depending on all kinds of variables), and the high watt bulb bakes for closer to 40 minutes. Another important light is the classic darkroom “safe bulb” with no UV so you can light up the workspace without exposing the emulsion. Go for yellow over red; it’s easier to see detail. (But, admittedly, not as cool.)
original.jpg)
Now that you’ve got the stuff, it’s time to get it all set up. Here’s our process piece on our first DIY screen print session. Read all the way to the end for some lessons learned and helpful tips.

