We love a night out as much as anyone, but the truth is: you don’t have to get dressed up to deal with noise and crowds and drop $12 plus a 20% tip to enjoy a great cocktail. Heck, you don’t even technically have to be dressed at all to experience a balanced, well-presented drink. A sidecar tastes just as good in your hole-y PJs as it does with your shirt tucked in. No judgment here.
The truth is, the properly stocked home bar is part of our American tradition. It got lost a bit in the blended neon slushies and pitchers of the 70s, 80s, and 90s (we’re looking at you, Baby Boomers), but from the original speakeasy cocktail days of the 1930s to the space-age swinging bachelor pad of the 50s and 60s, part of being a grown man meant asking “Can I get you something to drink?” and meaning it. But while bartenders have truly turned the craft of the cocktail into artistry, when it comes to infused tinctures and complicated (often fiery) presentations, it’s easy to forget that you can do the same thing at home.
The good news is: you can make an extremely wide variety of cocktails and highballs with just a few essential bottles, some carefully selected mixers and modifiers, and the right gear. They will taste just as delicious and cost only 20 – 25% of what you’d pay in a swanky cocktail bar, or your favorite dive-y watering hole. And since most spirits don’t expire for many years, by assembling the right arsenal, you’ll have the goods on hand and be ready to go whenever the occasion calls for it.
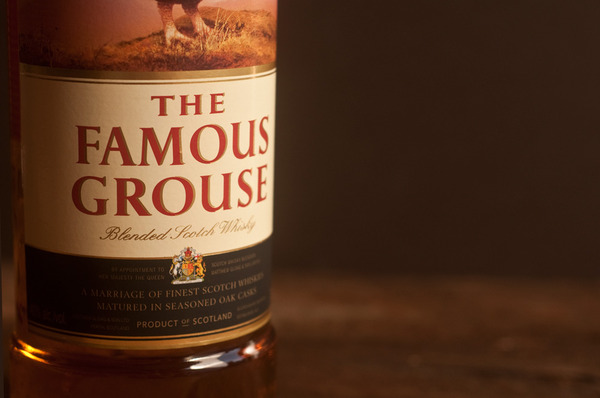
So, we’re offering a serious man’s guide to building an amazing home bar by focusing on the essentials. We’re teaming up with our friends at The Famous Grouse, makers of the best-selling Scotch whisky in Scotland for the last 30 years, to bring you the bottles, the gear, and the techniques to turn out amazing cocktails at home.
No crowds required.
The Eight Essential Bottles
Despite the rows and rows of up-lighted spirits you see behind those vest-wearing drink shakers, you can make an enormous variety of drinks with a mere eight bottles. Here’s the all-star team:
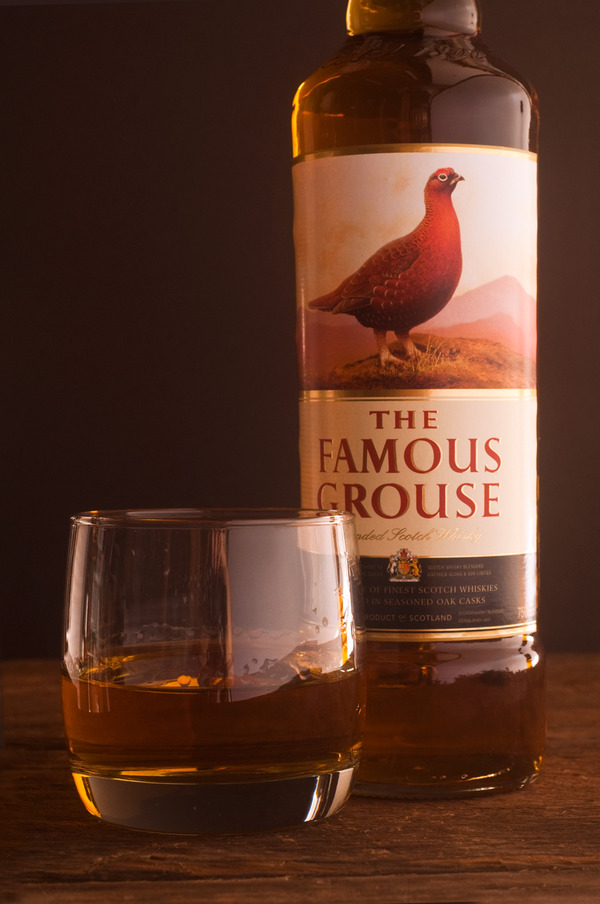
1. The Famous Grouse Blended Scotch: Balanced, crisp with just the right amount of malt, The Famous Grouse is a killer option for a wide variety of cocktails and for simply sipping neat. In it, you’ll taste well-balanced oak and sherry flavores with a hint of citrus, and some really nice Speyside fruitiness. Whisky is the backbone for a huge variety of classic cocktails, and this is seriously one of the best blends its class.
2. London Dry Gin: Bright, bold, and aromatic, it’s key to most classic cocktails that aren’t whisky-based, and essential in spring and summer. London Dry Gin is the most versatile option, and can be mixed with a variety of ingredients without flavor clash.
3. Blanco Tequila: Often called “silver” in the states, this is pure, unaged agave flavor that holds it own in a cocktail. Aged tequilas like añejo or reposados have their place, but if you want it to taste like tequila, go for a 100% agave blanco. No shot glasses or salt shakers need apply.
4. Vodka: Essentially tasteless, vodka is used to add body and fortitude to a variety of mixed drinks. We wouldn’t make a martini with it, but it’s a great way to extend a cocktail or more expensive ingredients. Simple, affordable options from Russia or Scandinavia get the job done.
5. Kentucky Bourbon: Sweet and corn-forward, this is America’s native spirit. A great complement to The Famous Grouse blended Scotch, which, together, can meet all your whisky cocktail needs.
6. Amber Rum: Like whisky, and unlike tequila, aged rums really show what the spirit can do in a mixed drink. “Amber” is not the same thing as spiced rum, but is the same product as gold rum. The color here simply comes from the barrel-aging process. Look for a relatively young rum for cocktails (five years or so), and avoid anything with any tropical, neon colors on the bottle.
7. Sweet Vermouth: Technically a fortified wine rather than a true distilled spirit, vermouth is the most classic of cocktail modifiers. If you’re a true martini fan, you’ll also want to stock dry vermouth (see below), but the sweet is much more versatile and works in a variety of drinks.
8. Orange liqueur – This inclusion incorporates triple sec and curaçao and other orange liqueurs that have been part of the cocktail arsenal since its earliest days. Feel free to spend a little more here; you’ll use much less of these guys than your base spirits, and it really adds elegance to a drink.
Essential Mixers and Bitters
Some drinks are just pure spirits (a Negroni, for example), but most incorporate a variety of secondary ingredients to add flavor, body, energy, and proper dilution. There are a million options here, but these are the guys to keep around all the time, every time.
- Angostura bitters: Bitters are the salt and pepper of the cocktail, and Angostura is the classic. If a recipe doesn’t specify a type of bitters, it means Angostura. Get ’em, use ’em, love ’em.
- Orange bitters: The most versatile partner to Angostura. Great orange bitters have the perfect balance between sweet fruit and bitter pith, just like an orange should have.
- Good tonic water: Unfortunately, most commercial tonics are just too sweet. You can cut these with soda water, but that dilutes that essential herbal, tonic flavor. Instead, look for some of the newer, smaller batch, high quality tonics that have emerged in the last decade.
- Soda water: If you have a home carbonation system you’re set here, but keeping some glass bottles or cans of soda on hand is essential for effervescent cocktails. Opening them fresh keeps the bubbles coming.
- Ginger ale/beer: A classic component of a wide variety of cocktail, ginger ale adds bubbles, dilution, sweetness, and aromatic spice all in one. Like tonic water, look for a quality, smaller batch variety that you can keep in bottles or cans for when the need comes up.
- Simple syrup: Sugar doesn’t dissolve in cold water, or in alcohol. So, cocktails often call for simple syrup, a 1:1 mixer of sugar and water, heated and stirred until combined. We often make a 2:1 sugar to water syrup, which lasts much, much longer in the fridge (up to six months). Just cut the portion in half when mixing, and it’s good to go for when you need it.
- Fresh lemons and limes (and grapefruits and oranges): Fresh citrus juice is a major component in many recipes, but the peels of these guys are just as important, as they contain all the essential oils that flavor the glass and smell amazing. Of course, these don’t last forever and don’t keep indefinitely in your home bar, but as you get into home cocktail craft, you’ll start to pick them up on your regular grocery trips.
Step It Up
The above are the essentials, and with them, you can make thousands of drinks. Once you’re ready to increase you cocktail game, here are a few additional spirits, modifiers, and bitters that will seriously expand your palette.
- Italian bitter liqueurs, known as amari
- Rye whiskey
- Genever, the Dutch antecedent to gin
- Brandy (American) or Cognac
- Dry vermouth
- White rum
- Peychaud’s bitters, another classic
- “Wildcard” bitters: there are dozens out there. Pick a signature flavor to add a personal stamp to your creations.
The Glasses
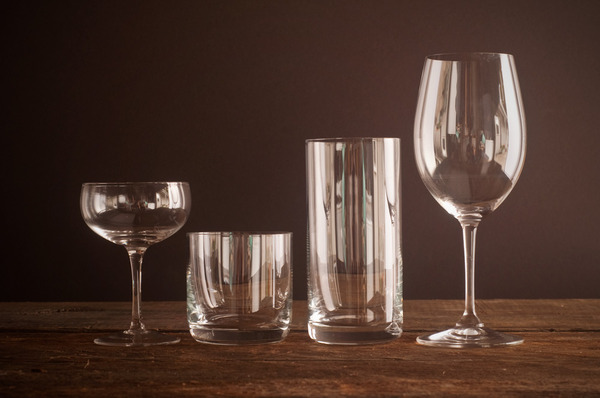
There are dozens of specific cocktail glasses out there. The good news is: you only need four, and you probably already own three of them
- 6 oz. martini or coupe glass – a proper Martini is only 3-4 oz. Avoid the gigantic 10-12 oz fishbowls and get the proper glass for the job. These will work for any drinks that are stirred or shaken with ice and served “up”. If you opt for the coupe glass route (curved sides rather than straight), you 1) will look cooler and 2) can use them for serving sparkling wine
- 8 oz. rocks glass – this is a heavy bottomed glass used for serving neat whisky, simple highballs or two ingredient cocktails, or drinking “on the rocks.”
- 16 oz. highball glass – the standard glass you drink water from everyday. These are good for “tall” drinks, or cocktails that are mixed with lots of ice and soda for slow, cool sipping.
- Stemmed wine glasses – you do not need champagne flutes. You do not need any specialty glasses, unless you specifically love drinking neat whisky and opt for the go-to Glencairn. You need large bowl wine glasses, from which you can drink everything from cold bubbly drinks to brandy in, if you hold them properly. The large opening allows for maximum aroma.
The Tools
Once you’ve assembled your software, it’s time to build the collection of hardware you’ll use to transform those ingredients into a proper cocktail. You can go crazy here, but really, there are just a few tools that you absolutely must have to begin, and you can expand your arsenal as you develop your skills.
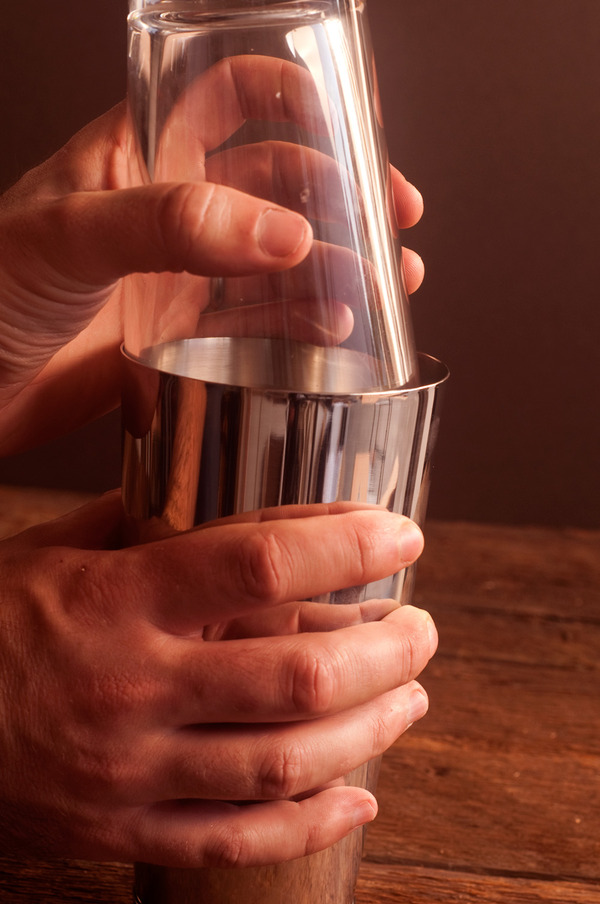
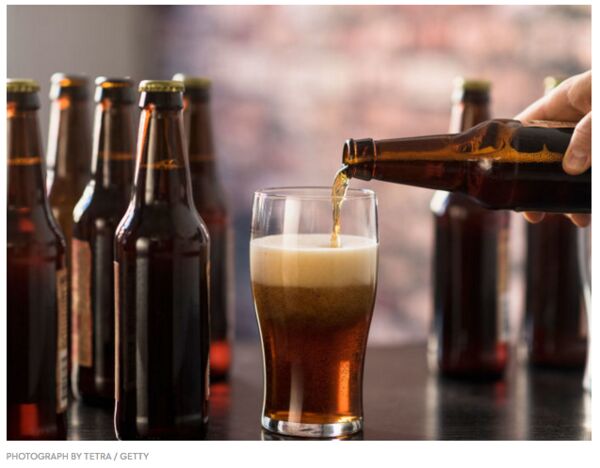
First up, the shaker. You might be familiar with the all metal, three-part “Cobbler” shaker with the built-in strainer and lid. Skip that one and go for a Boston shaker, with consists of a weighted 25-30 oz shaking tin that’s sized to match with a standard 16 oz pint glass (the kind you can find anywhere and in which you would likely be served a pint of beer.) These two are held together by a vacuum. Combined, you can shake cocktails with ice, or you can simply use the glass component to stir drinks.
Recommended:
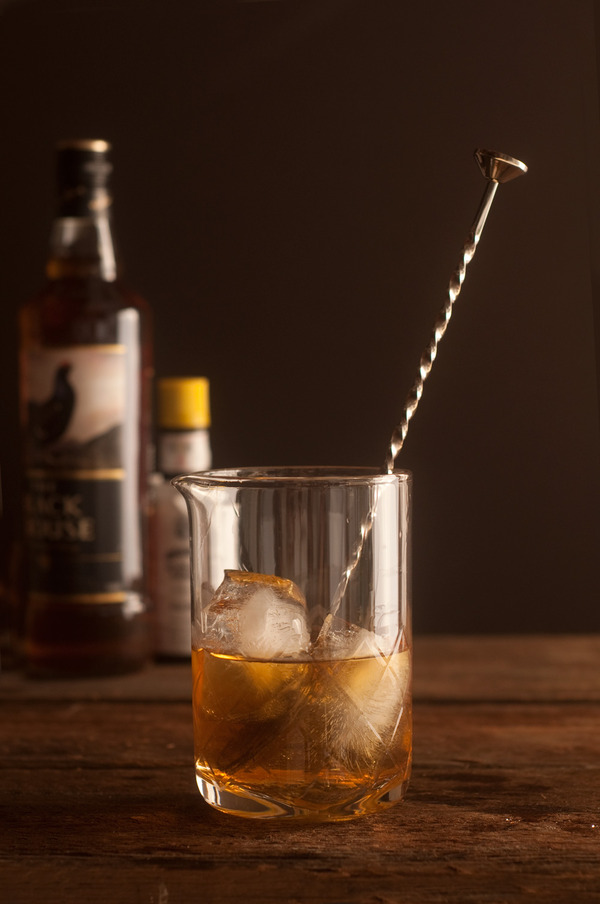
You can stir cocktails with the glass from your Boston shaker set, but for style points, nothing beats a dedicated quilted glass. These are much larger and allow you to really spin your spoon around, mixing two cocktails at once. A must-have for fans of stirred cocktails like martinis, Negronis, and Manhattans, plus they just look darn cool sitting on your bar cart, especially if you pony up the extra couple bucks for a seamless version
Oh, and these is a good place to discuss another question: When should you shake a cocktail vs stir it?
- You should shake: when a cocktail contains cloudy or opaque ingredients like juice, dairy, fresh citrus, or eggs.
- You should stir: when a cocktail only contains spirits or clear liquids
So, margarita? Shake it. Gin martini? Stir. Sorry, 007. Good at spying; bad at cocktails.
Recommended:
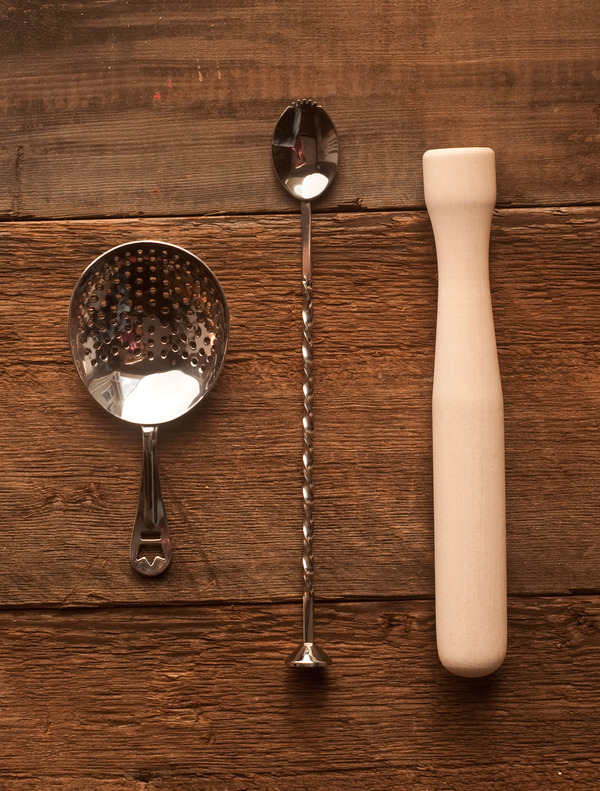 The tools you need to interact with the ingredients in your glass or shaker are three: the strainer, the cocktail spoon, and the muddler.
The strainer does just that: it keeps the ice and other little bits in the shaker while you pour into the serving glass. We prefer the julep strainer over the spring-y Hawthorne strainer; in this case, simpler is better.
Recommended:
The bar spoon is used for stirring drinks in a mixing glass. The spoon at one end is also a standard measurement (about 5 ml or 1 teaspoon). Many recipes will call for a bar spoon of sugar or a liqueur, for example. The spoon’s long handle is twisty, which you can use to aid in the making of a curly twist for garnish. Often, you’ll find something else at the end – either a fork for cherries or olives, or a small muddler for pounding ingredients.
Recommended:
The muddler is a mini baseball bat looking thing that’s used to crush ingredients like fresh fruit and herbs at the bottom of a glass to release their essential oils and rich flavors. There are many styles; just look for a long one that best accommodates your hand size. And if you happen to have a wood lathe or a 1 1/2″ thick hardwood dowel and a crosscut saw, by all means, make your own.
Recommended:
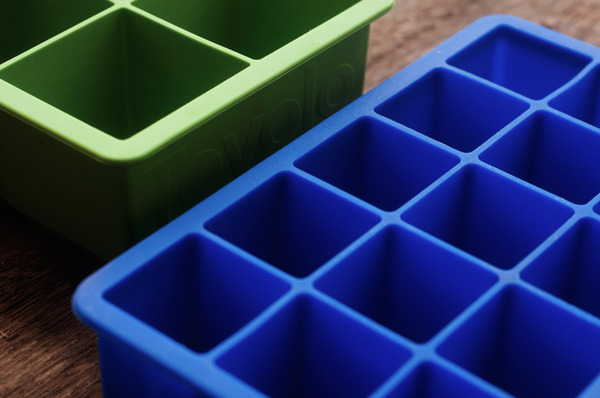
You can use your standard ice maker or tray ice for stirring and shaking, but for serving, go for something special that interacts well with the content. You can really get into ice size and clarity and technique, but for the home bartender, two silicone trays are nice: one in 2″ square size for drinks made with aged spirits and drinking “on the rocks,” and one 1″ square. The larger size is great, as it will slow the dilution rate of your cocktail or whisky, allowing it to be chilled, but not water-y. The 1″ cube fit in the glass better, and allow you to customize just the right amount. Plus, they look much better in the drink.
Recommended:
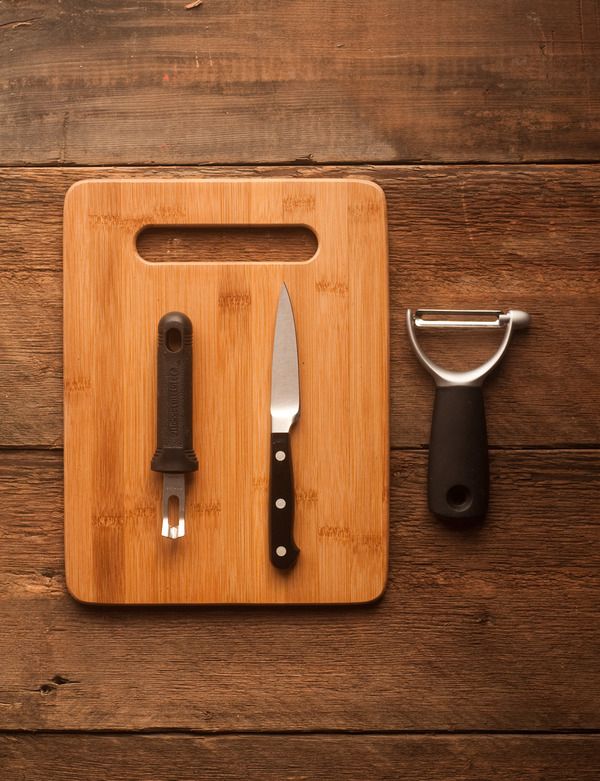
Fresh citrus is a major ingredient in lots of cocktails, and definitely the most prominent ingredient after spirits and ice. The deeper you get into making great drinks at home, the more you’ll regularly be grabbing lots of fresh limes and lemons at the supermarket. Citrus is valuable for both its juice, which adds acidity and volume, and its zest or peel, which contains all the essential oils. The outside of a lemon, for example, smells much more like a lemon than the inside.
To get the most out of your citrus, you’ll need a few tools. First, a small paring knife and cutting board that you can keep with your cocktail tools. If that’s already in your kitchen, you’re all set, and can use the same on you’d use in your weeknight cooking. But if you have a home bar or bar cart, a simple cutting board is a must. First, it’ll always be available when you need it, and not occupied with what’s happening for dinner. Second, cutting boards can pick up flavors, so one dedicated to cocktails and citrus will guarantee your drink doesn’t taste like old garlic. And third, they provide a place to set down cold, wet shakers and mixing glasses, so you don’t ruin your furniture. A small knife will … uh, cut things in half. Preferably not fingers.
Recommended:
To separate the citrus zest from the fruit, you have two options. A channel knife will create a long strip of zest, good for twists and horseneck garnishes and impressing your friends with your ability to cut a long spiral in a single motion. A Y-shaped vegetable peeler, non-serrated, works best to remove wide swaths of zest, great for pieces that are muddled or rubbed inside the glass.
Recommended:
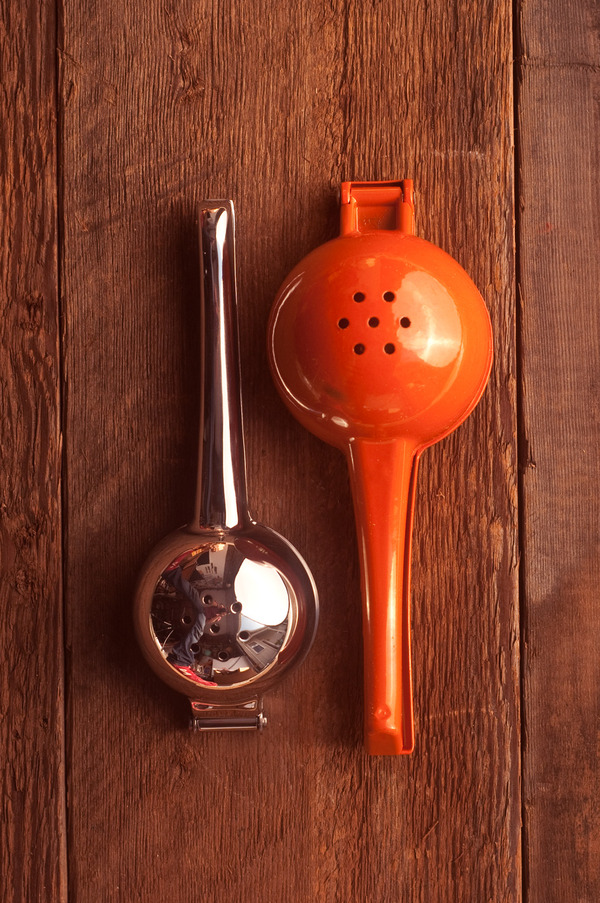
Citrus comes in many sizes, from tiny kumquats to volleyball-sized pomelos. For cocktail purposes, you can divide them into small and large, and grab a tool for each category. You can find citrus presses in enamel colors for every type, but in reality, you just need two: a medium size for lemons and limes, and a larger one for oranges and grapefruits (which you’ll need to quarter).
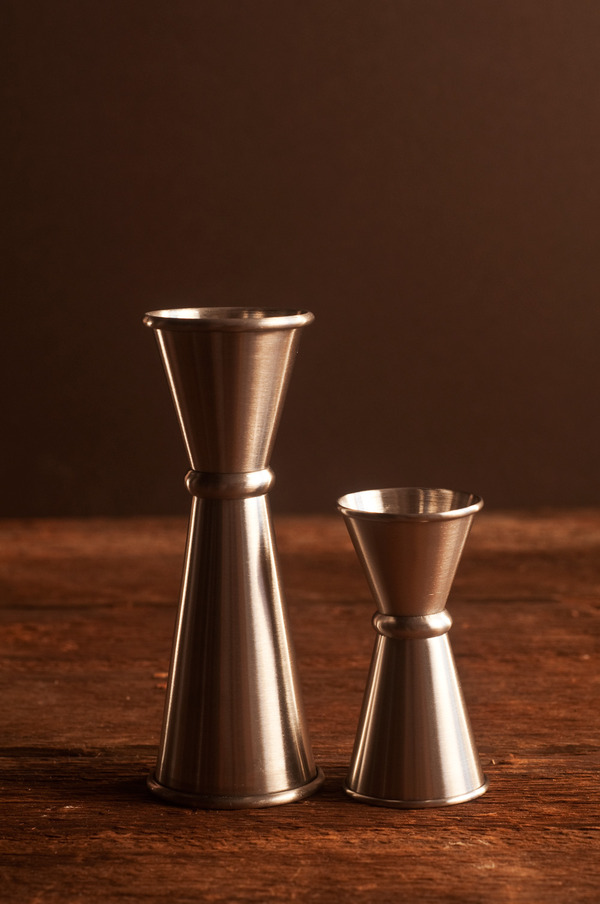 To measure ingredients, bartenders use a tool called a jigger. These are standardized measuring cups, and supermarket options often feature 1-oz (a “pony”) and 1-and-1/2-oz (a “jigger”) portions. Instead, we suggest a different route: a 1 and 2 oz, and 3/4 and 1/2 oz. This way, you can just look at them and remember the bigger one has whole measurements, and the smaller has the fractions. If you need a quarter ounce, you can eyeball it by filling the 1/2 oz one halfway, or busting out your barspoon and filling it twice. (One teaspoon = .16 oz)
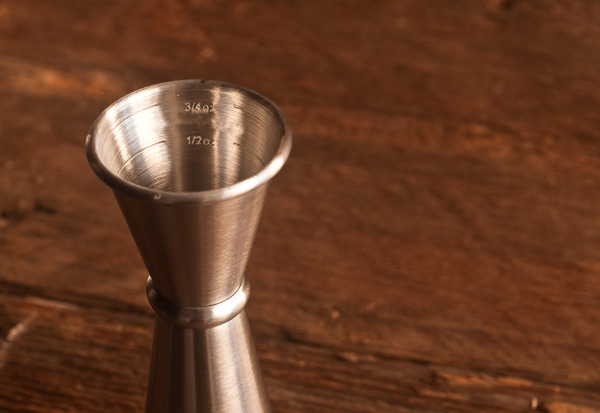
Our favorite jigger from the Cocktail Kingdom features gradations inside, so you can get away with just one tool for all your measurements. We also regularly use the Oxo Mini Angled Measuring Cup, which would be perfect if it only had a 3/4 oz. gradation (it’s particularly good at catching the juice coming from a press).
Recommended:
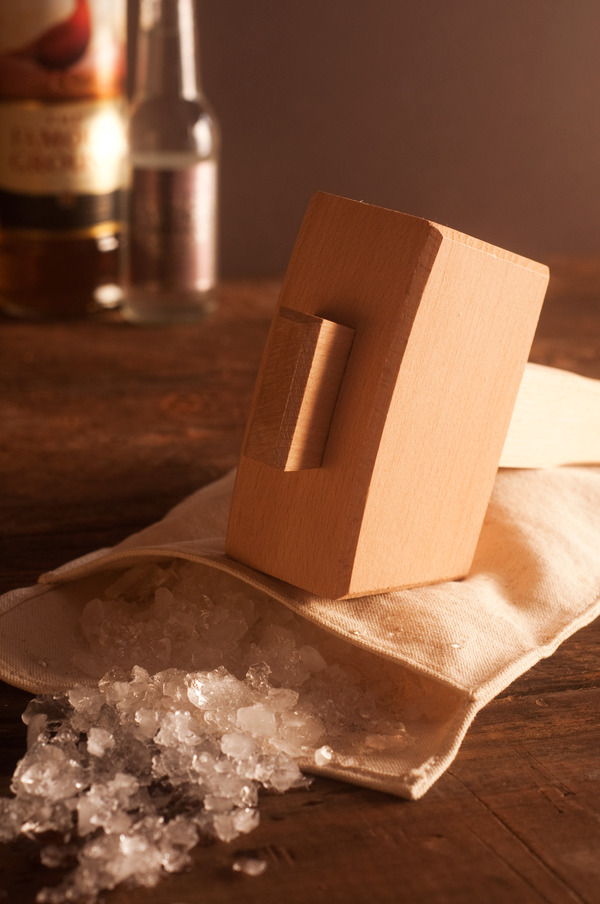
Lastly, some drinks call for cracked ice. You can use your blender or special machines for this, but that’s overkill for a single cocktail or two. For small batches, we love the excellently old school method of bashing the ice with a woodworker’s mallet inside a canvas envelope known as a Lewis bag. No other methods need apply.
Recommended:
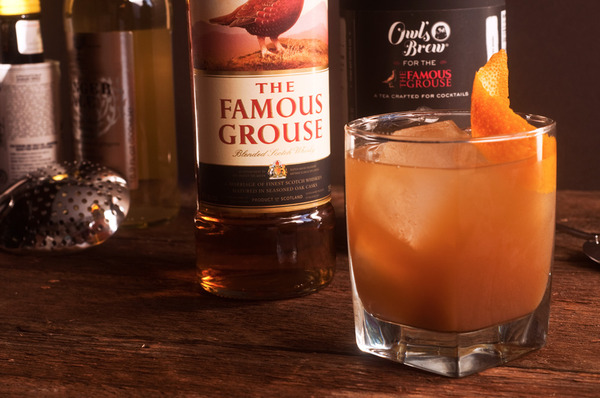 Okay. Time to put it all together into a cocktail. Since it’s fall, we designed one that highlights the warm, spicy flavors of The Famous Grouse whisky, the smokey tones of Earl Grey tea, and bold, fresh orange. It’s made with a lapsang tea syrup by The Owl’s Brew that’s custom formulated to go with The Famous Grouse, which you can find here. The drink is called the Field Jacket, cause that’s exactly what you need this time of year. So, go check out the full recipe at The Famous Grouse’s Facebook page.
Click Here for The Field Jacket cocktail recipe on Facebook
This blog post was sponsored by The Famous Grouse. Thanks for supporting the brands that allow us to continue to give away original content for free.


