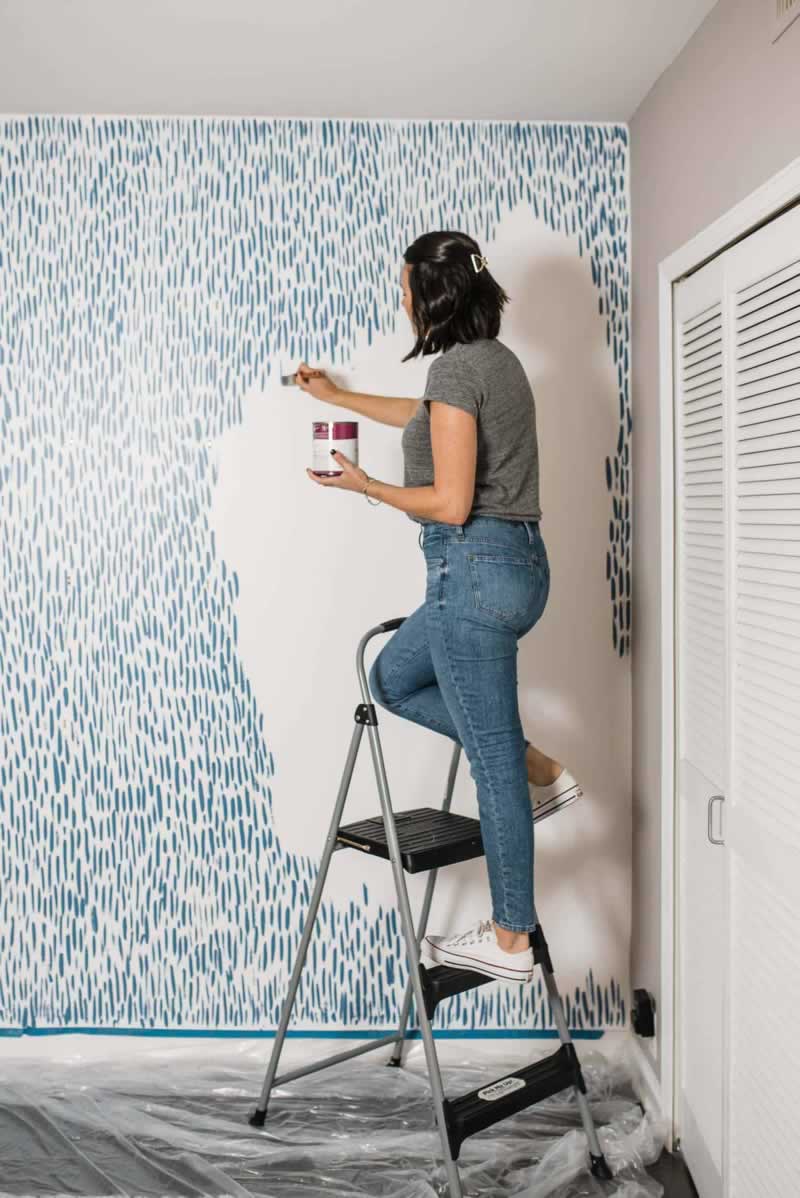
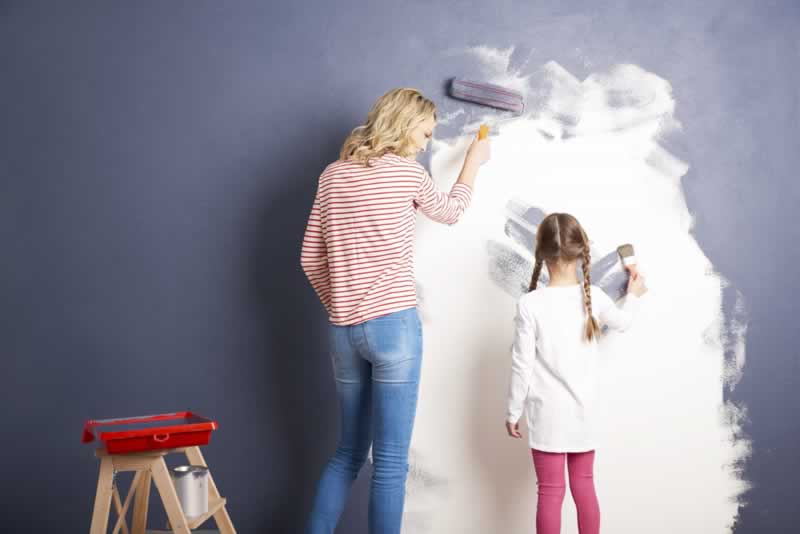
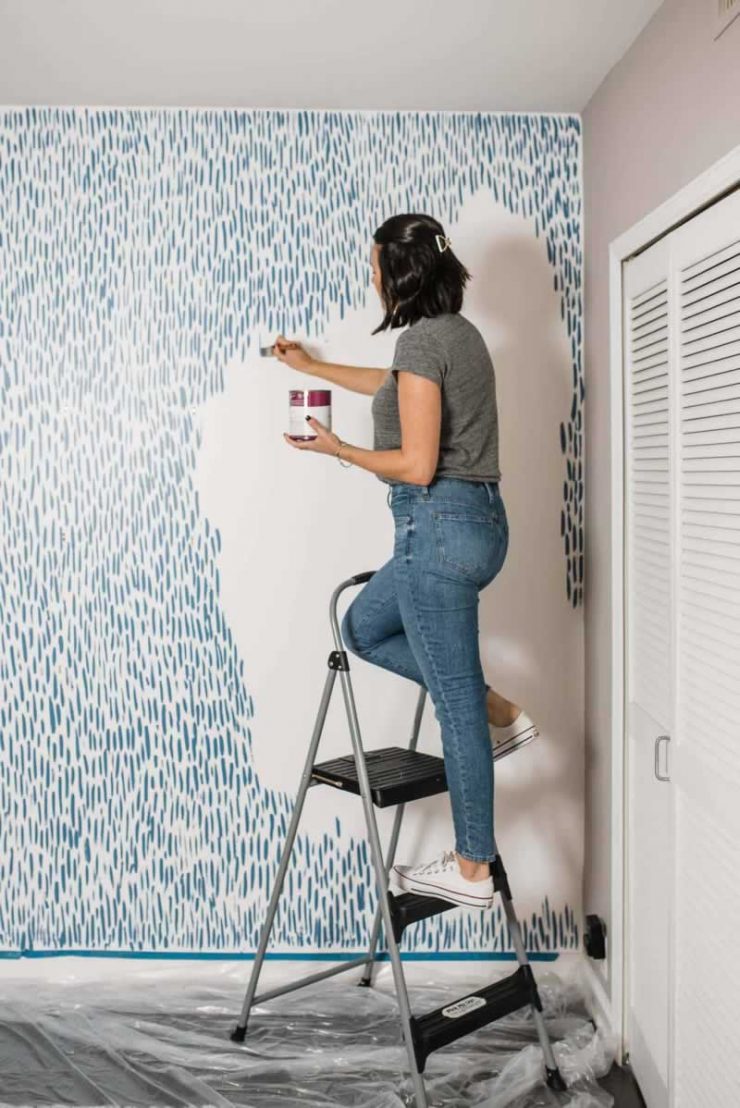
A little home improvement is about to commence, and you’re eager to start beautifying those walls with a fresh coat of paint—arguably, one of the easiest parts of the project. Understandably, this may be a bit intimidating for a first-timer, but you need not worry since Hometown Painting has your back.

Aside from being relatively easy, DIY painting also makes your project more affordable. However, before you start buying supplies, consider applying these useful tips to ensure everything goes on without a hitch.
Tips and Tricks to Painting Walls Like a Pro
How do you paint your walls like a professional or, at the very least, close to one? Take note of these tips.
Tip #1: Prepare the Walls
Now, this is a fairly obvious first step, right?
Still, a first-timer is prone to making the mistake of painting on unprepped walls. It won’t matter how beautifully you paint or how gorgeous the color is; if your walls are dirty, then the outcome will be disappointing. Remove any and all forms of dirt from the walls and fill in the holes. Apply spackling paste using a palate or utility knife, then wait for the paste to dry. Once it does, rub fine sandpaper over the area until it smoothens. With a damp cloth, wipe down the dust from the newly sanded area. If the walls are oily or a bit greasy, use a specially formulated cleaner to remove the slick. Paint normally doesn’t adhere well to oily or greasy walls.
Tip #2: Go Large Scale When It Comes to Paint Swatches
A rookie mistake is swatching sample-size paint on your walls as opposed to using large-scale swatches. These can be moved around and taken on or off any section of the wall that you like. You can better visualize the outcome with this option compared with painted swatches. Test out the swatches in your most ideal scenarios and see if they work. Do the colors look good in natural light or artificial light? Do they work outdoors? How about in your bedroom? With large-scale swatches, there is better visualization of the different possibilities. That way, you’re unlikely to be disappointed with the results.
Tip #3: Go for High-Quality Supplies
From brushes and painter’s tapes to roller covers, make it a point to purchase good quality materials. If you’re using top-notch paint for your project, the rest of the supplies should match it. Using grade-a roller covers and brushes ensures great coverage and minimal re-application if any. In addition, using premium painter’s tape means you’ve sealed off whatever needs to be sealed off effectively.
Tip #4: Protect the Rest of the Room
Any area or object you don’t want to get paint on should be covered properly. Cover furniture pieces with drop cloths. Do the same with the floor. Then, tape around window frames and moldings firmly—you don’t want the paint to slip under the tape. Again, using high-end painter’s tape could ensure that not even a bit of paint makes it to these areas.

Tip #5: Out With the Outlet Covers and Light Switches
You can’t start painting your walls without unscrewing outlet covers and light switches. Make sure to keep them all together in one area or, better yet, inside a container, so they don’t get lost. Have a container for each size and variety of screws and their respective cover.
Tip #6: Line the Paint Tray
Cleaning paint off your paint trays can be a huge hassle if you forget to line them with tin foil or plastic tray liners. In that case, the job becomes pretty easy, since all you have to do is throw the liners out, and you’re done!
Tip #7: Use a Smaller Brush for Areas You Cannot Paint With a Paint Roller
There are bound to be areas you cannot properly cover with a paint roller, such as wall corners and areas around windows, ceilings, and baseboards. For these spots, use a paintbrush or an angled brush so you can paint them effectively while not getting paint where you’re not supposed to.
Tip #8: Use an Extendable Paint Roller
Speaking of hard-to-paint areas, high areas are usually among them. You can cover these easily using an extendable paint roller. You can also opt for a roller with a base you can screw a handle to or attach to a broom handle so you won’t have to use a ladder when painting the ceiling or areas close to it.
Tip #9: The Key Is to Paint from Top to Bottom
Not only is this easier to do, but it also creates a better and more even outcome. Apply paint to your walls in a downward motion once you’ve cut in the ceiling’s edges and baseboards with a brush. This should have you doing things efficiently with minimal splatters and drips.
That’s a Wrap!
There you have it—nine useful tips to ensure a hassle-free and efficient DIY paint job at home or at the office. You’ll love it! There’ll be zero to few reapplications and no more than a minor clean-up job in most cases.


Add comment