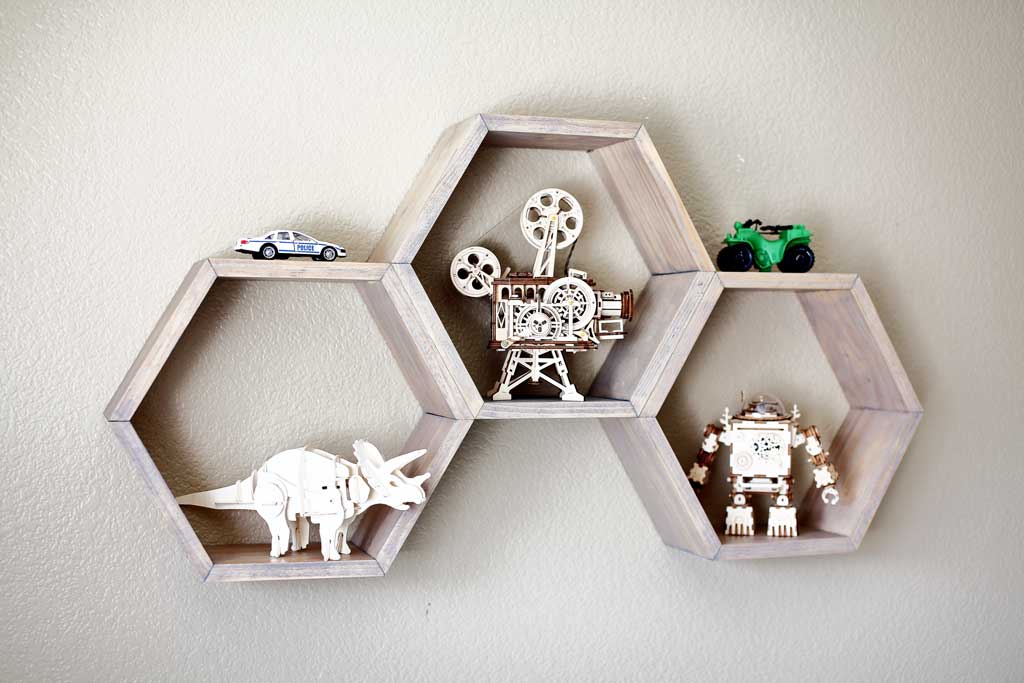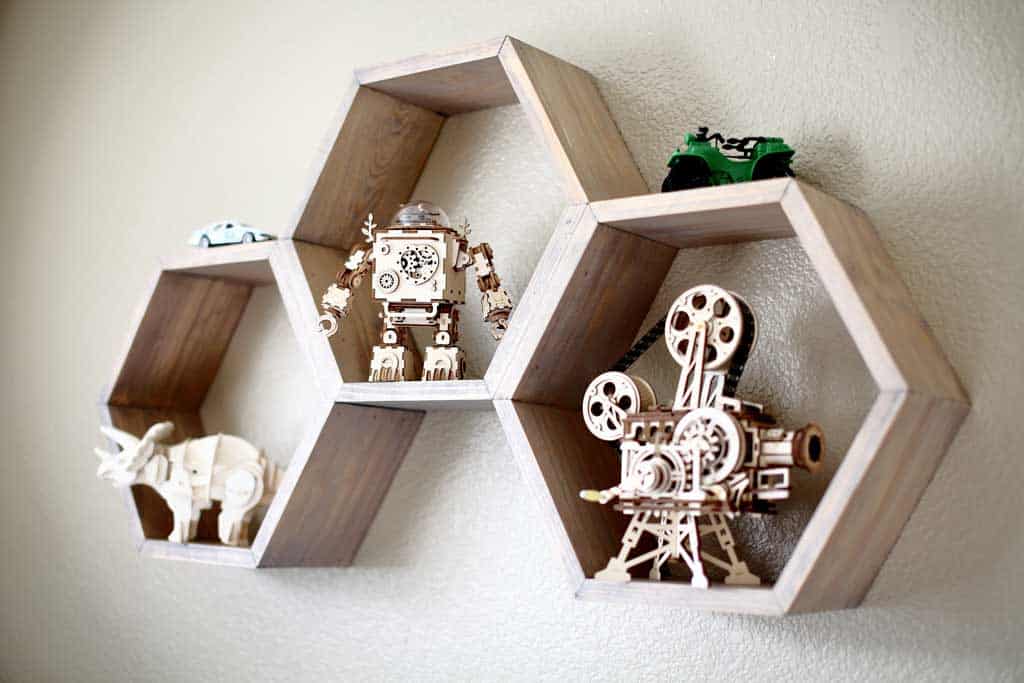
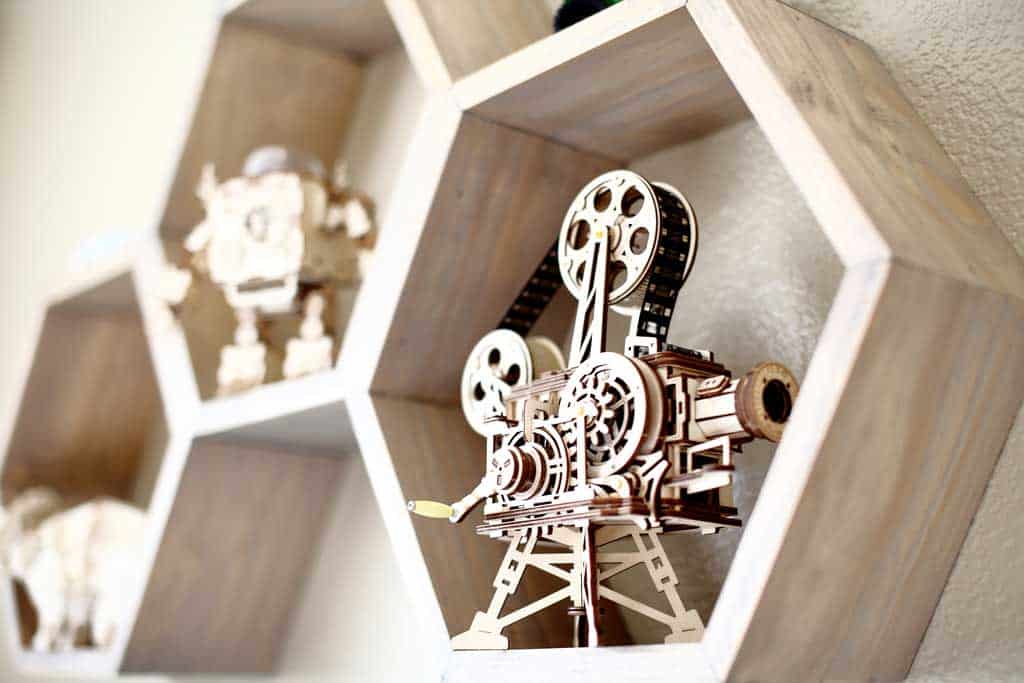
Have you ever built a project that turned out amazing and you wanted the whole world to see it? Together with our kids, we just finished building a few 3D puzzles from Allesimo and they look awesome. These puzzles had to be displayed somewhere for all to see. So I decided to build a DIY Honeycomb Wall Shelf for kids to show off their work. I’ve also created plans on how to make these shelves.
This project was sponsored by Allesimo. Click this link to get 15% off Allessimo Today!
Children who find traditional puzzles boring won’t be able to resist the appeal of a 3D puzzle.
Learning Benefits of 3D Puzzles
3D puzzles will fascinate your child. Let’s go over a couple of ways these puzzles will impact kids.
Reasons to let kids play with 3D puzzles:
- Problem-solving skills
- Emotional skills
- Physical hand-eye coordination
- Memory
- Social skills
3D Puzzles Improve Problem Solving Skills
When your child faces multiple options for solving a puzzle, they need to exercise their brains to organize the situation. As your child begins sorting through the different pieces, their minds will begin laying out the best approach.
The great thing about 3D puzzles – they motivate children to keep going, with a strong reward at the end.
These puzzles also allow your child to explore topics that interest them. There are many variations of wooden 3D puzzles which allow your child to build cars, planes, or trains, and even animals.
If your child is interested in houses, they can build them too!
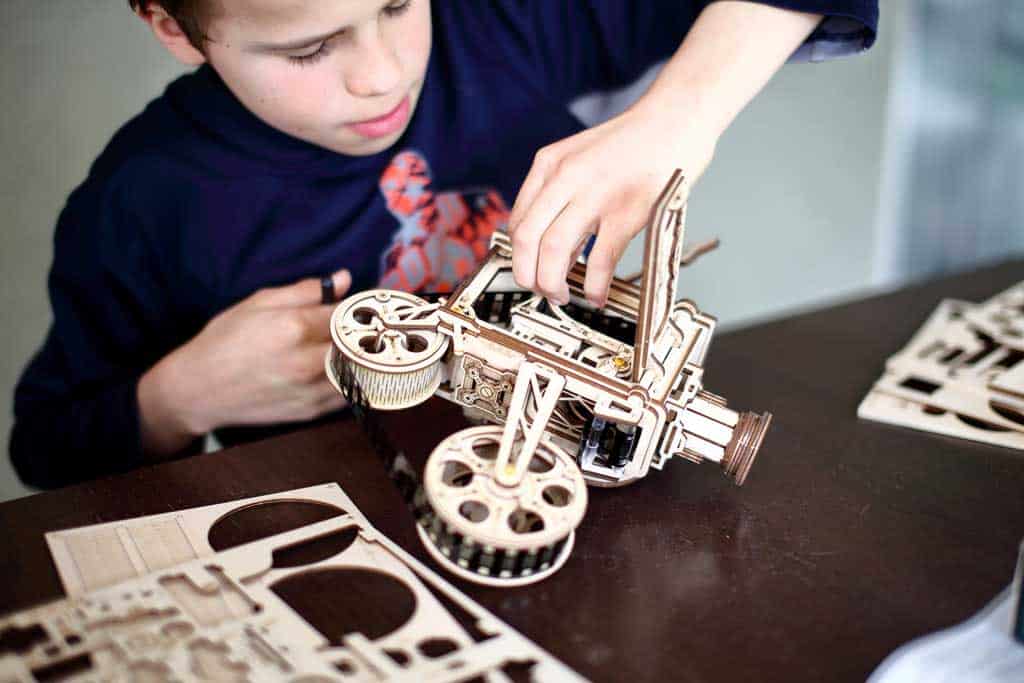
3D Puzzles Help Children Develop Emotional Regulation
If your child can solve the puzzle with a friend or a parent, this will increase their emotional regulation.
First, they learn to work with others. “I’ll sort the pieces,” says one child, “I’ll read the directions,” says another. Why do they suddenly want to work together?
When kids realize there is a common goal (and they will reach that goal faster if they work together), they pool their resources to better solve the problem.
Now, of course, there may be some tension at times – one child becoming upset that the other isn’t performing their task properly, etc. However, this is part of learning to work things out and achieve their goal.
Even if your child plays solo, they will still need to practice patience as they work to solve the issue.
Wooden 3D Puzzles will Improve Motor Skills in Children
Wherever your child is in their development, you can improve their motor skills with a 3D puzzle.
While all puzzles can help with a child’s motor skills, 3D puzzles can be especially helpful. Your child will be able to feel the different sizes and textures of the pieces in their hand. As they do this, they will improve their understanding of how their body works.
Children of all ages can enjoy a wooden 3D puzzle. There are puzzles more suited for young adults, and there are more simple puzzles that are appropriate for younger children.
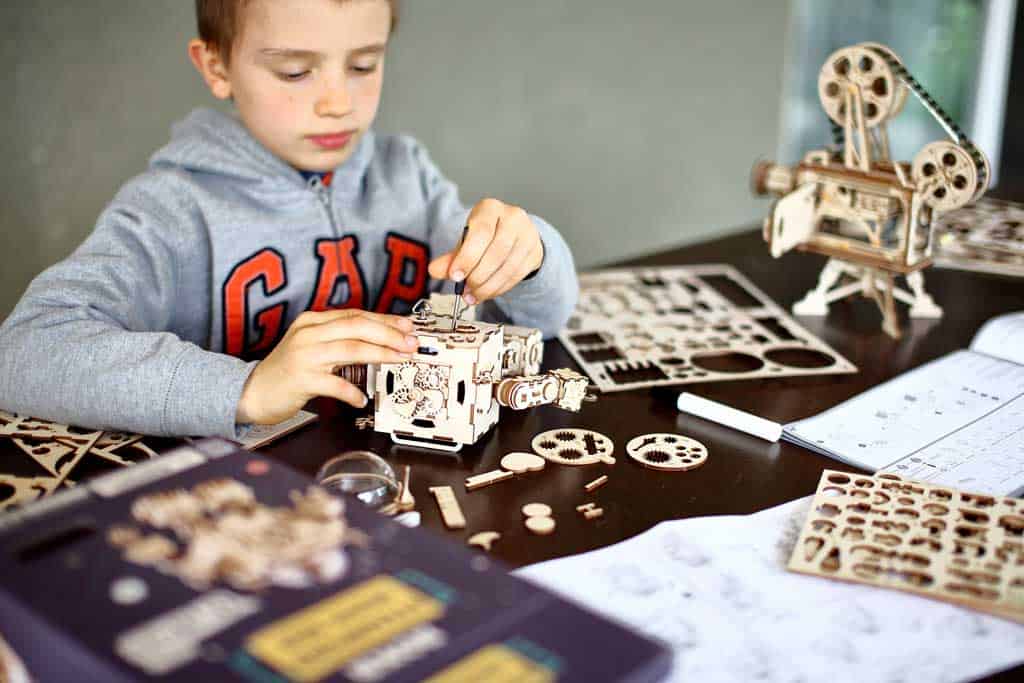
Also, some wooden puzzles may require skills like applying glue or using a screwdriver – these are great ways to introduce more tools to your child.
3D Puzzles Will Improve Memory in Children
All puzzles require a child to sit and take stock of their materials. Unlike a regular puzzle, 3D puzzles often have pieces with completely different shapes.
This difference in shape helps keep a child interested. Not only will it keep them from getting frustrated, but it will also allow them to develop necessary memory skills.
Some 3D puzzles can create an interesting toy for your child, like a marble run.
3D Puzzles Can Help Your Child Improve Social Skills
Working together can be difficult. However, this is a task that everyone needs to develop. This skill will help you at your job, with your friends, or at your church.
Social skills, however, are just that – skills. Like learning to shoot a basketball or play an instrument, this skill must be practiced and honed.
Giving your children, or any child and their friend, the opportunity to build a 3D puzzle gives them the avenue to build their social behavior.
You also might be interested in DIY kids table made like a jigsaw puzzle.
Time to Complete the Shelves
3 hours
Total Cost of the Shelves
$25
Download Printable Plans in PDF
Note: Lumber dimensions are listed as nominal size. See lumber sizes for actual dimensions vs nominal.
Disclosure: Some of the links on this page as well as links in “tools for this project” and “material list” sections are affiliate links.
Dimensions
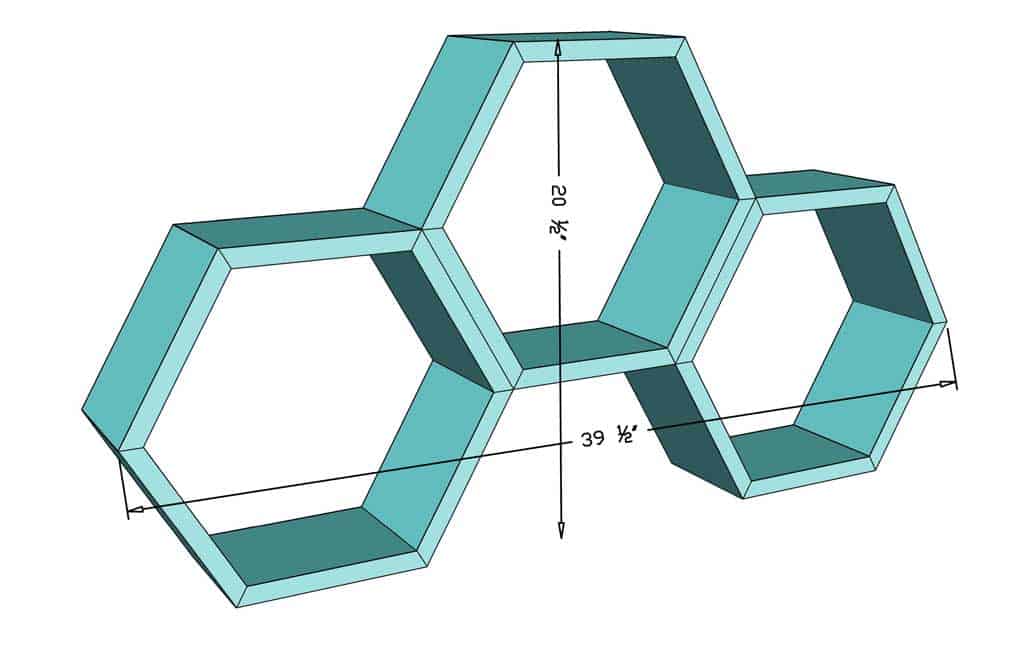
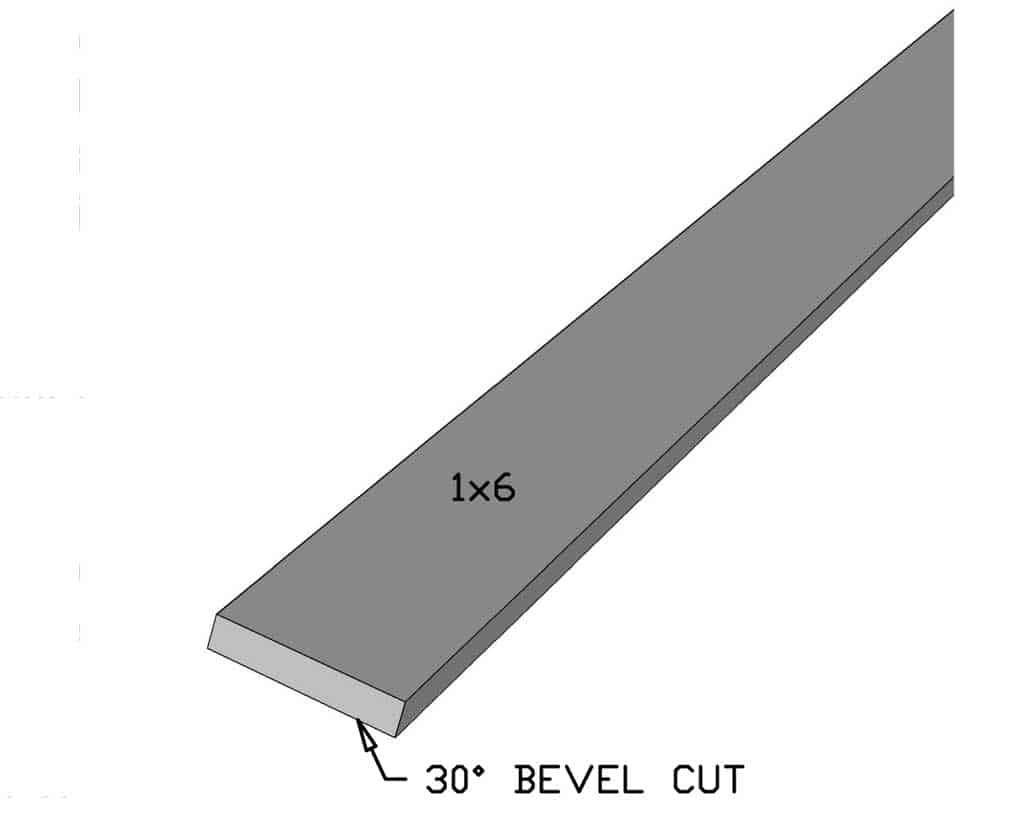
Step 1 – Tilt the Miter Saw Head for a 30-degree for a Bevel Cut
To make the honeycomb shelf you need a miter saw that allows you to tilt the saw head to the left or the right. When you tilt the head and make the cut, this is called a bevel cut. But when you rotate the angle of the blade to the fence, you’re making a miter cut.
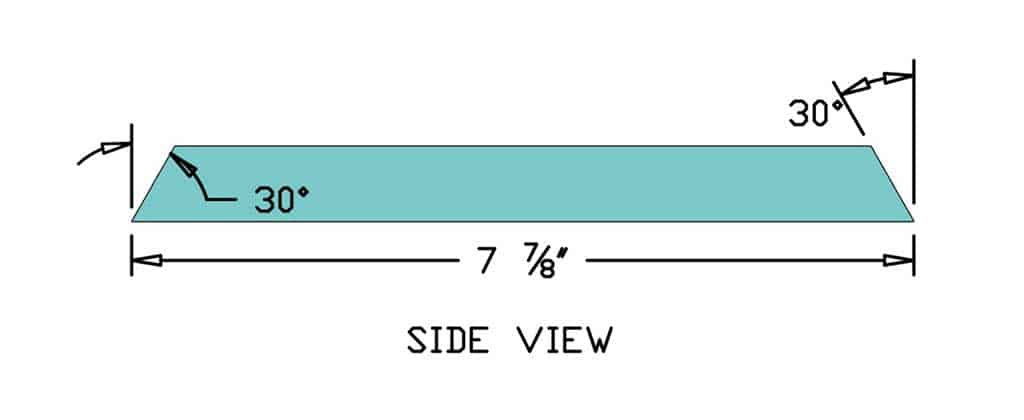
Before making any cuts, first, you need to tilt your miter saw head to 30-degrees. It doesn’t matter whether you’re tilting it to the left or the right. (I chose to tilt my saw to the right.)
Once you set your miter saw to 30-degrees, you don’t have to change the settings of your blade for the remainder of the project.
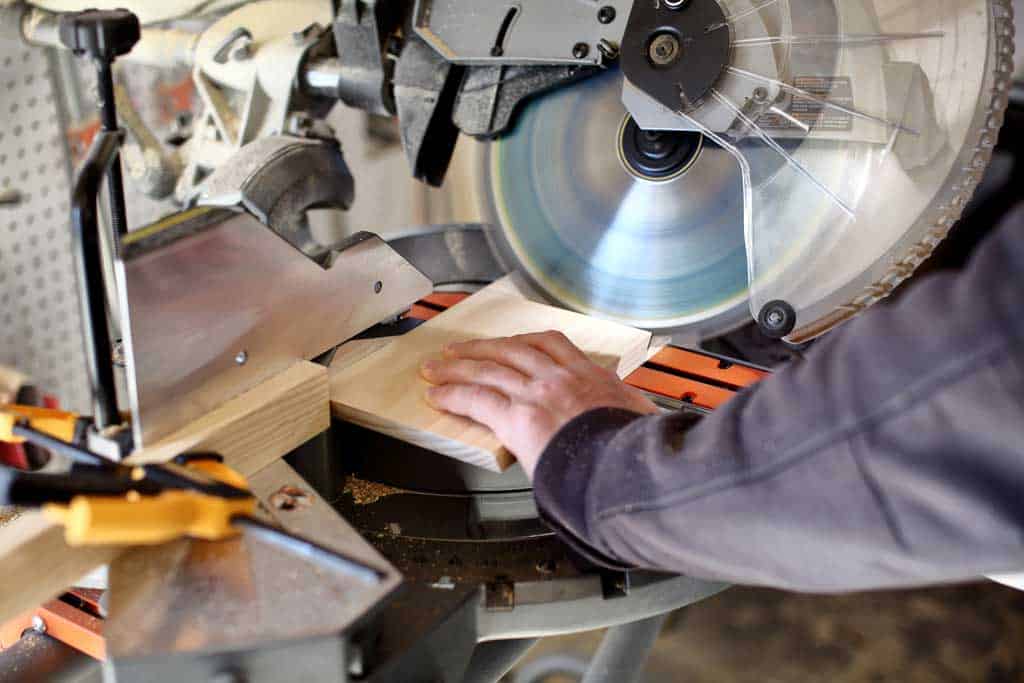
Take one 1×6 board and place it face down on the miter saw. Then make the first bevel cut at the edge of the board.
Step 2 – Set a Stop Block on a Miter Saw
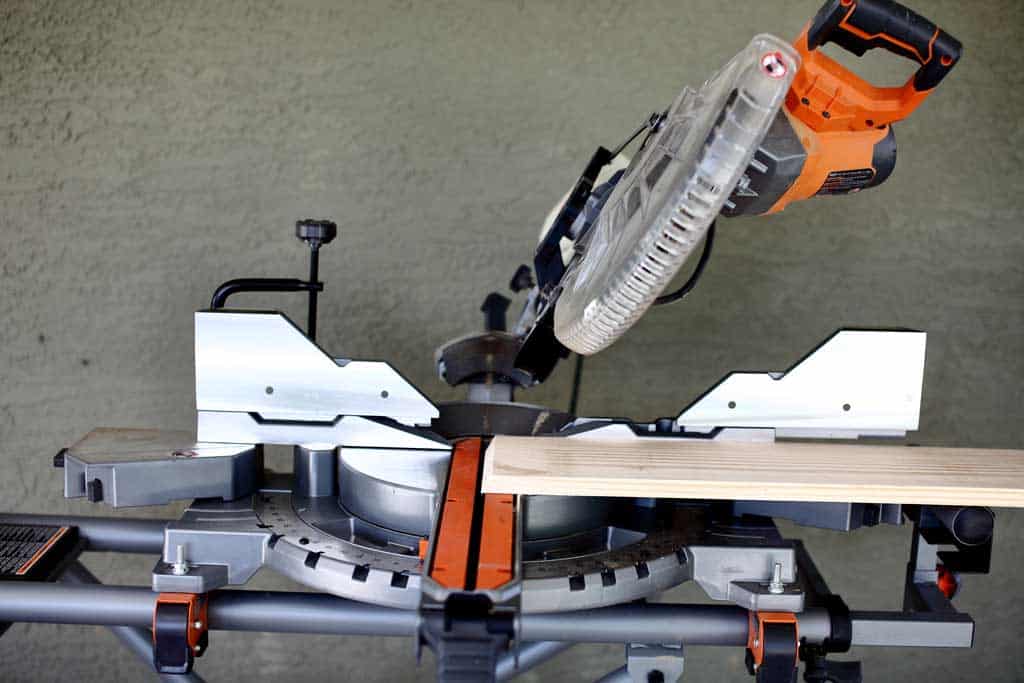
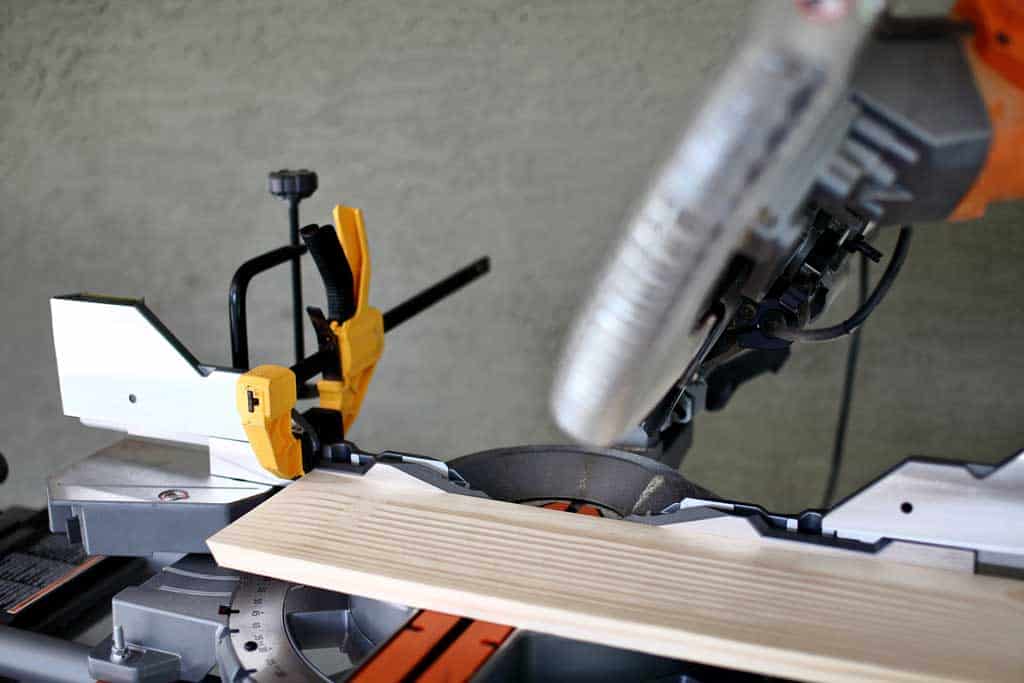
Now flip the board facing up. Then measure and mark 7 7/8″ from the edge. Align your miter saw to the mark as if you’re about to make the cut, but before you do, set a stop block at the end of the board. You could simply attach a wood clamp to your miter saw fence and that will serve you as a stop block.
Having a stop block does two things. There is no need to measure and mark every piece. After the first cut, you just move the board up against the stop block and make the second cut, and so on. The second reason for using a stop block is it allows you to make exactly the same cuts for all the pieces. You will be able to make a perfect hexagon shape honeycomb with these pieces.
Step 3 – Cut the Remaining Pieces for the Honeycomb
Now that you have the board against the stop block, make the second 30-degree bevel cut for your first piece.
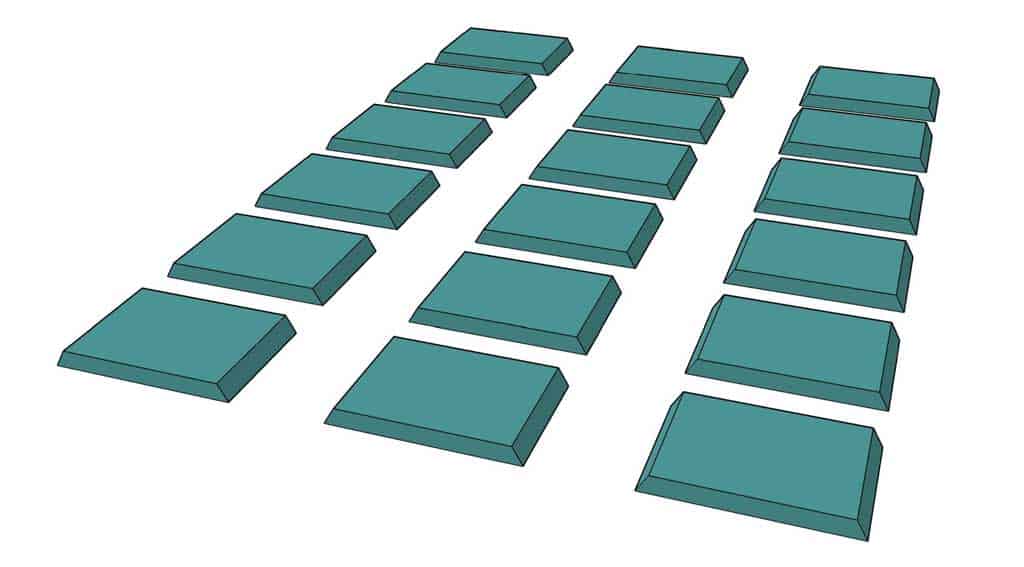
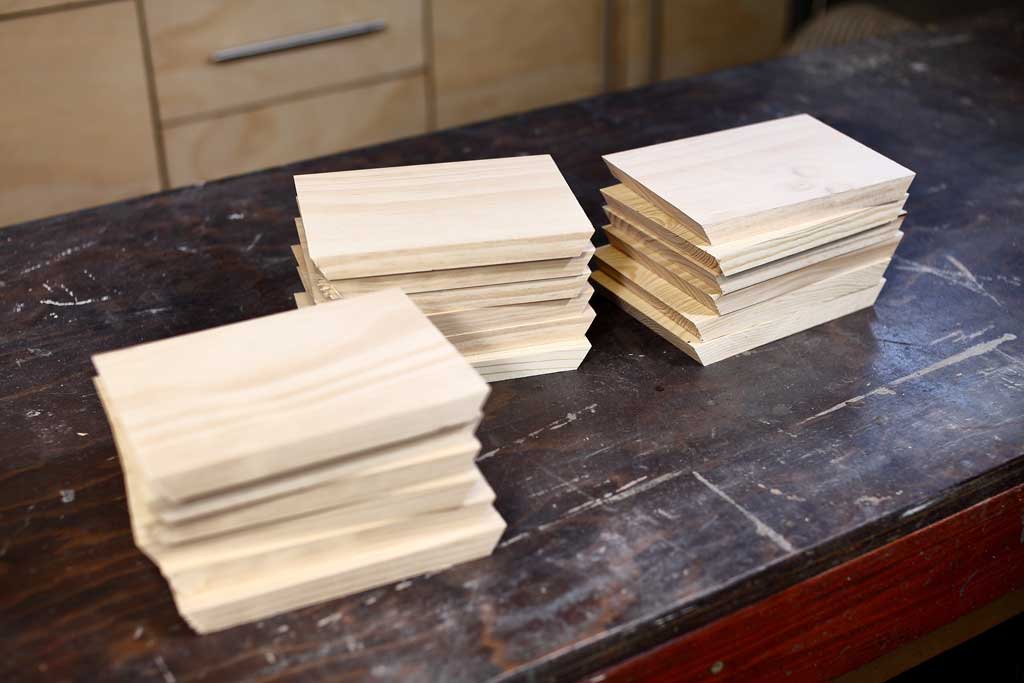
Next, flip the board again and move it against the stop block. Then make the third cut for your second piece. Repeat flipping and cutting the boards until all 26 pieces are cut for three honeycomb sections.
Step 4 – Sand the Boards
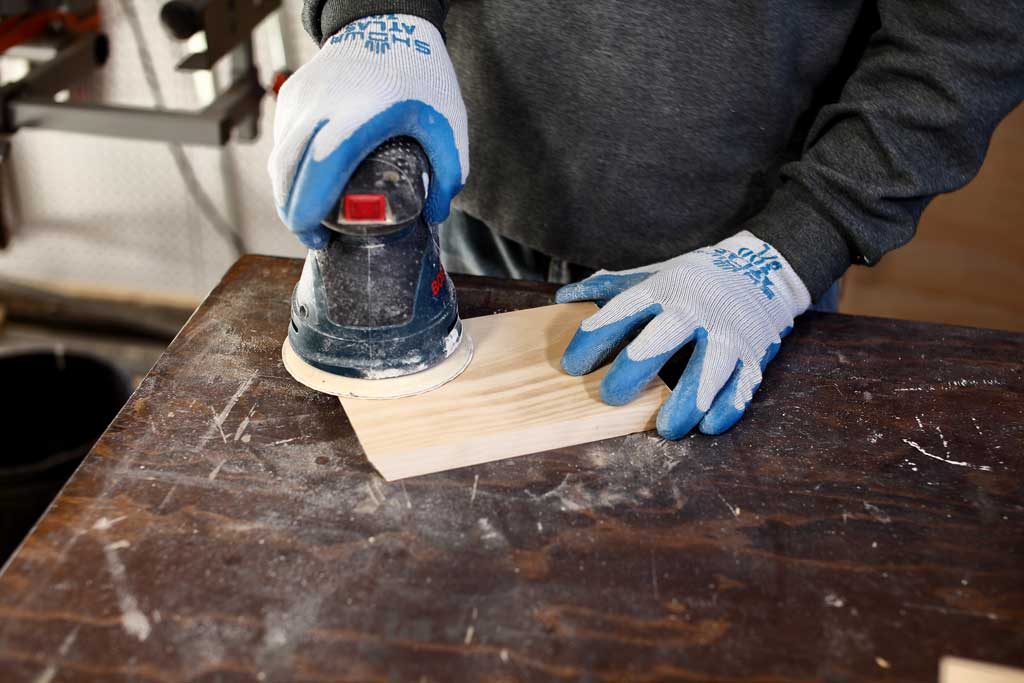
Once you have all the pieces cut, take your random orbital sander and sand the boards. Try not to sand the 30-degree bevel cut because you want those sides to be as straight as possible.
Step 5 – Assemble the Pieces
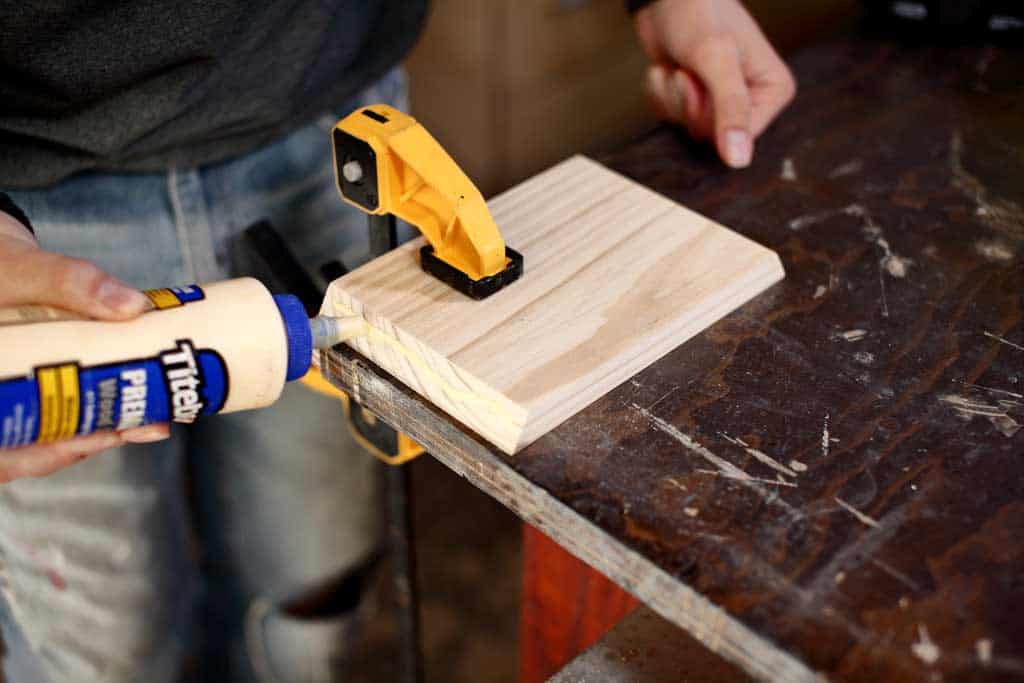
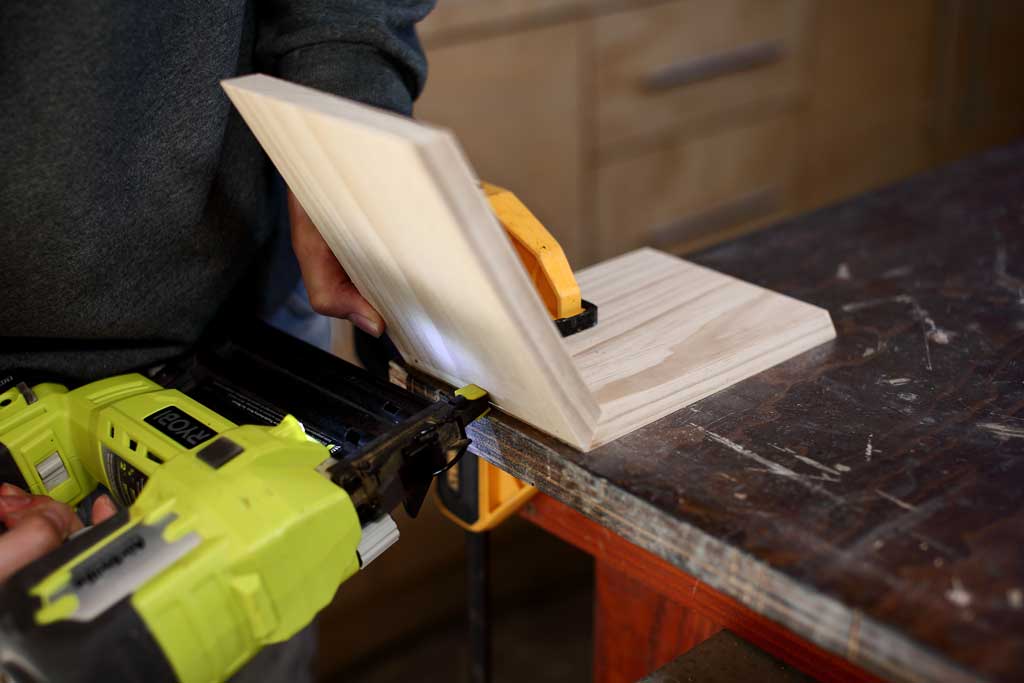
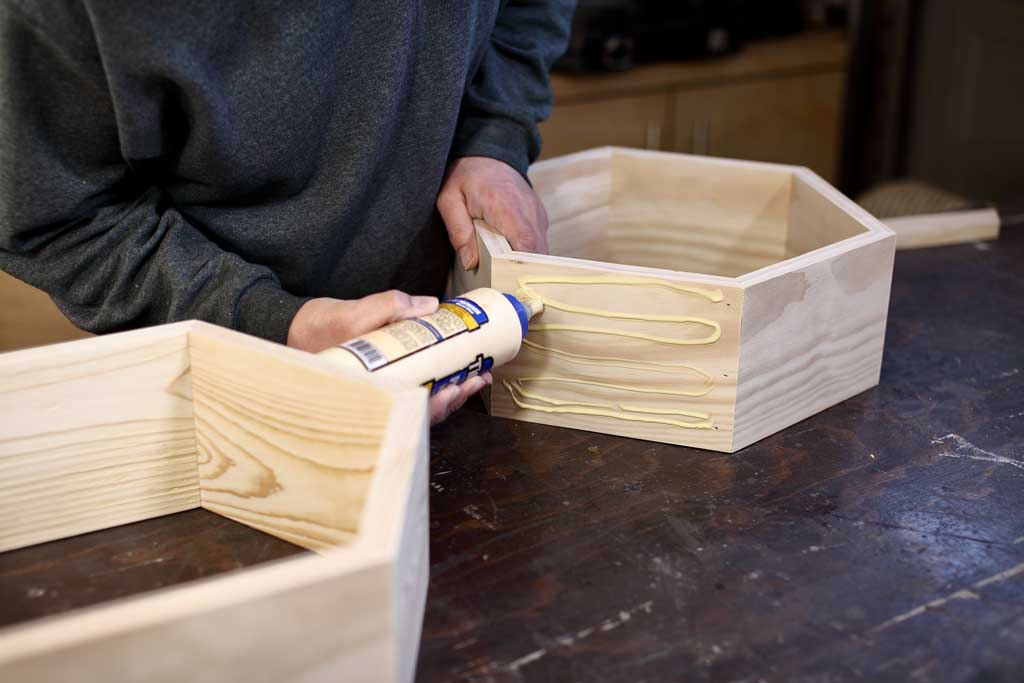
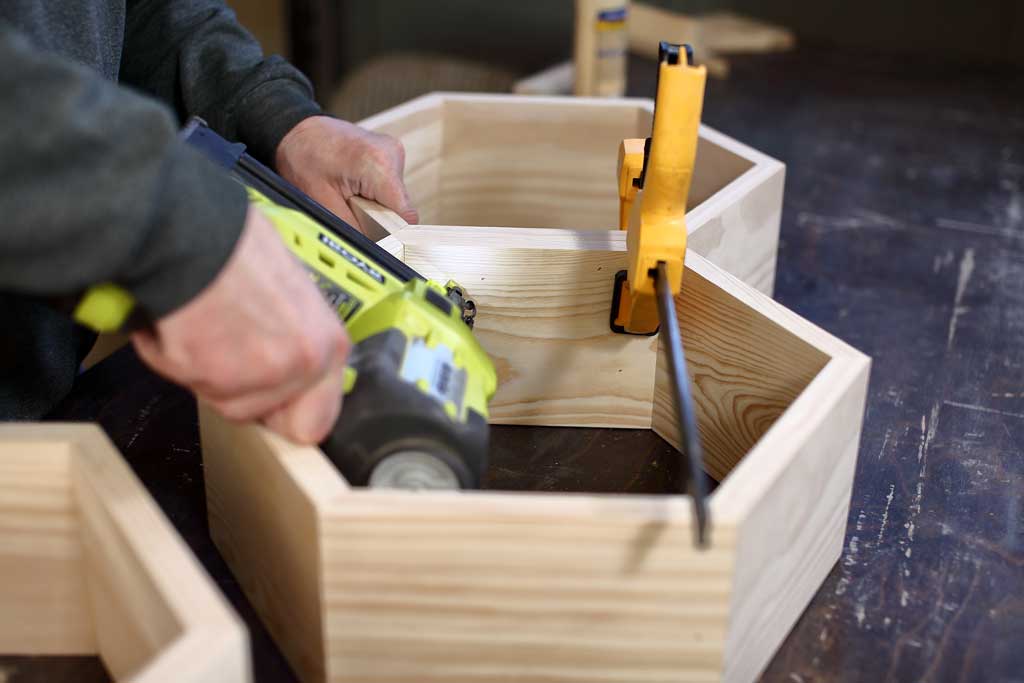
Now it’s time to connect the pieces together. Take the first piece and clamp it to your workbench. Then apply wood glue to the seam and attach the second piece with 1 1/4″ brad nails. You want to have the boards clamped to prevent any shifting when nailing.
Once you’re done connecting the lower three boards, do the same thing for the upper three boards. Now take both the upper and lower sections and attach them together.
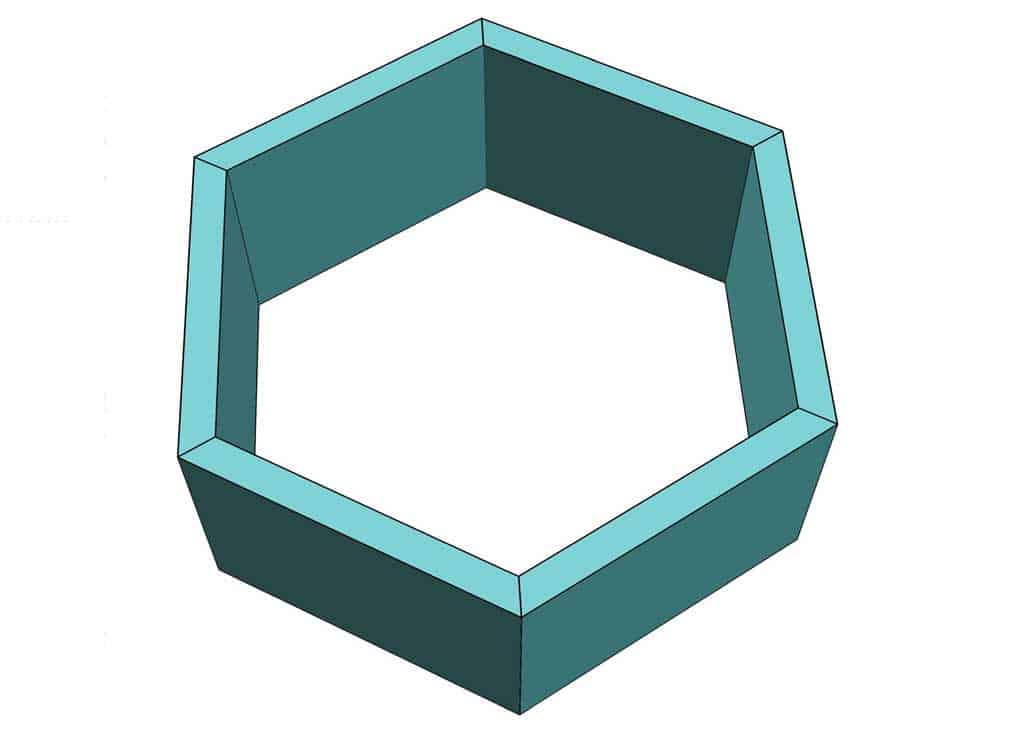
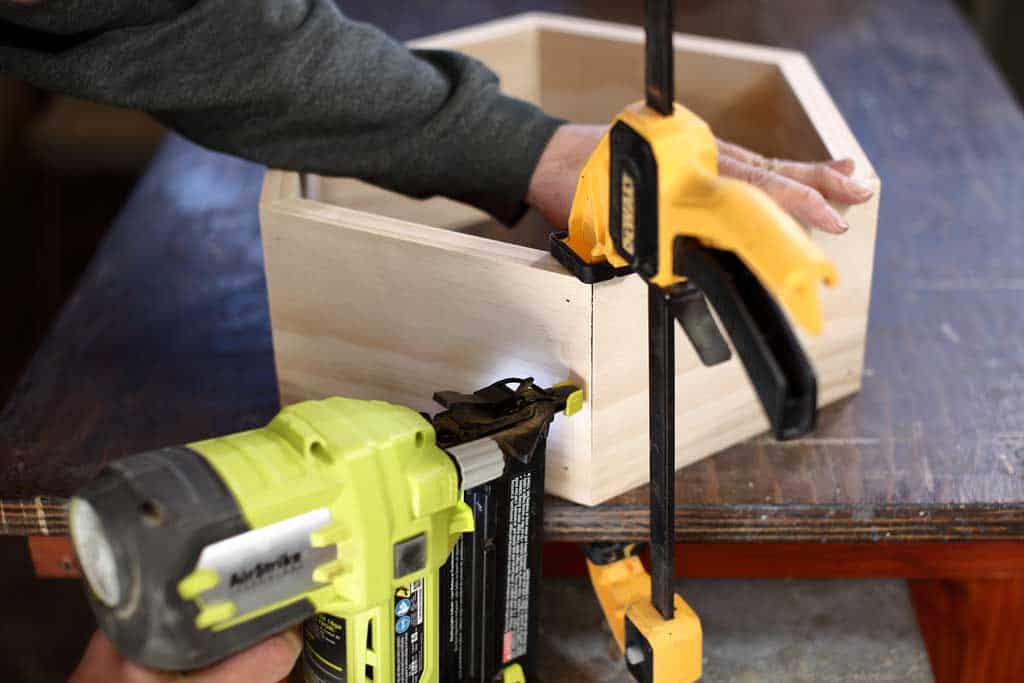
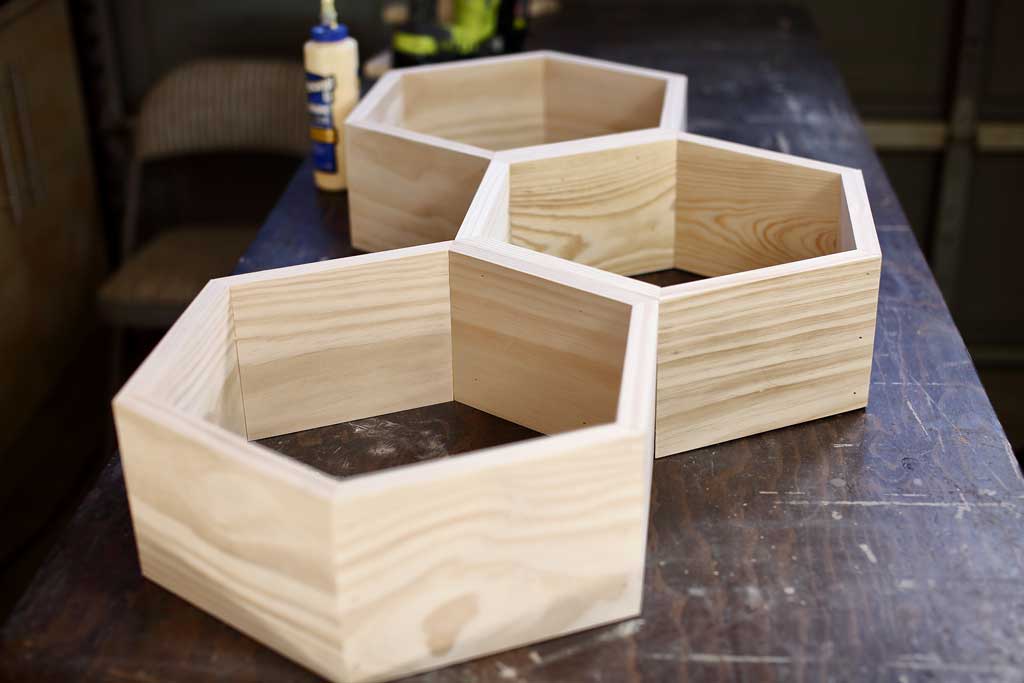
Step 6 – Finish Assembling the Remaining Honeycombs
Repeat step 4 to assemble the other two honeycombs shelves.
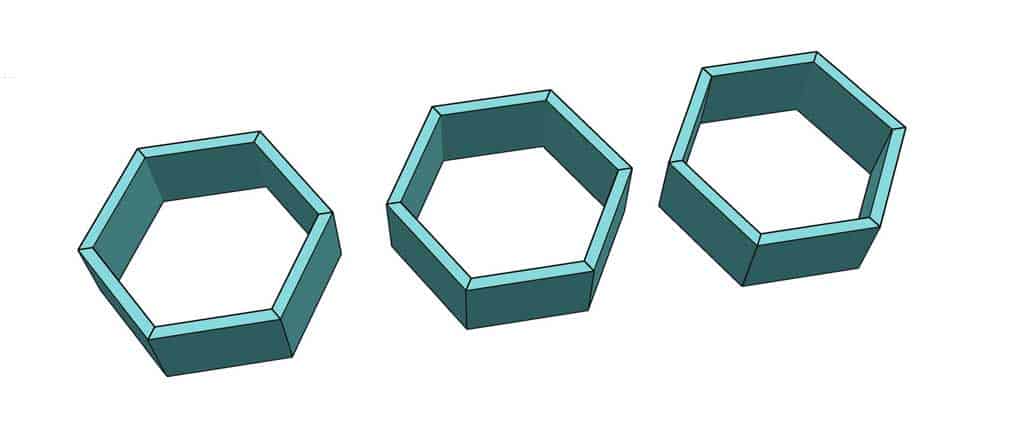
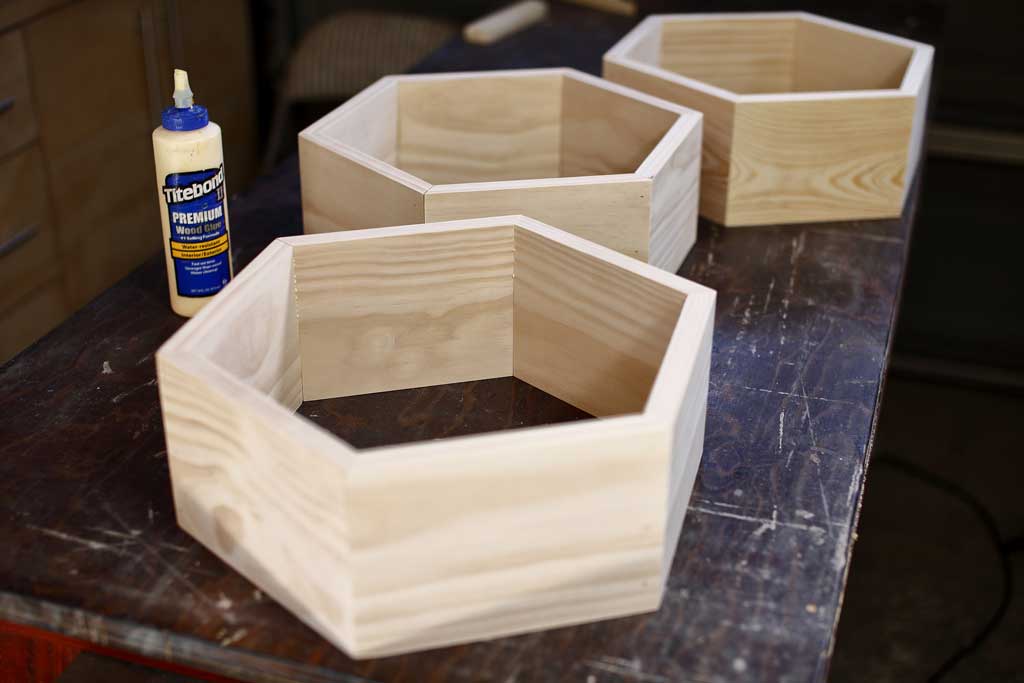
Step 7 – Join the Three Honeycombs Together
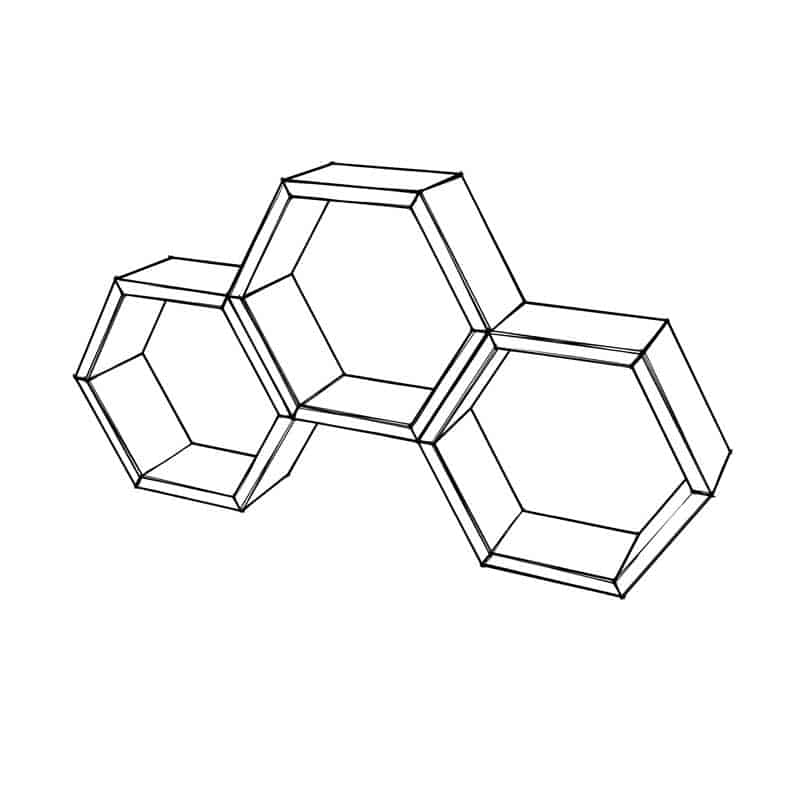
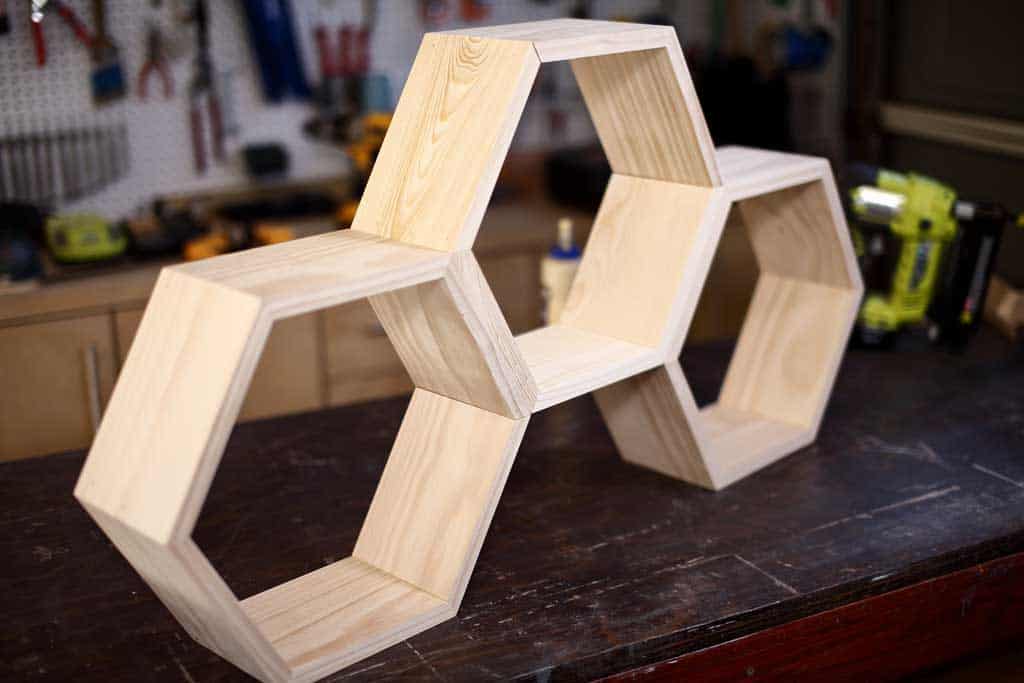
Now that you’re done assembling individual honeycombs shelves, you will need to combine them as one piece. The honeycombs could be arranged in any orientation as you prefer.
Once you decided on the orientation, apply wood glue to the sides that will be connecting and clamp them together. Then using a nail gun, nail the shelves together.
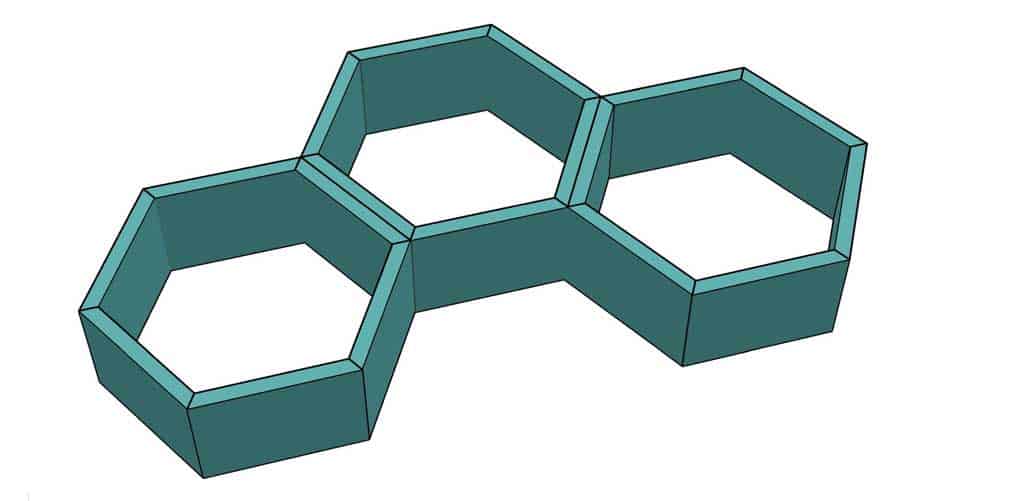
Step 8 – Pre Stain and Stain the Honeycomb Shelves
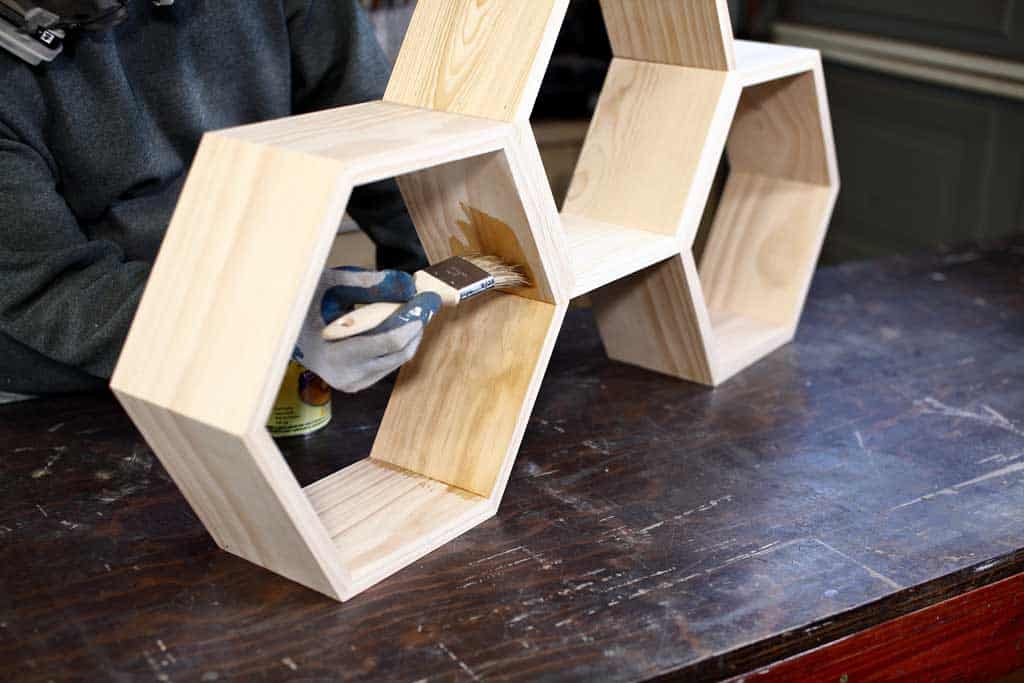
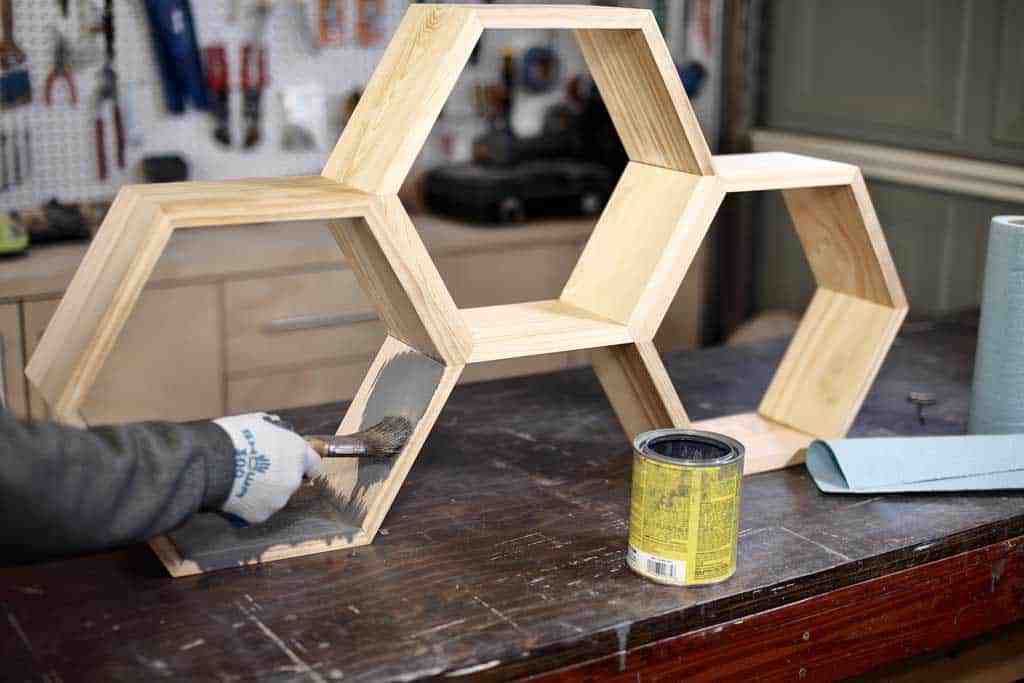
When the wood glue completely dries, apply pre-stain as your first coat. Pre-stain will reduce stain blotching. You could also use Shellac Bulls Eye sealer to seal the wood before staining. After Shellac dries, apply a coat of classic gray stain and wipe it off with a shop paper towel.
After the stain dries, apply a coat of polyurethane.
Step 9 – Attach Keyhole Hanger to Hang the Shelf
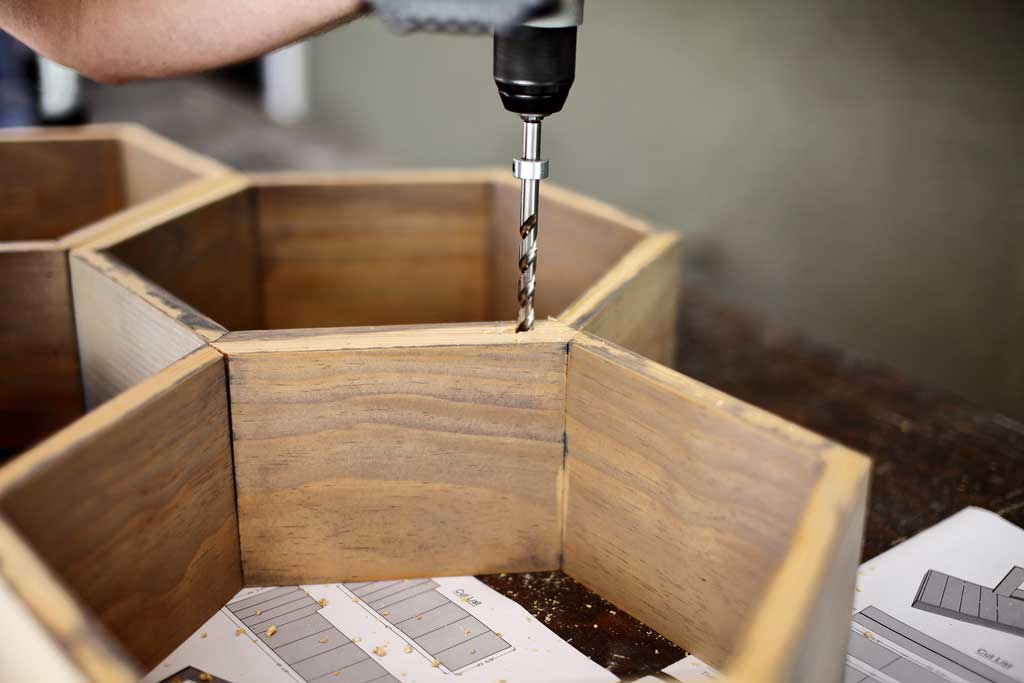
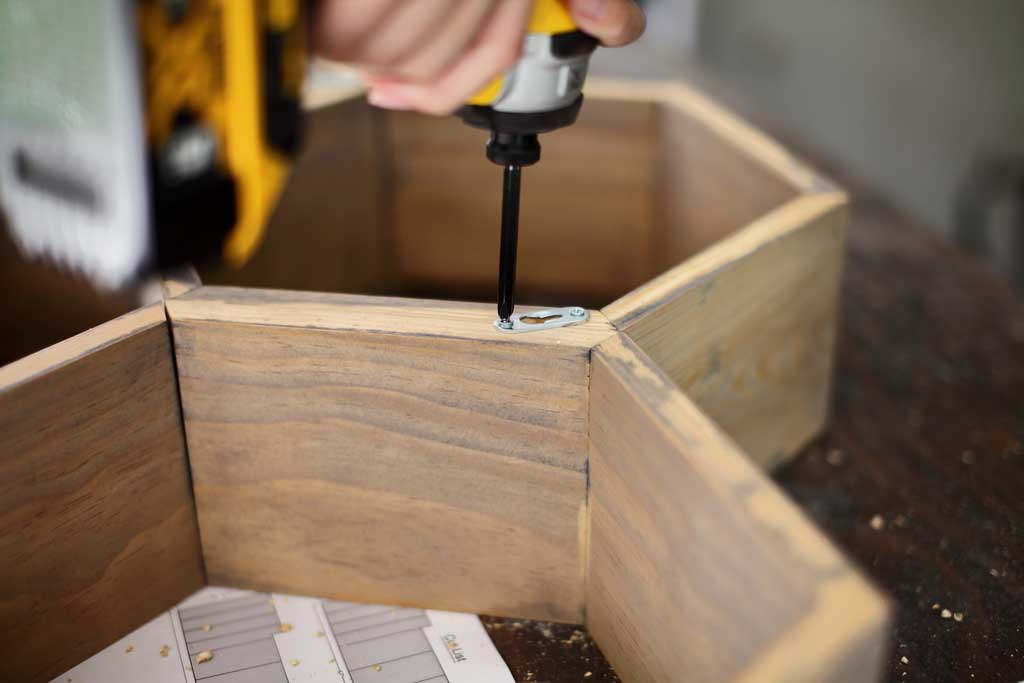
On the backside of the shelf, drill two holes on the left and right sides for the keyhole hanger. Make sure that both holes are the same distance from the top of the shelf. You want to make sure this shelf is leveled on the wall.
Take 3/8″ drill bit and drill 1/2″ deep holes and then attach the keyhole hangers over the holes with screws.
Install drywall anchors on the wall and then hang your new shelf. You are done with DIY Honeycomb Wall Shelf.
If you’re interested in the 3D puzzles, click this link to get 15% off Allessimo Today!
