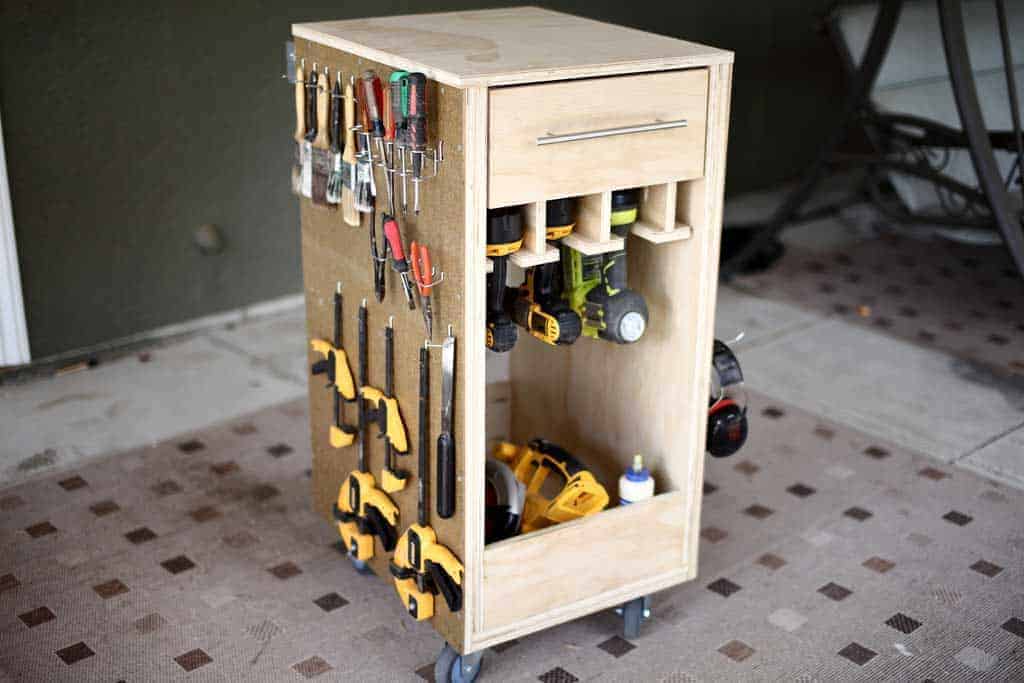
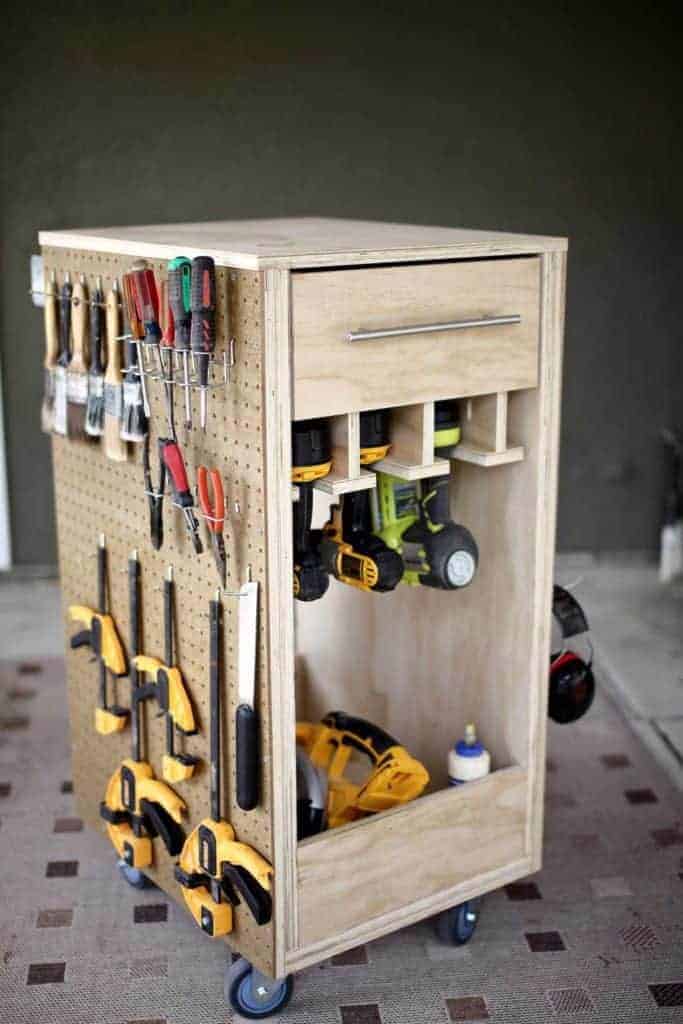
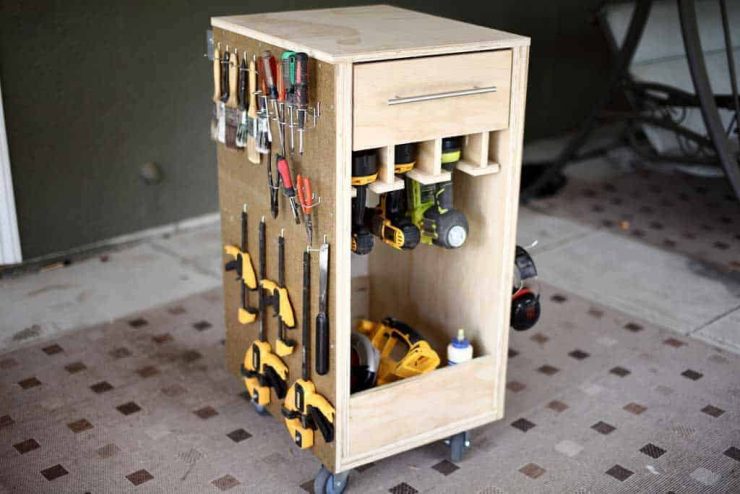
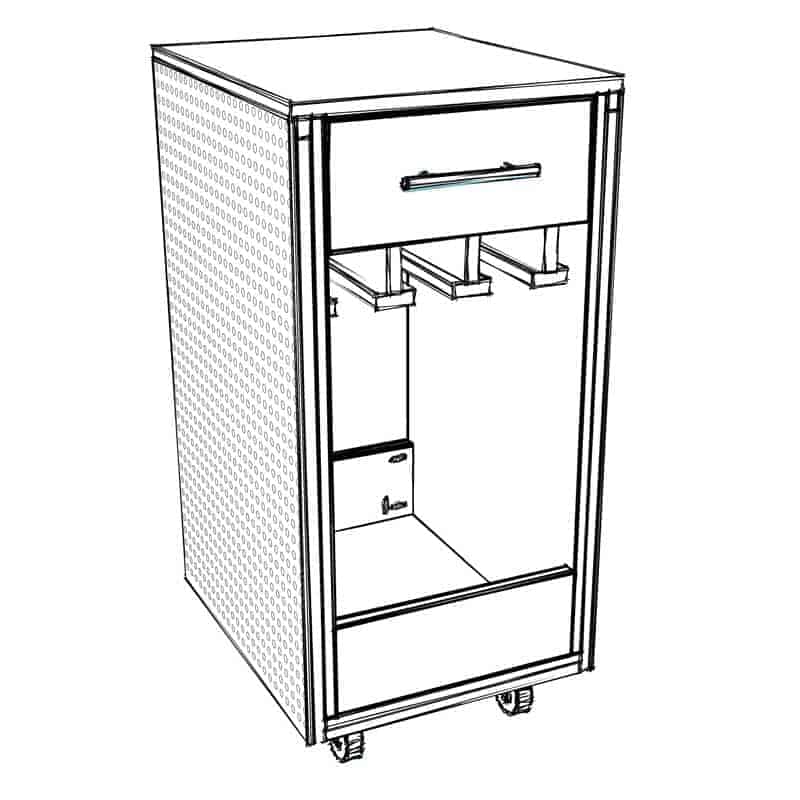
Usually, when the weather is nice, I like to work outside in my backyard on different wood projects. But once I’m done for the day, it takes a lot of time to get all the tools back into the garage. To solve this problem, I’ve built a DIY Mobile Tool Cart with Pegboard so that I could easily move my tools around to my work area.
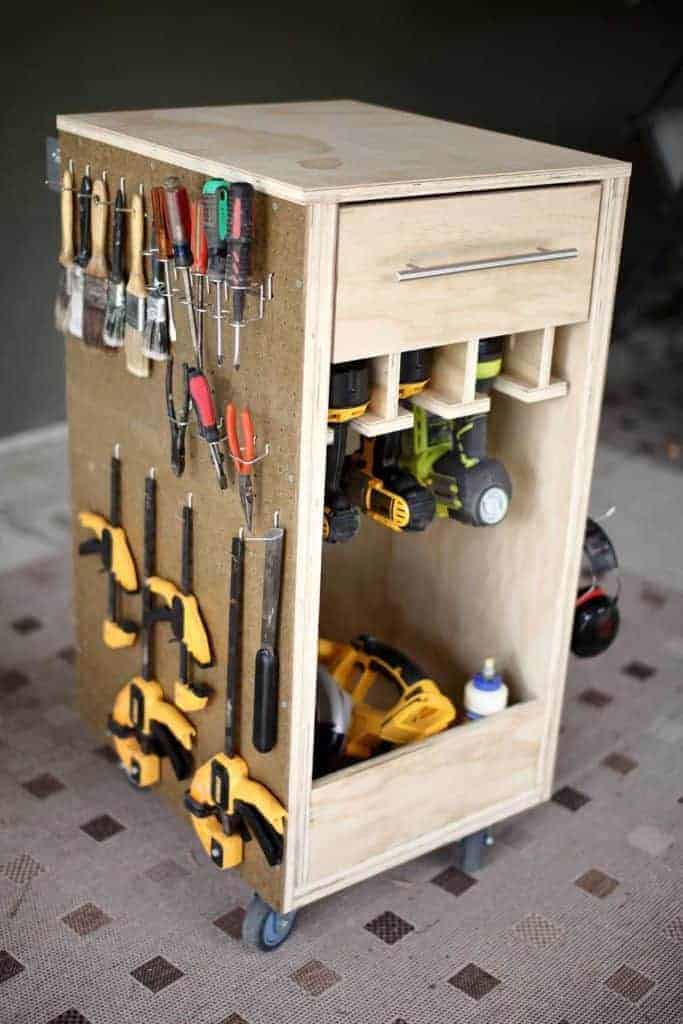
Now I have all of my tools on wheels and I could work in the garage when it’s raining, then work outside during the summer. I like the pegboard on the sides of the cart because the tools are visually arranged for easy access. This makes the working process smoother, knowing exactly where the tools are.
You also might be interested in a DIY garage pegboard wall that I’ve built earlier. This pegboard page shows different types of hooks you could use on the pegboard. Also, I’ve built and DIY garage cabinets if you’re interested in organizing your tools.
What is Pegboard?
Pegboard is a hardboard that is pre-drilled with evenly spaced holes. Typically the holes are 1/4″ in diameter and spaced out 1″ on center. Standard perforated hardboard is made of wood fibers and coated with a thin layer of linseed oil. But some pegboards are made from different types of material such as Masonite, metal and plastic/acrylic.
Note: Lumber dimensions are listed as nominal size. See lumber sizes for actual dimensions vs nominal.
Disclosure: Some of the links on this page as well as links in “tools for this project” and “material list” sections are affiliate links.
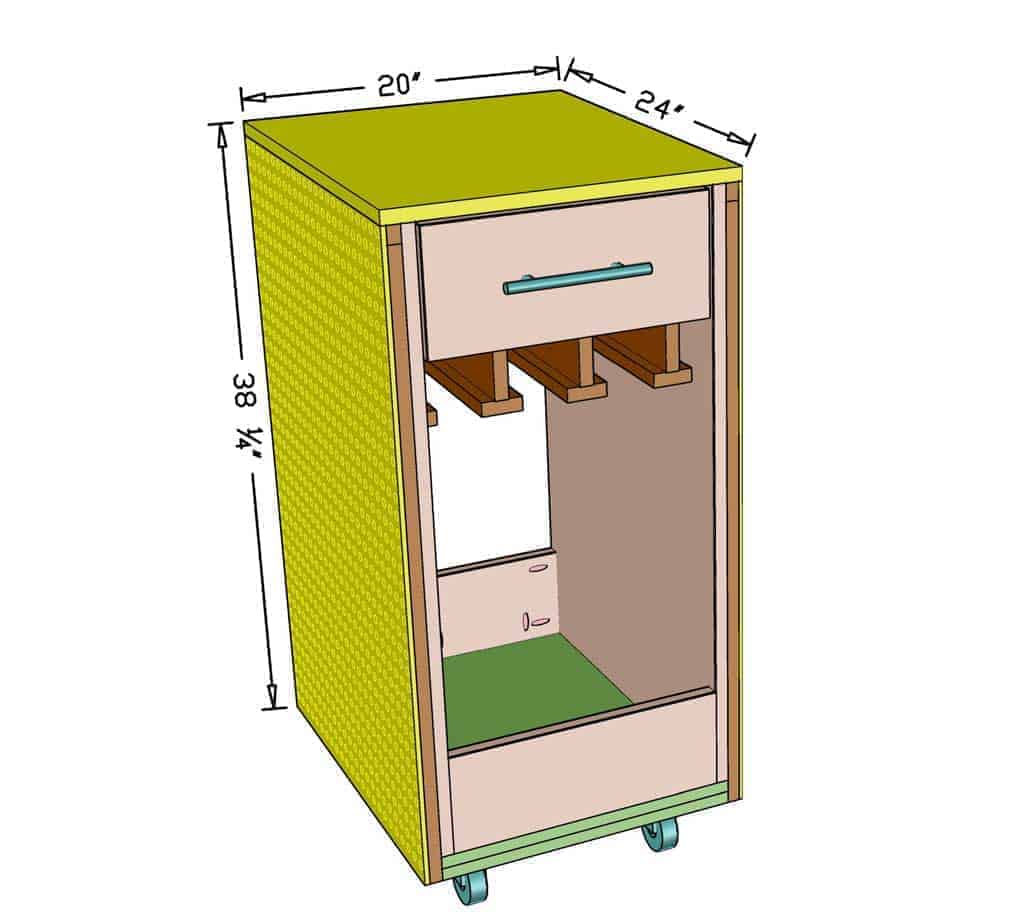
Dimensions
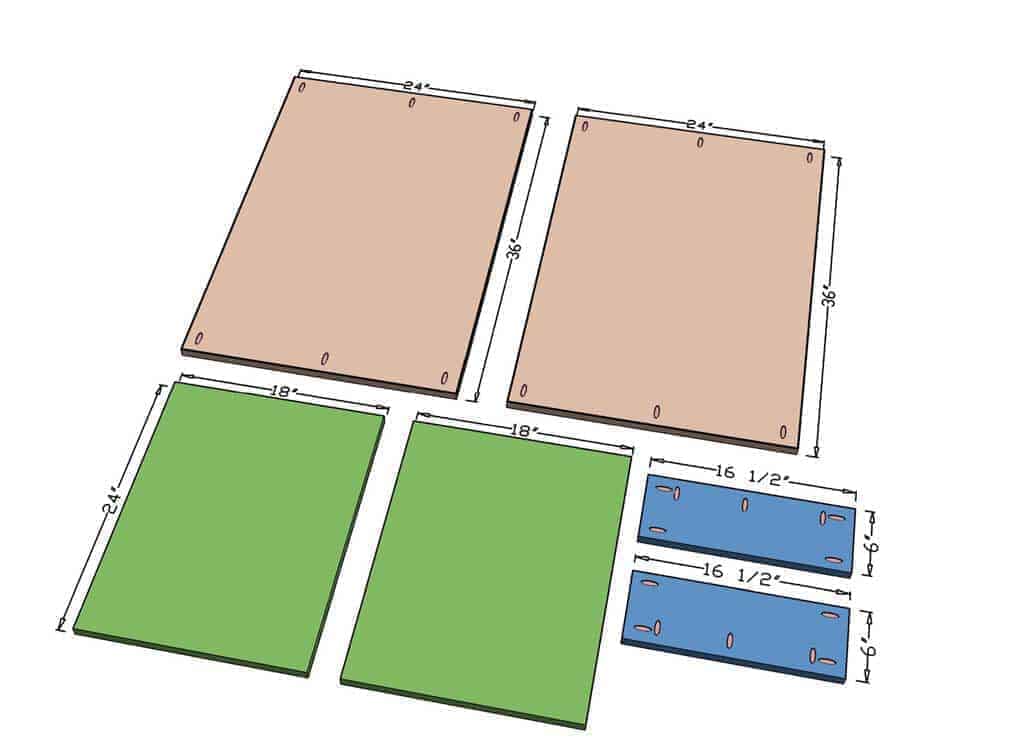
Step 1 – Cut Bottom and Side Pieces of the Cart
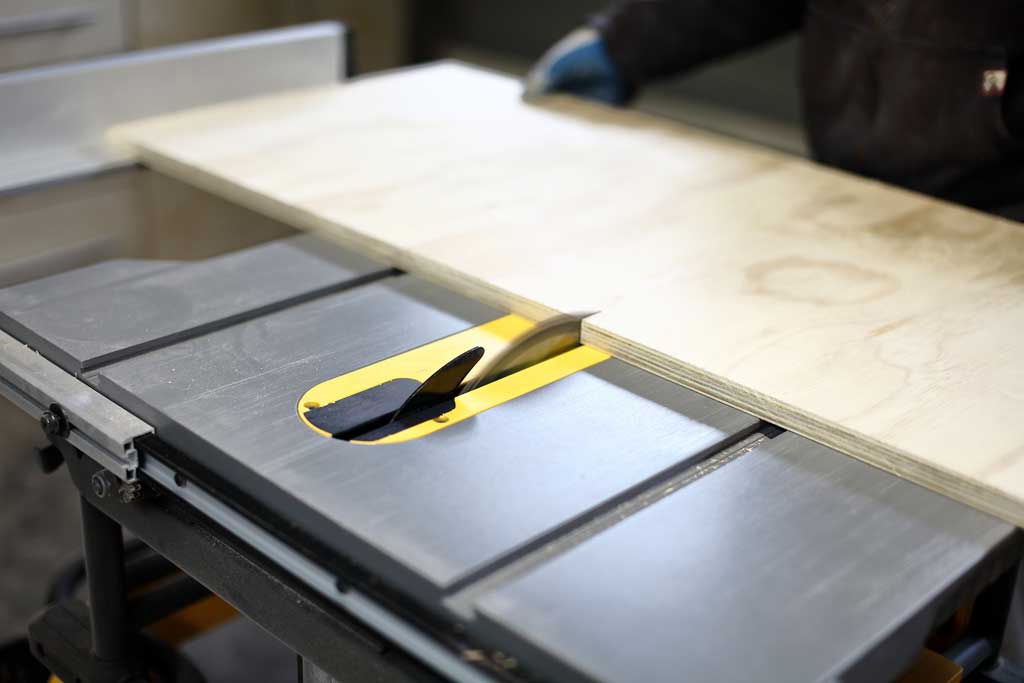
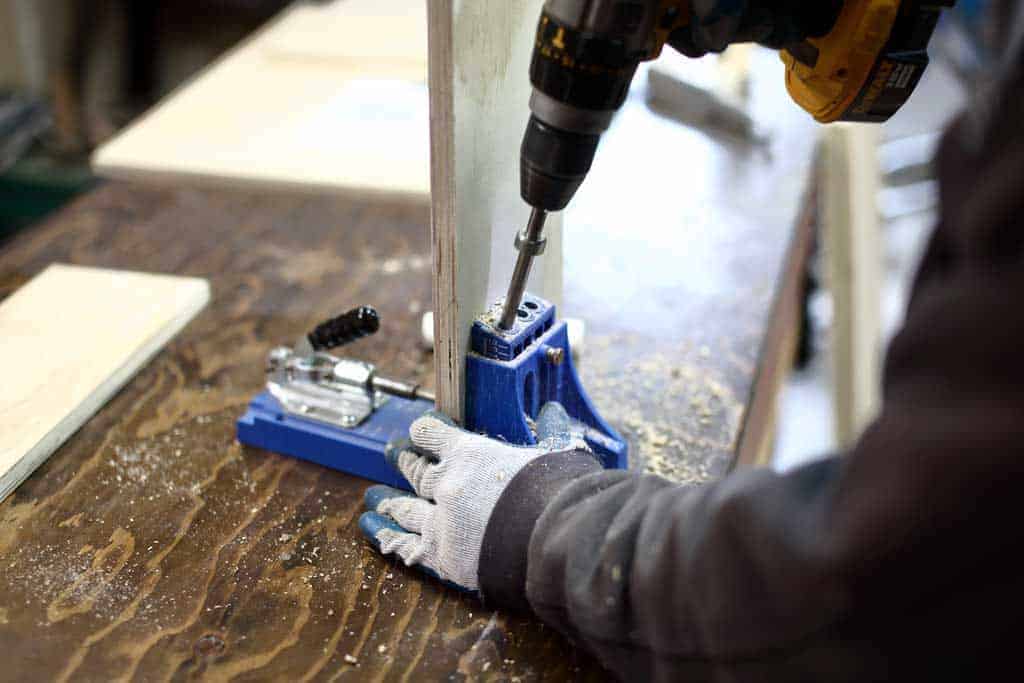
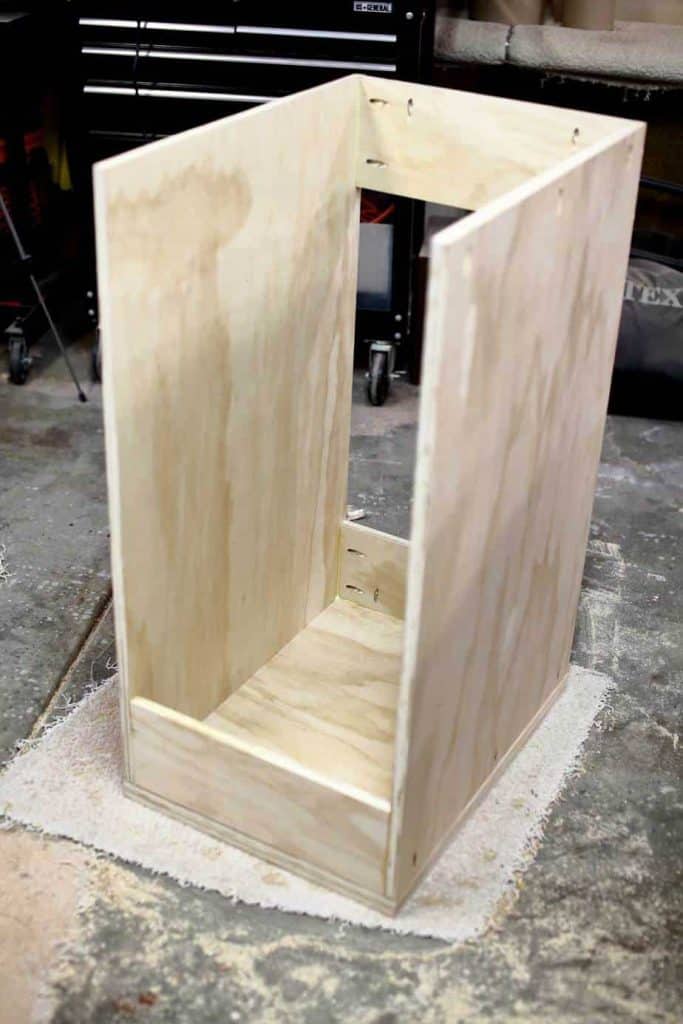
Take 3/4″ cabinet grade plywood and cut two pieces to 24″ x 36″, two pieces to 18″ x 24″ and two pieces to 16 1/2″ x 6″. Then drill pocket holes as shown in the picture. The bottom two pieces do not need any pocket holes.
Step 2 – Attach Sides and Bottom Pieces Together
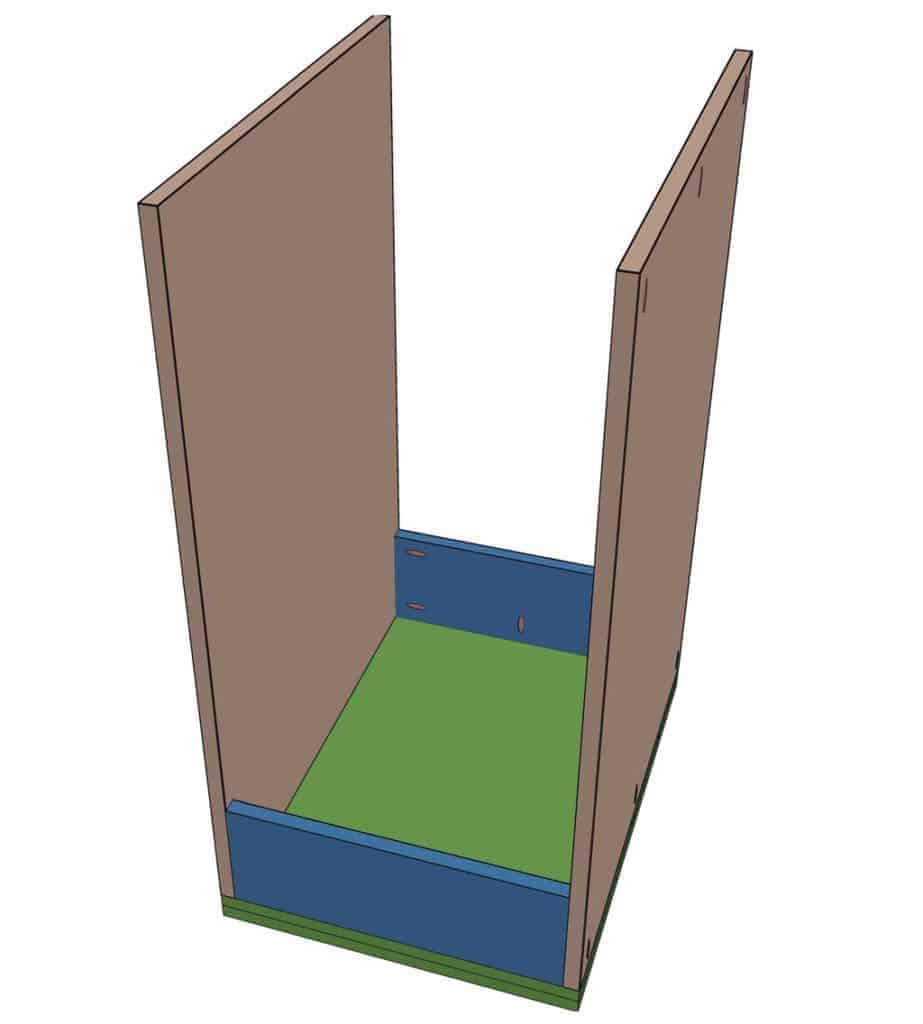
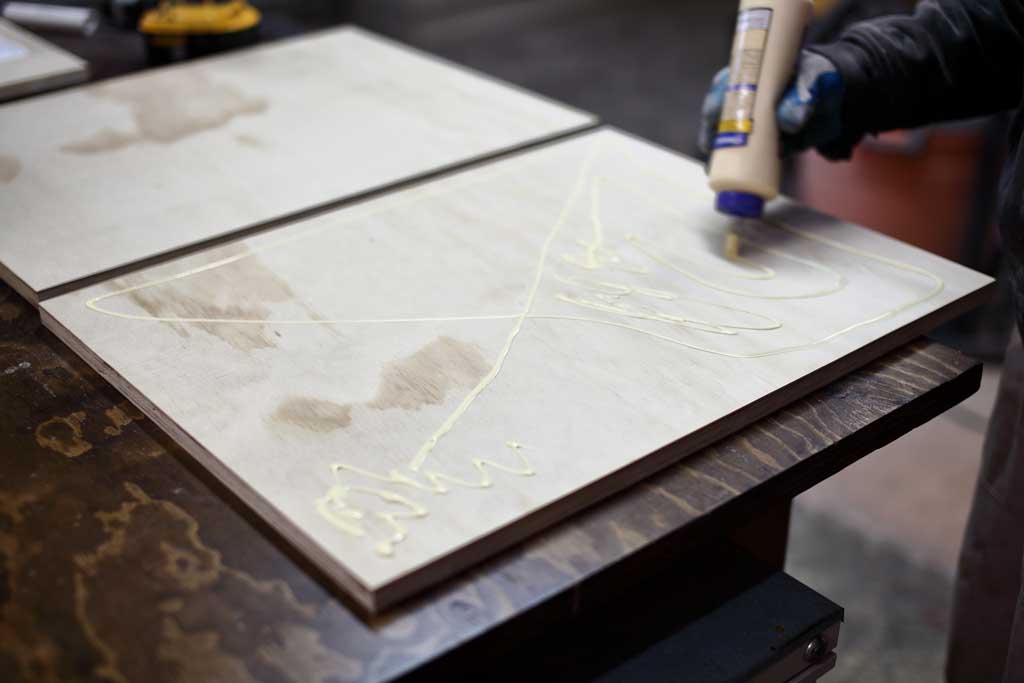
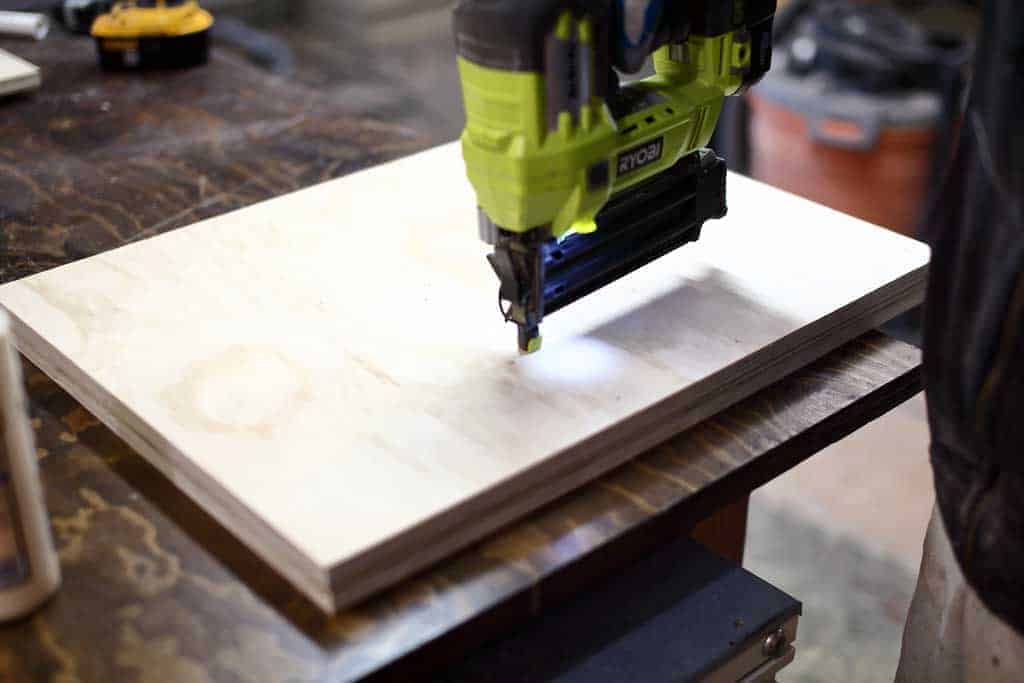
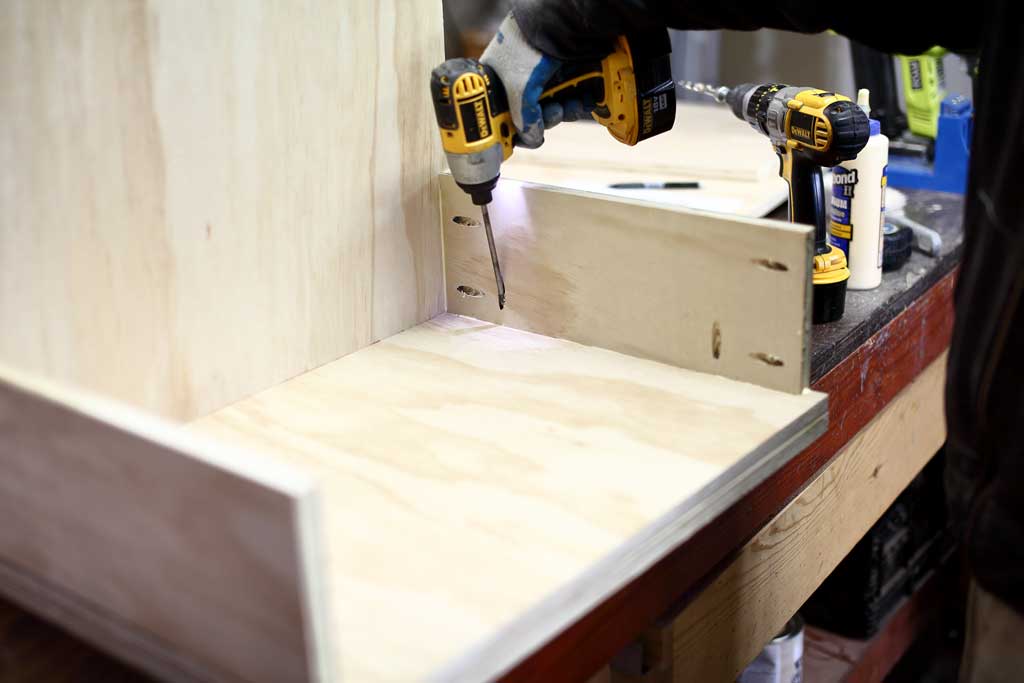
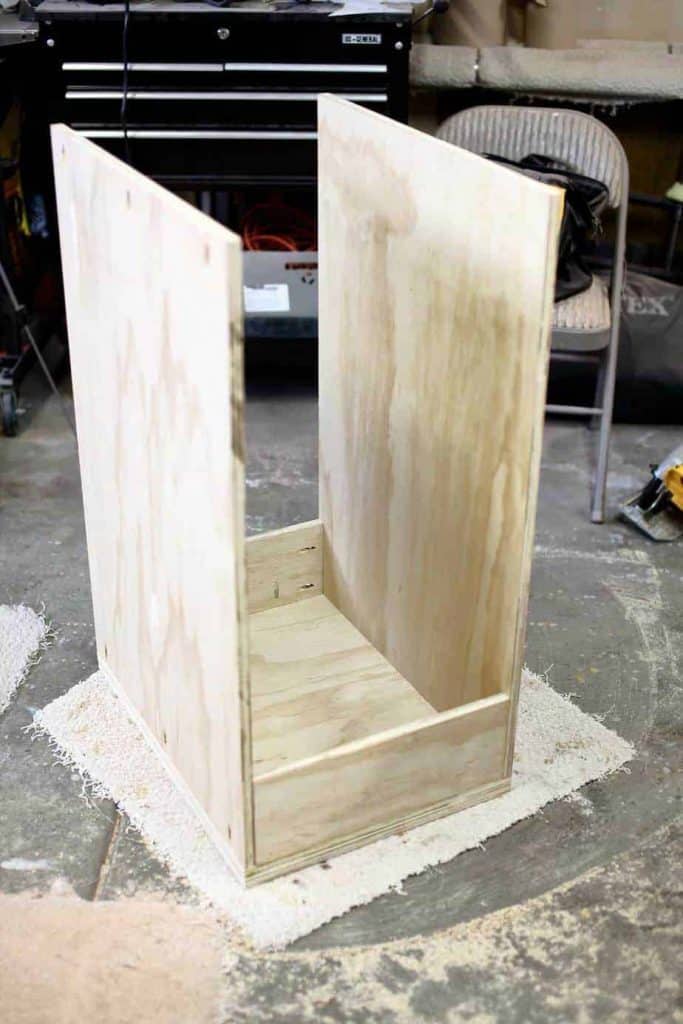
Now, take both of the 18″x24″ bottom pieces and attach them together with wood glue and 1 ¼” brad nails using a nail gun. Having the double bottom boards allows us to use longer screws for the wheels. Then attach the 24″x36″ side pieces and 16 1/2″ x 6″ to the bottom board using 1 1/4″ pocket hole screws and wood glue for all of the joints.
Step 3 – Install Drawer Slides
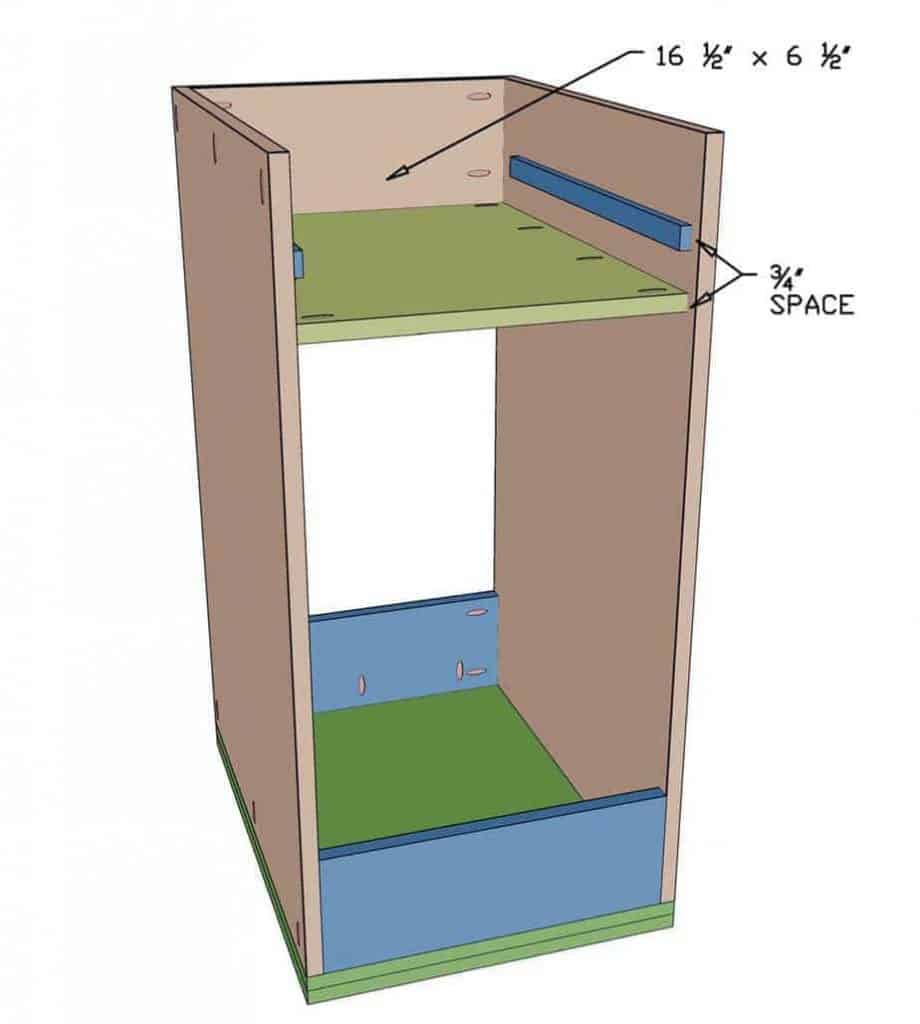
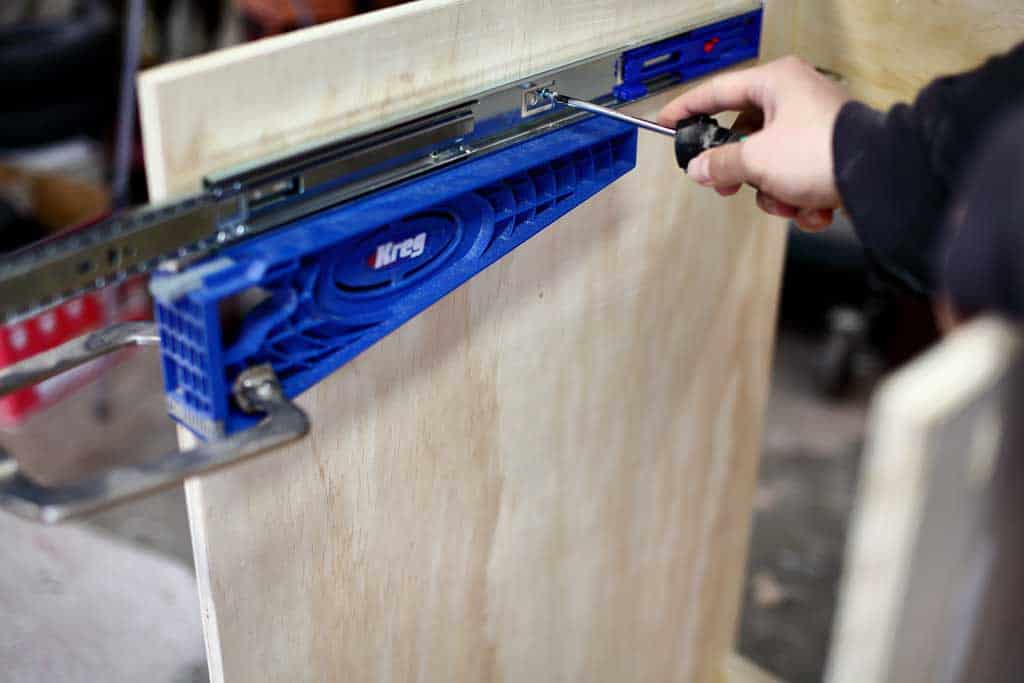
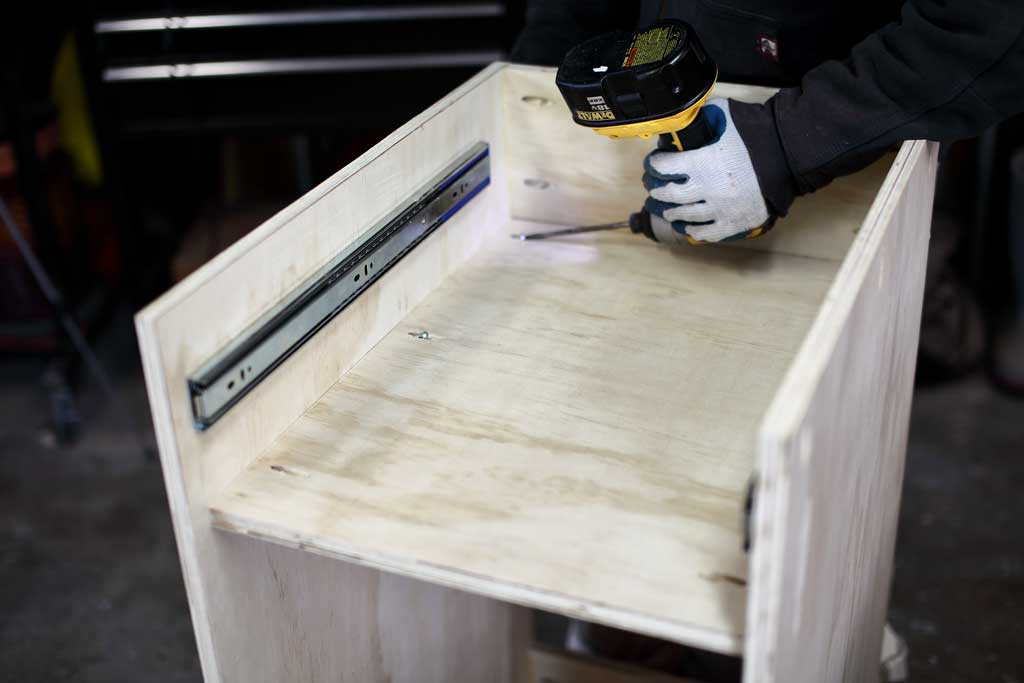
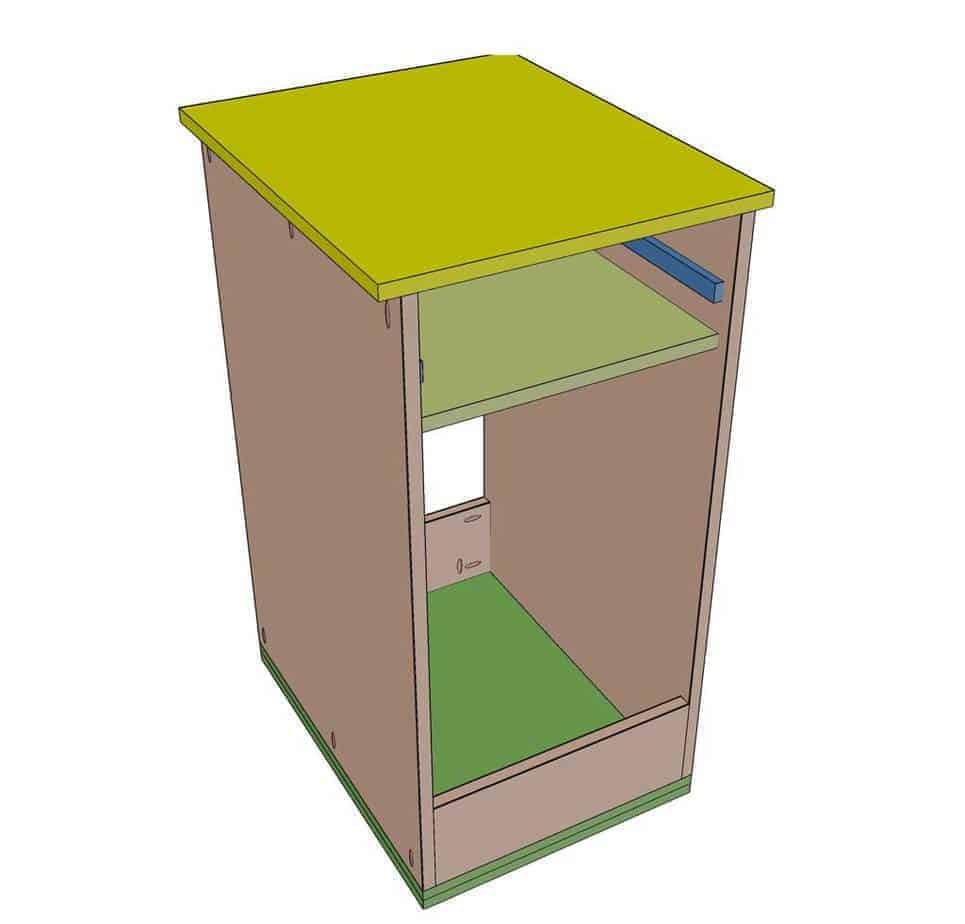
Next, cut one piece to 16 1/2″ x 6 1/2″. Drill pocket holes and install the board on the top back of the cart. Then install the drawer slides 4” from the top of the cart. I used Kreg drawer slide jig to help with the installation of the slides. The drawer slides need to be set back ¾” from the front of the cart. This ¾” space will be used for the front board of the drawer. Then, cut one piece to 16 ½” x 23 ¼” and install in 6 ½” from the top. The pocket holes on this piece could either be on top or the bottom of the board.
Step 4 – Attach the Top Piece of the Cart
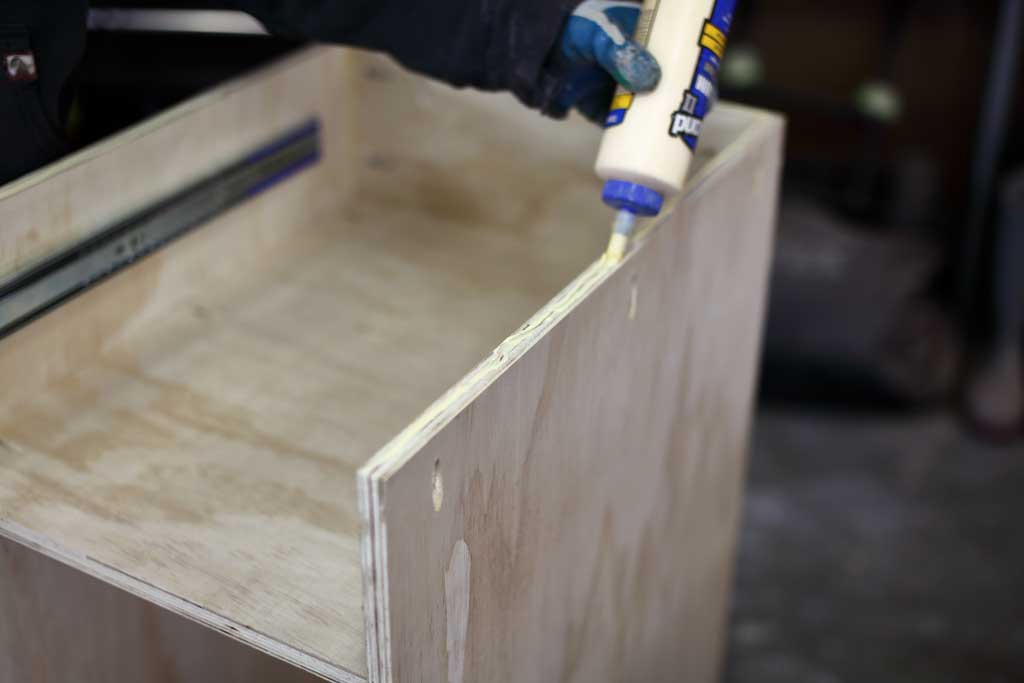
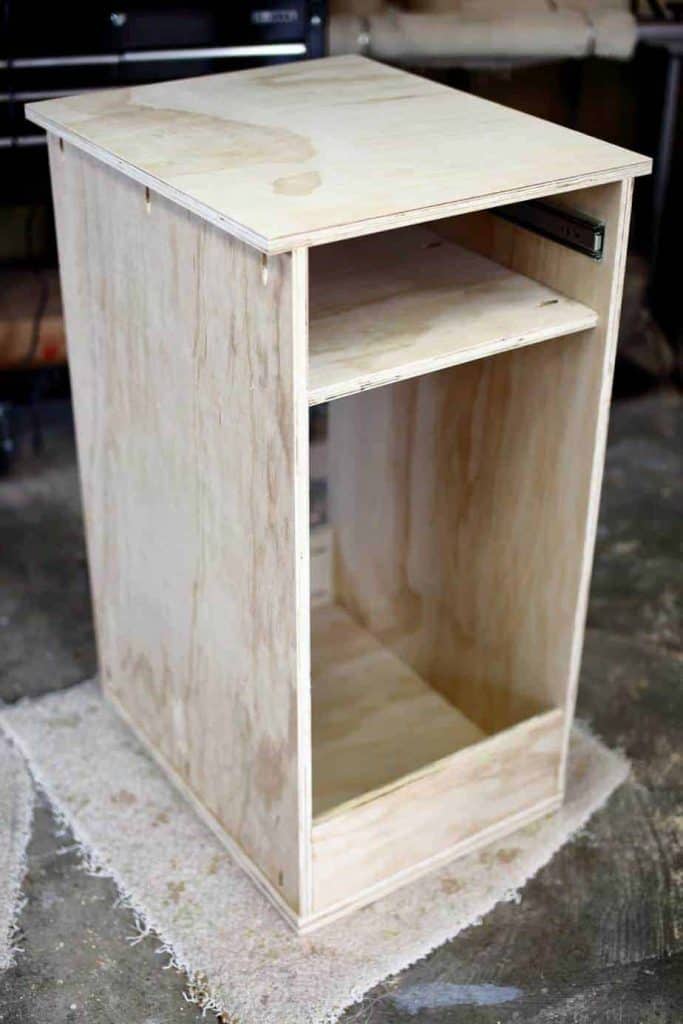
The top piece will be 1” wider on the left and the right side of the cart to be flush with the pegboard. So cut 20” x 24” piece and attach it on the top of the cart with wood glue and 1 ¼” pocket hole screws.
Step 5 – Mount the Hand Rail
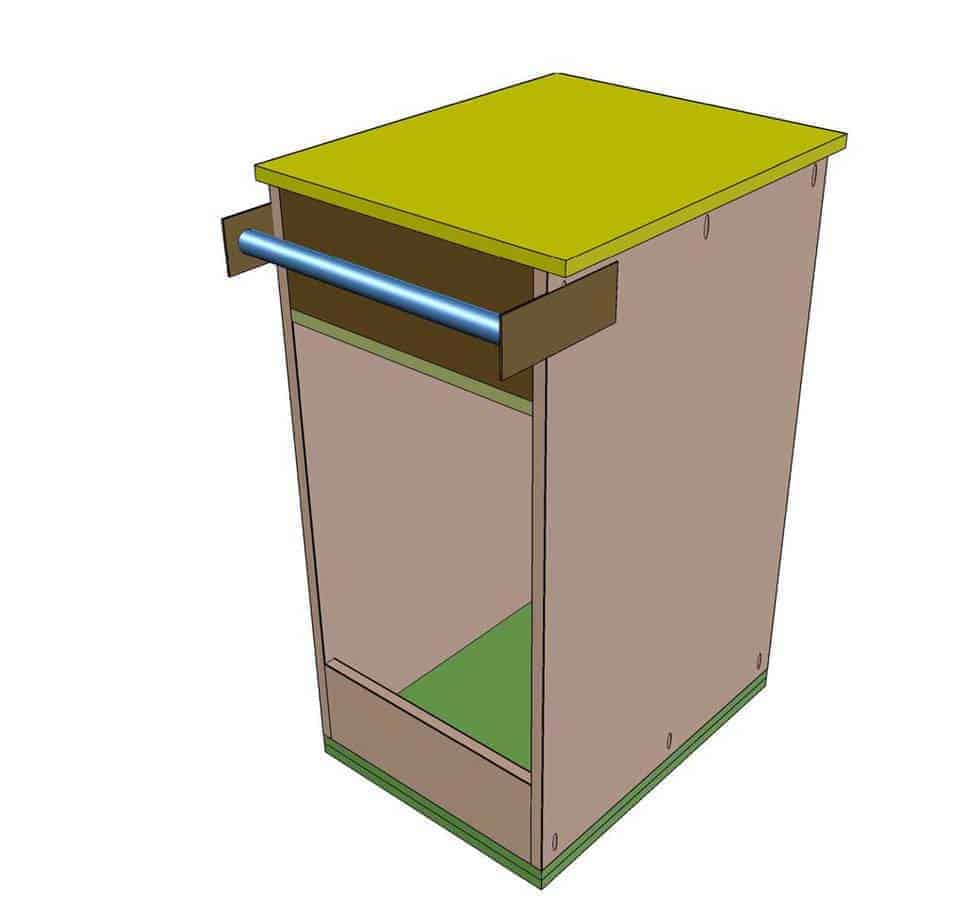
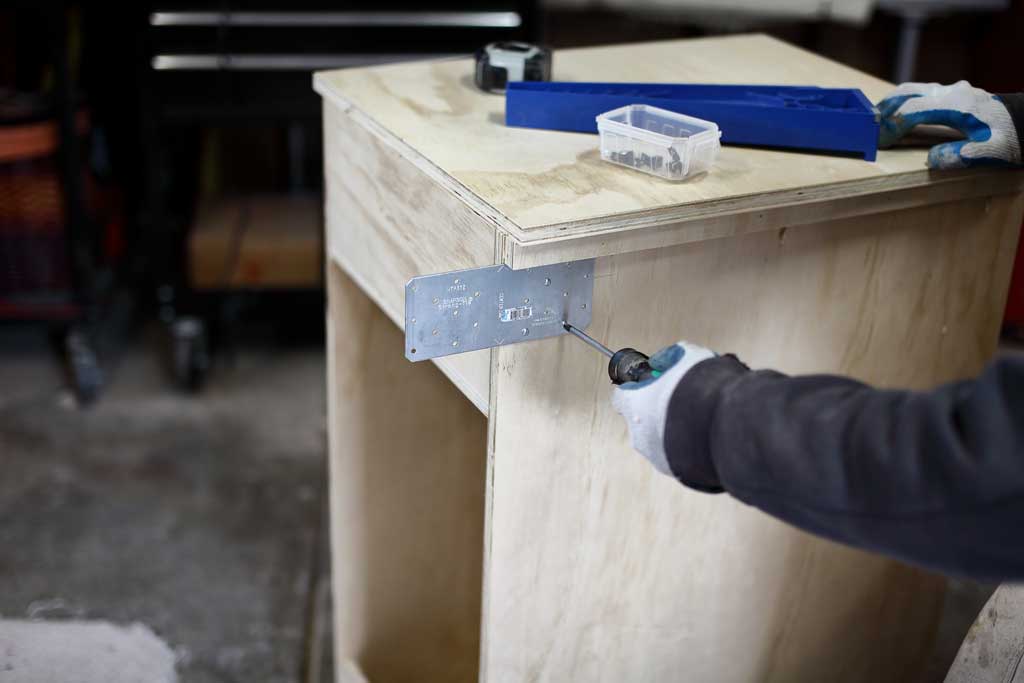
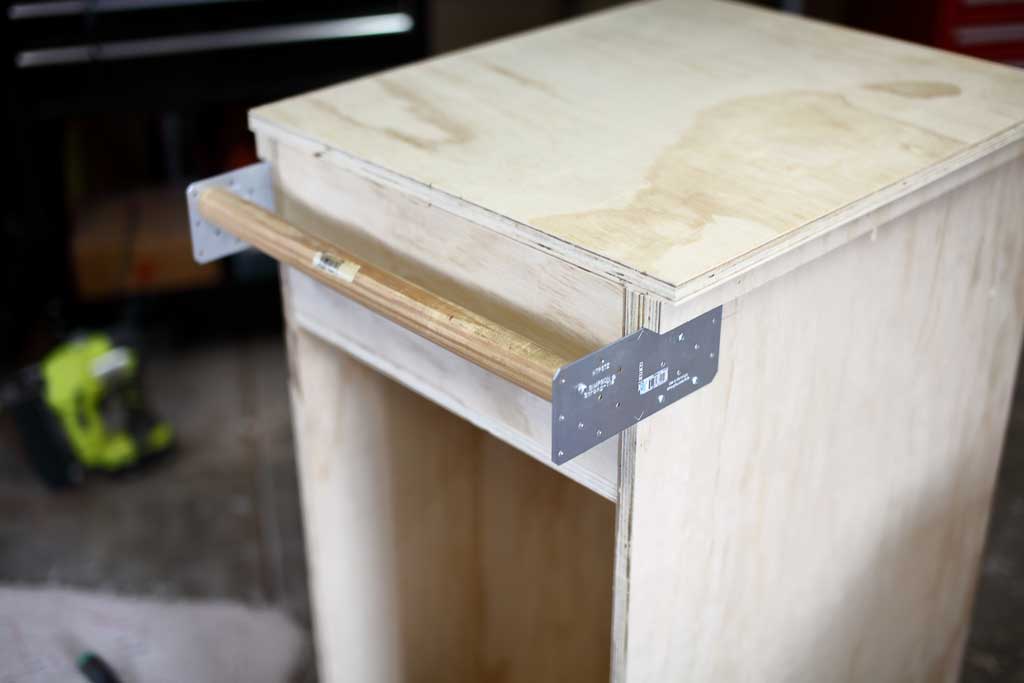
Take two 3×8 Simpson Straps and on the upper backside attach on each side of the cart. The straps need to be at least 1” below the top board. The 1” space will be used for a board that holds the pegboard. Then cut a 1 ¼” wooden dowel rod and insert it between the metal straps. Pre-drill a hole in the center of the dowel rod to prevent from splitting and then screw in a 2 ½” pocket hole screws.
Step 6 – Attach Pegboard to Both Sides of Cart
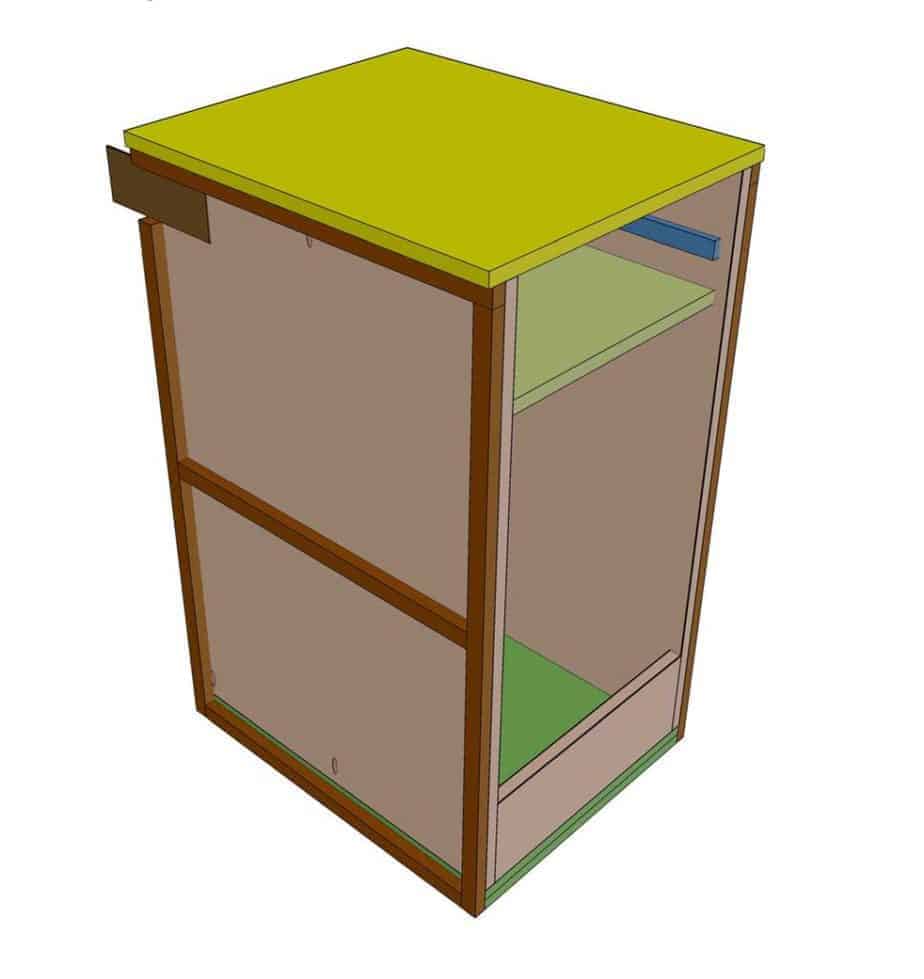
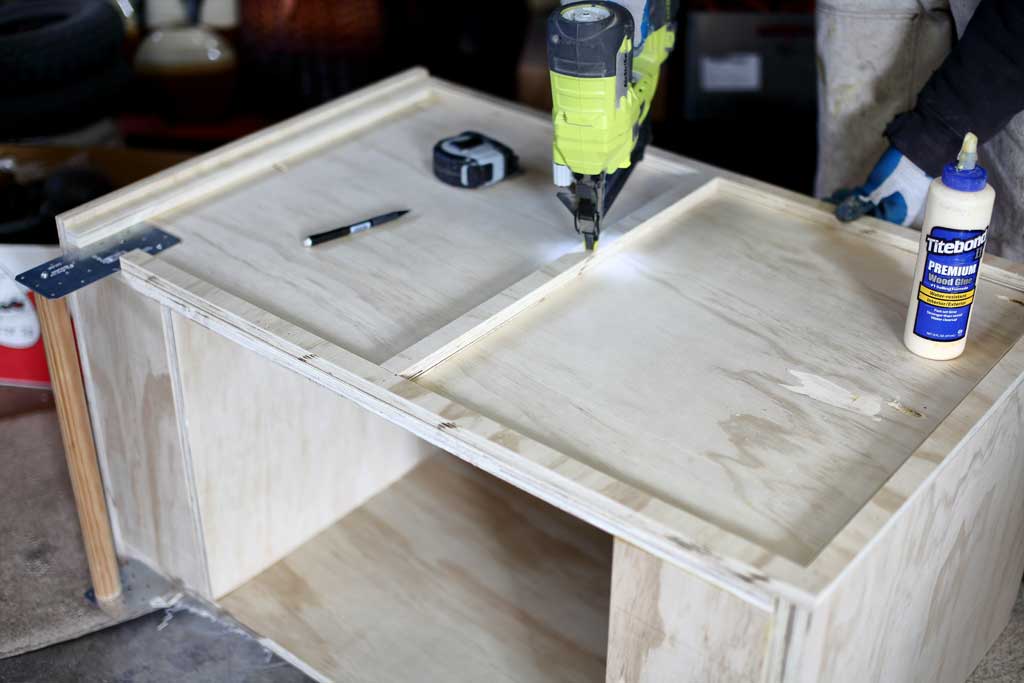
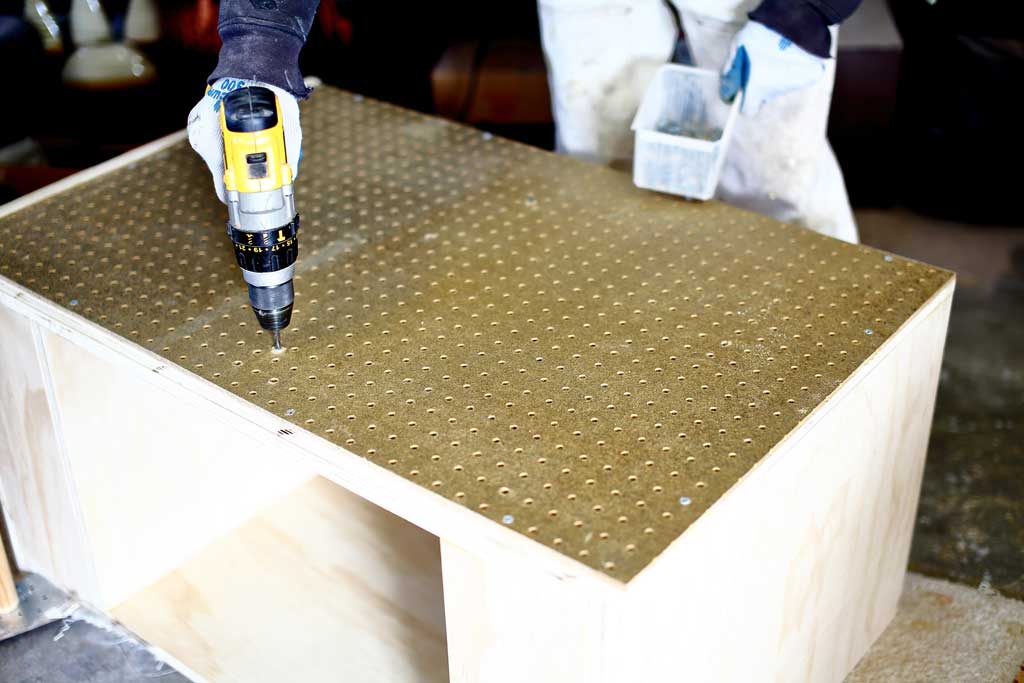
Both sides of the cart will have a pegboard from top to bottom. The pegboard needs to have ¾” space behind it for the hooks to be inserted. Using a table saw cut 1” wide board that will go around the perimeters of the left and right sides. Also, add 1” board in the middle of the pegboard area to keep the pegboard sturdy. Attached these boards with brad nails and wood glue. Then cut two pegboard sheets to 24”x37 1/2″ and attach them over the 1” wide boards on both sides using 1 ½” wood screws.
Step 7 – Build the Drawer
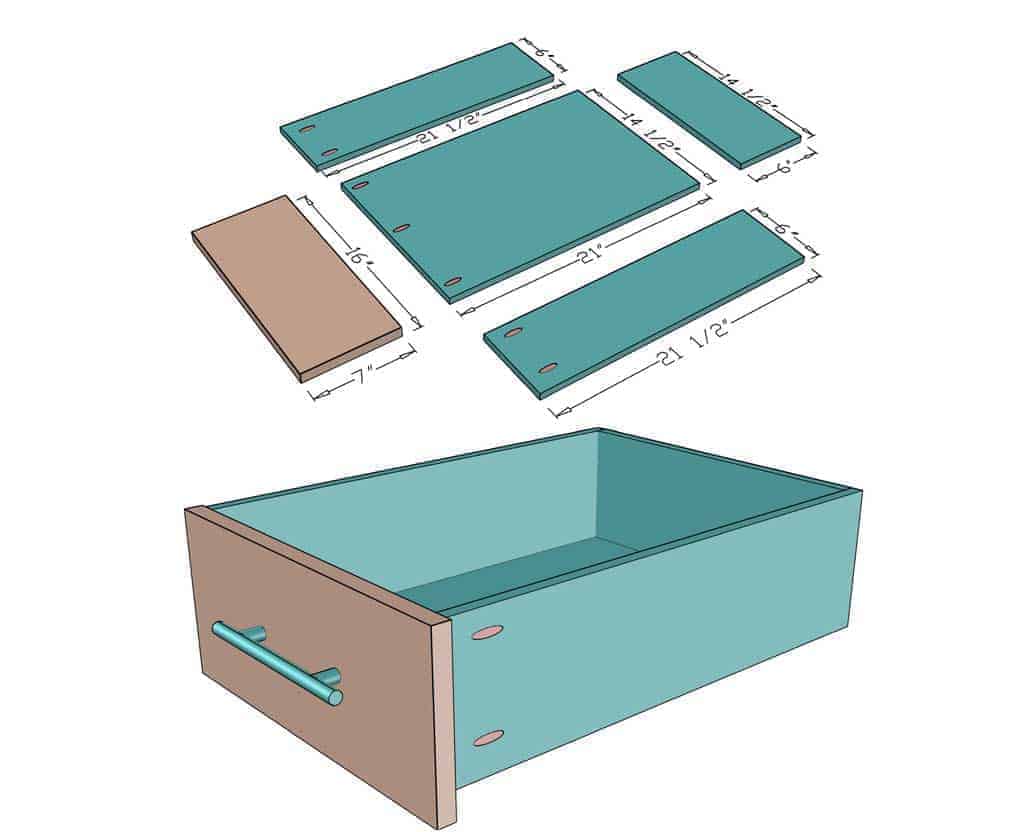
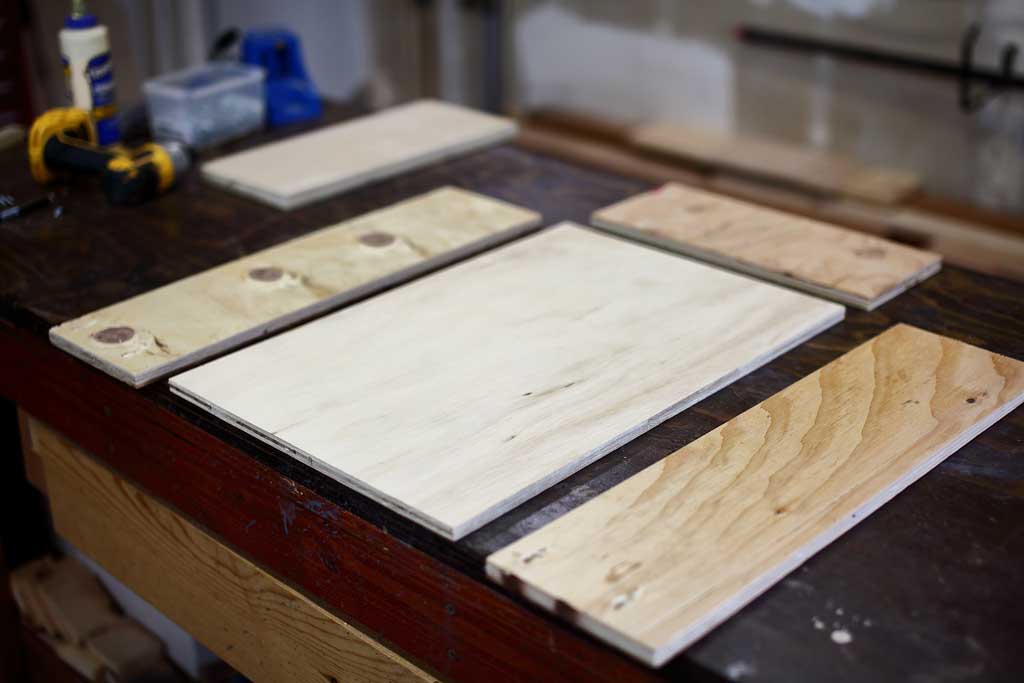
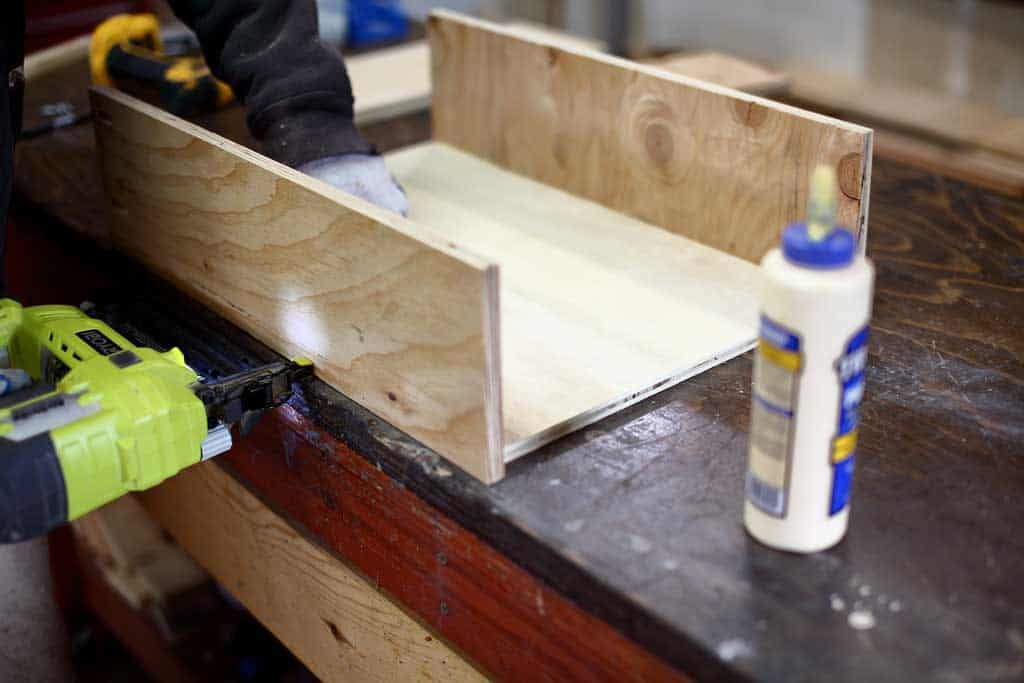
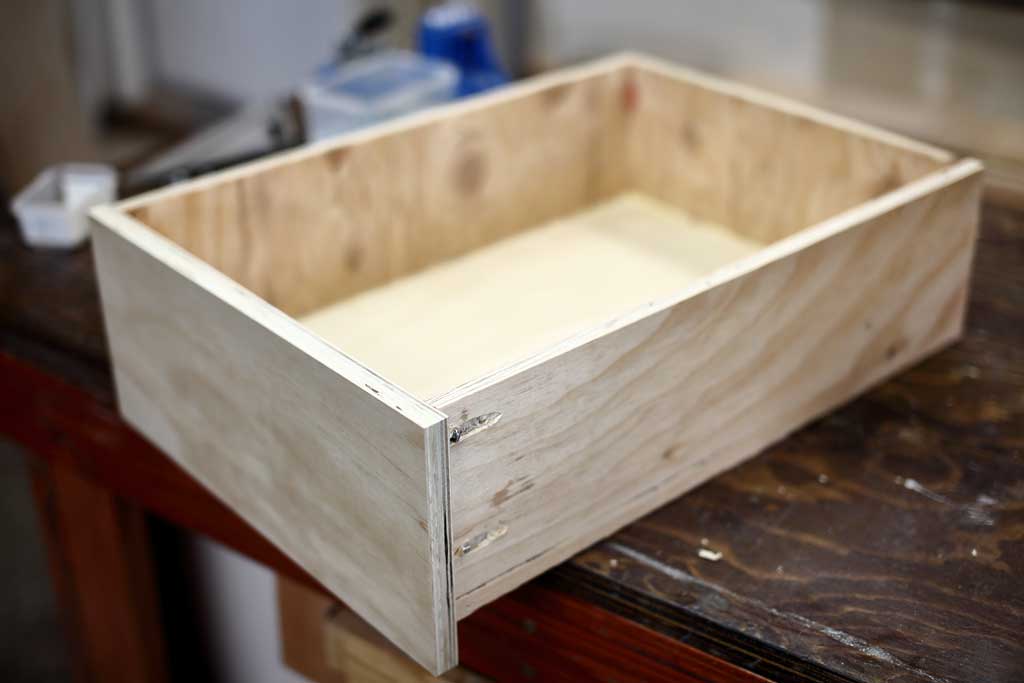
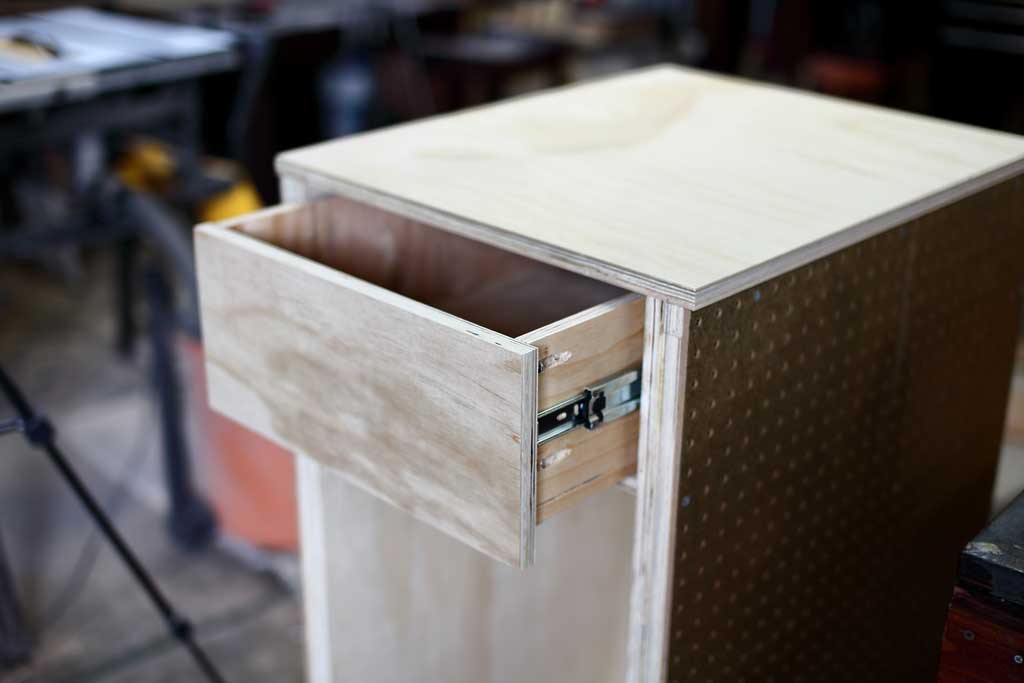
To build a drawer box, take ½” plywood and cut a bottom piece to 21” x 14 1/2”, back piece to 14 1/2” x 6” and two side pieces to 21 1/2″ x 6”. For the front piece, use ¾” plywood and cut it to 16” x 7”. Drill pocket holes in the bottom piece and both sides pieces using Kreg Jig that is set up to ½” wood thickness. The drawer box needs to be assembled together with wood glue and 1 ¼” brad nails but the front piece needs to be attached with 1” pocket holes screws. Once the drawer is assembled, attach it to the drawer slides. The box will have ¼” space around all sides. Next, take a drawer handle and place it against the drawer front board and mark where to drill the holes. After drilling the holes attach the drawer handle.
Step 8 – Build a Rack for Storing Drills
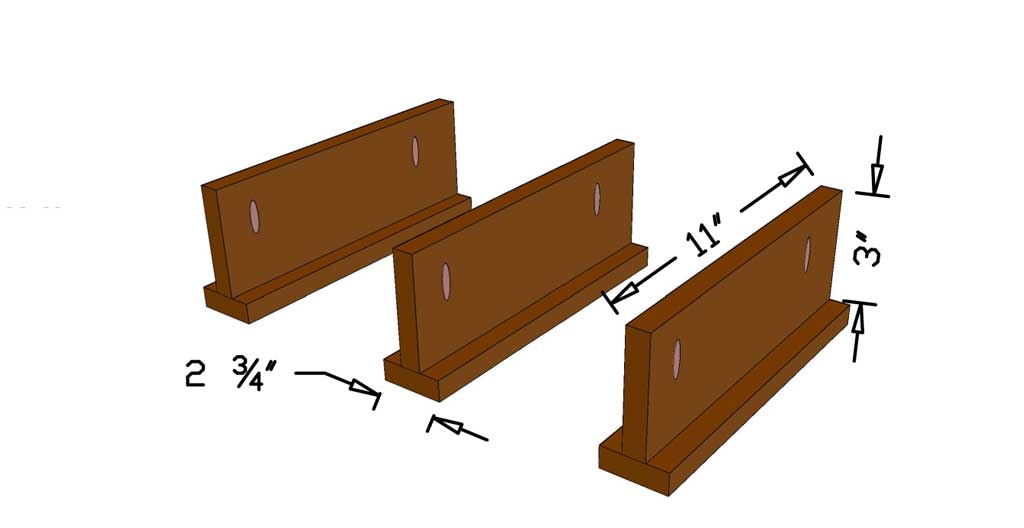
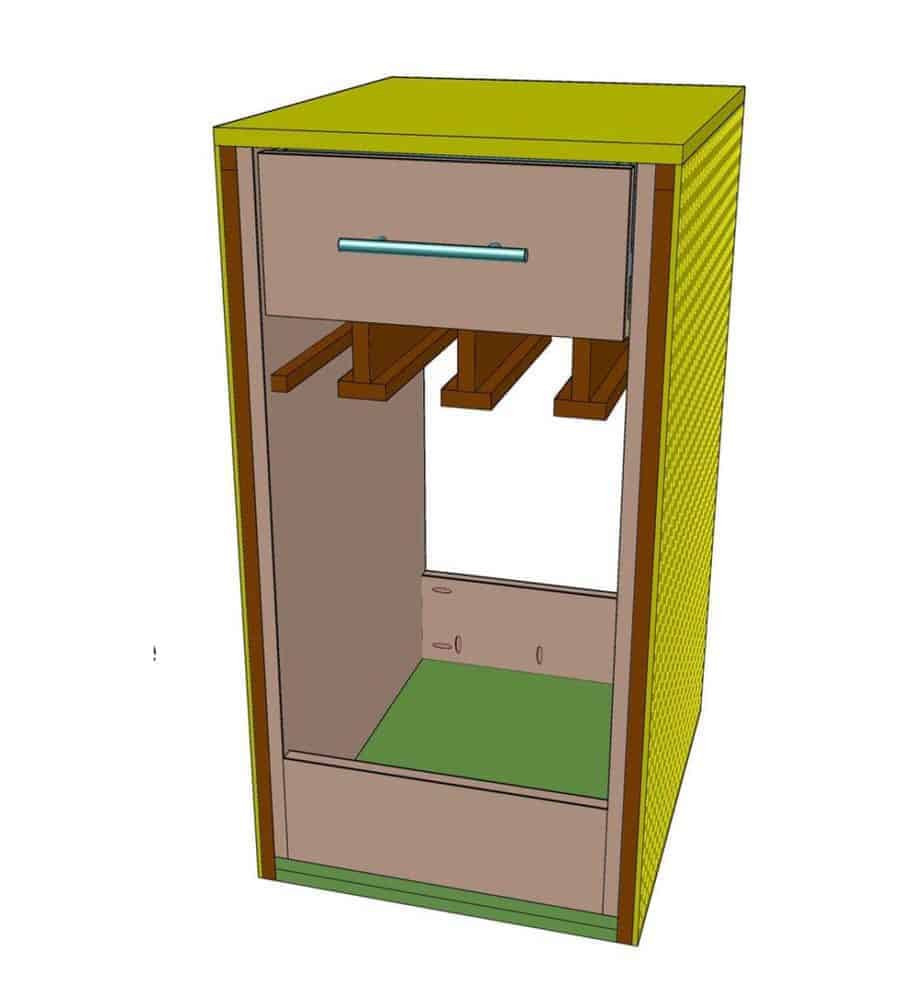
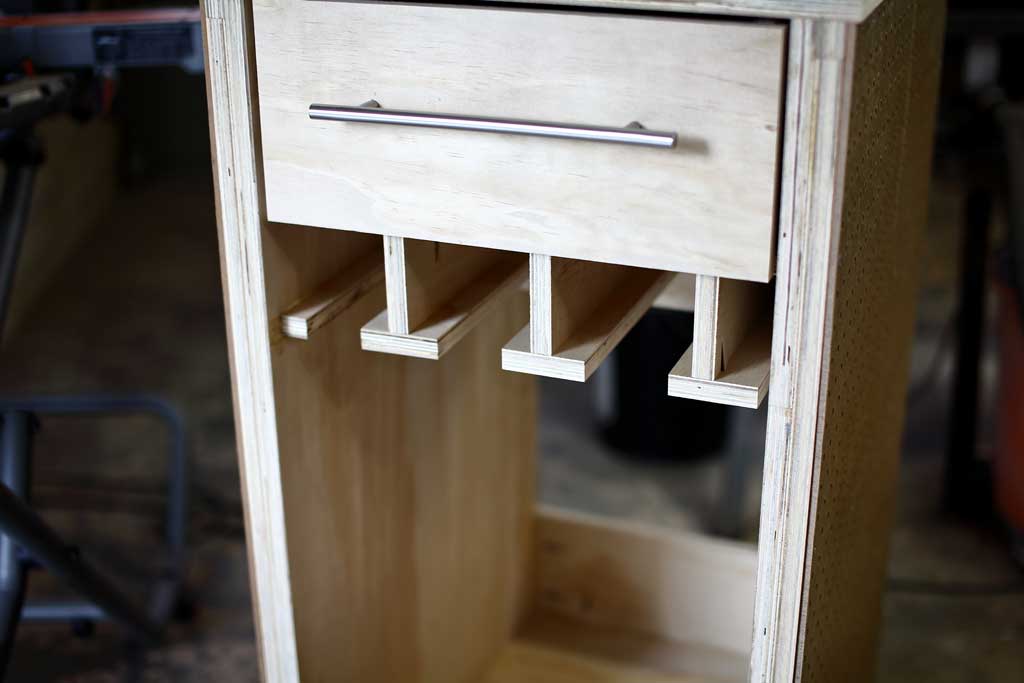
Under the drawer, build a rack for storing cordless drills/nail gun. First, cut three 3”x11” divider pieces using ¾” plywood and then drill two pocket holes on one side of that board (see picture). Install the 3” divider pieces under the drawer about 3” apart. These could be adjusted to fit your drills. Then cut 2 ¾” x11” pieces and attach them from the bottom to the dividers, using a 1 ¼” pocket hole screws.
Step 9 – Install the Wheels
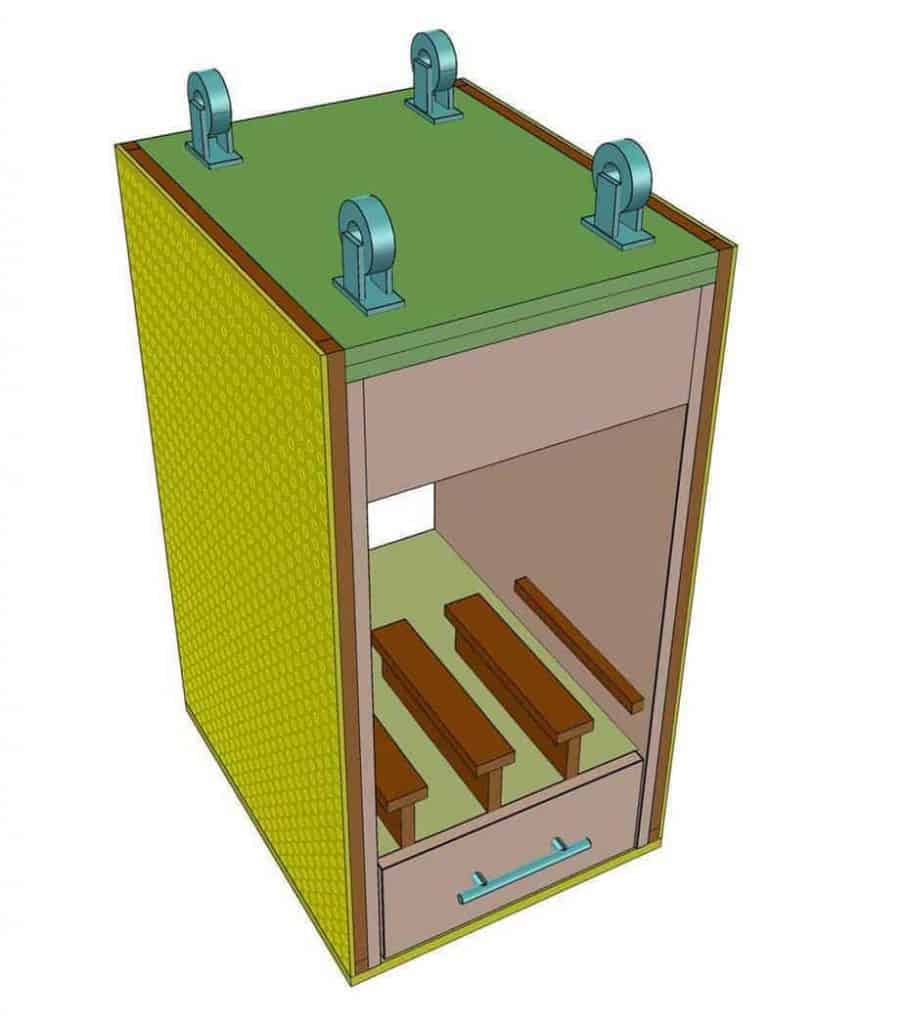
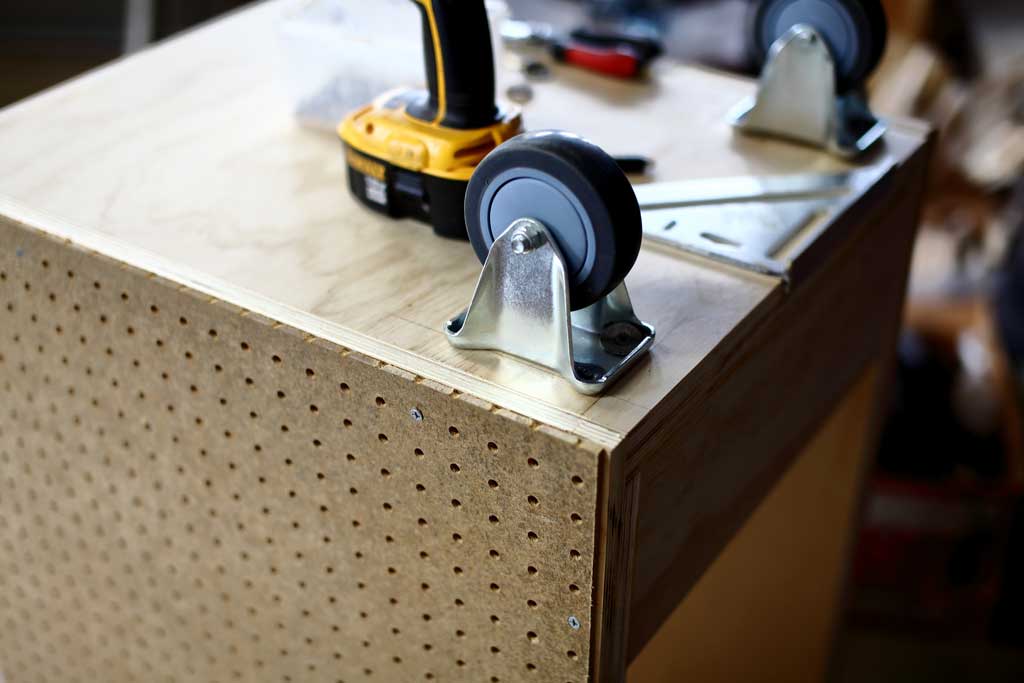
Flip the cart upside down and install two swivel wheels in the front and two fixed wheels on the back using 1 ½” wood screws. You’re done with a DIY Mobile Tool Cart with Pegboard!



Add comment