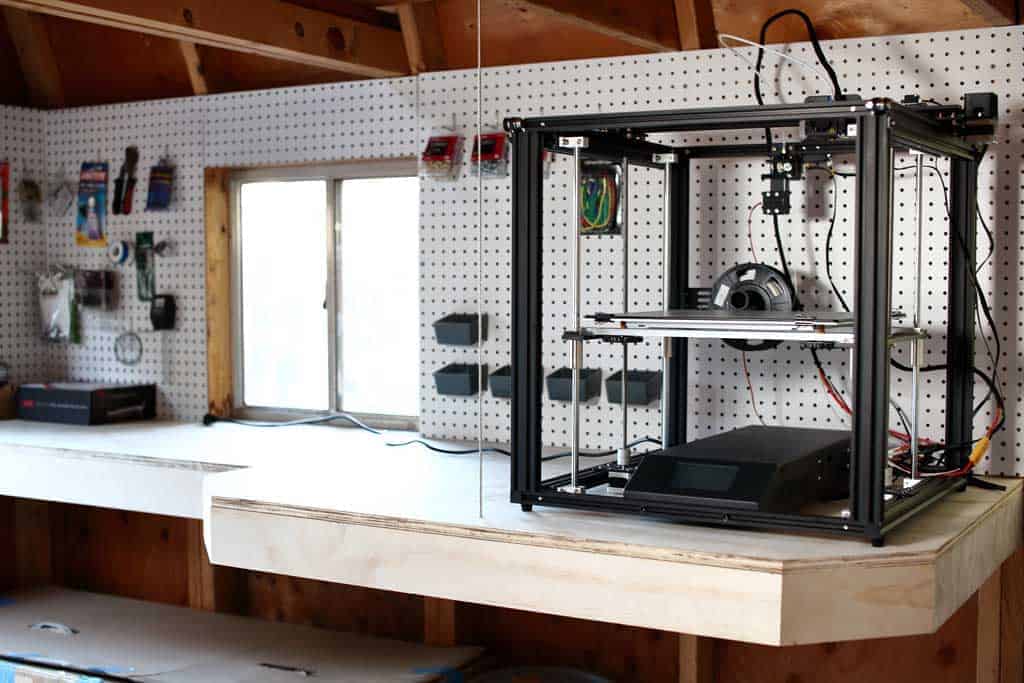
Just recently we bought an Ender 5 plus 3D printer that has a large printing surface. After having the printer run for few hours, I’ve noticed the smell that filled up the room from fumes of melting PLA at the print head. I figured that breathing those fumes from melting plastic can’t be too good for my health. Also, having a large printer requires a lot of space on the desk. So I decided to move the 3D printer into my 10×12 shed to solve these problems. Inside the shed, I’ve built a large DIY shelf for a 3D printer and installed a pegboard on the wall to keep things organized.
As you may know that printing an item in 3D could take many hours or sometimes days. The print head could sometimes move very fast and sometimes very slow. This causes the motors to make different noises depending on what’s printing. Listening to these sounds all day could get annoying very fast.
Having the 3D printer in the shed solves the smell problem, the annoying noise from the motors and is not taking up space in my office. Now I could run it at any time during the day or night without it being a distraction.
You also might be interested in DIY cabinets that I’ve to build in this 10×12 shed to keep everything organized.
Note: Lumber dimensions are listed as nominal size. See lumber sizes for actual dimensions vs nominal.
Disclosure: Some of the links on this page as well as links in “tools for this project” and “material list” sections are affiliate links.
Dimensions

Cut List

Step 1 – Cut Plywood for the Shelf Top
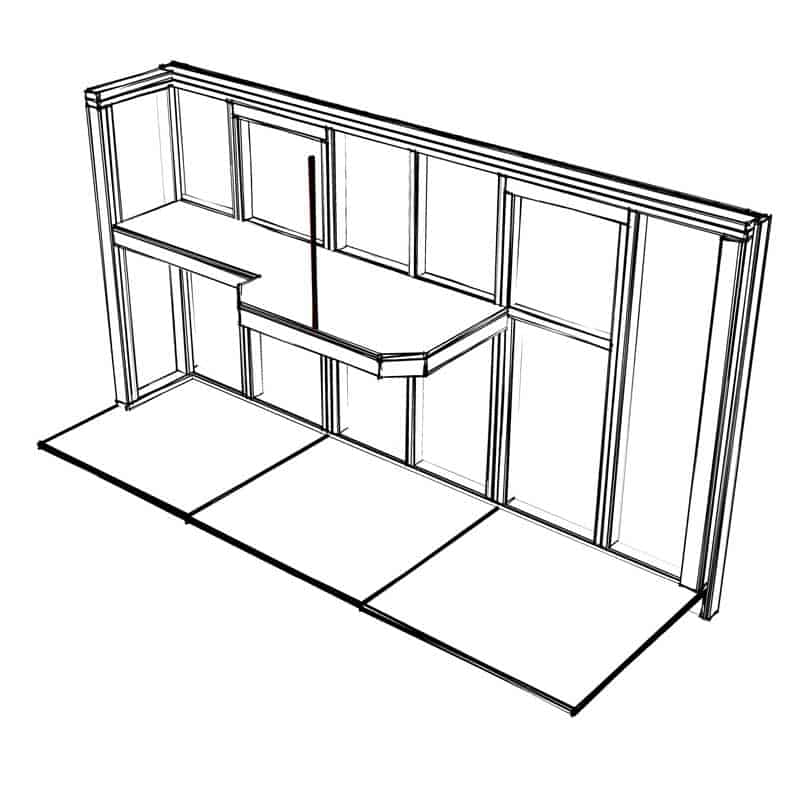
Since this shelf was designed for a large 3D printer, I wanted part of the shelf to have at least 32”x32” surface area to place the printer. And the remaining section of the shelf, against the window, I decided to have it 20 1/2″ deep. So it’s like a regular shelf but with a pop-out for additional space. I also wanted to trim the corners of the pop-out to 45 degrees to make it more interesting.
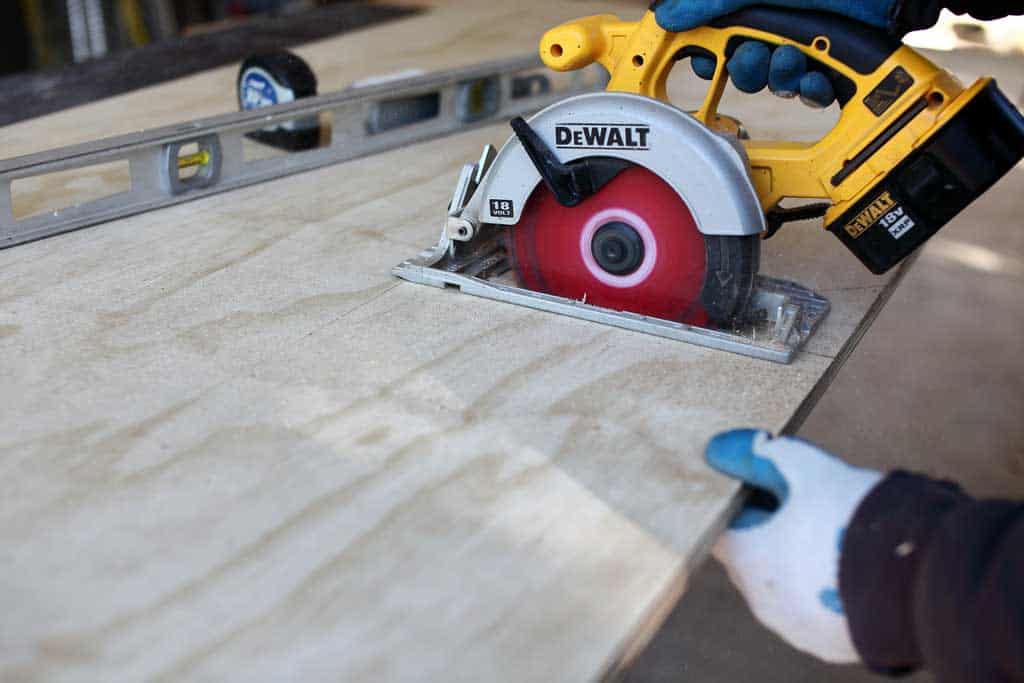
Take a full sheet of 3/4″ cabinet grade plywood and draw the outline of the shelf as shown in the picture. These dimensions could be changed or adjusted to any size you want to fit in your shed. Then take a skill saw and cut out the outline of the shelf top. You might need to use a hand saw to finish cutting the inside corner because the blade of the skill saw will not reach to complete the cut.



Step 2 – Cut Side Pieces of the Shelf
The side pieces need to be 3 1/2″ tall to hide the 2x4s that support this shelf. Using a miter saw cut the pieces as shown in the picture below. Because the shelf has two 45 degree corners at the pop-out, some of the side pieces need to have a bevel cut at 22.5 degrees. This bevel cut angle will make the side pieces connect together properly.

Step 3 – Drill Pocket Holes on the Side Pieces of the Shelf
Set your Kreg Jig to ¾” wood thickness and drill pocket holes as shown in the picture. These side pieces will be attached to the top shelf board so the pocket hole needs to be drilled perpendicular. The pieces that are being attached at the 45-degree corners will also need a few parallel pocket holes. Having these parallel pocket holes will keep the side piece from sliding apart. When driving in the parallel pocket hole screws, they will need to go in halfway. Otherwise, the screws will go through the board and will be visible on the front.


Step 4 – Attach the Side Pieces to the Top Shelf Board
Now take the side pieces and attach them to the top shelf piece using wood glue and 1 1/4″ pocket hole screws. Be careful driving in the screws at the 45-degree sections so that they do not go through the front. The edges against the wall will not have the side pieces.


Step 5 – Build the Frame to Support the Shelf
To hold the shelf on the wall we’ll need to build a supporting frame. This frame will be attached to the wall and then the shelf will sit on top of the support. There are many different ways to build this support, but I decided to use 2x4s.
Take 2×4 and cut one piece to 91 3/4″ in length, three pieces to 29 3/4″, and two pieces to 18 1/4″. Then drill three pocket holes on one end of each board except the 91 3/4″ piece. Having three pocket holes on each piece will make the connections stronger and will support the heavier weight.
Next, take the 91 3/4″ board and measure 5 3/4″ from the edge. This will be the location of the first 29 3/4″ piece. Then measure the remaining boards as shown in the picture. Attach these shorter boards to the long piece with wood glue and 2 1/2″ pocket hole screws.


Step 6 – Install the Support Frame to the Wall
Now that the frame is assembled, attach it to the wall with 2 1/2″ wood screws. Use a level to make sure the shelf is leveled in all directions.
Once the support frame is installed, take your Kreg Jig and set it to 3/4″ wood thickness. Then drill a few pocket holes facing up on the 2×4. These pocket holes will be used to fasten the shelf to the frame.


Step 7 – Place the Shelf over the Support Frame
Now take the shelf and place it over the support frame. Secure the shelf to the frame with 1 1/4″ pocket hole screws.


Step 8 – Hook the Aircraft Cable on the Edge of Shelf
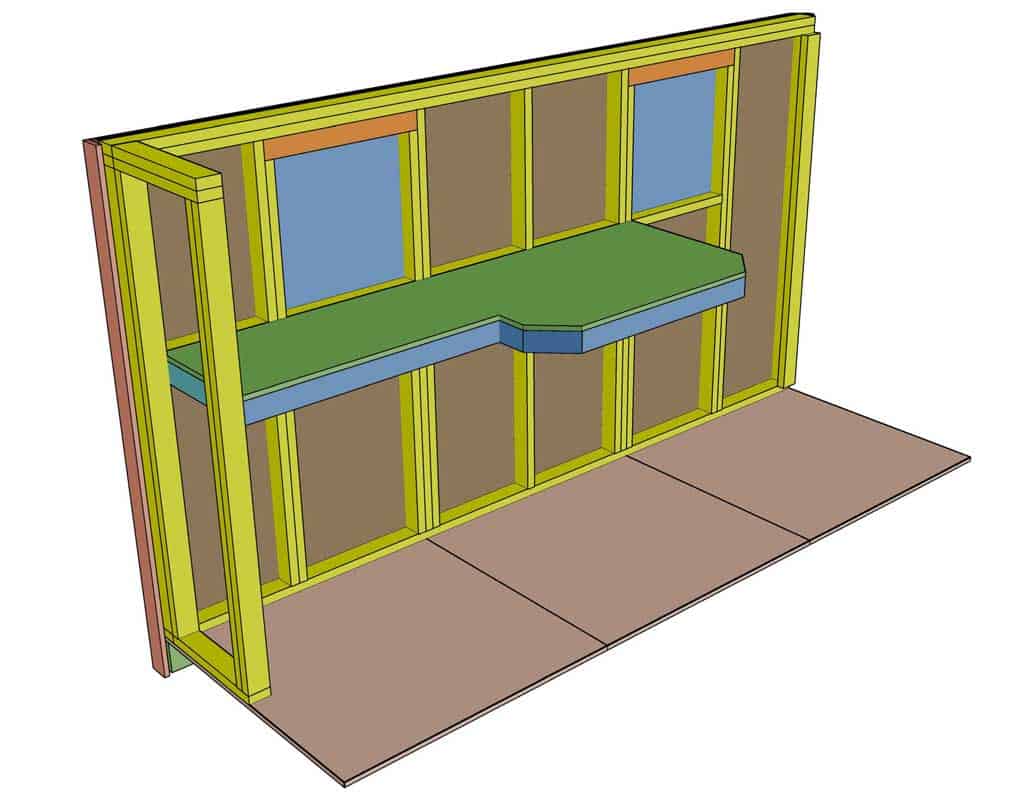
To hold the weight of a 3D printer, the shelf needed to have a vertical support at the shelf pop-out. Instead of inserting a 2×4 under the shelf, I decided to use an aircraft cable that I had leftover from a previous project. Having the 2×4 under the shelf will block useful space under the shelf. But holding the shelf from the framing above is a better option. The cable is thin and barely noticeable but it’s very strong and could support a lot of weight.
Take 1/8″ aircraft cable and attach two cable clamps with u-bolts on one end. Then drill a 1/4″ hole in the middle of the pop-out and feed the cable from under the shelf until the claps are up against the plywood.
Drive in a screw in the upper framing boards halfway. Then wrap the cable around the screws and attach two more cable clamps. See picture.


Step 9 – Attach the Pegboard on the Wall Above the Shelf
I’ve used pegboard on multiple projects around the house and installing it in the shed was a good idea for keeping things organized. See my previous projects such as garage pegboard wall and mobile tool cart with pegboard.
Using a skill saw, cut the pegboard to the sizes you’ll need to cover the wall and around the windows. You’re all done with a DIY Shelf for a 3D Printer.


