If you want to divide your lawn and your flower garden or just put a lovely fence around your front yard you came to the right place. There are several ways to approach to this project and we will present you the easiest one. First approach would be to call the contractor and give him large amount of money and sit in the shade but very few of us can afford this approach. The second approach would be to make a wooden fence from planks but that implies that you have woodworking skills and woodworking tool and, most importantly, quality lumber. The third approach is the easiest one and, most importantly, the cheapest one. You need to acquire ready made panels and/or ready made columns and you are good to go. If you are wondering how it is the cheapest way let us explain it more detailed. The most expensive way by all means is to hire a contractor because over 50% of his price is his labor. Building wooden fence out of planks requires expensive woodworking tools, expensive quality lumber and good paint job. When you see the prices of ready made vinyl fences you will see that it is the cheapest solution.
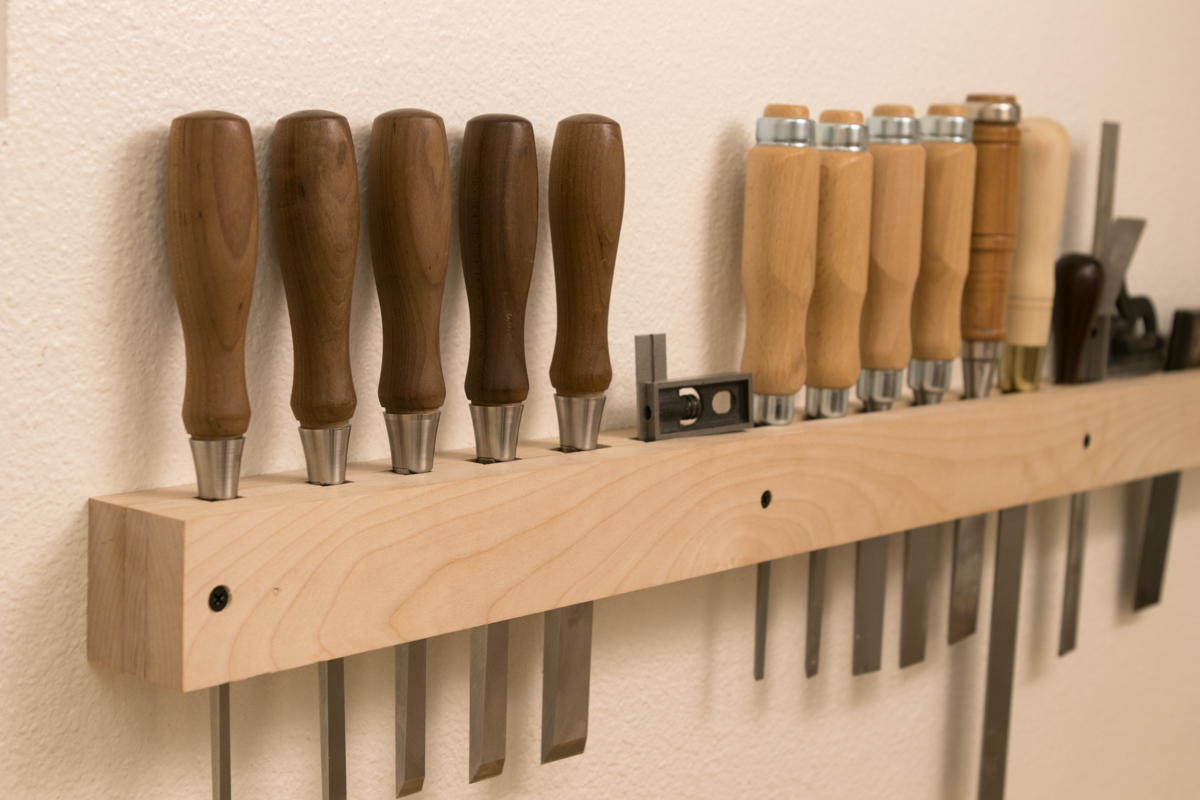
They come in panels and they are easily placed in your yard, which we will explain later. The best thing about vinyl fences is that they last for life and don’t require painting every two years like wooden fences. You don’t need lot of tools to mount a vinyl fence and probably you already have some of these tools in your garage and even if you don’t have any of the needed tools and have to buy everything, even then it is cheaper than hiring a contractor and you will have the tools for your future projects. For mounting your vinyl fence you will need: post hole digger, rubber mallet, miter saw (optional), tape measure, framing square, level, cordless drill and a screwdriver bit set. You don’t need to put concrete in the holes to reinforce the columns but if you want to than you will need a bag of ready made concrete. When you decided which kind of panels to use and when you have all the tools you can start with the project and learn how to build a fence.
Step 1. Measuring
First of all you need to measure the length of the future fence. Then you need to do a little math because you don’t want to buy too many or too few panels. The procedure is simple, just divide the length of a future fence with the length of an individual panel and you will get the number of panels you need. Don’t include the length of the small gate into the account because it is always better to have one panel more if you want to cut a part for decorative purposes.
Step 2. Digging the holes
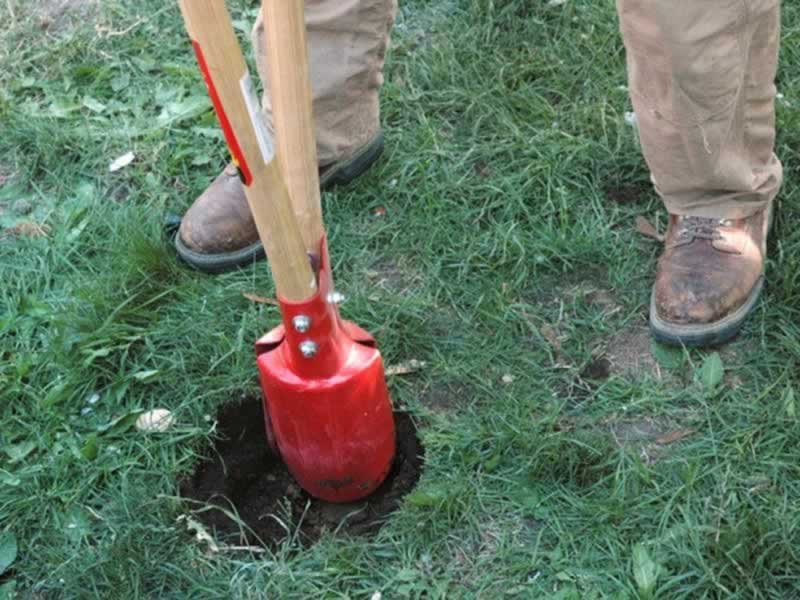
Before you start to dig the holes measure the gaps between the posts and don’t forget to leave the space for the small gate! When the measuring is done you can start digging. You will dig the holes very easily with the post hole digger and don’t worry if the hole is not deep enough because it is then easier to anchor the posts. Always dig first and the last hole first and pull a rope between them to ensure that all of the other holes are aligned.
Step 3. Setting the posts
This step depends on the type of fence because you can buy panels with the posts which can’t be detached from the panel and you can buy panels which are divided from the posts. Don’t worry about that because mounting both types is simple. Start with the first post and put it in the hole dug in the last step, then use the level and rubber mallet to align the post and anchor the post in the ground (you may use a part of wooden plank or 2×4 to put on the post so you don’t hit the post directly to avoid the damage to the post). After you aligned the first post just take notice to align the height of the second post with the height of the first post. You can do this with a 2×4 and a level but you will need little help of another person to hold the 2×4 and the level while you align the post. The procedure explained is for the detached posts and panels but the procedure for the attached posts is even easier because you already have the place to put the level (just hold it on the fence rail) and you can place the entire section yourself.
Step 4. Securing the fence
After all the posts are mounted you need to secure the posts so the fence will stay aligned. Always secure the posts before mounting the gate! You will secure the posts with filling the hole around the post with sand, gravel, stones or concrete, it all depends on the type of terrain but the solution you can’t go wrong with is concrete, just buy a ready made concrete in the local hardware store, mix it with water and pour it in the hole.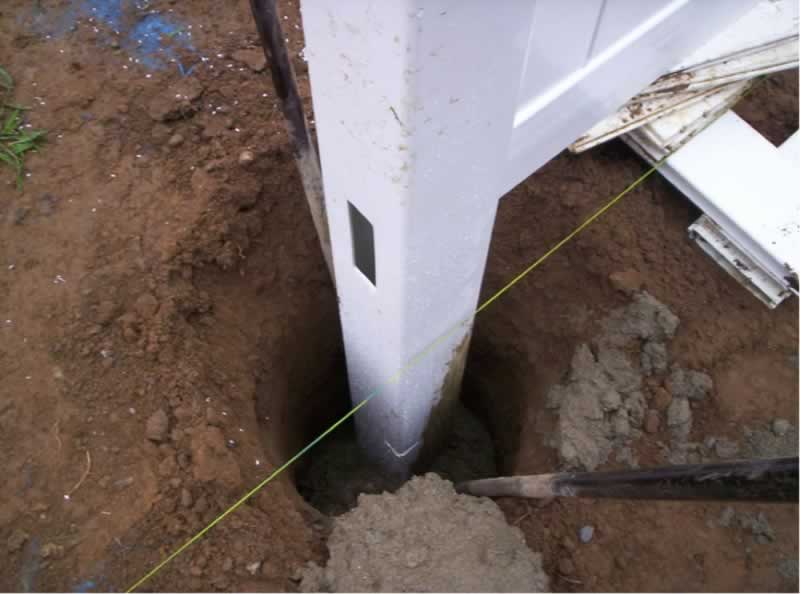
Step 5. Mounting the panels and gates
You can ignore part of this step if you bought the fence with panels and posts already attached together! This is the final and the easiest step of building your own fence because the panels and the gates come together with the screws and bearers and the place for them is marked both on the panel and the posts. For this step you will need a cordless drill and the appropriate screwdriver bit. This is the step which you can usually do yourself because most of the posts have mounting sockets but if that is not the case then it is a two man job.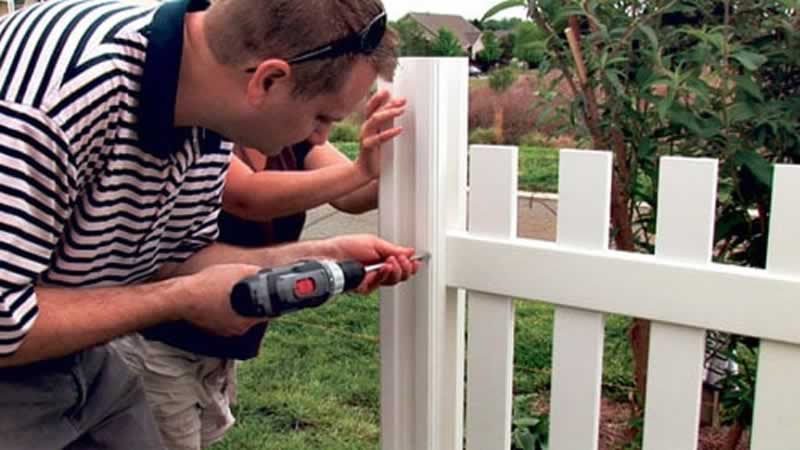
Step 6. Cutting the panels (optional)
This step can be avoided with careful planning but it is very often that the space between two last posts will be smaller then the panel. This is not the problem because the panels are easily cut with the miter saw or almost every type of hand or electrical saw. Just always make sure that the panel is secured before starting the cut an that you have measured twice before cutting. When you measuring the space between the posts always take in the account the part of panel which maybe goes into the post!
As you can see, mounting of vinyl picket fence is a simple two man job and you get beautiful fence which will last for life! Now, when you’ve learned how to build a fence you can start with your own fencing!


