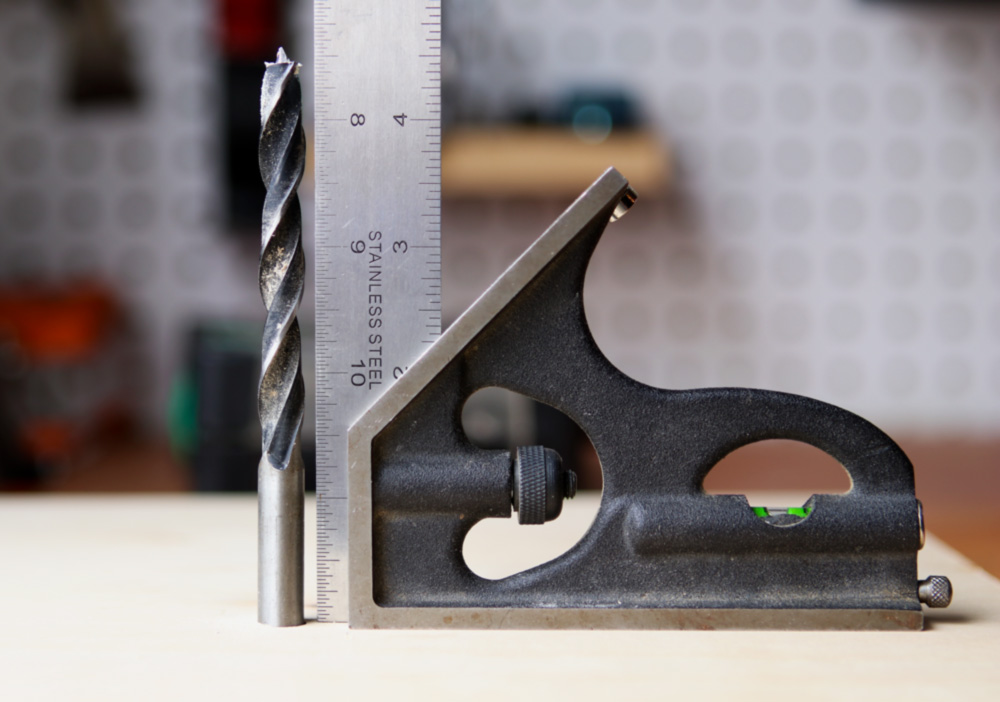
Sure, every once in a while, you choose to intentionally drill a hole at a specific angle. Perhaps your compound joinery demands it, or you’re going for a stylish, contemporary look on a project.
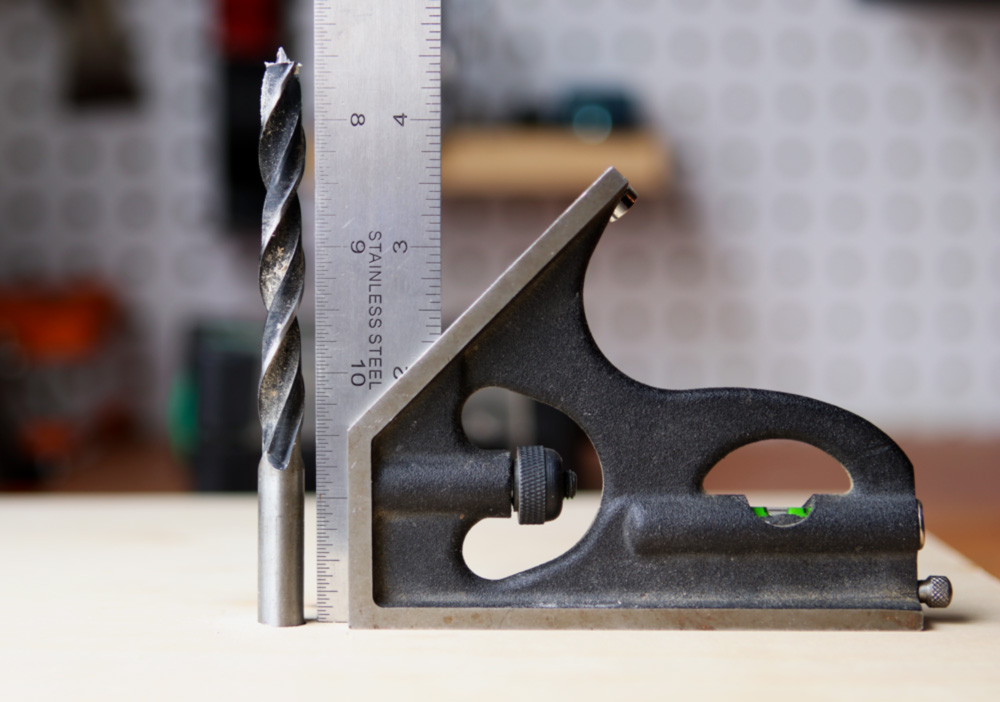
But most of the holes we drill — I’d hazard to say a good 99% of them — are intended to be drilled straight on, perfectly perpendicular to the surface. You can do this precisely with a drill press, but many makers don’t have one, and they require a specific setup and work that’s small enough to be placed on the table.
So that leaves the cordless drill. A tool that, when balanced on the tip of a drill bit, can be easily canted and slanted off square in every single direction, especially when you’re putting force behind it.
But! The task is not impossible. Yes, DIYers, you can drill a perfect 90° hole with a cordless drill. Here’s how it’s done.
First, Set Yourself Up for Success.
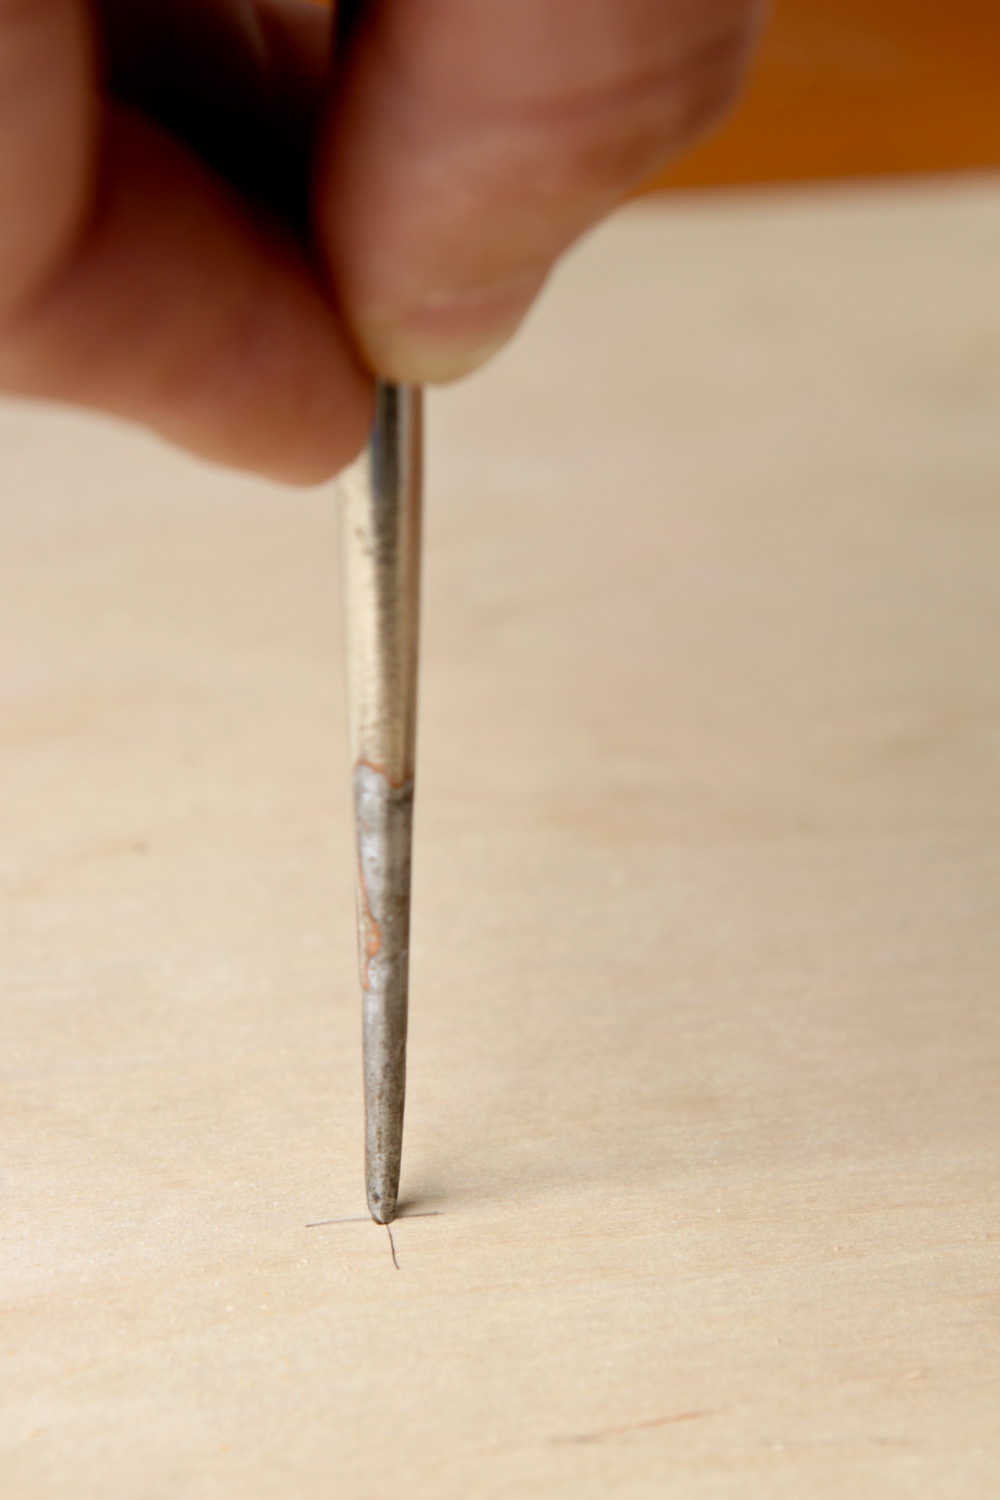
When you need to drill a perfect, 90° hole, you need to concern yourself with the angle of the drill and bit and nothing else. So, to make it easier, always make sure you create a small starting divot with an awl so your drill bit has a place to land. This way, you bit placement is set, and you can worry about the other moving parts.
The Commercial Option
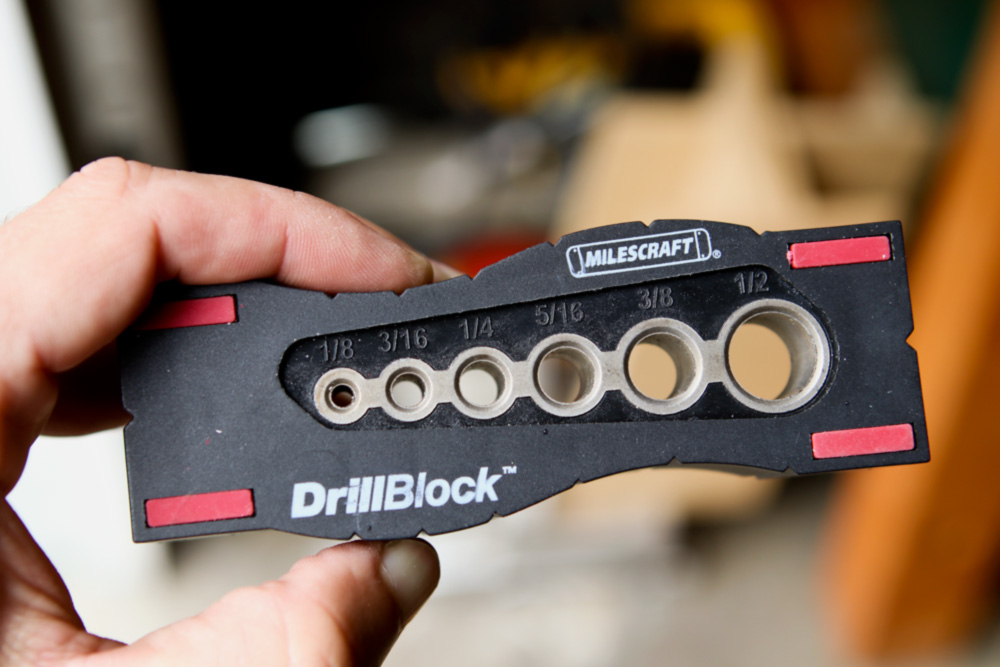
The Milescraft DrillBlock is a simple and super handy aid made for exactly this task. It only costs $8, and it helps you create perfectly square holes in 1/16″ increments from 1/8 – 1/2″. It’s a seriously good value, and if you use a cordless drill more than a couple times a year, it’s a no brainer. Get one.
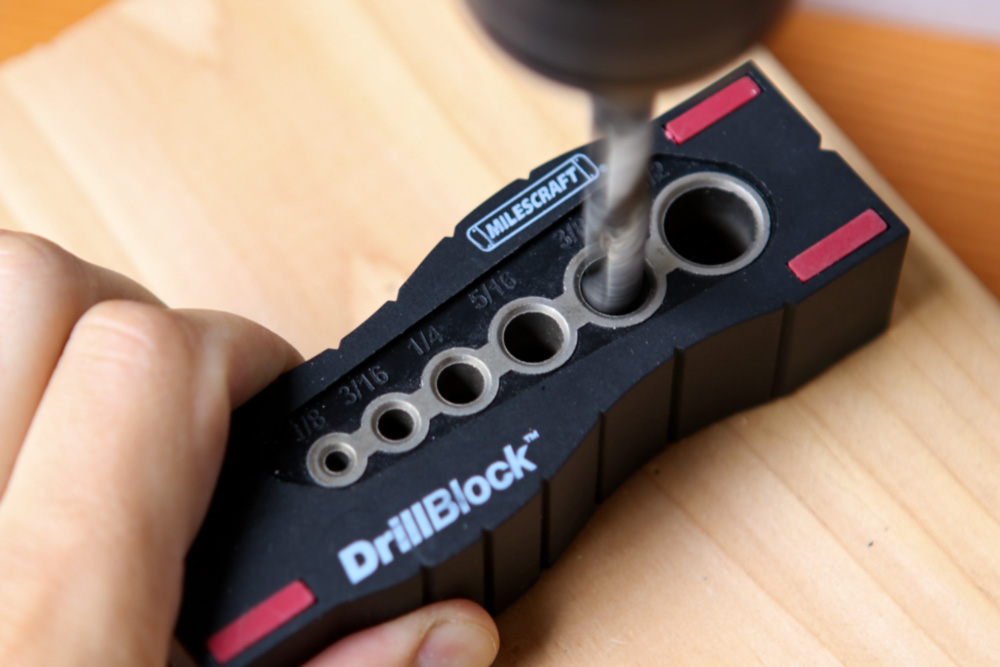
You just place it over your drill bit, set the bit on your mark, secure it with your hand or a clamp, and drill.
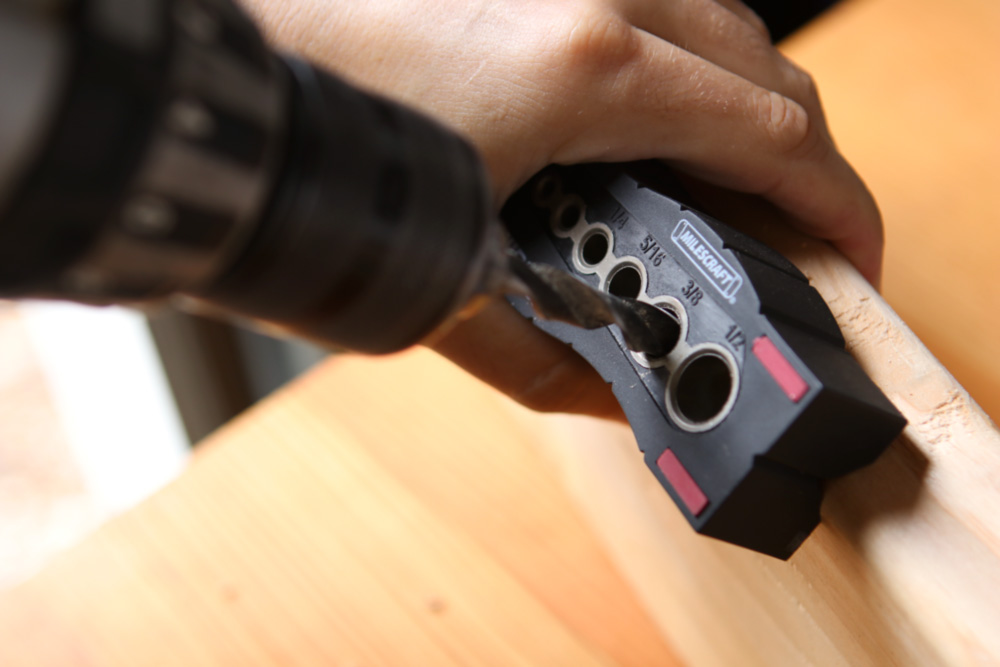 Bonus: the DrillBlock has a v-groove on the bottom, allowing you to drill 45° holes into corners and edges with ease.

The DIY Option
Okay, but let’s say it’s 10:00 p.m. on a Saturday, and you need to keep going with your project. Or, perhaps you need a hole that’s not in increments of 1/16″. Or any other of the dozen reasons you might need to drill a straight hole without the aid of the commercial guide. Well, then, my friend, you make your own.
It’s deceptively simple. Start with some wood scrap, about 1 1/2″ wide and 10″ long. Cut off 2″ from one end, ensuring the cut is perfectly square.
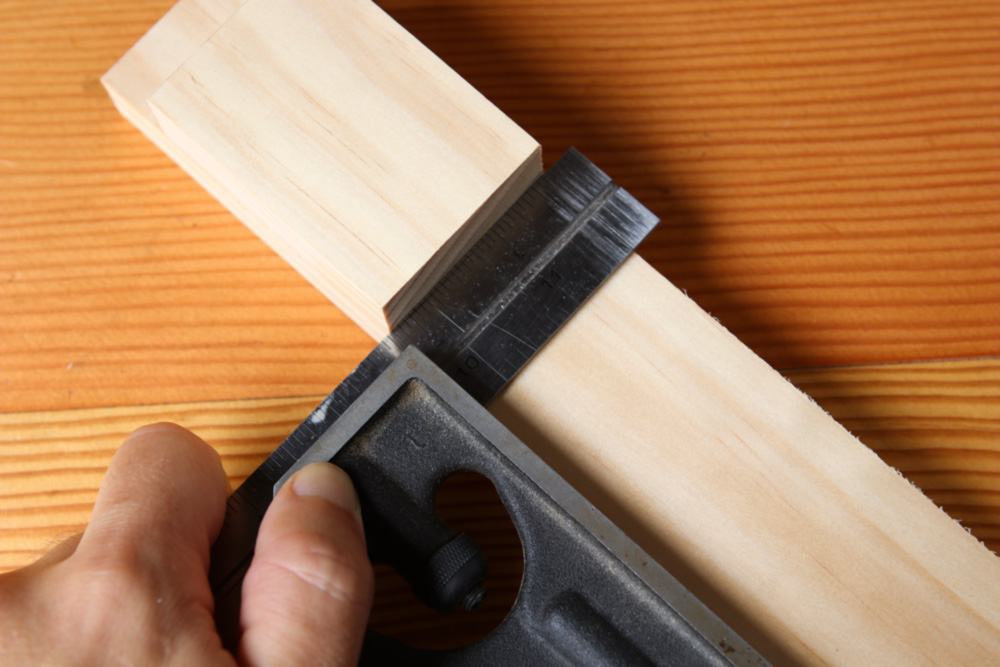
Spread a little wood glue on the cut off, then place it on the longer piece 1″ from the end. Use a square to make sure the two pieces are aligned.
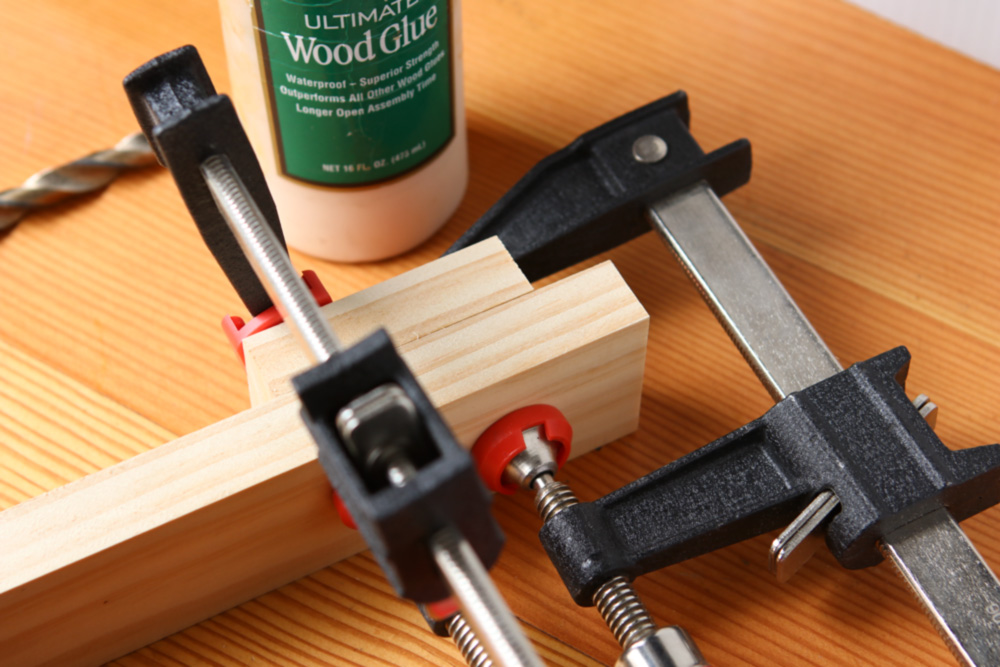 Clamp the pieces together while the glue sets up. (If you’re in a hurry, you can set the alignment with screws and get on with your project.)
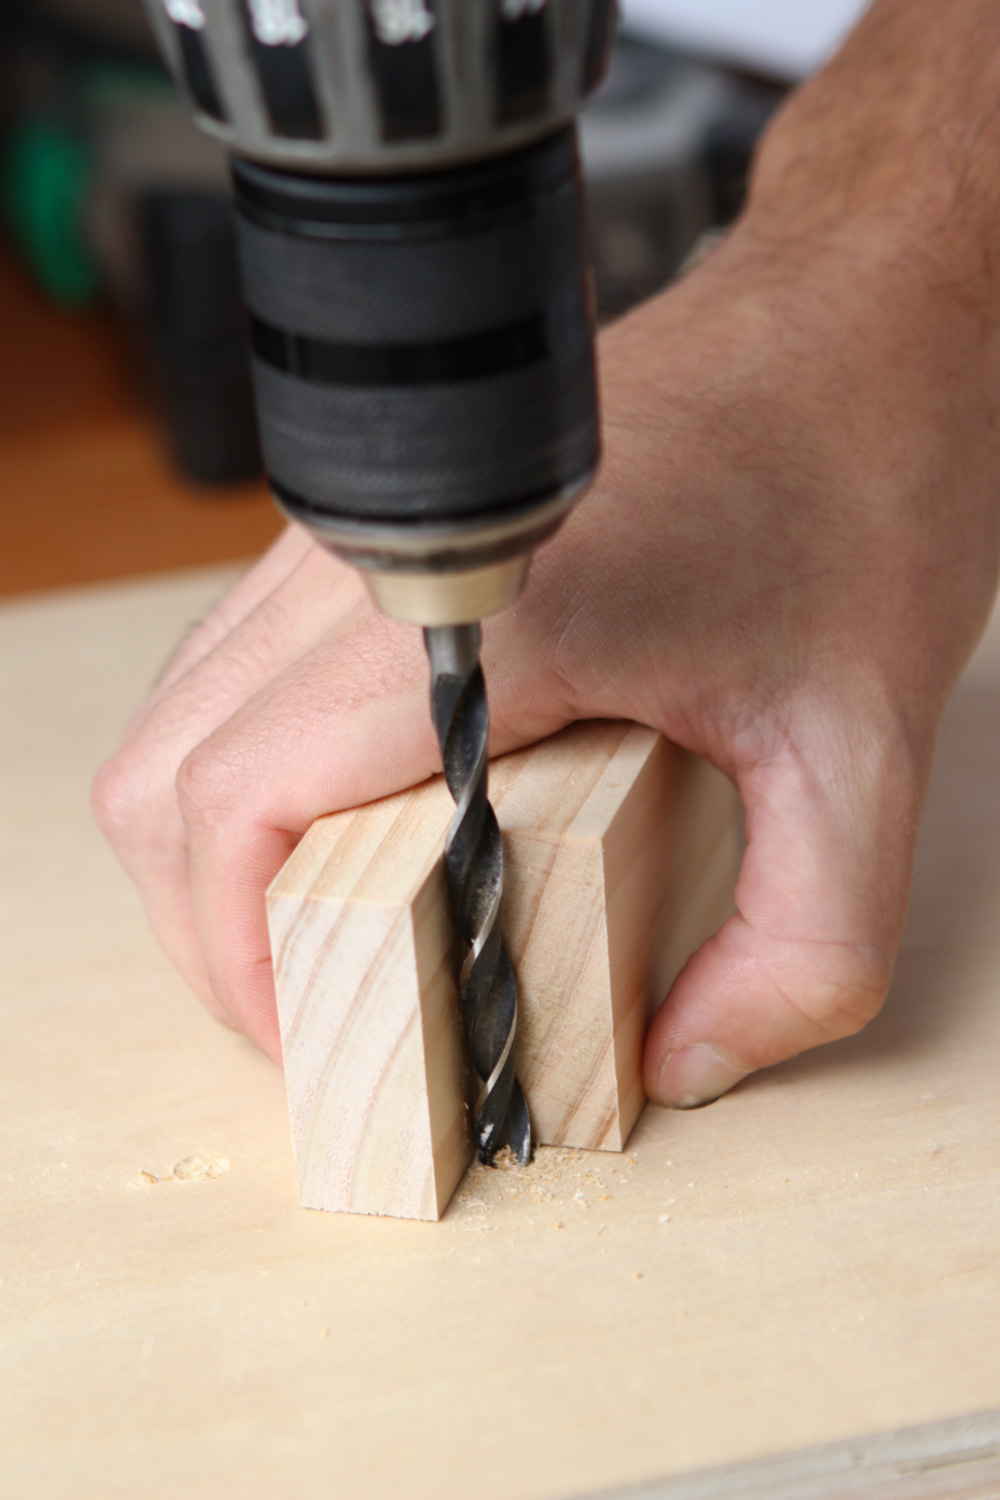
To use it, simple line up the drill bit with the corner created by the guide. Use your hand or a clamp to secure it to the work, line up, and go. You’ll bore hundreds of spot-on holes of any size. Eventually it’ll wear out, any you can just slap two pieces of scrap together and make another one.
The Reusable Jig
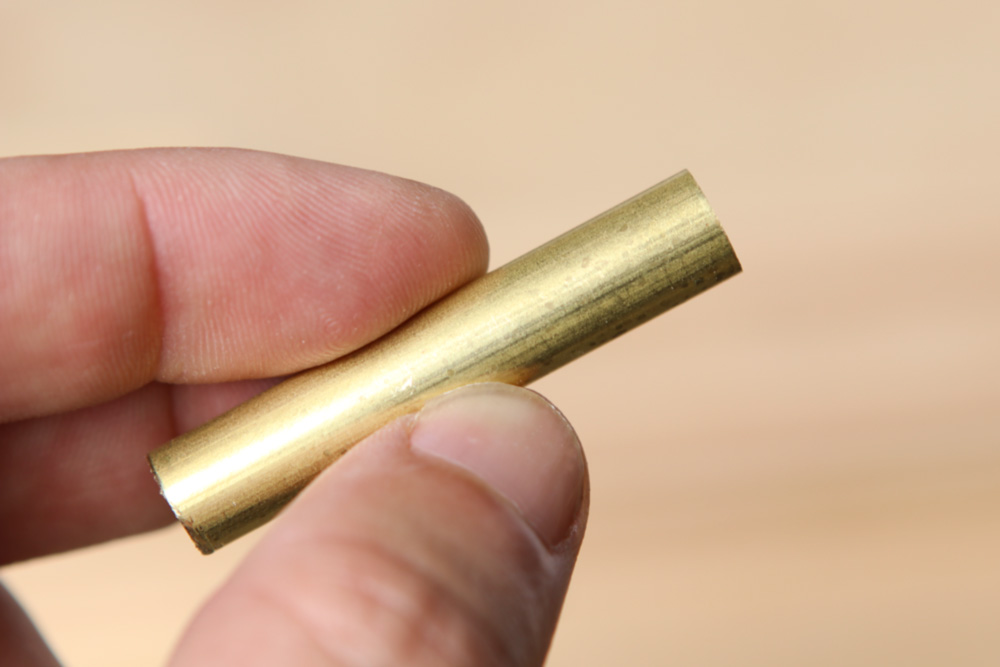
If you need to drill a lot of hole of the same size, you can modify the DIY jig for even more consistency. Go to the brass and aluminum rod sections of the hardware store or hobby shop, and look for a tube with an internal diameter than matches your drill bit. This won’t be the number on the label, so take your drill bit or a pair of calipers with you to measure. Cut a 1 1/2″-ish piece off the end.
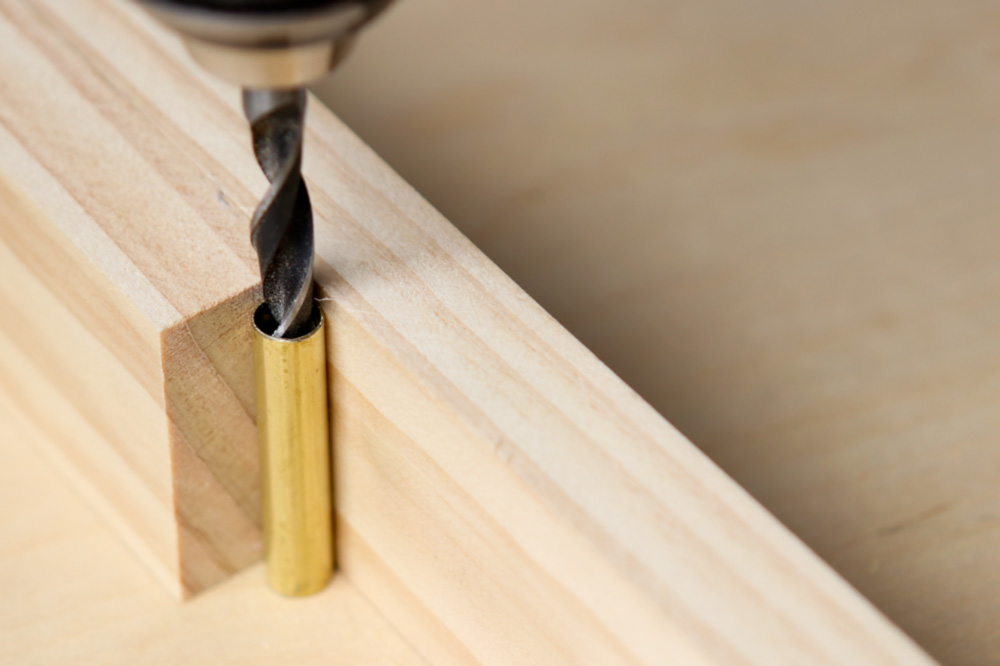
Then, use some hot melt glue to secure it to one of the sides of your drill guide. You’ve essentially made a collet to guide the bit, which uses the same principle at the DrillBlock above.
Now… let’s check our work.
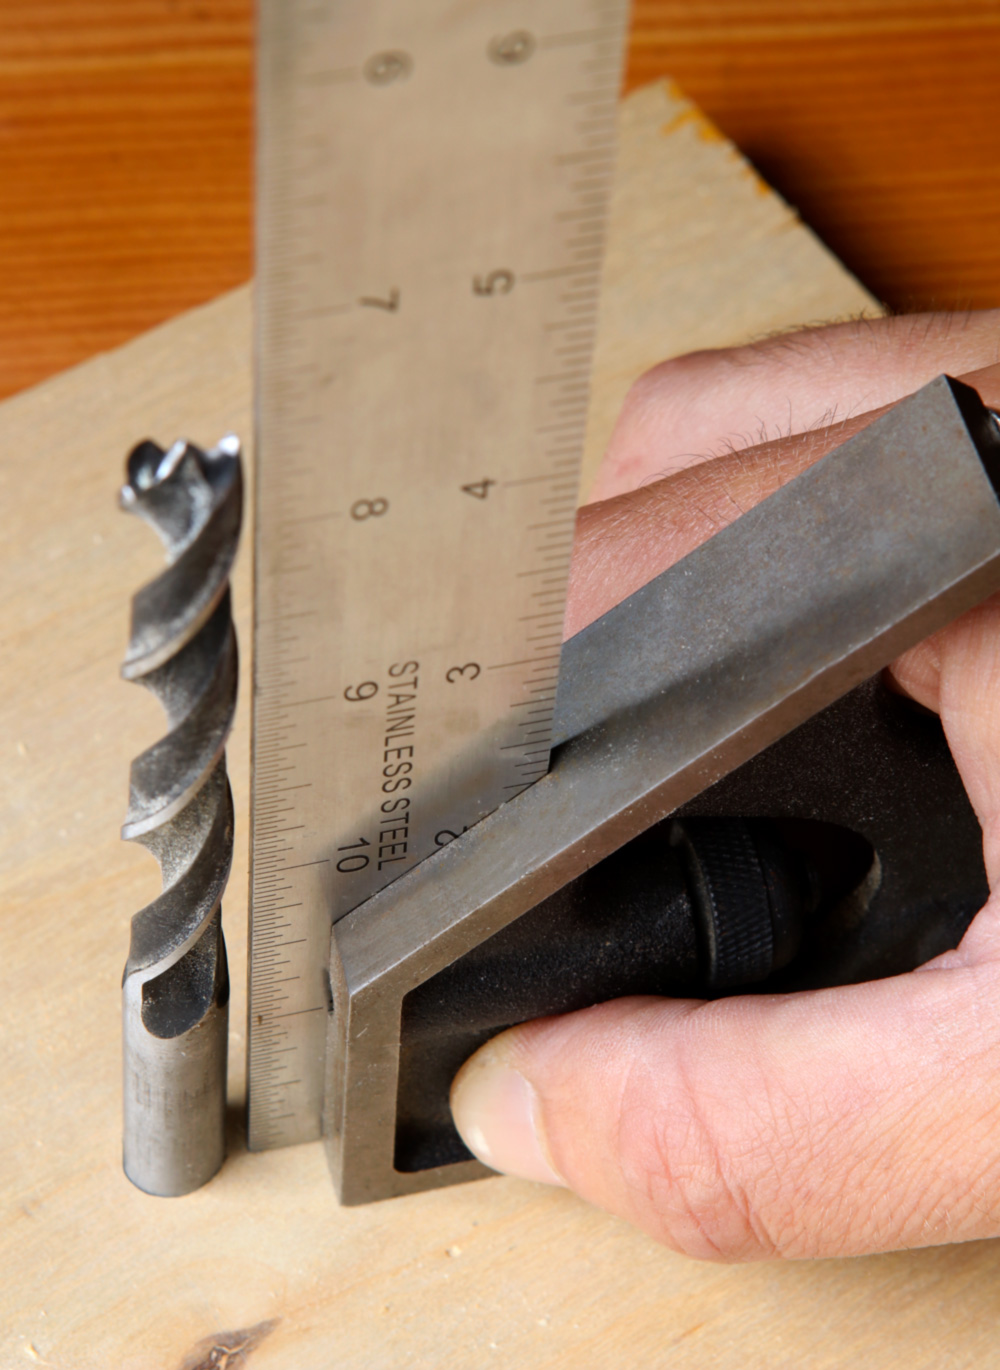 Nailed it!

