Want to give your shower a luxurious look? Then a linear drain is the best fit for your shower. A linear shower drain is a long, narrow drain installed beneath the shower floor that allows for smooth water flow while also giving the shower a modern appearance.
In this blog post, we’ll guide you on how to install a linear shower drain, along with other necessary information, including the installation cost, required tools, and more. So, without further ado, gather your tools, and let’s begin!
Types of linear shower drain
A linear shower drain is mainly of two types, which are-
- Grate linear shower drain
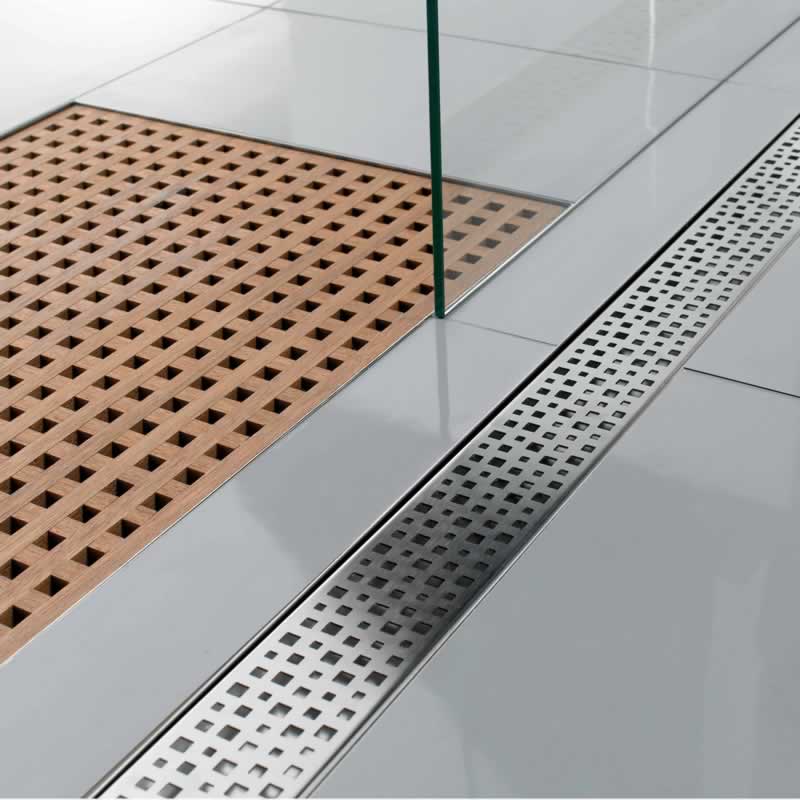
The grate linear shower drain is a surface-mounted drain with a grate that serves as the drain’s cover. The water flows through the grate, keeping large objects out of the drain.
- Tile insert linear shower drain
A tile insert shower is also a surface-mounted drain installed on a tile floor. The grate of this drain can be covered with tile to give the drain a seamless modern appearance. Depending on the size, appearance, or other aspects, a linear shower drain has various other types, for instance-
- In-wall linear shower drain
The in-wall linear shower drain is installed in the wall of the shower. Although the drain stays hidden behind the walls, the grate remains visible.
- Invisible linear shower drain
This type of linear shower drain is installed beneath the shower floor. For this reason, the flush grate remains concealed underneath, giving the shower a seamless appearance.
- Site sizable linear drain
This type of linear shower drain has the option of customizing its size on-site. That is, you have the flexibility of resizing the drain as per the size of your shower.
- Fixed-length linear drain
The fixed-length linear drain doesn’t have any size customization options. It has pre-pitched channels as the outlet location is predetermined. That’s why it’s ideal for new construction rather than custom home renovations.
How much does it cost to install a linear shower drain
The cost to install a linear shower drain depends on a number of variables, including the brand and type of shower drain, how complicated the installation is, labor costs, and much more. A high-quality linear shower drain can cost $200 or more. However, depending on the quality, the cost can be as low as $50. Moreover, the installation requires precise measurements and an efficient plumber. So, for the labor cost, you may need to add between $50 and $120 per hour.
DIY vs hiring a pro to install linear shower drain
Installing a linear shower drain is a simple process. A professional plumber or a layperson with some plumbing experience can install the shower drain. However, whether to hire a professional or DIY is a personal choice.
| DIY linear shower installation | Professional linear shower installation |
| Cost-effective | Expensive |
| Doesn’t require labor cost | Require labor cost |
| Need additional investment in tools | No need to invest in tools |
| Time-consuming for amateurs | Saves time and effort |
| Damage risks in complex installations due to a lack of plumbing experience | No risk of damage |
What materials and tools do you require?
Linear shower drain installation requires a variety of materials and tools. However, depending on the type of drain, some of the specific equipment may vary. Here is a list of common materials and tools you would need during installation.
| Materials | Tools |
|
|
Conducting proper preparation before installation
Before installing a linear shower drain, you need to conduct some preparation to ensure a successful installation. The key preparation steps are-
- First, you have to understand the installation procedure. For that, read the manufacturer’s instructions carefully. The guideline will explain the entire installation process and provide you with ideas of materials and tools needed for your installation.
- Next, you need to arrange all the necessary equipment stated in the manufacturer’s guidelines. This will help to ensure a smooth installation session.
- Following that, you must determine the ideal position for the drain so that water from the shower can flow freely. Take the existing plumbing lines, the slope of the shower floor, and other functional factors into consideration to identify the position.
- State and local inspection bodies have some plumbing codes. Maintaining these codes while installing is important to ensure safety, prevent clogs, and conserve water. Learn all the rules and take the necessary permissions from your local building department.
How to install a linear shower drain: The process of installation
Wondering how to install a linear shower drain? Follow the steps below if you have basic DIY skills and plumbing knowledge.
Measure and mark the drain location
The first step in drain installation is to measure and mark the location of the drain. The location could be anywhere, such as along the wall on one side of the shower, in the middle of the shower, or along the shower entrance. Select the one that suits you the best. If you are renovating the shower, staying with the existing drain line can be a better option, or else you have to rebuild the drain line.
Calculate the height of the shower drain
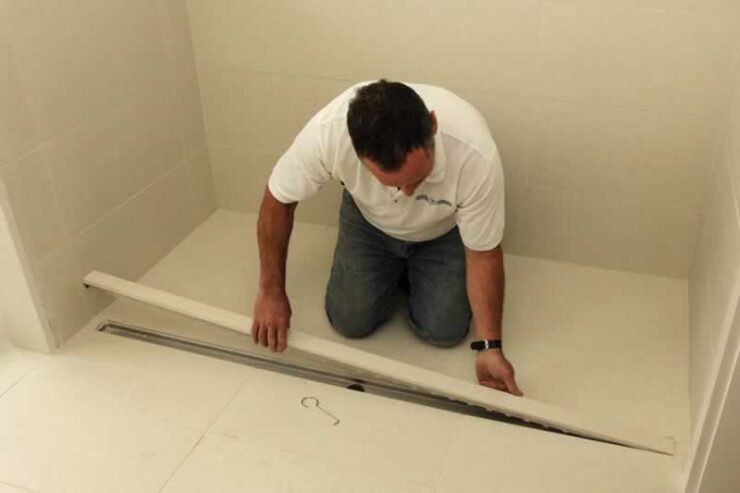
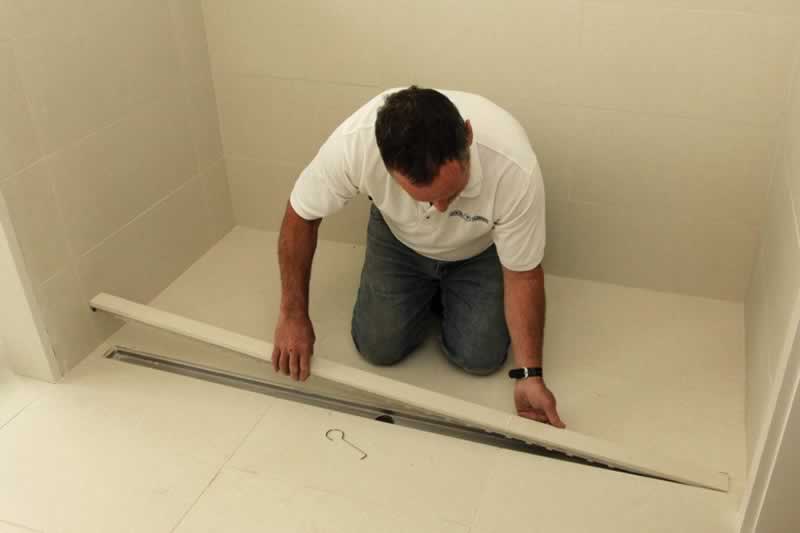
The next step is to calculate the height of the shower drain. The ideal height of the drain with and without the grate cover should have a difference of greater or less than 1/16 inch. This will ensure that the grate cover remains level with the shower floor tile. To ensure accurate height measurement, you can slide both the base and linear drain into the drain line and mark the height on the shower wall.
Drill the hole using a saw/cutter
If you are relocating your drain line, you must drill a 3.5-inch circular hole using a saw cutter. Make sure the center of the drain is placed around 2.5 to 3 inches away from the back wall.
Tar paper and wire lath installation
After that, cut tar paper large enough to cover the plywood subfloor with a utility knife. Also, use wire cutters to cut a sheet of wire lath and install it over the tar paper. The wire lath will provide stability to the shower pan mortar mixture, while the tar paper will keep the plywood from absorbing moisture from the shower pan mortar mix.
Insert the base drain and create the slope
The next step is inserting the base drain to reconnect it to the drain line. For that, first, pour the shower pan mortar mix over the tar paper and wire lath. To check for leaks between the base drain and the drain line, pour water into the base drain. After identifying no leaks, seal the parts together with drain glue. Now it is time to create the slope. Use a bucket and shovel or a mixing paddle to mix the mortar. Add mortar over the tar paper and wire lath, leaving the base drain. As the area around the drain should be sloppy, level the pre-pan mix to create a slope of around ¼-inch per foot or a gradient of about 1-2 degrees. After leveling the pre-pan mortar properly, leave it to set for 24 hours.
Note: Use a bubble level to make sure the drain is leveled properly.
Installing waterproof liner and clamp rings
Shower drains are prone to water damage, mold growth, and rot. So, to prevent these damages, install a waterproof liner over the pre-pan mortar. Make sure to extend the liner minimum 6 inches up the sides of the shower wall. Use screws and clamp rings to keep the liner in place and create a water seal. For that, cut a hole in the liner equal to the opening of the base drain, attach clamping rings to the base drain, and use nails on the edges of the liner.
Tile and seal cover
The last step is to tile and seal the cover. Measure the height again to ensure the drain is properly leveled with the floor. Connect the linear drain to the base drain and mix the top-pan mortar mixture to seal the cover with tile.
Conclusion
There you have it; your linear shower drain is ready to use. Installing a linear drain in the shower may seem daunting, but with proper guidelines and preparation, it won’t be a tough job. Make sure to take the measurements accurately, use proper tools, and have patience.


Add comment