Working as a laborer on a roofing or siding crew is considered an entry-level position in the world of carpentry and home construction. Beginner workers strip shingles off the roof, remove existing siding, and spread asphalt paper or house sheathing before new shingles or siding is added to replace the existing material.
However, those with DIY experience and some roofing knowledge might want to try tackling a roof flashing installation, but be warned of walls, which can be a challenge for such projects.
Challenges of Installing Vertical Roof Flashing
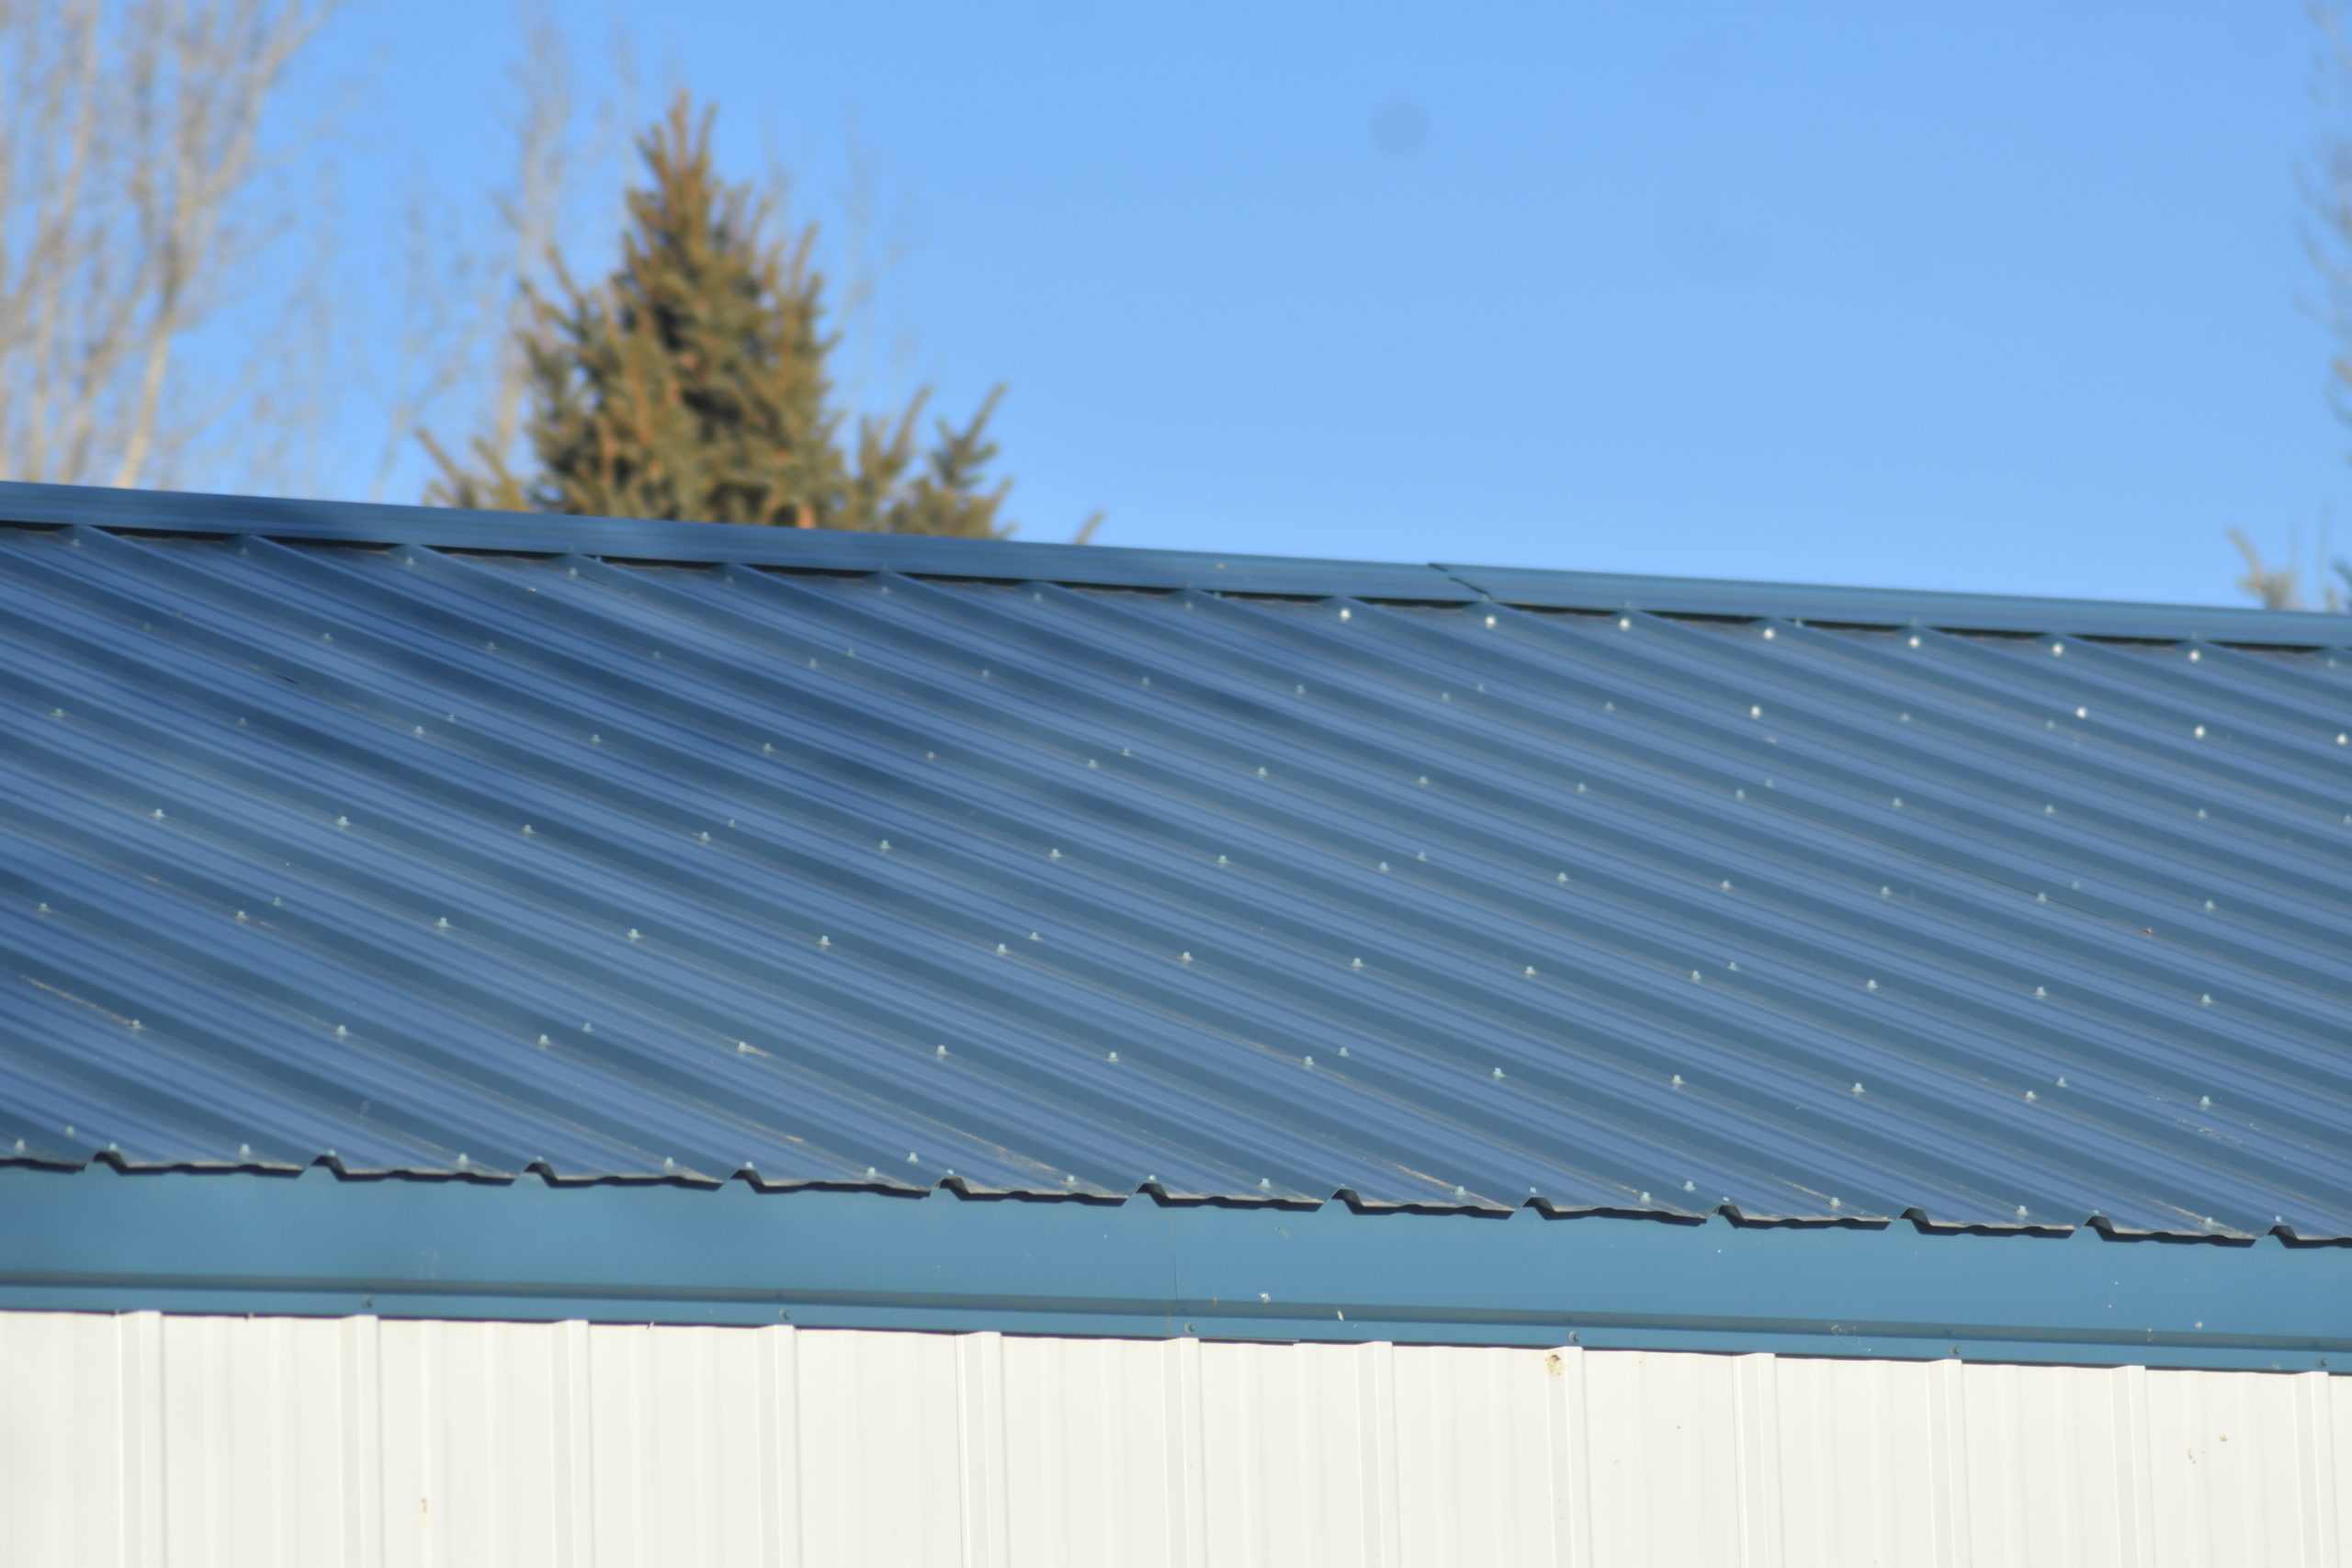
Photo Credit: Randy Tucker – Metal flashing creates a waterproof connection between the roof and the wall.
Preparing the roof is the easy part of those two physically demanding occupations. The difficult part arrives when placing vents, closing in the peak of a roof, or perhaps the most challenging, attaching roof flashing to a vertical wall.
The issue with installing vertical flashing is that it needs to provide a permanent, water-repellent link between a wall and a roof. This often involves the roof, siding, facia, and soffit as well and might include chimneys, ornamental designs, and other challenging physical features.
You will also find that metal flashing is a must for installing awnings against a vertical metal wall, requiring additional cutting and precision of installation to avoid water leaks.
Ensure a Waterproof Seal
The key word is waterproof. If you don’t install flashing correctly, you’ll have leaks, and water damage will soon follow the poor workmanship. The first rule in correctly installing metal flashing is to think about how water would flow over the surface. That means placing the flashing under siding on a wall but over the roof below it. You want water to flow over, never under your flashing.
The valleys in a roof all have flashing beneath them to create waterproof drains that don’t allow any moisture under the shingles or metal roofing, wall flashing works the same way above a door, window, or when creating a path for water to flow over a roof or awning.
Cut the Metal Flashing to Size
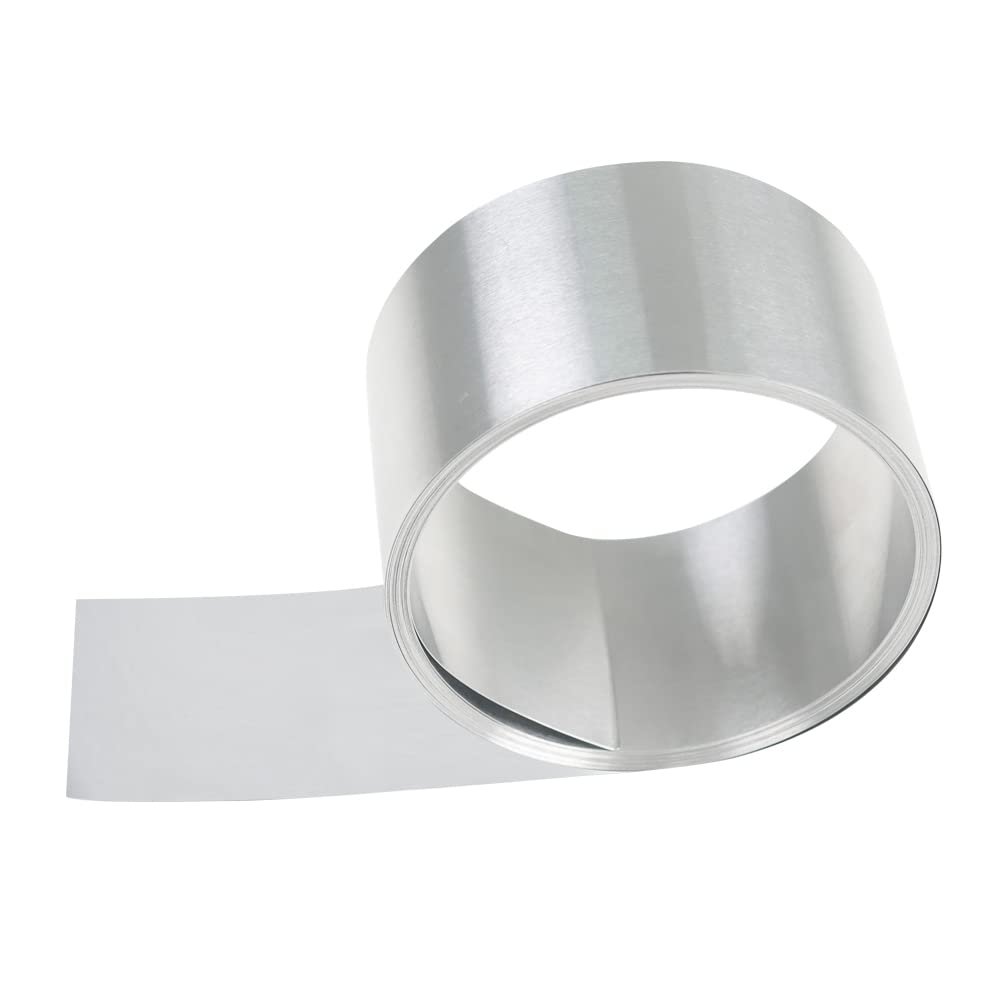
Cut the metal flashing to the appropriate size for the job. Before you begin cutting, you should measure first and give yourself some room for adjustment during the installation.
Valley tin is a minimum of 20 inches wide for a standard 4/12, 5/12, or 6/12 roof. Wall tin varies with each situation. You can find these products in rolls, but it’s likely that you will need to cut the product to size for each application.
Vertical Metal Flashing Installation
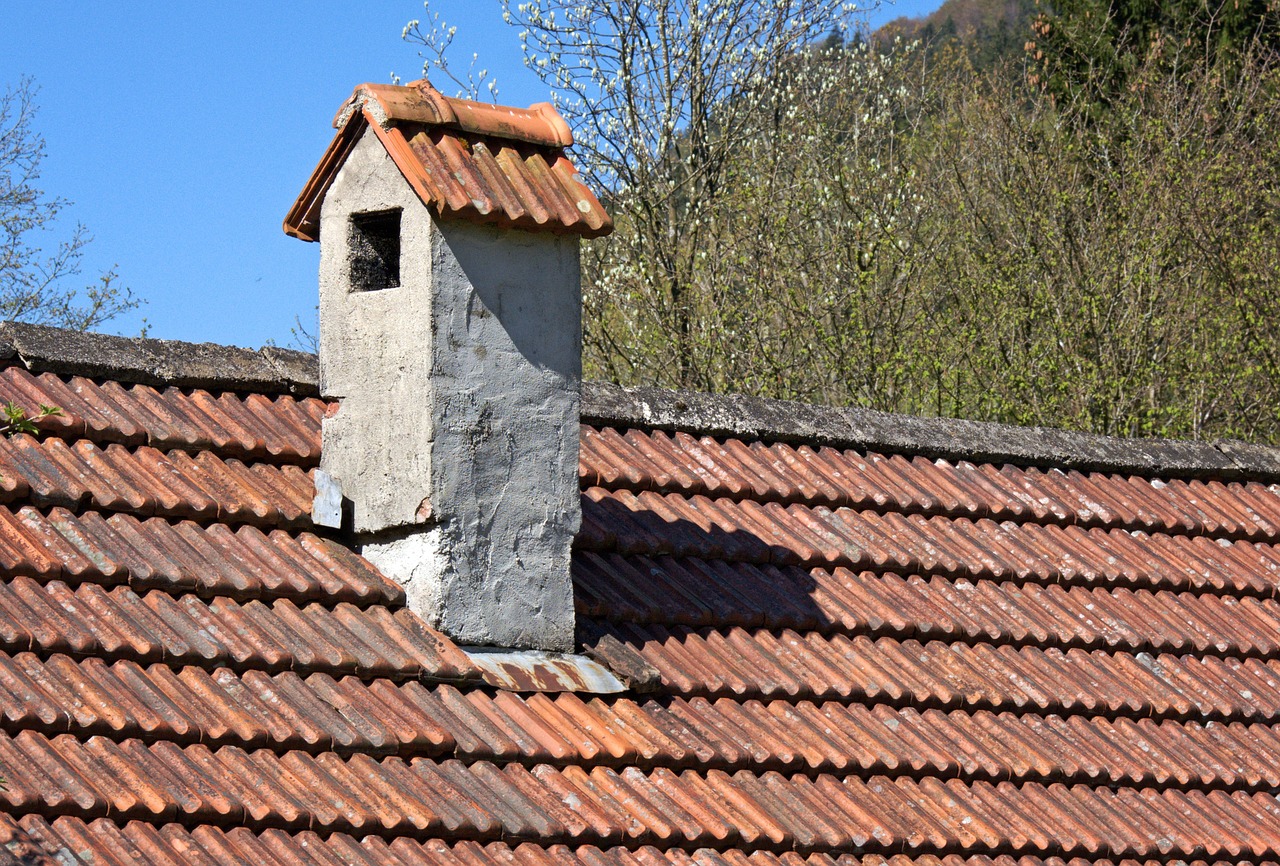
Placing valley tin on the front of a chimney is an easy process, just calk the area heavily with tar-based adhesive and screw it into place.
The sides of the chimney are more challenging since they require a stairstep method, placing small strips of metal bent at a right angle equal to the height of the shingle under each shingle touching the chimney. Start at the bottom and place each piece of metal on top of the one below, allowing water to flow over, but not under the flashing.
Awning Metal Flashing Installation
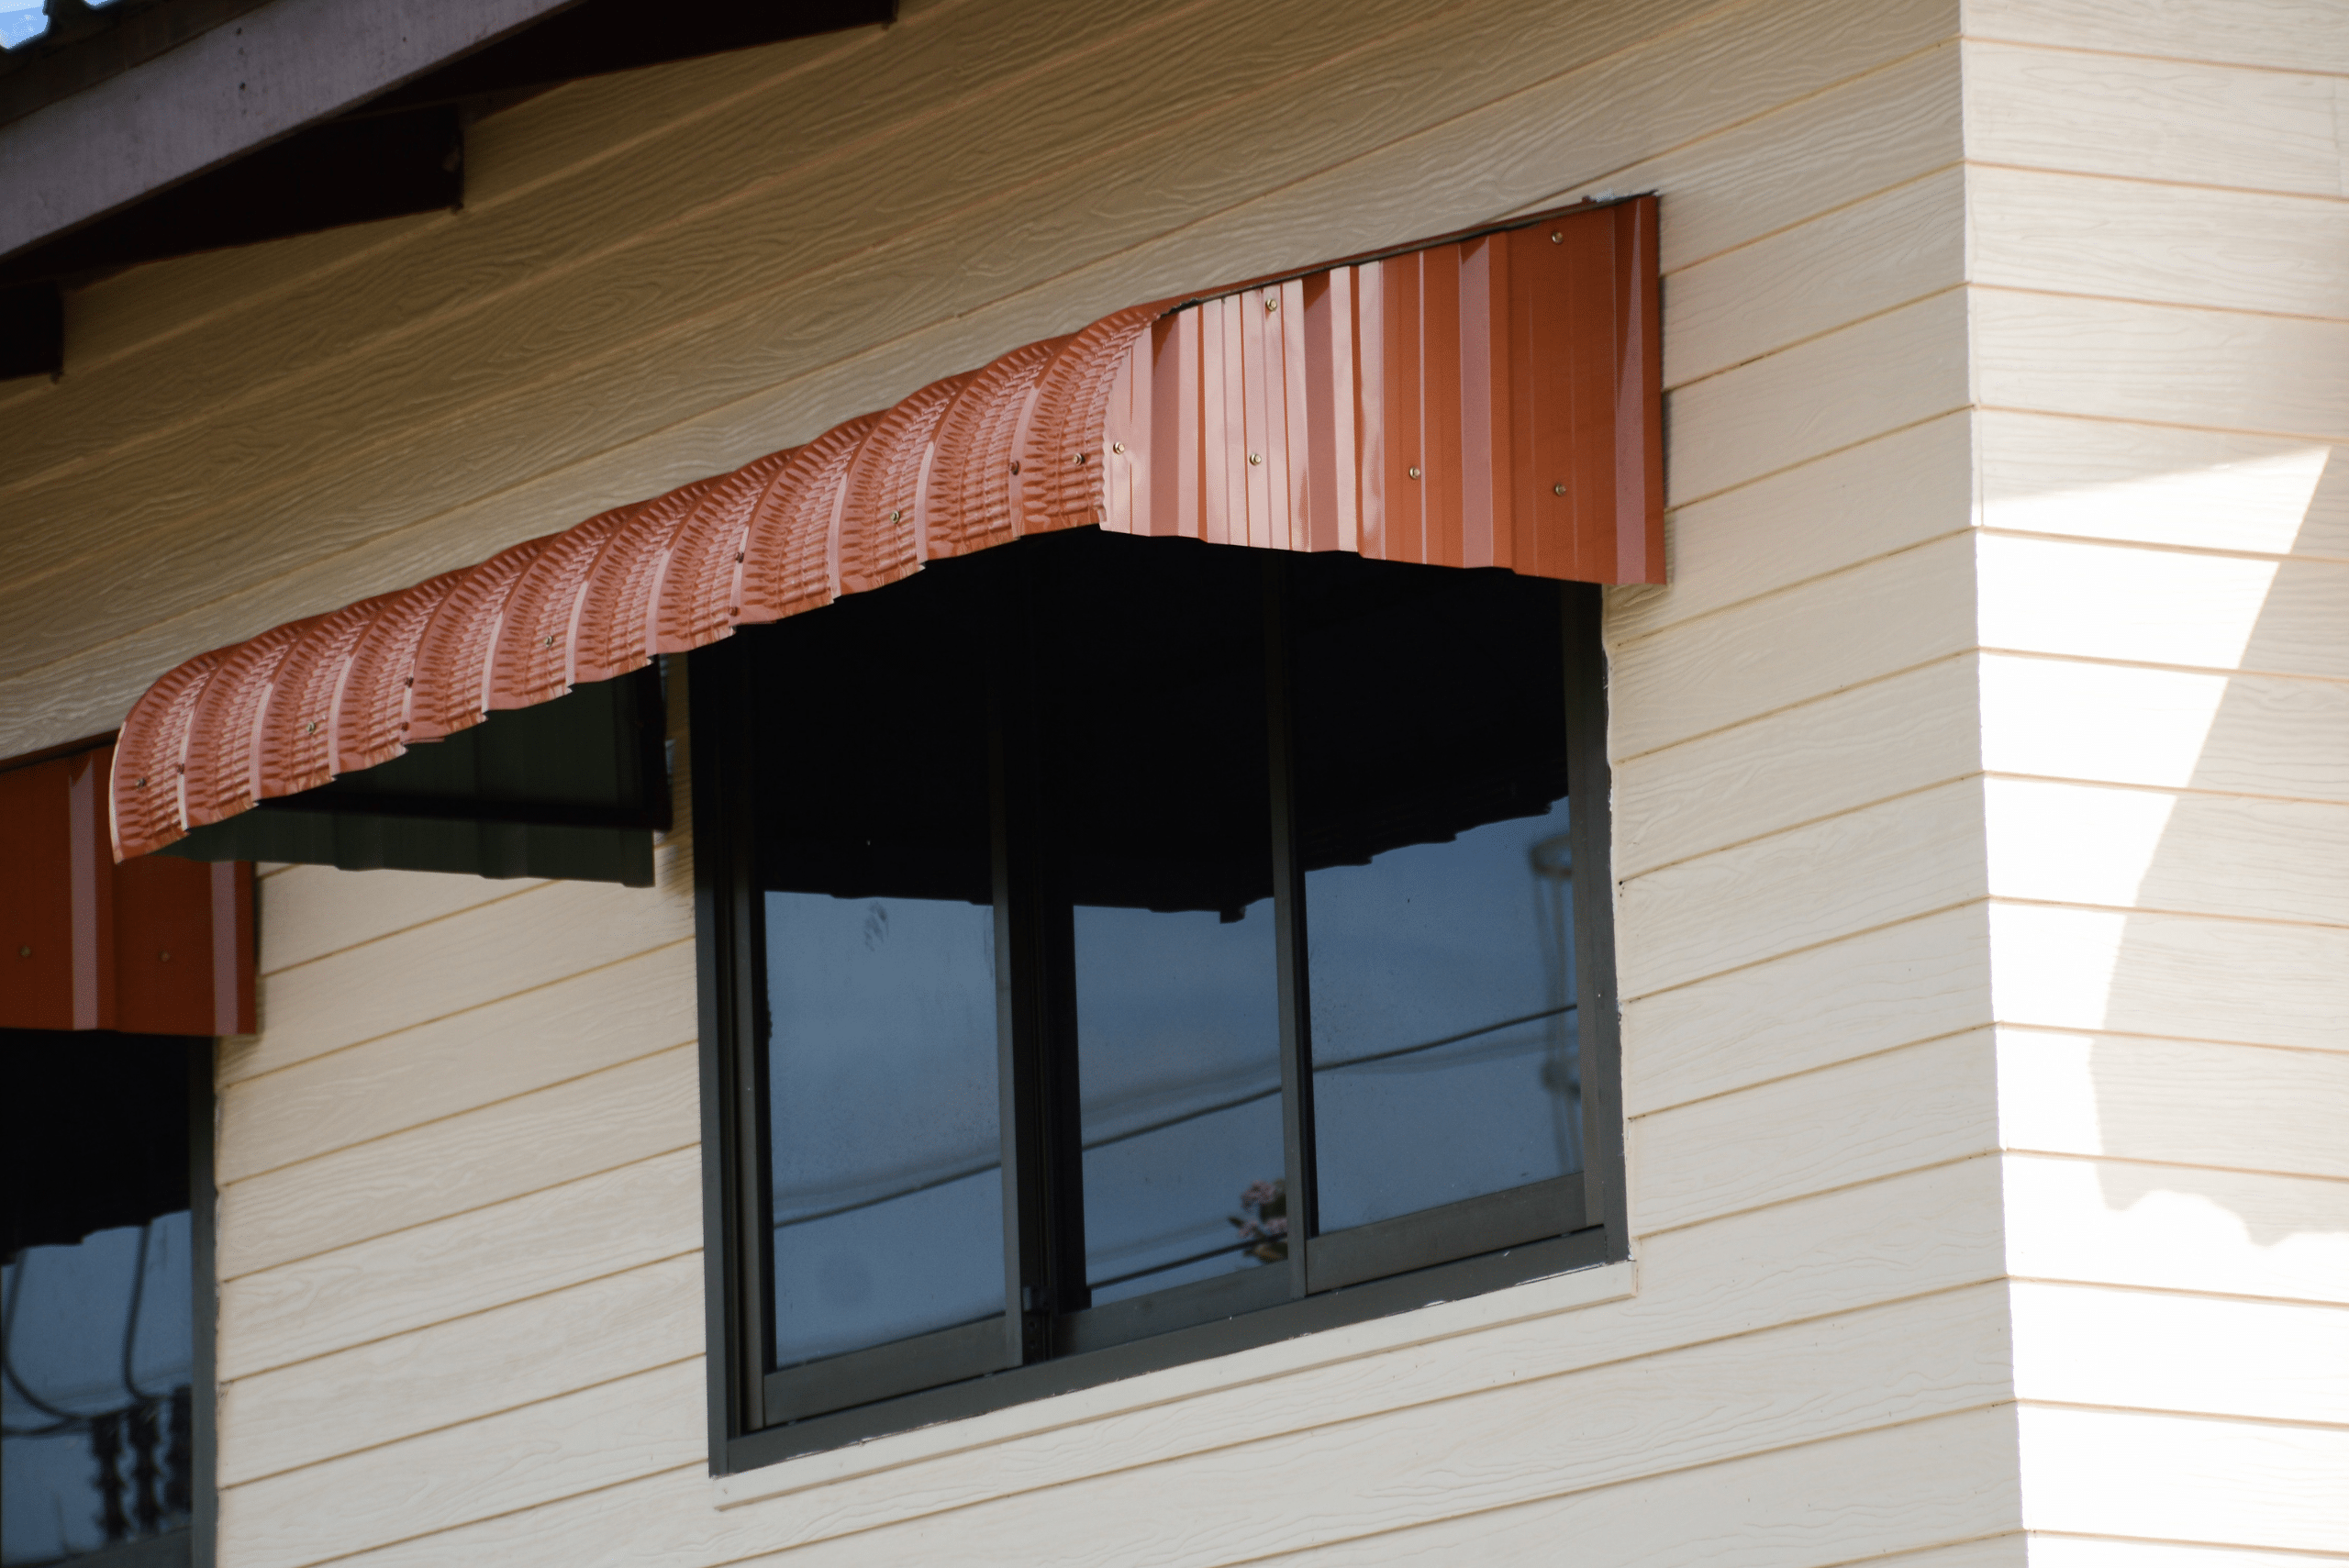
Photo Credit: Canva Pro
Wall flashing that connects siding with an awning or lower roof requires the metal to be placed under the siding but over the roof. Ample amounts of tar-based, waterproof adhesive with evenly spaced fasteners on the top of the metal edge in close sequence to each other create a waterproof barrier.
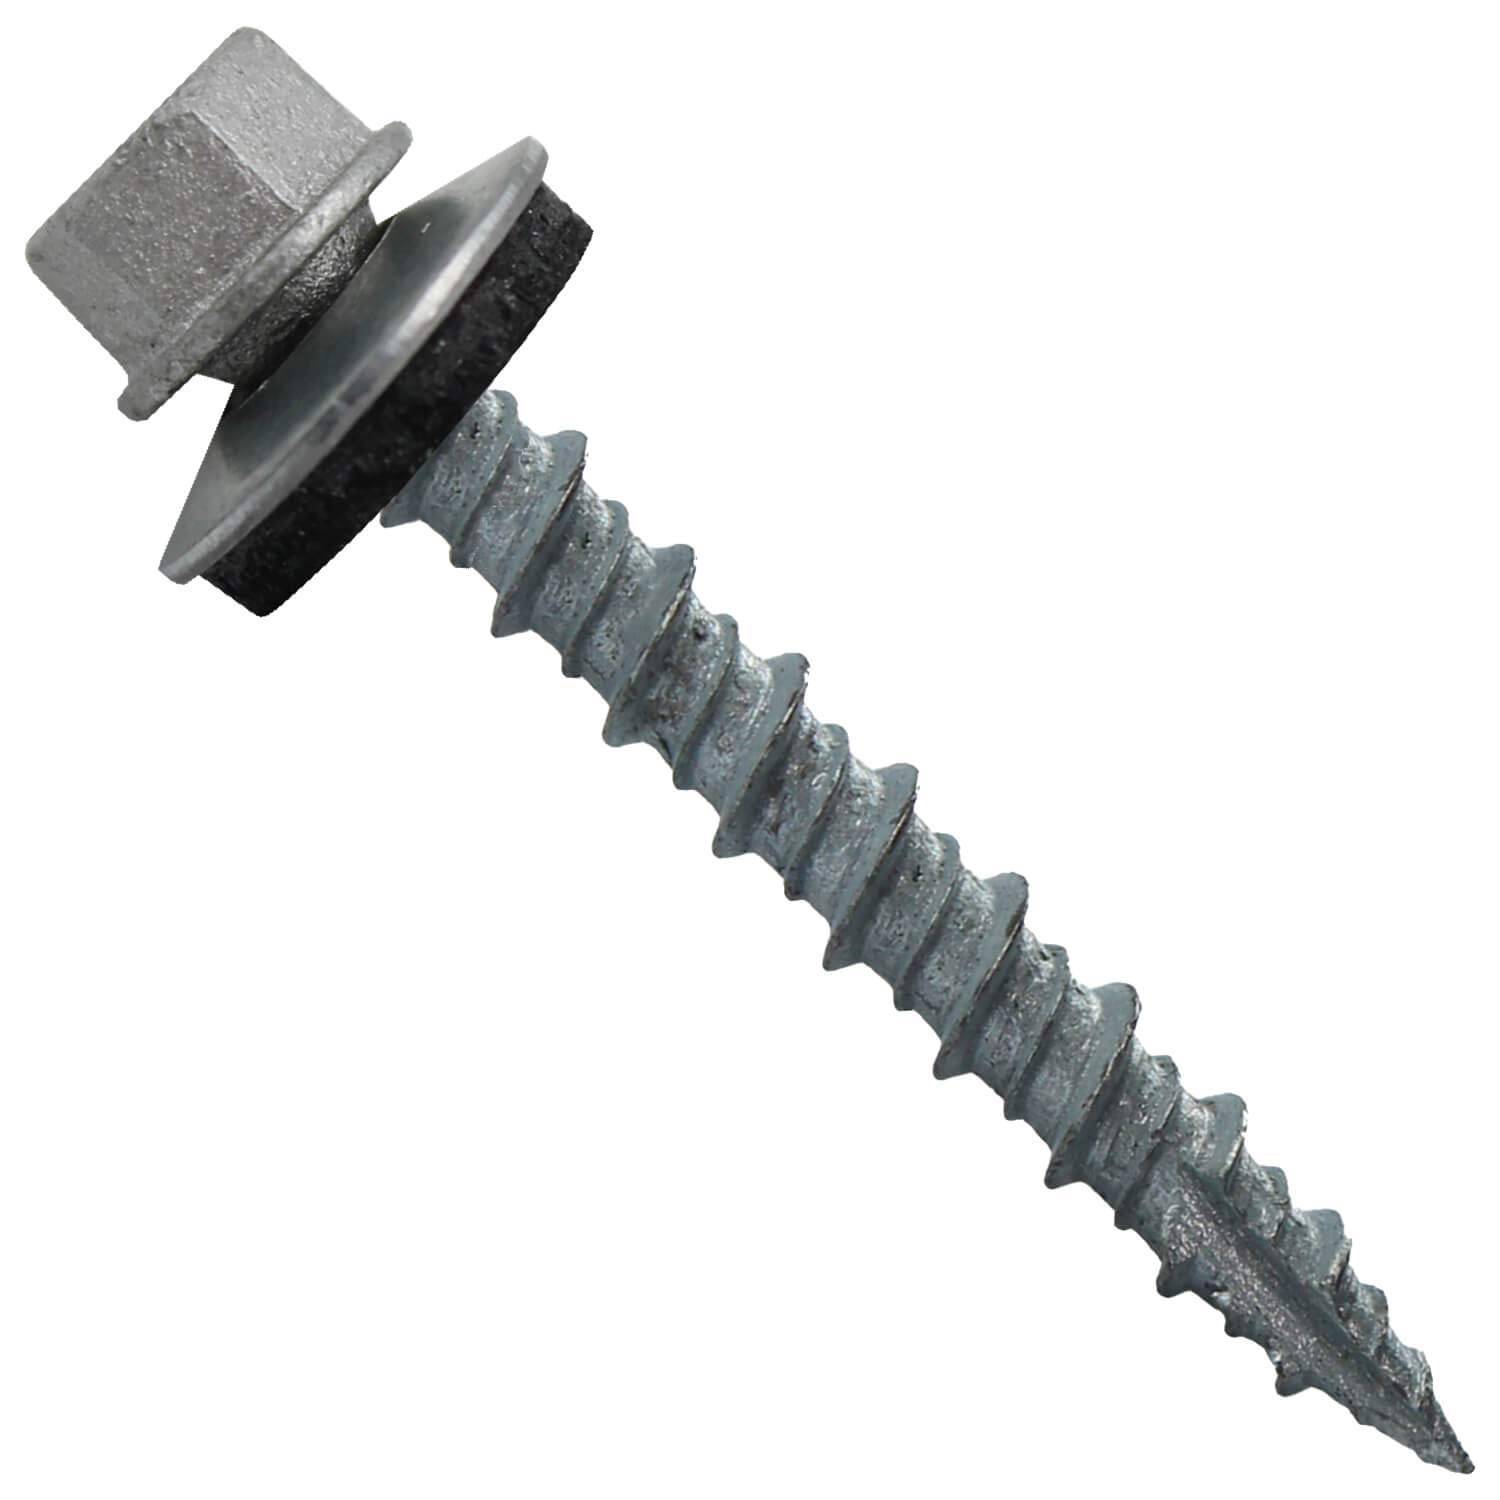
Attaching the metal above the roof, with good amounts of adhesive, screwed into place with rubber-headed self-taping screws ensures a leakproof wall-to-roof flashing. The greater the slope, the less likely you’ll have water leakage issues.
Follow Instructions and Check Your Work
Always apply adhesive, and always keep the metal flashing flat without bends, ripples, or bumps against the vertical wall surface.
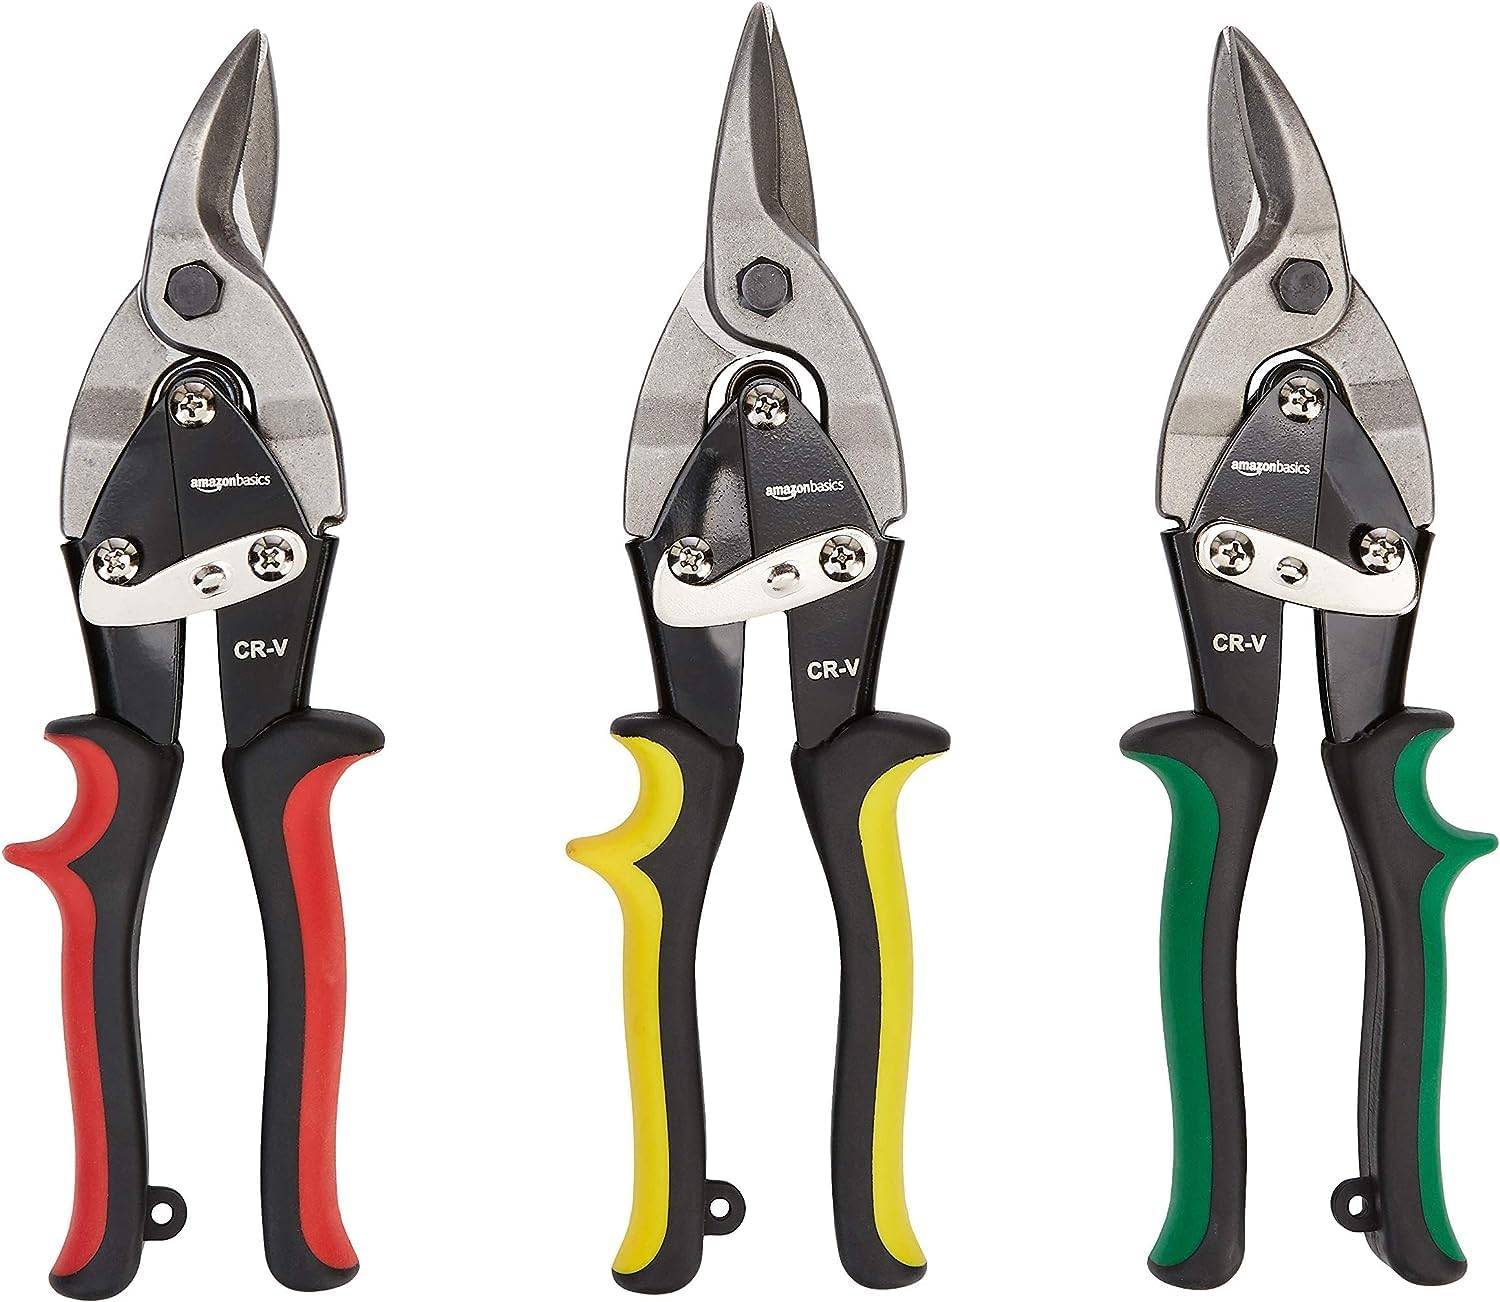
Following proper installation instructions for metal flashing guarantees a good seal, and it will serve its job for many years to come. Also, you will want to use the right tools for the best results.


Add comment