Vinyl plank flooring has become a popular choice for homeowners due to its durability, easy maintenance, and stylish appearance. Whether you’re a seasoned DIY enthusiast or a first-time home improver, installing vinyl plank flooring can be a rewarding project that adds value and aesthetic appeal to your home. In this comprehensive guide, we’ll walk you through the step-by-step process of installing vinyl plank flooring, from preparation to finishing touches. By the end of this article, you’ll have the confidence and know-how to tackle this project with ease.
Understanding Vinyl Plank Flooring
Before diving into the installation process, it’s essential to understand the characteristics and benefits of vinyl plank flooring. Vinyl plank flooring is a versatile and cost-effective option that mimics the look of hardwood with a fraction of the maintenance. It’s available in a variety of styles, colors, and textures, making it suitable for any room in your home. Additionally, vinyl plank flooring is water-resistant, making it an ideal choice for kitchens, bathrooms, and basements. Understanding these key features will help you make an informed decision when selecting the right vinyl plank flooring for your space.
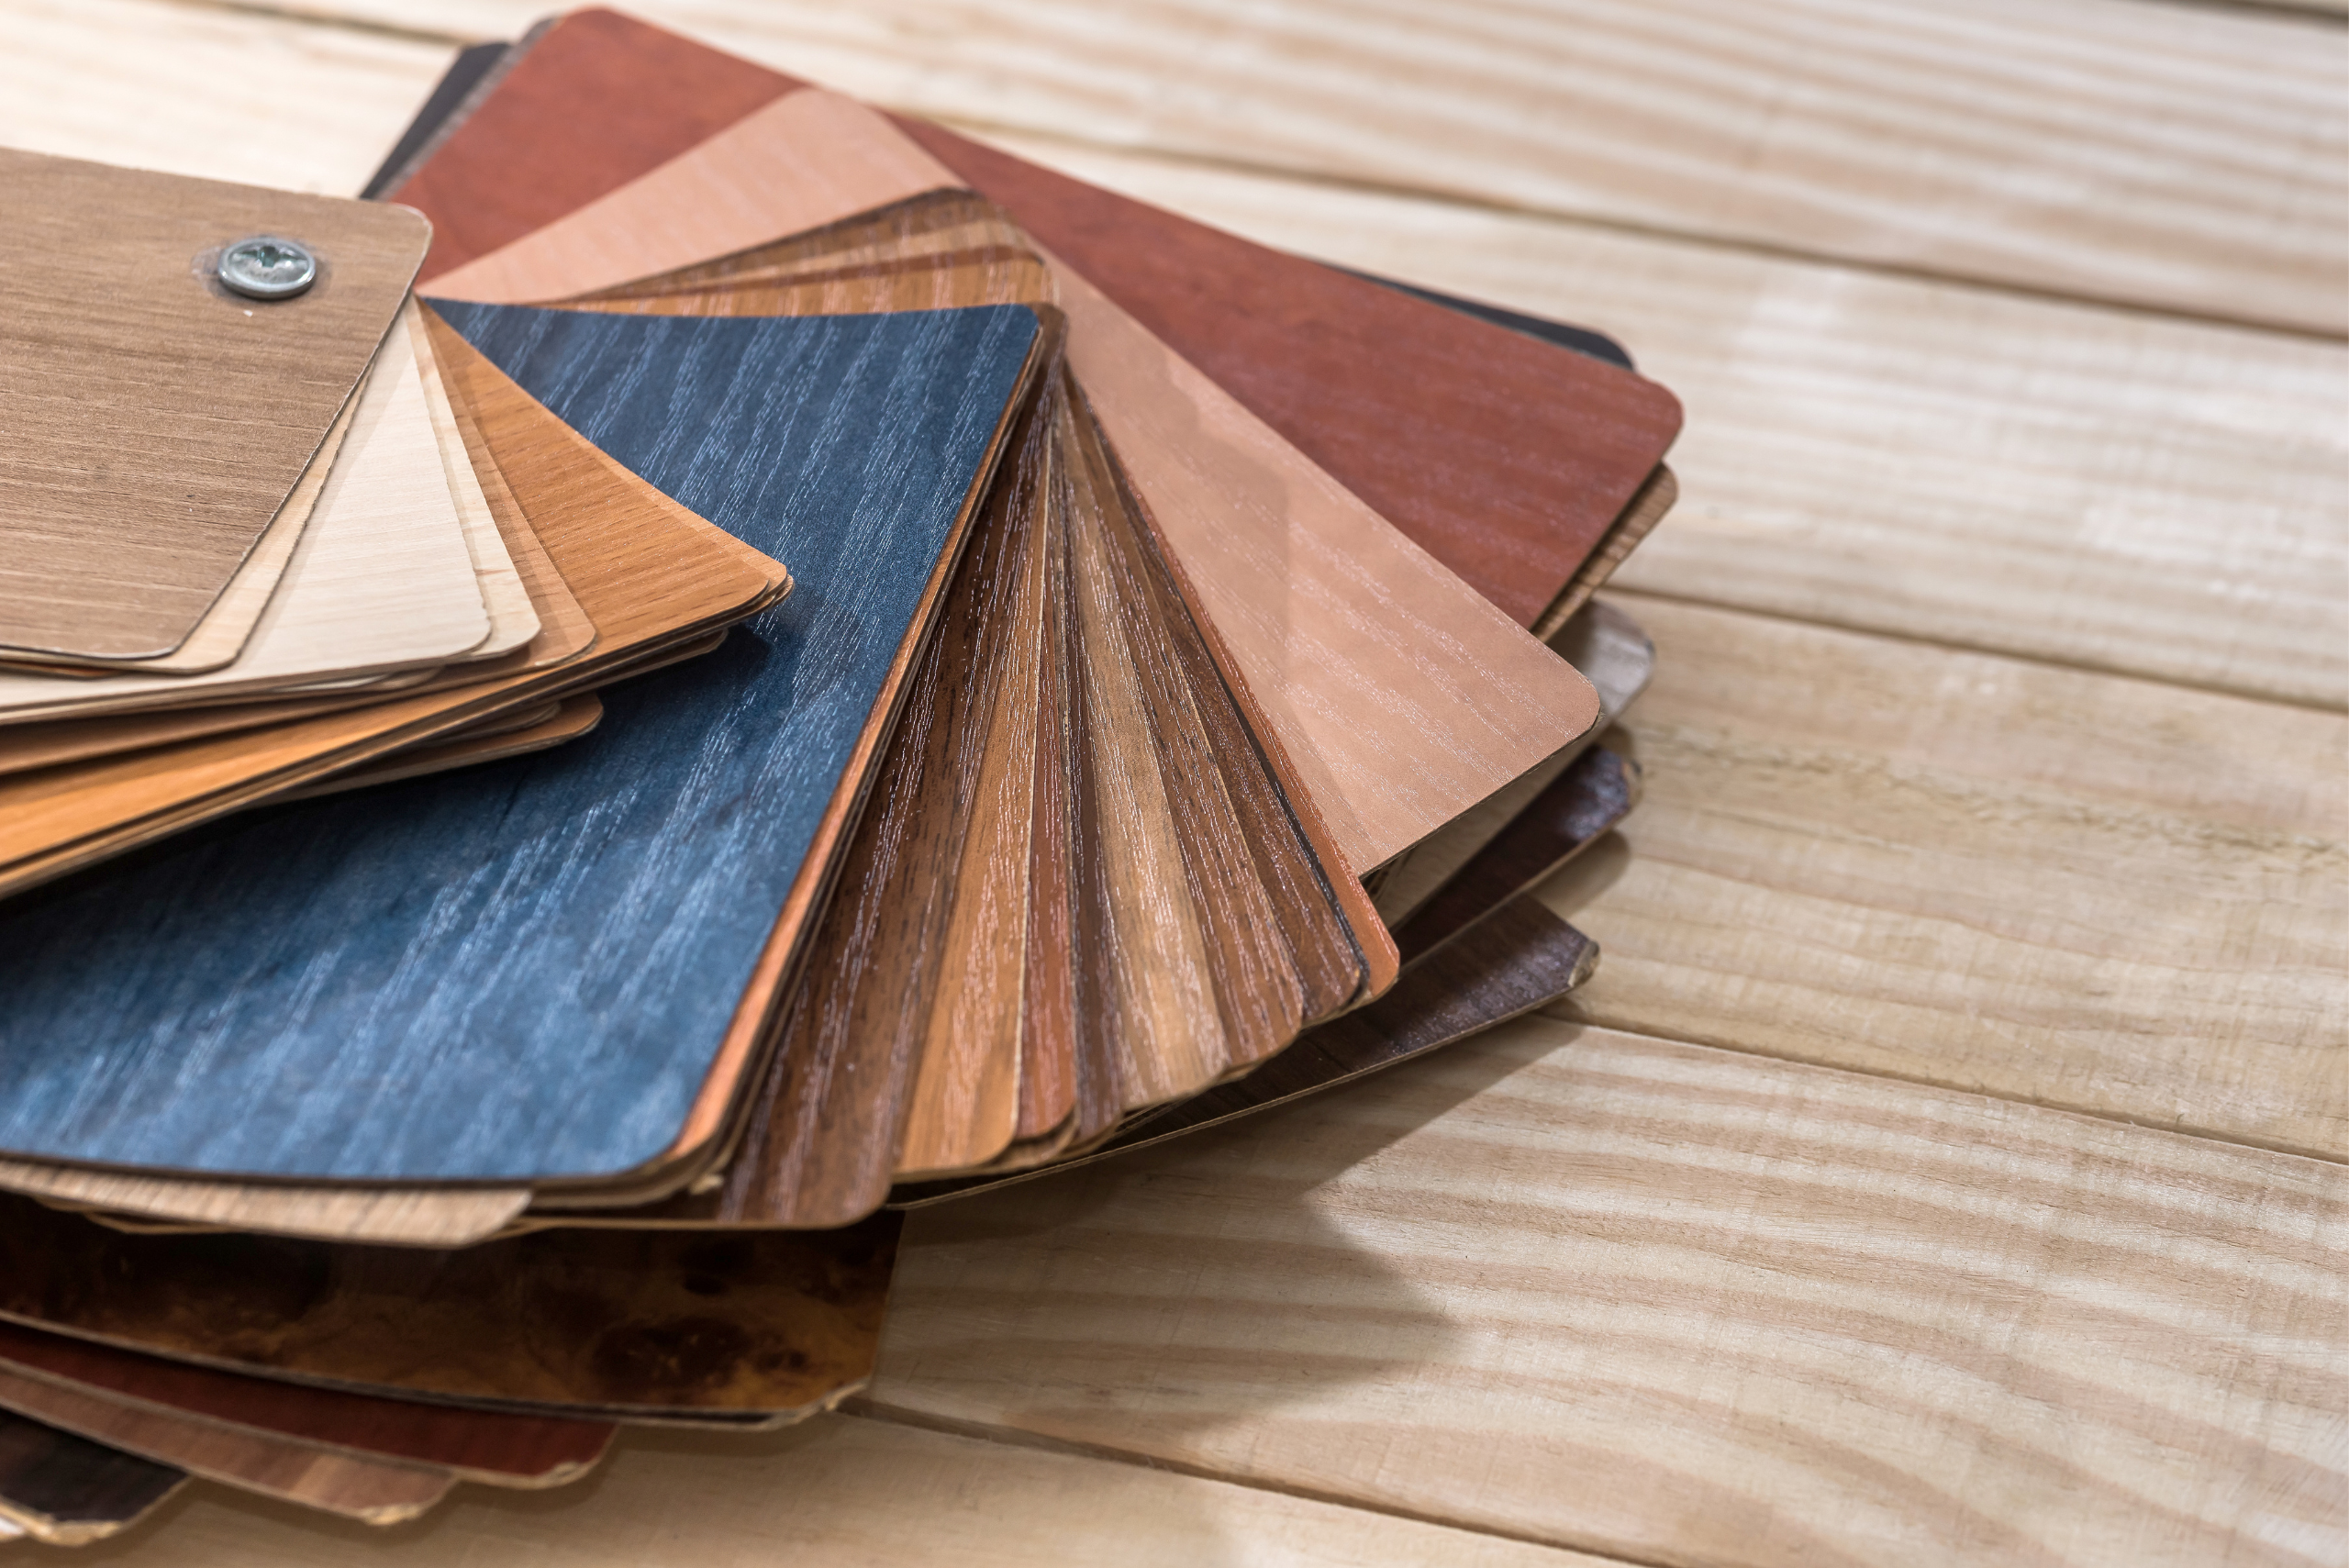
Photo Credit: Canva Pro
Step-by-Step Guide For Installing Vinyl Floor Planks
In this step-by-step guide, we’ll walk you through the crucial steps, from gathering the necessary tools and materials to post-installation care. Whether you’re a seasoned DIY enthusiast or a first-time installer, following these detailed instructions will ensure a smooth, professional-looking outcome for your vinyl plank flooring project.
Gathering the Necessary Tools and Materials
To ensure a successful installation, it’s crucial to gather all the necessary tools and materials beforehand. Some essential tools include a tape measure, utility knife, straight edge, and a rubber mallet. Additionally, you’ll need materials such as underlayment, vinyl plank flooring, and adhesive if required. By having everything on hand, you’ll be able to work efficiently and avoid unnecessary delays during the installation process.
Preparing the Subfloor
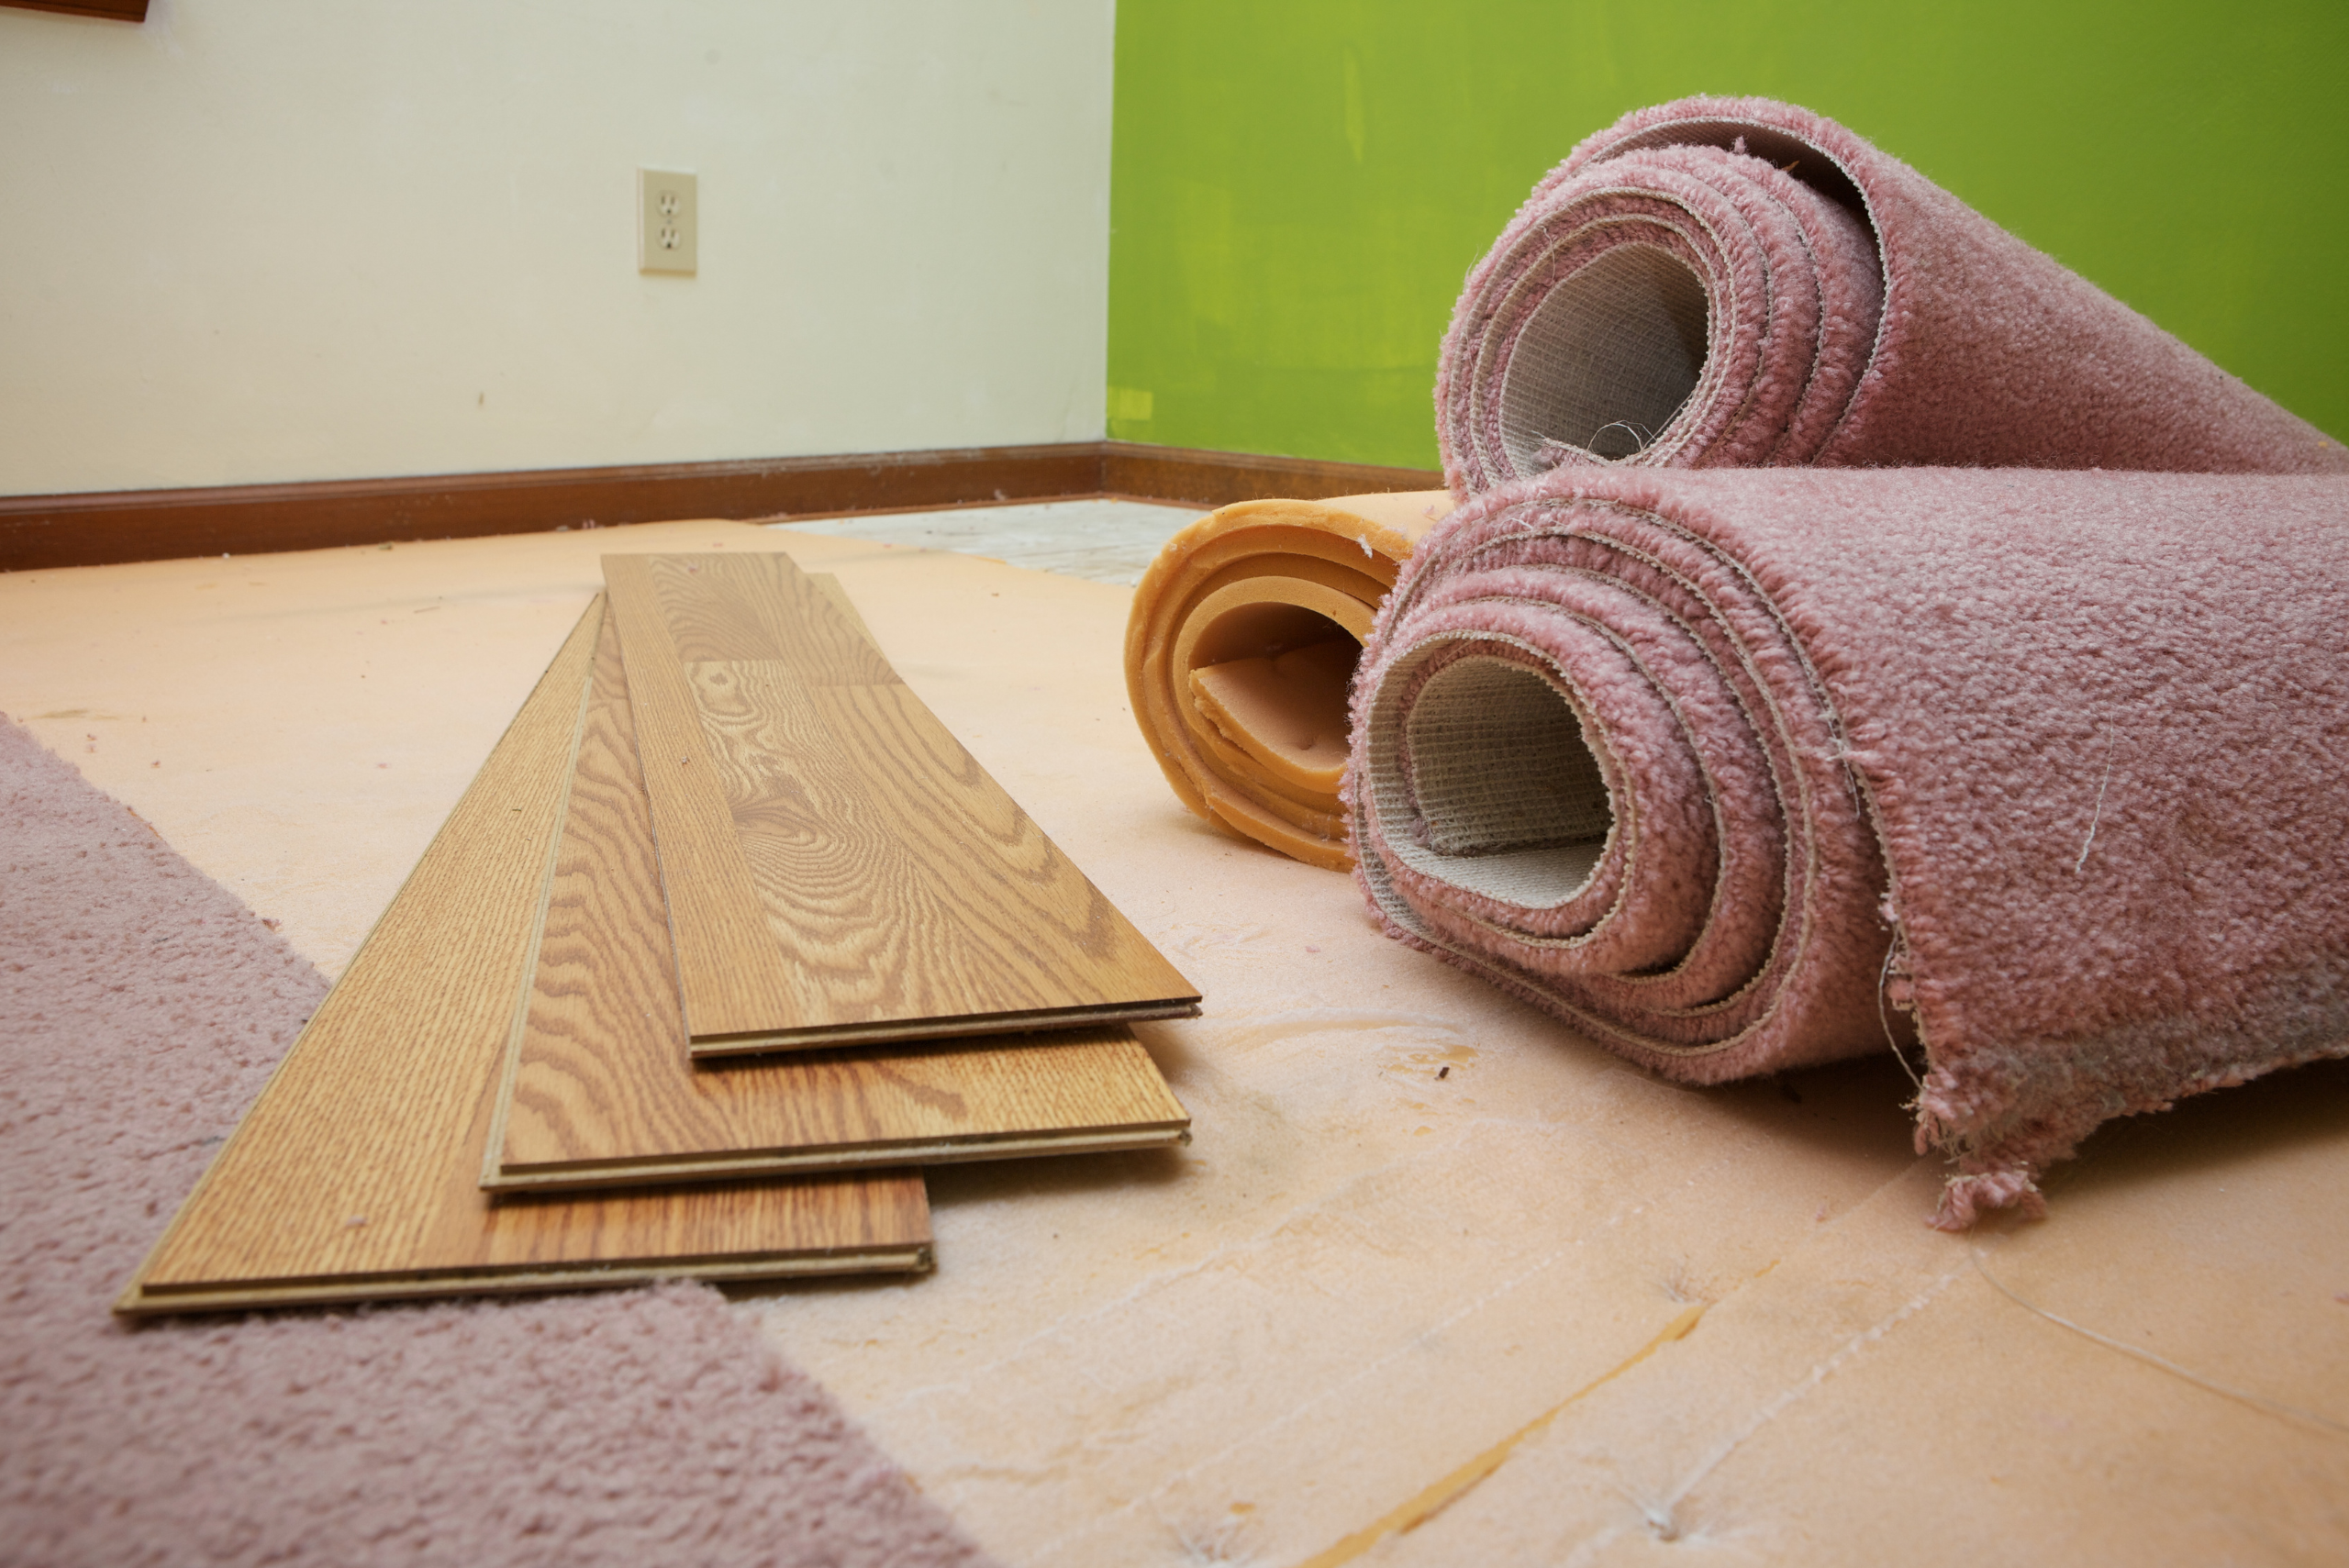
Photo Credit: Canva Pro
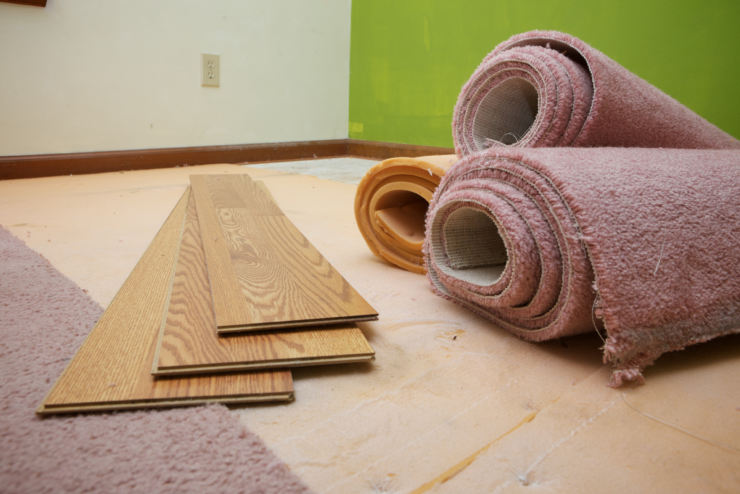
Proper preparation of the subfloor is vital for a smooth and long-lasting vinyl plank flooring installation. Start by removing any existing flooring and thoroughly cleaning the subfloor to remove dust, debris, and any adhesive residue. Next, inspect the subfloor for any uneven areas or damage and make the necessary repairs. Installing an underlayment can also help provide a smooth surface and reduce noise.
Measuring and Planning the Layout
Accurate measurements and careful planning are essential for a professional-looking vinyl plank flooring installation. Begin by measuring the dimensions of the room and calculating the square footage to determine the amount of flooring needed. When planning the layout, consider the direction of the planks, transitions between rooms, and any obstacles, such as cabinets or doorways. Creating a detailed layout plan will help streamline the installation process and minimize waste.
Acclimating the Flooring
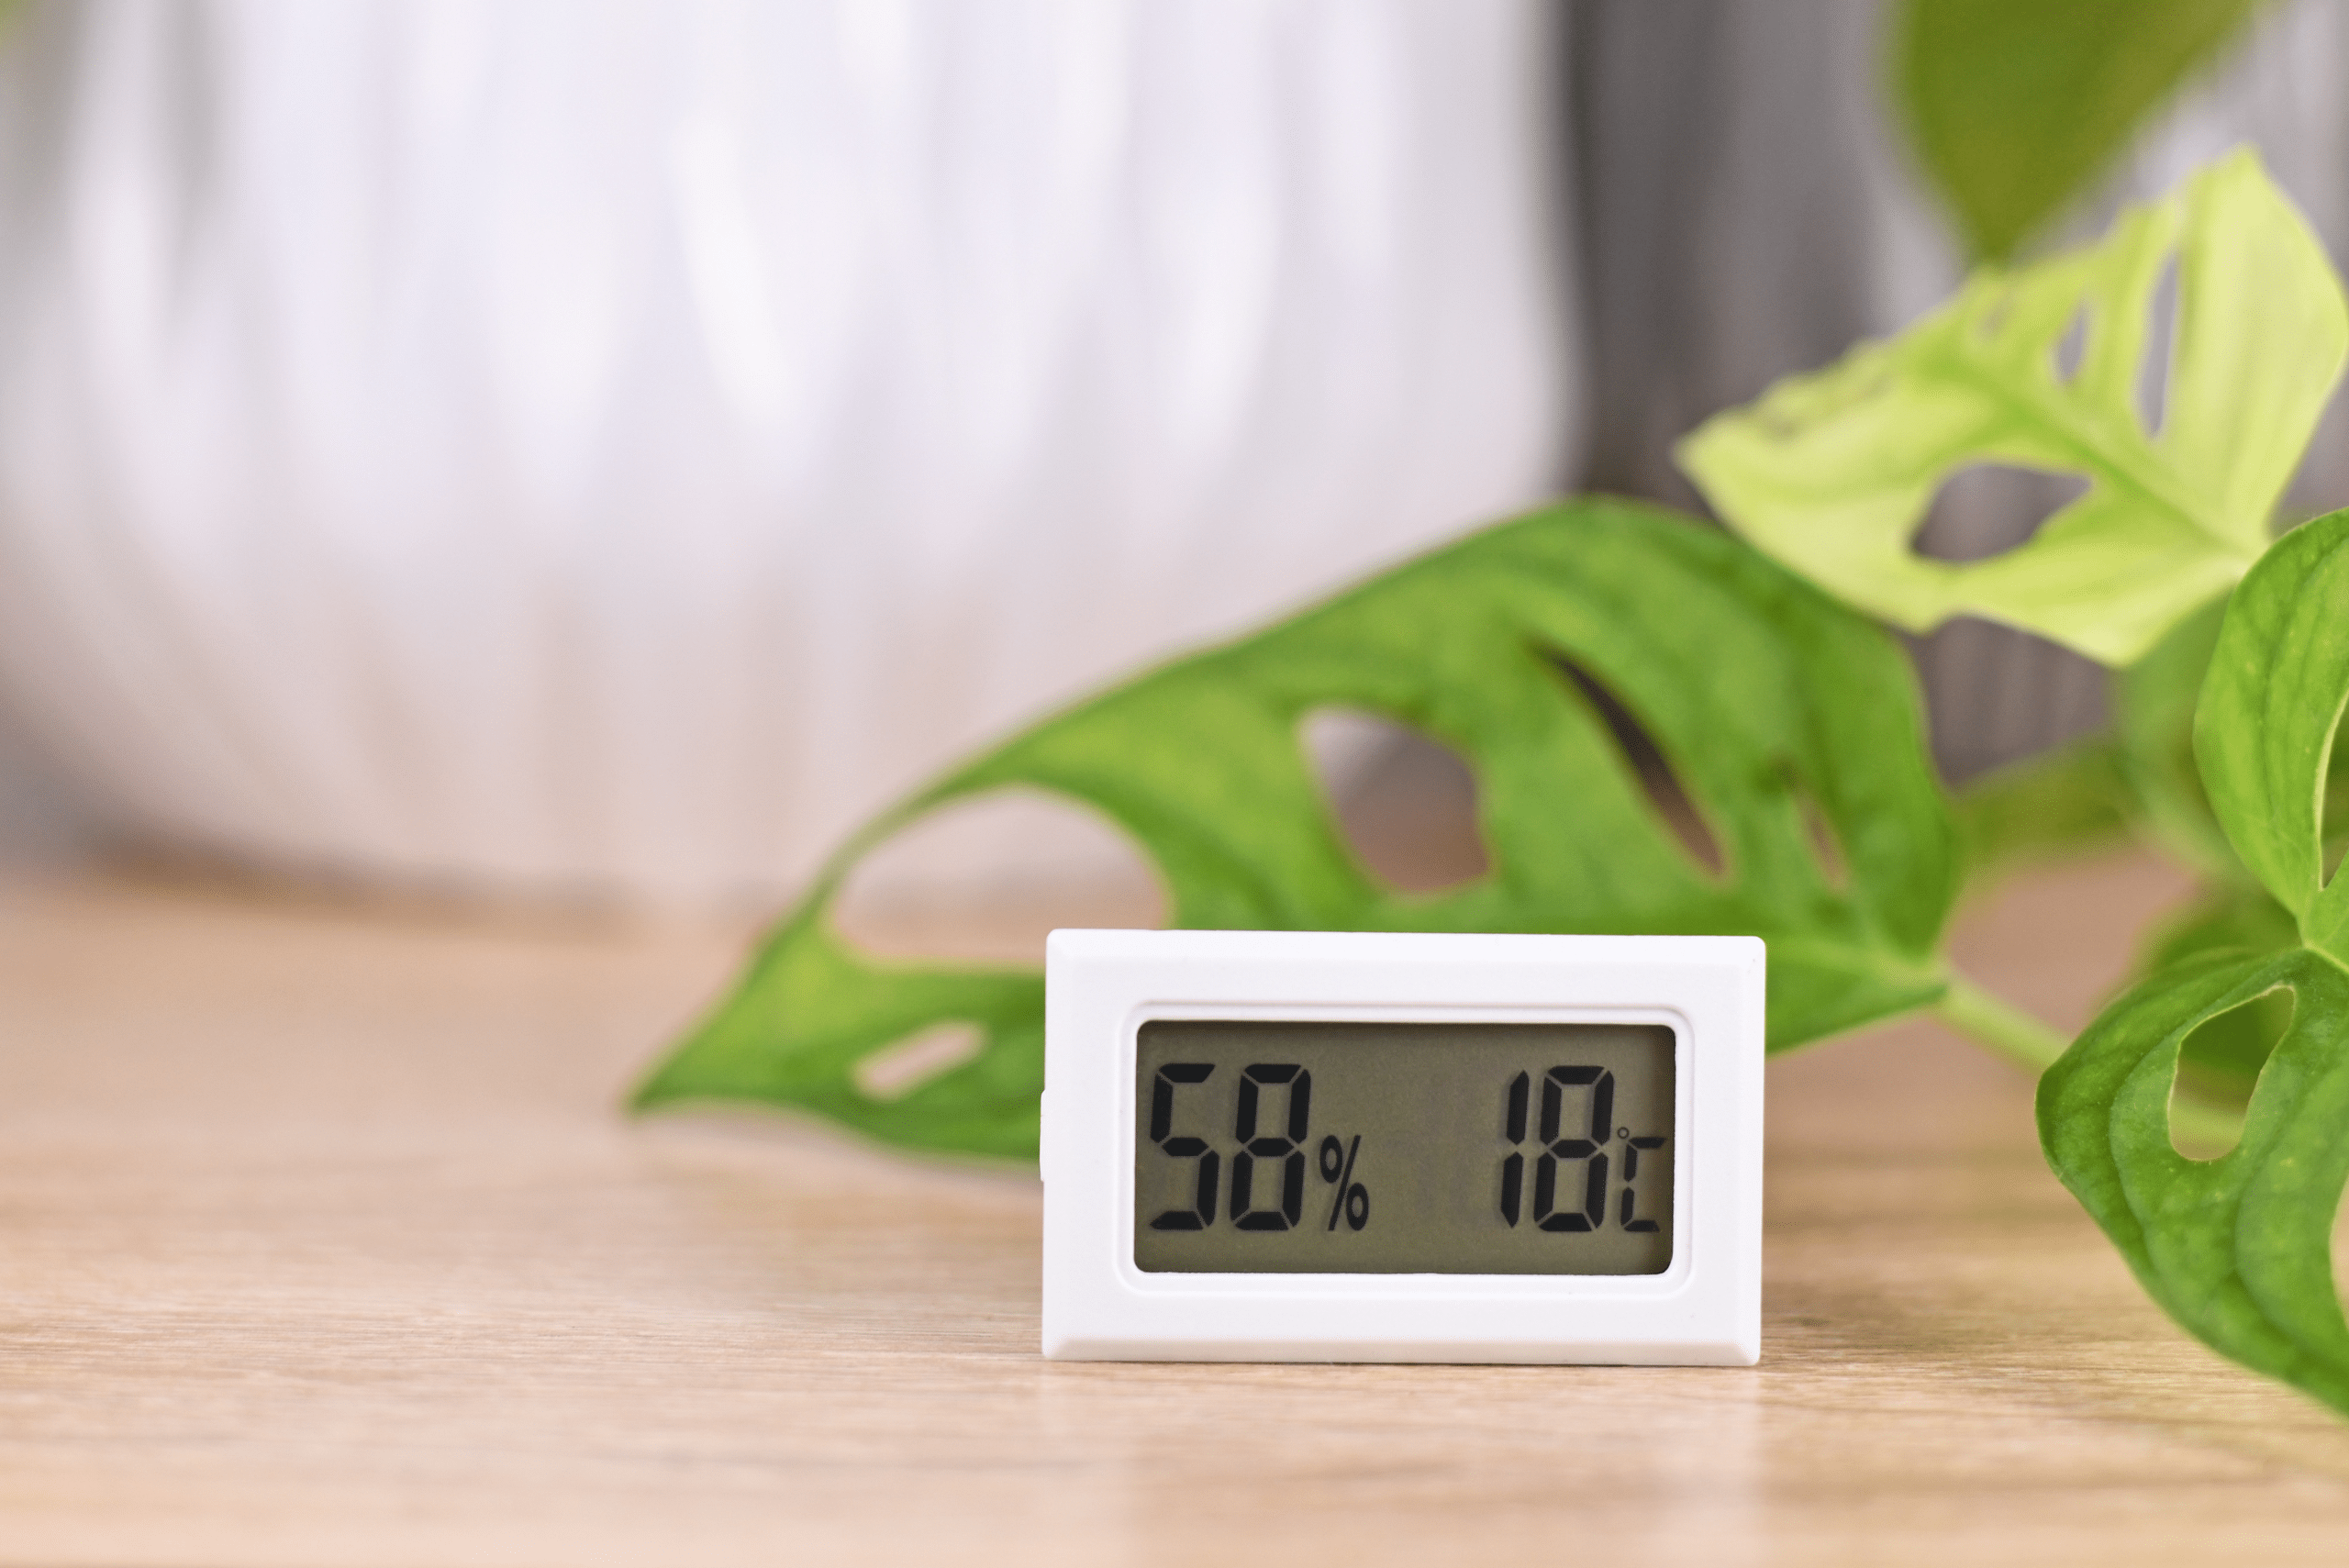
Photo Credit: Canva Pro
Before installation, it’s crucial to acclimate the vinyl plank flooring to the room’s temperature and humidity. This step is essential to prevent the expansion or contraction of the planks after installation. Lay the flooring boxes flat in the room for at least 48 hours, allowing the planks to adjust to the environment. Proper acclimation will ensure a stable and secure installation.
Installing the First Row
Begin the installation process by laying the first row of vinyl plank flooring along the longest wall in the room. Use spacers to maintain a consistent expansion gap between the flooring and the wall. Ensure that the planks are aligned and securely locked together, using a tapping block and rubber mallet to achieve a snug fit. Pay close attention to the alignment and levelness of the first row, as it will serve as a guide for the subsequent rows.
Continuing with the Installation
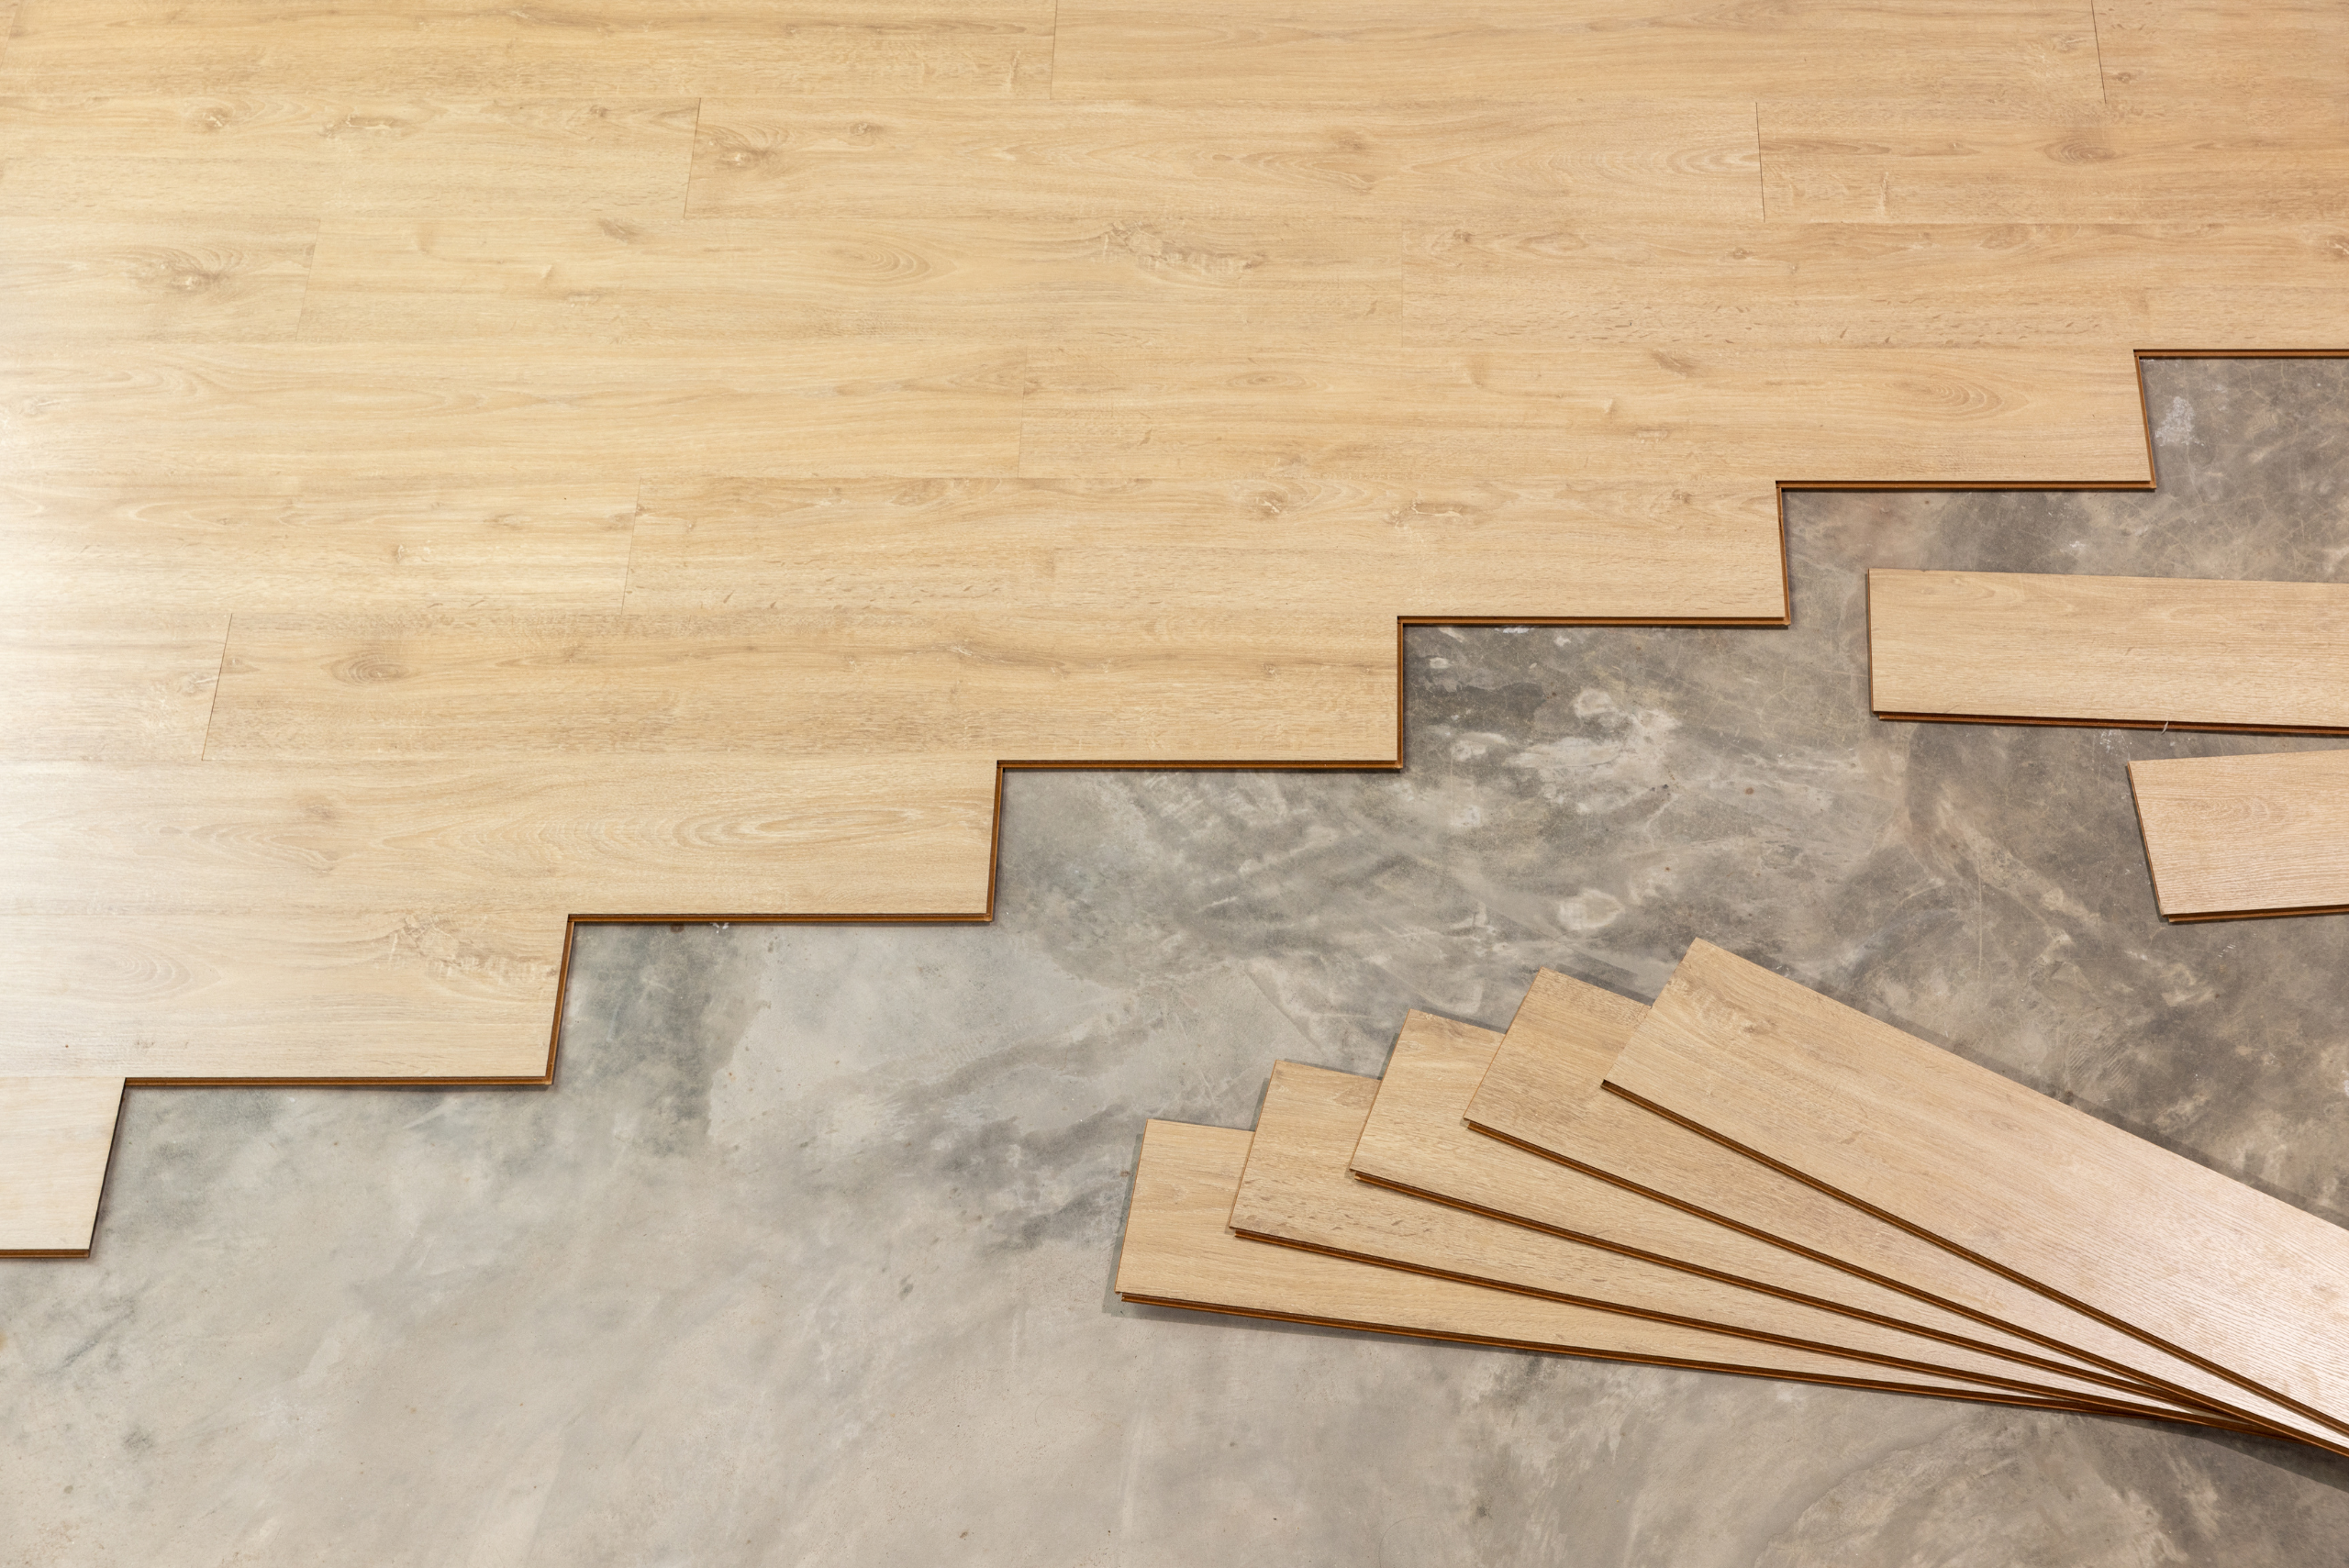
Photo Credit: Canva Pro
Once the first row is in place, continue installing the subsequent rows of vinyl plank flooring, interlocking the planks, and maintaining the expansion gap. Stagger the end joints of the planks to create a natural and visually appealing look. Use a utility knife to cut the planks as needed, ensuring a precise fit around obstacles and edges. As you progress, periodically check the alignment, levelness, and overall appearance of the flooring.
Addressing Obstacles and Doorways
When encountering obstacles such as doorways, cabinets, or irregularly shaped rooms, special attention is required to ensure a seamless installation. For doorways, carefully measure and cut the planks to fit under the door frame, allowing for the expansion gap. Use transition strips or moldings to create a smooth and professional transition between different flooring materials or rooms. Taking the time to address these details will elevate the overall finish of the installation.
Finishing Touches and Trim Work
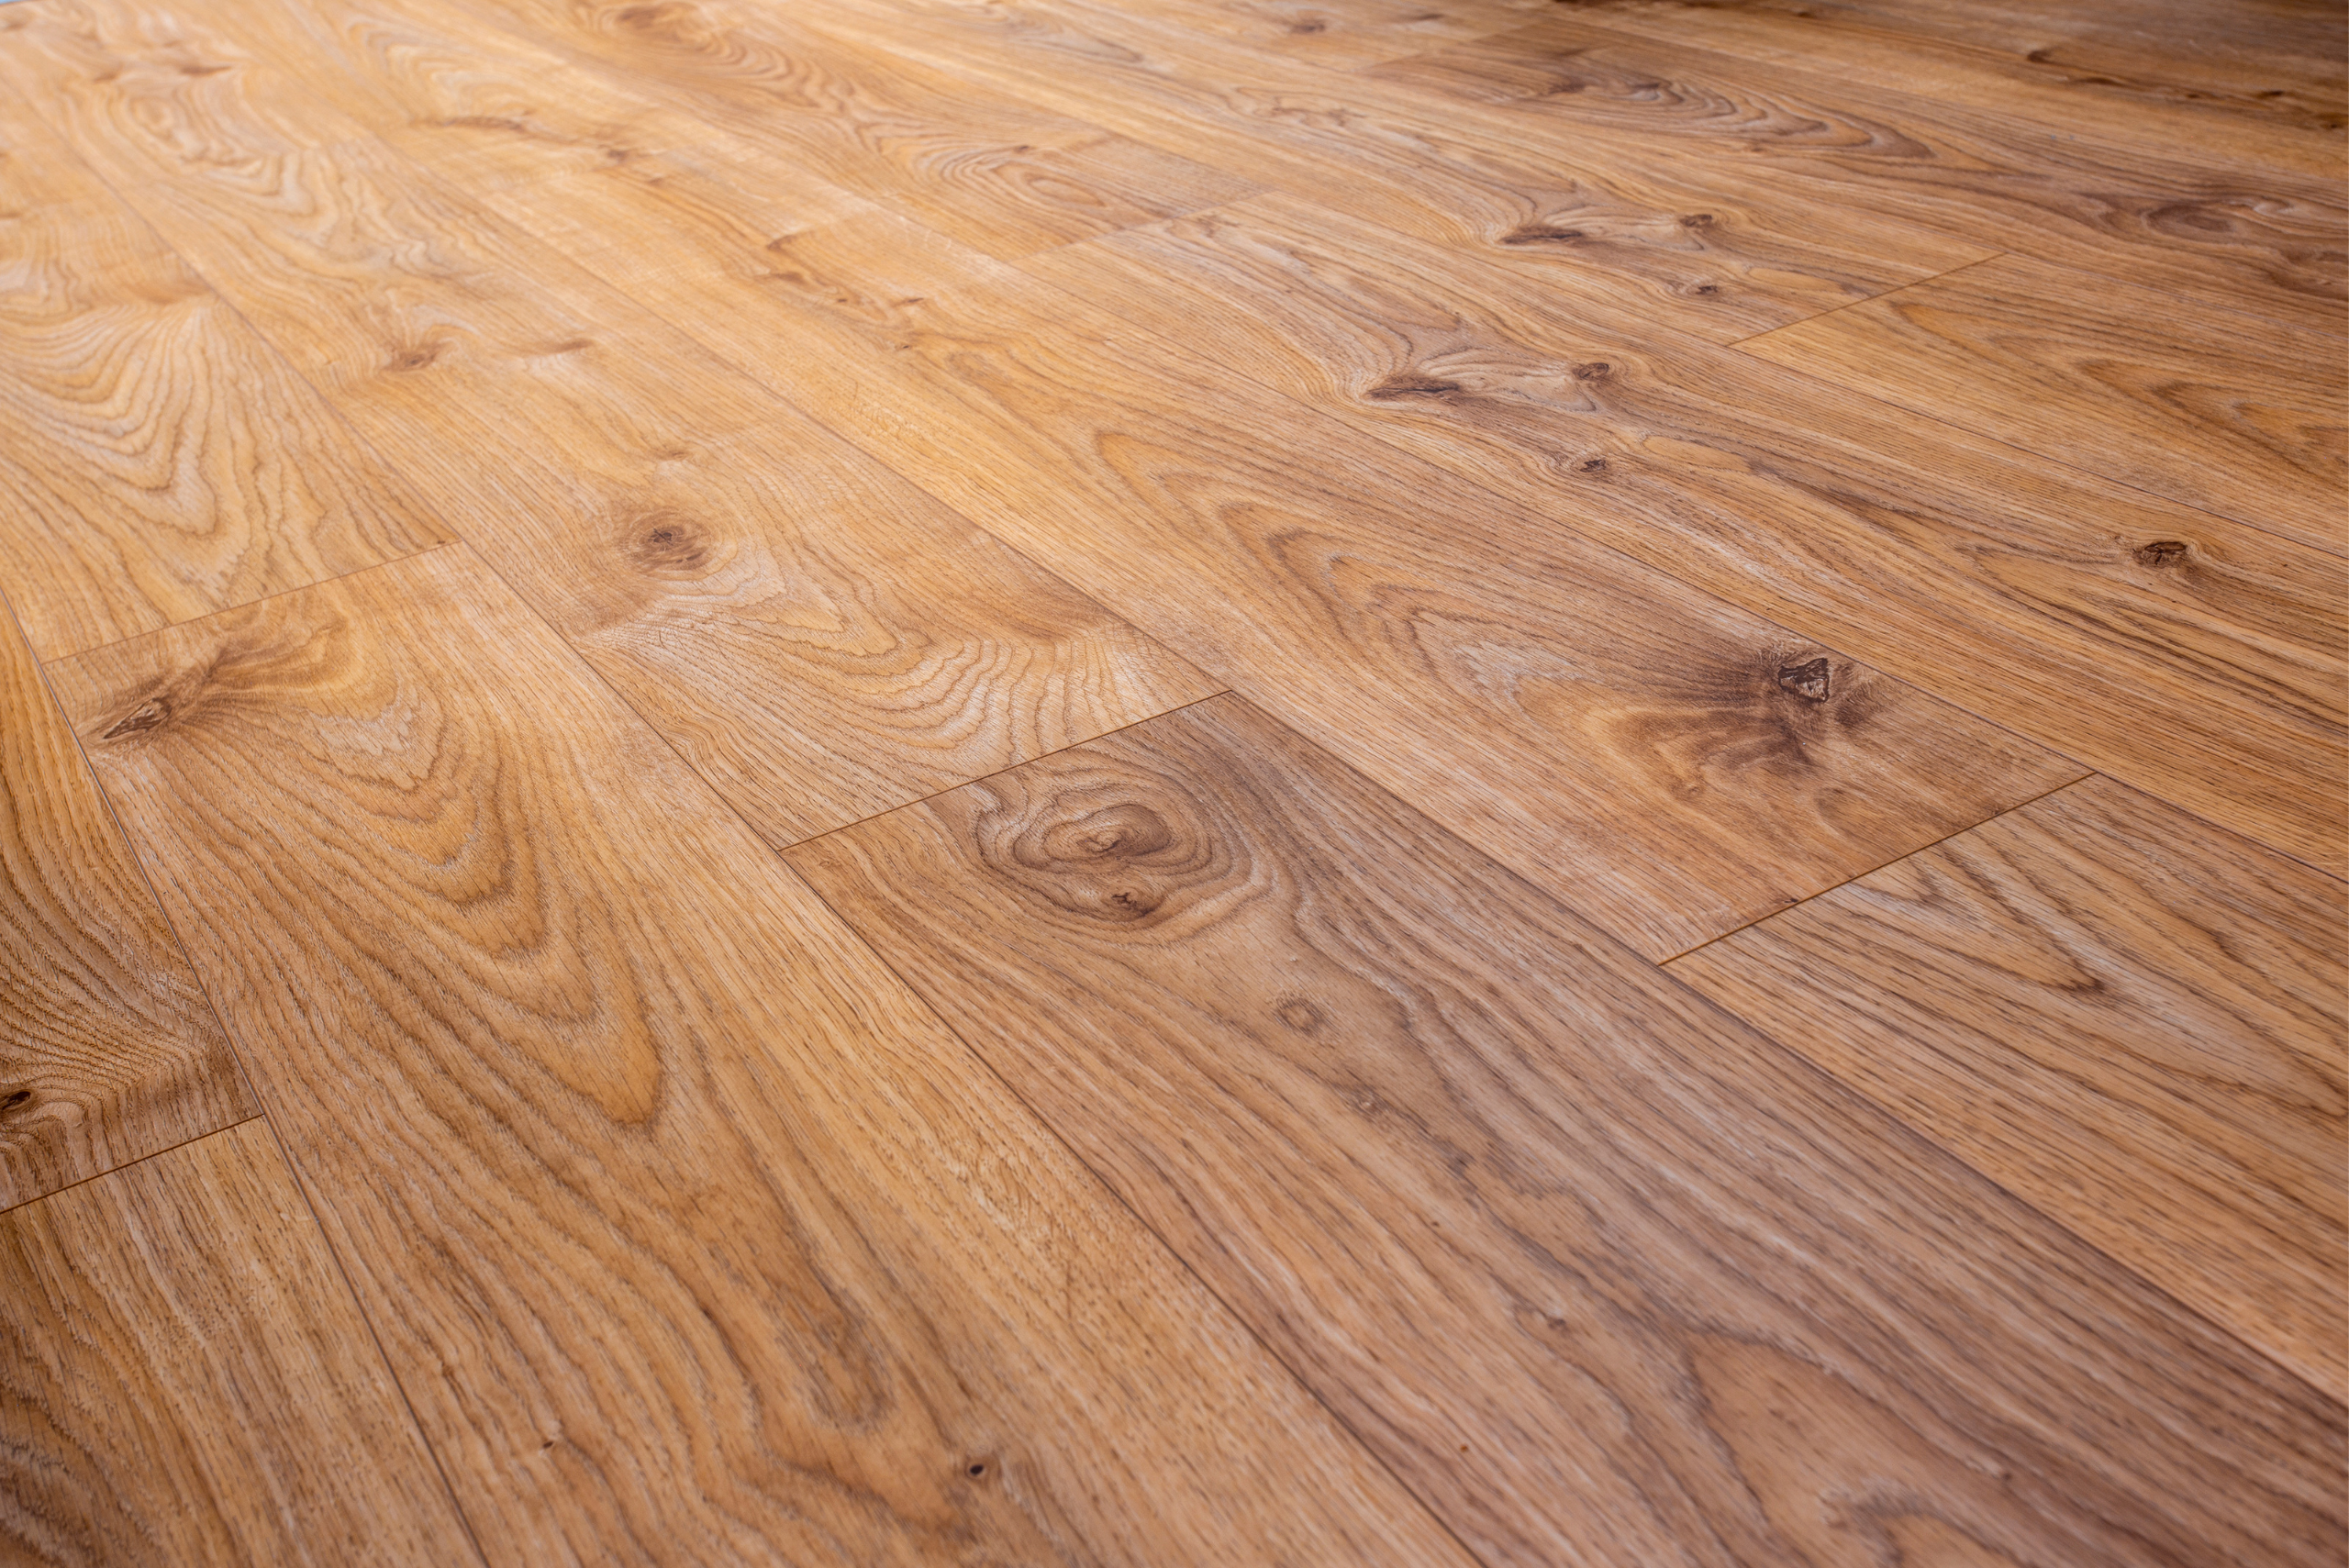
Photo Credit: Canva Pro
As the main installation nears completion, it’s time to focus on the finishing touches and trim work. Install baseboards or quarter-round moldings to cover the expansion gap around the perimeter of the room, providing a polished and clean appearance. Use a miter saw to achieve precise cuts for the trim pieces, ensuring a professional and seamless finish. Paying attention to these final details will elevate the overall look of the vinyl plank flooring installation.
Post-Installation Care and Maintenance
Once the vinyl plank flooring is installed, it’s essential to understand the proper care and maintenance to prolong its lifespan and preserve its appearance. Regular cleaning with a mild detergent and a damp mop is recommended to remove dirt and maintain the floor’s luster. Avoid using harsh chemicals or abrasive cleaners that can damage the flooring. Additionally, placing felt pads under furniture legs and using mats at entryways can help prevent scratches and protect the flooring.
Related articles from us:
Installing vinyl plank flooring is a rewarding and achievable project that can transform the look and feel of your home. By following the step-by-step process outlined in this guide, you’ll be equipped with the knowledge and skills to tackle this project with confidence. Make sure you have all of the tools you need before embarking on this DIY project, and don’t shy away from enlisting the help of a few friends to get this job done.



Add comment