The magic of a deck is that it serves as an interface between a home and the natural features surrounding that home. When done correctly the lines of a deck can be an architectural marvel. They smooth out uneven terrain, whether it be the ground around the home, or concrete sections poured at uneven heights.
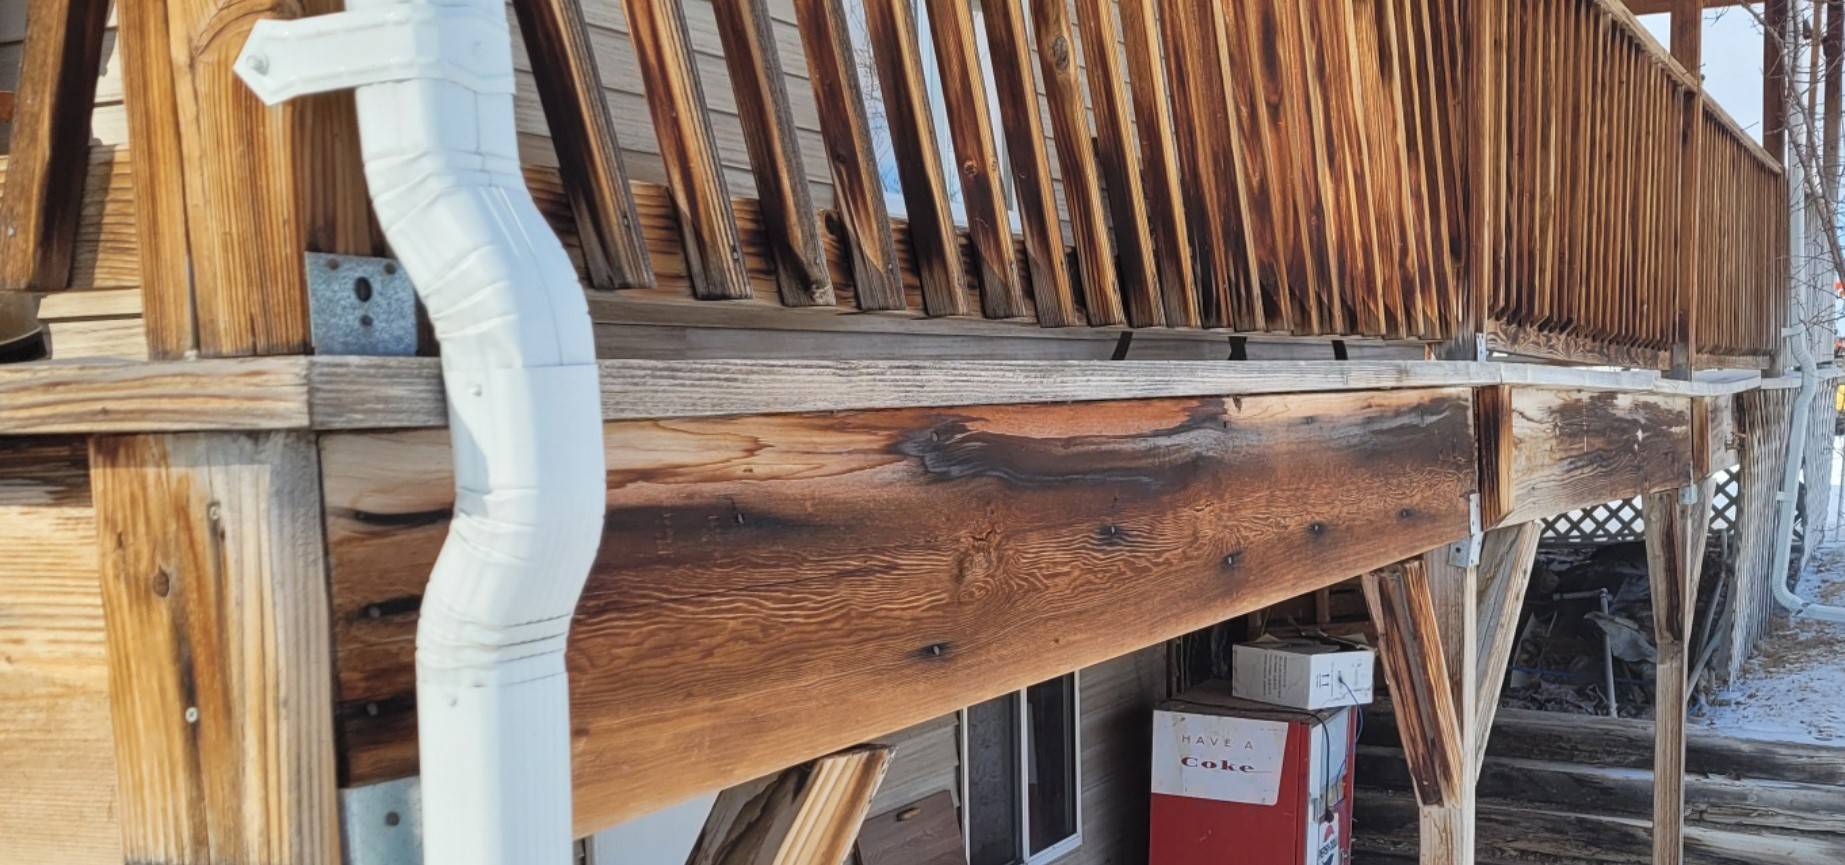
Posts of various heights aligned on a level deck – Photo by Randy Tucker
The final product is a marvelous thing, but building that product requires thought, skill, and a little innovation at times.
An uneven surface below a deck presents unique, but far from insurmountable problems. For a craftsman, these are enjoyable problems to solve.
Step 1: Determine the Desired Level
The first thing to do in leveling a deck above an uneven surface is to determine the level of the deck.
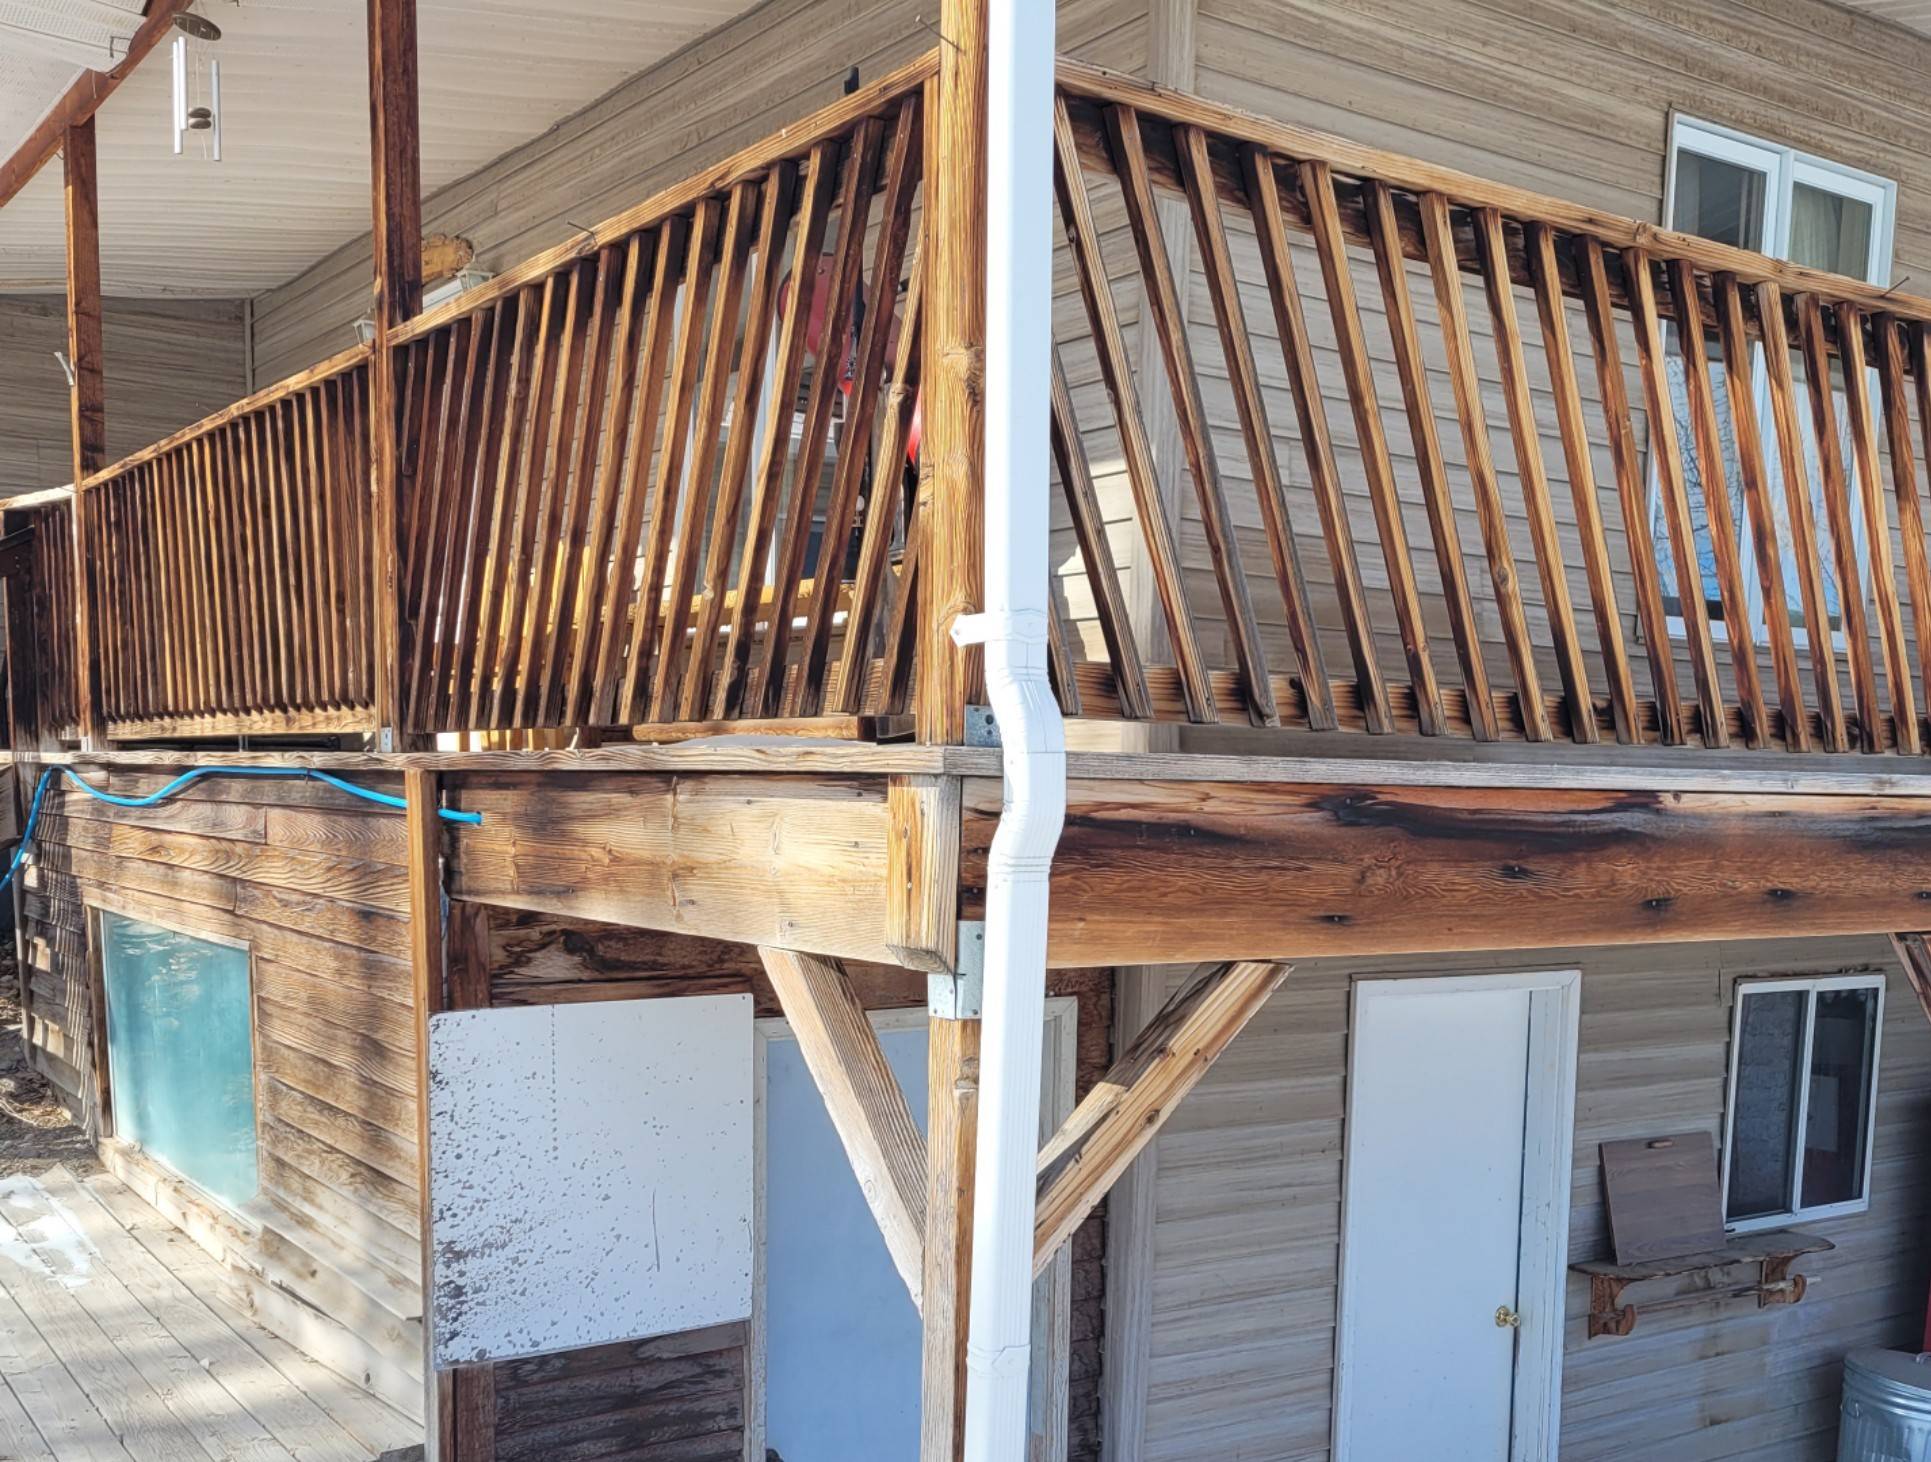
Aliging a deck with the first floor is the first step – photo by Randy Tucker
Decks should be built at the same level as the floor inside the home. You don’t want to step up or step down on a deck. It detracts from the beauty and functionality of the home, and it can be dangerous. Uneven surfaces are an open invitation for falls, hooked feet, or knee and ankle injuries. They should be avoided at all costs.
To establish the proper height of the deck find an outside door and establish the exact level the interior floor will have. Not the construction deck, but the finished floor with carpet, wood flooring, or vinyl in place.
Determine the interior height, and transfer that to the exterior.
Once you’ve established a single point, the best method is to find another exterior door and mark that level as well. If you have only one door as a frame of reference you can still keep the deck in alignment with the interior floor.
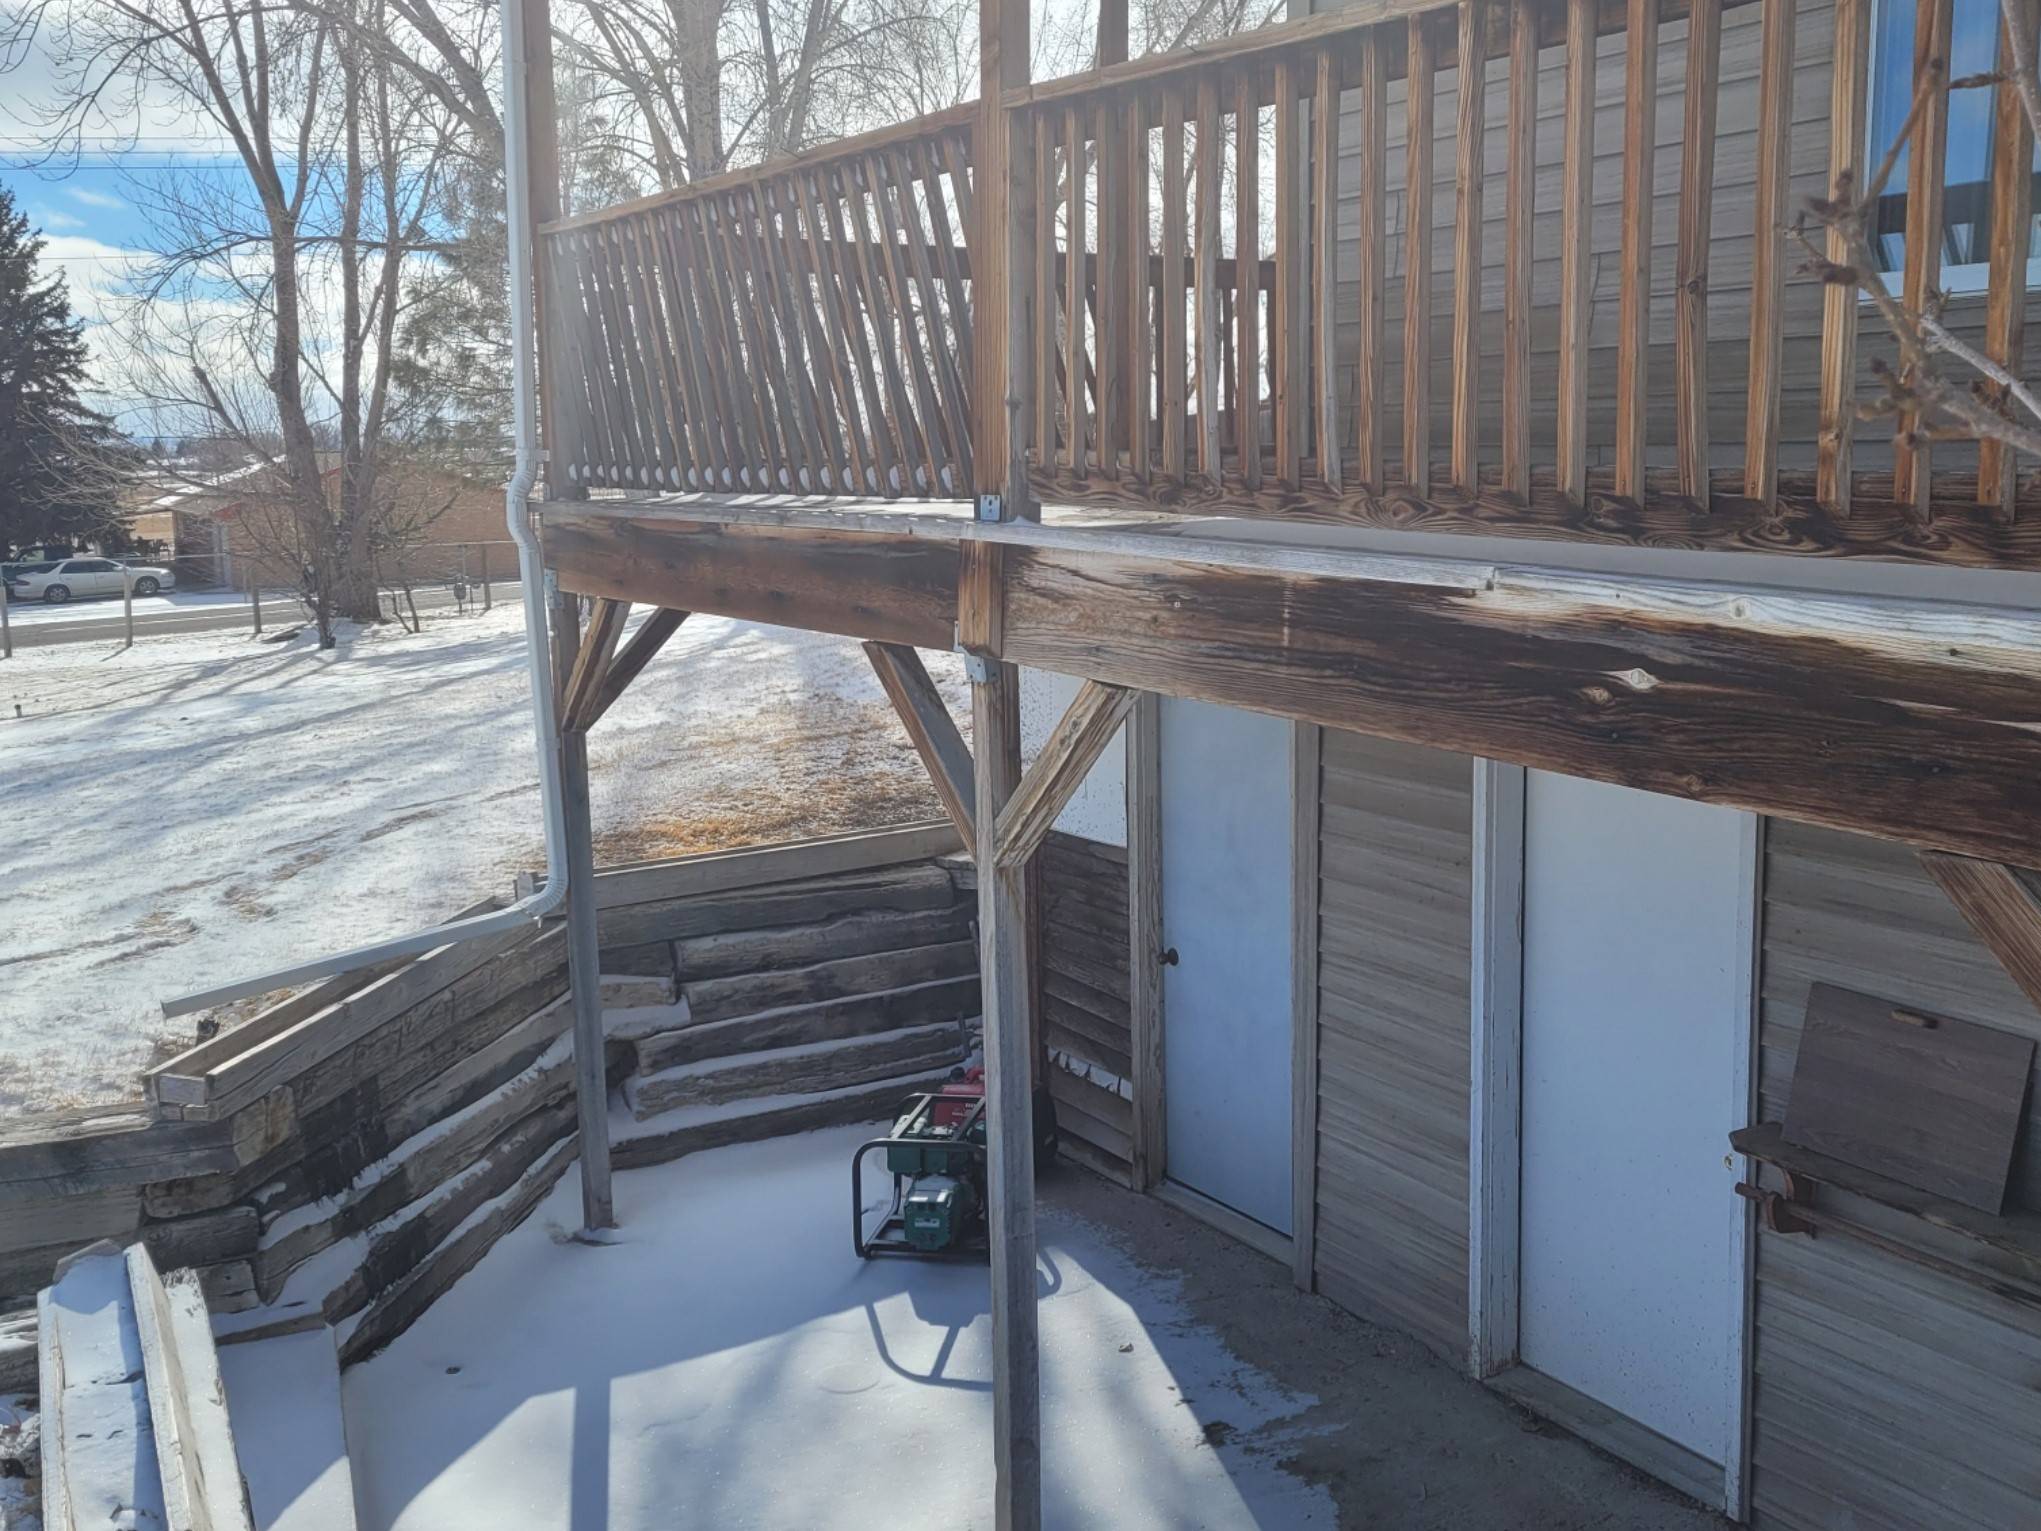
Posts of various heights supporting a deck – Photo by Randy Tucker
Step 2: Transfer the Measurement to the Exterior
There are several methods to transfer this line. Measuring down from windows is one method.
Just measure the distance on the inside of the window and transfer that measurement outside. Another method is to use an overhanging eave, mark the inside roofline with the outside eave, and measure accordingly.
A third method is to use transit to transfer the height with several marks on the exterior wall. A final method is to use a long level, preferably a six or eight-foot level to mark points on the outside wall.
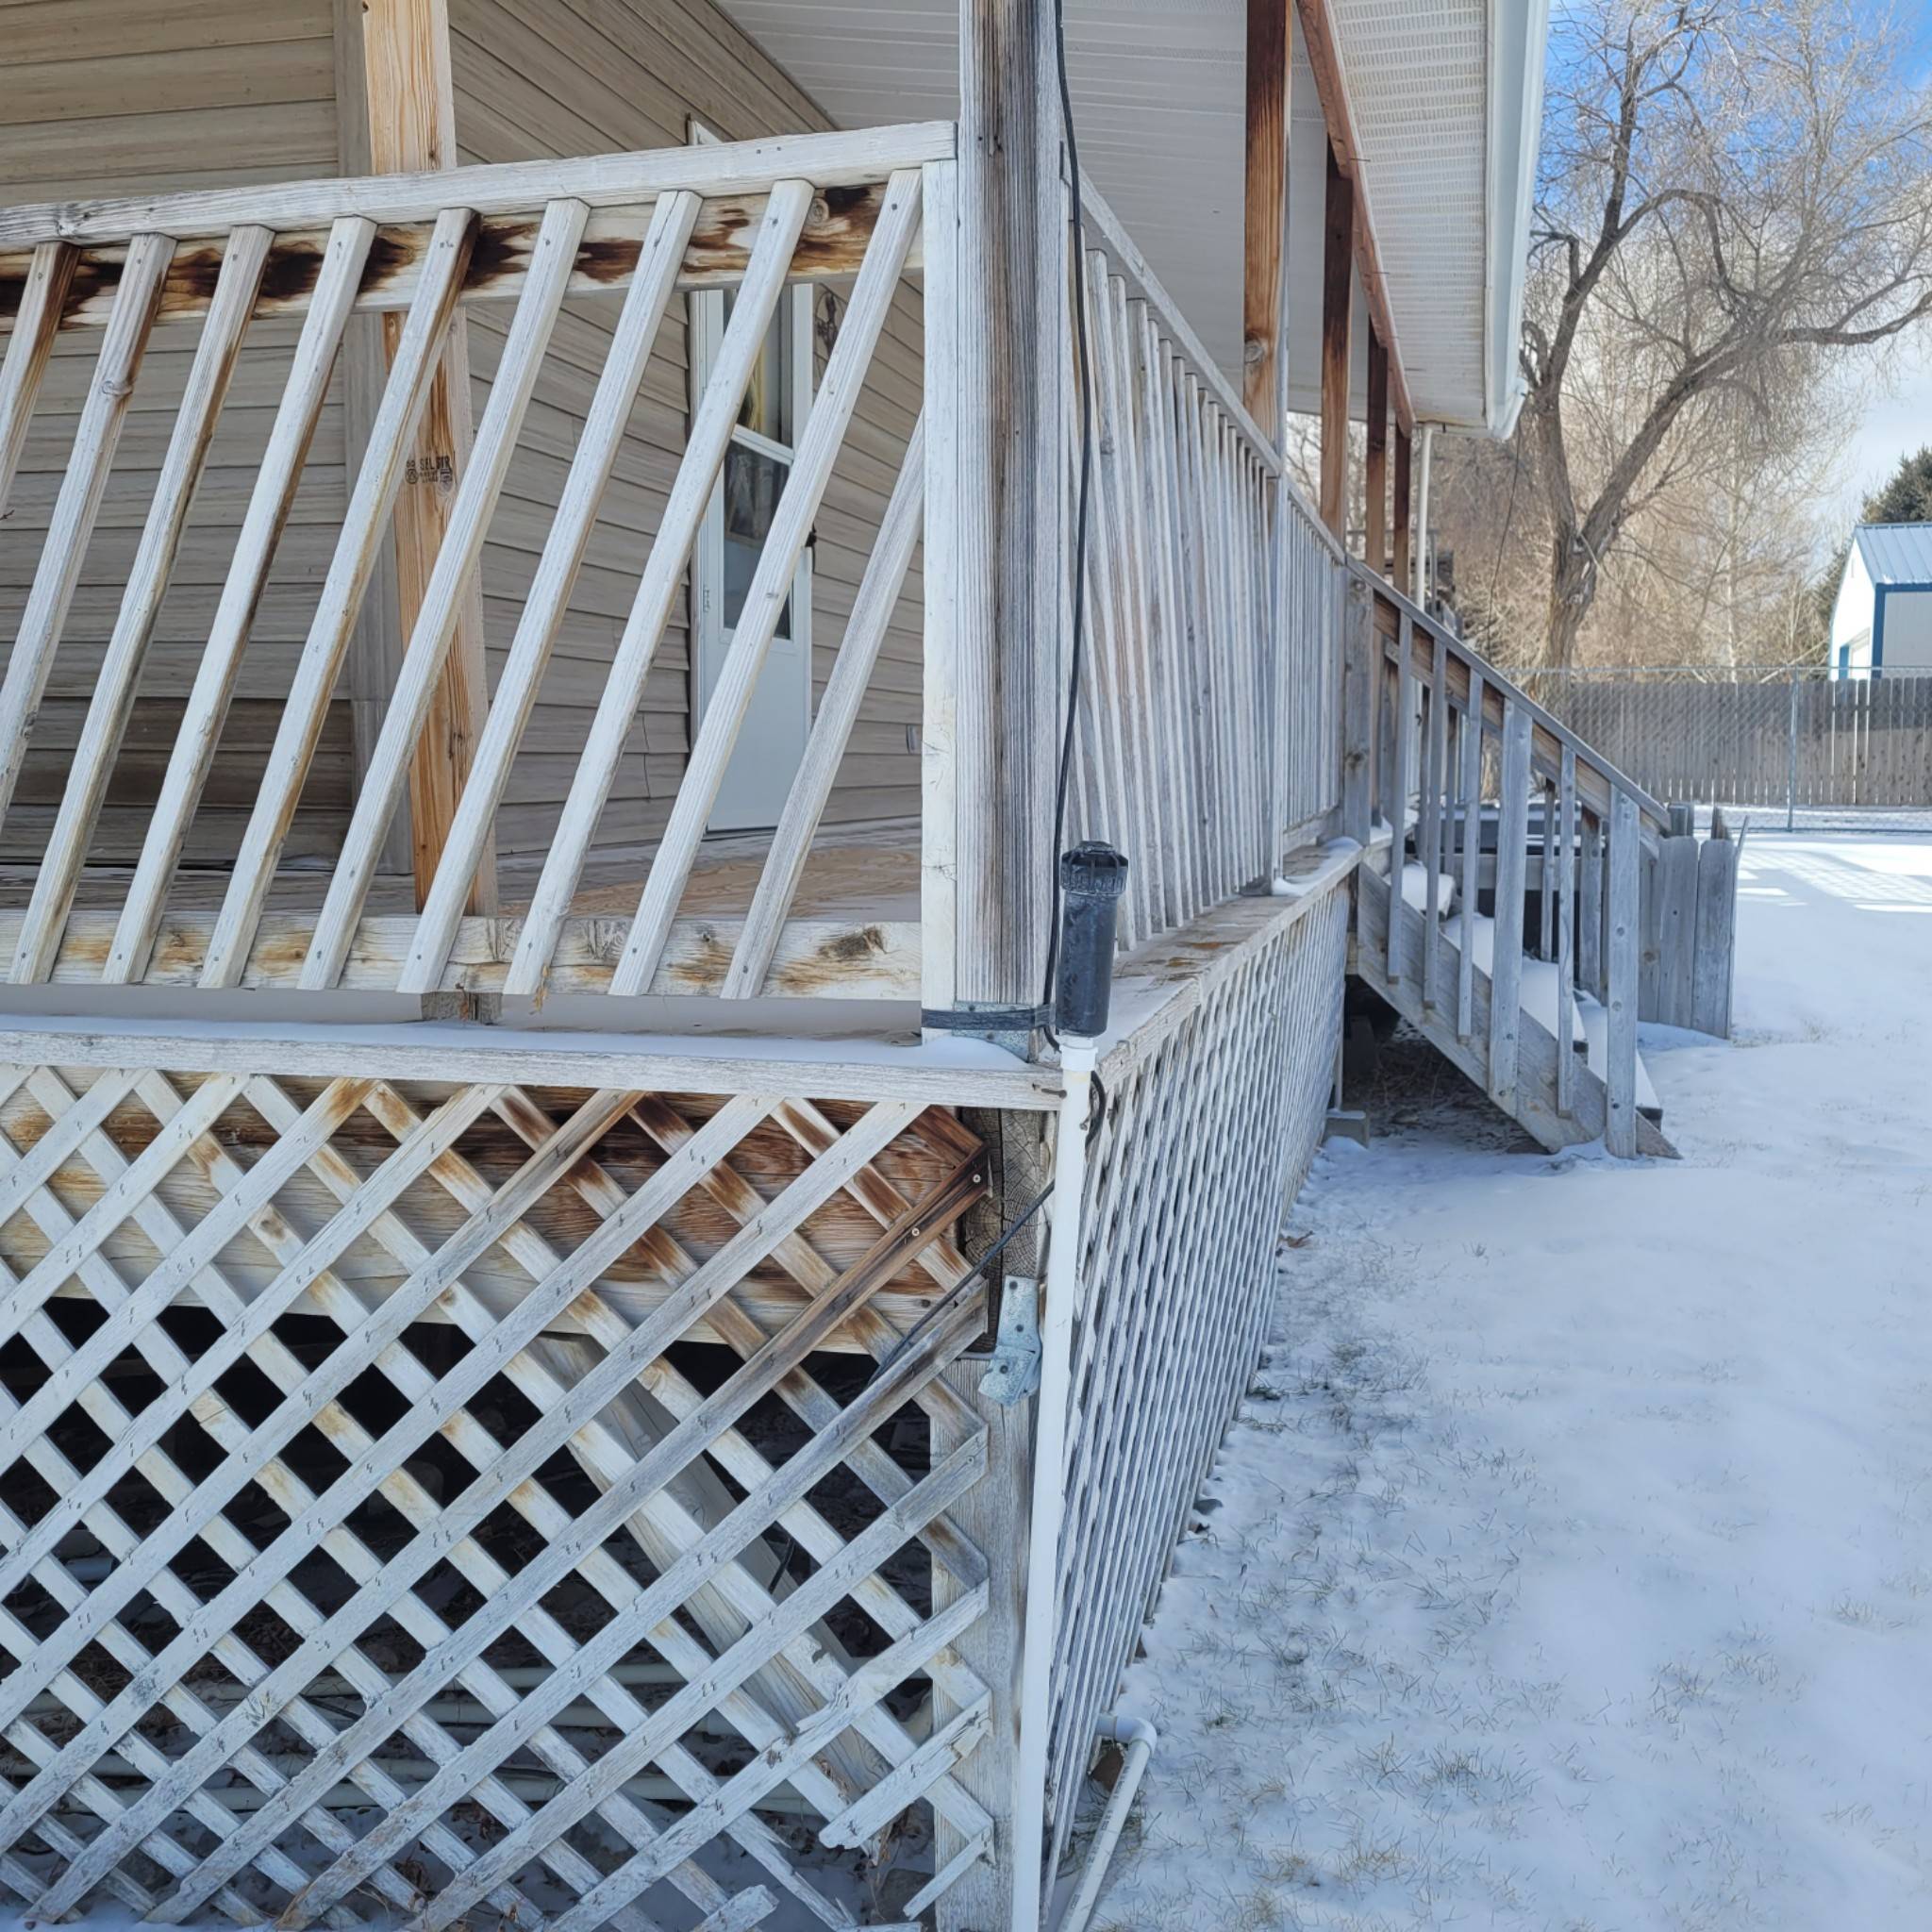
Low areas on an uneven deck protected by lattice – Photo by Randy Tucker
Step 3: Mark The Line Where The Deck Will Be
Whatever method you use, when the marks are in place, use a chalk line to create a line along the exterior of the home, in line with where the deck will be constructed.
Now that you have a level line for the new deck, measure down 1.5 inches for the height of the dimensional lumber you’re using as decking. If it’s 1.25 synthetic decking, use the 1.25 measurement to lower the line. This is where the top of your stringers will be placed.
Step 4: Establishing The Cardinal Points For the Deck
Building a deck on uneven concrete requires at least three cardinal points to be established, ideally at each end of the deck and one more in the middle.
Nail a metallic joist hanger on the inside wall below the line marked as the upper stringer height. With a partner, place a 2×6 or 2×8 stringer in the hanger, with a level on top. Move the stringer until it is level. When it’s level have your partner measure the distance from the bottom of the stringer to the concrete below. That measurement will be the height of the supporting member, usually a 4×4 or larger post.
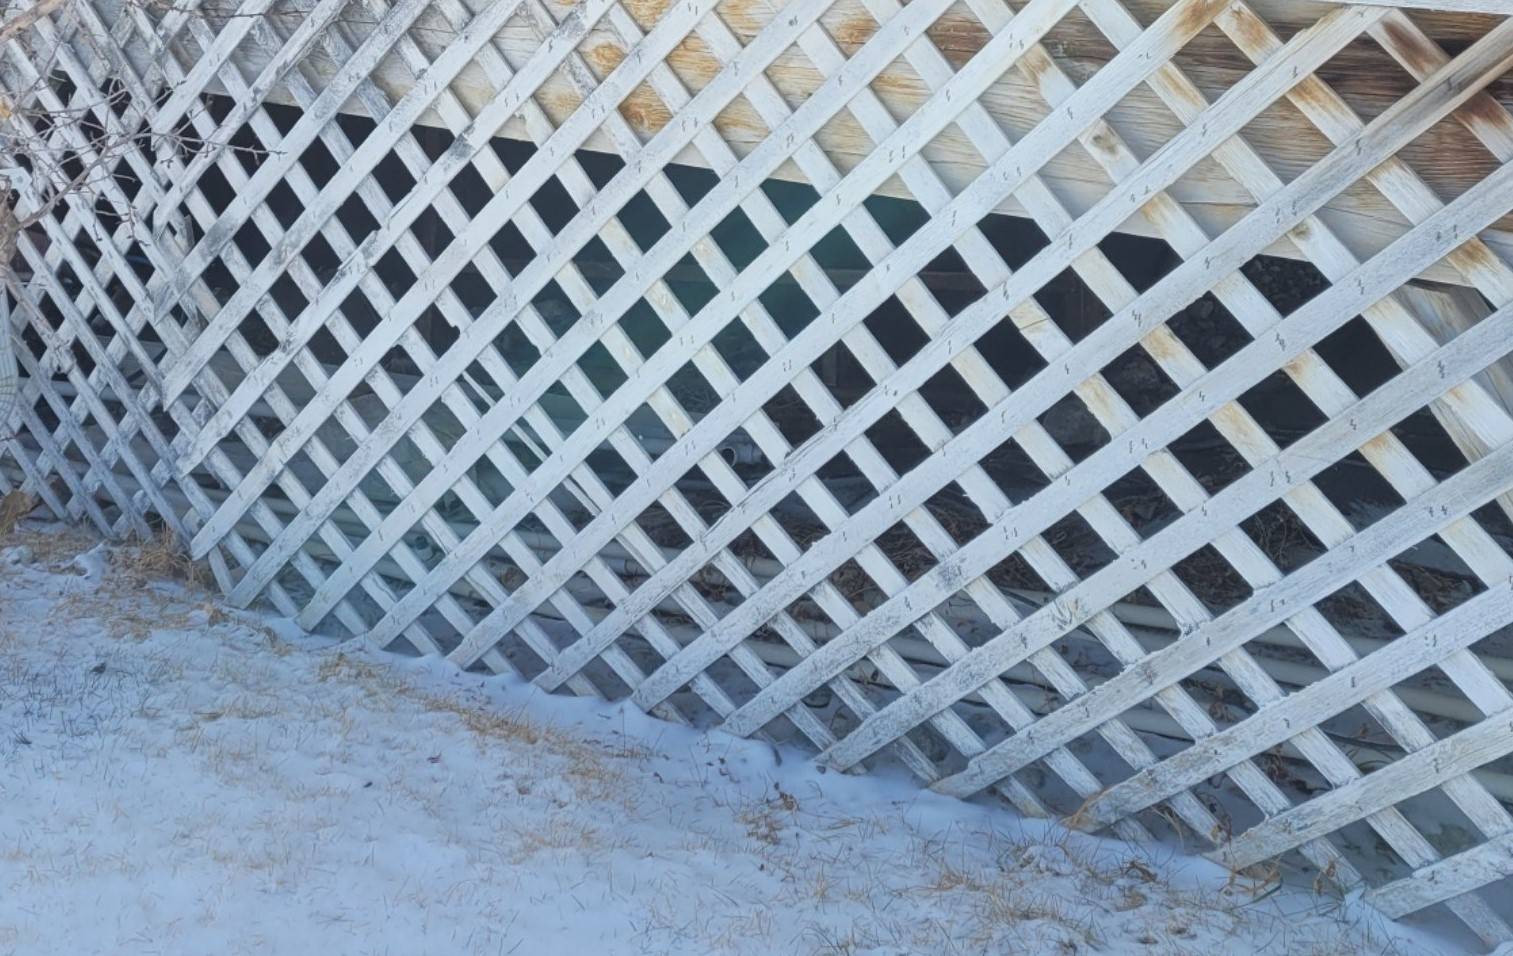
A deck can provide storage space in smaller, hard to access areas – Photo by Randy Tucker
Place a post hanger on the concrete, place the post directly below the stringer, and repeat the process on the three cardinal points.
You can now stretch a string along the bottom of the stringers.
This will be the line to measure to place each additional vertical support. When they’re all measured and in place you can bolt the external joists in place that will hold the stringers.
Step 5: Lay Down the Decking
When you’ve finished bolting the joists in place, you’re ready to begin laying down decking material.

Posts of various heights aligned on a level deck – photo by Randy Tucker
When that’s done you have a deck.
The railing, whether it’s wood, wrought iron, or something else is the final touch.
You’ve created a deck on an uneven surface with just a few simple tools.



Add comment