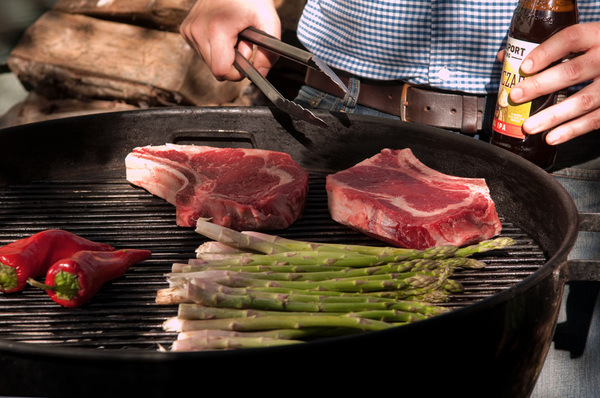
Building a strong, sturdy fire is one of those basic skills everyone should have. When I’m out camping, I like to challenge myself to carefully prepare a perfect stack of kindling, tinder, and fuel, and see if I can get my bonfire started with just one match. But at home, in the backyard, when I’m grilling, what I really want is a perfect bed of coals that I can confidently cook on, and fast. For years, my preferred method of starting a perfect grilling fire has been to use a blowtorch. Sounds easy, right? It is. Here’s how I do it:
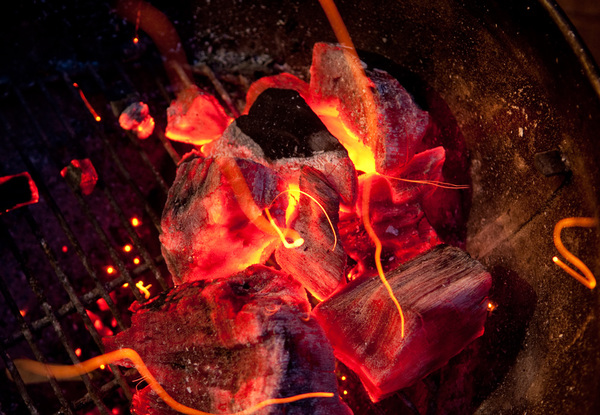
First things first: when starting a charcoal fire, there’s only one rule. And that rule is:
Never use lighter fluid. Period.
Lighter fluid makes your food taste like … lighter fluid. No fooling. It ads a harsh, chemical flavor to your grilled items, masking the subtle, coal-roasted goodness and ruining quality produce and cuts of meat. This includes self-lighting charcoal. Repeat after me: grill over wood, not chemicals.
How to Light a Charcoal Grill with a Chimney Starter
When it comes to hardwood charcoal, especially all-natural lump charcoal, a chimney starter is well worth the investment. Sure, it only does one thing, but it does it perfectly, again and again, saving you money on fuel. At $15, it’s a serious best buy.
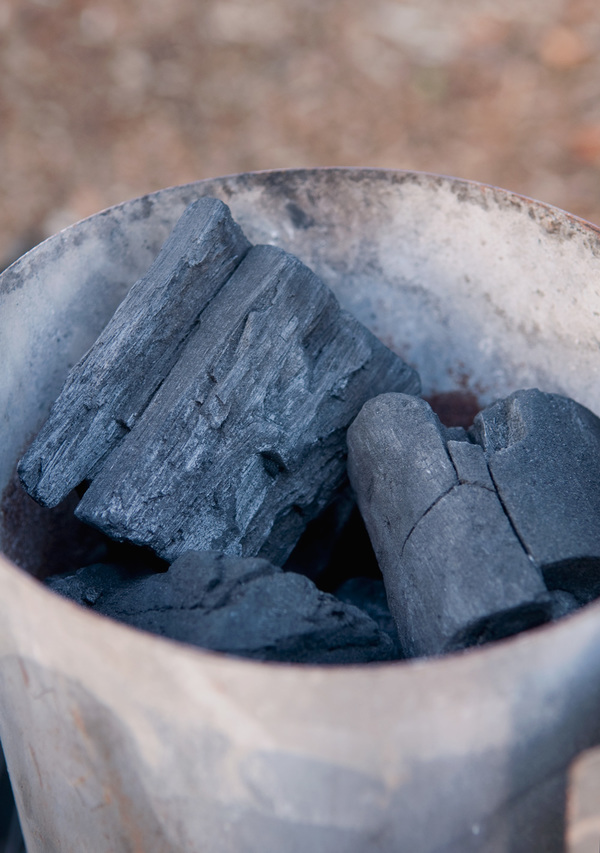
1. Begin by filling your chimney starter to the brim with charcoal, and place it on the lower grate of your grill.
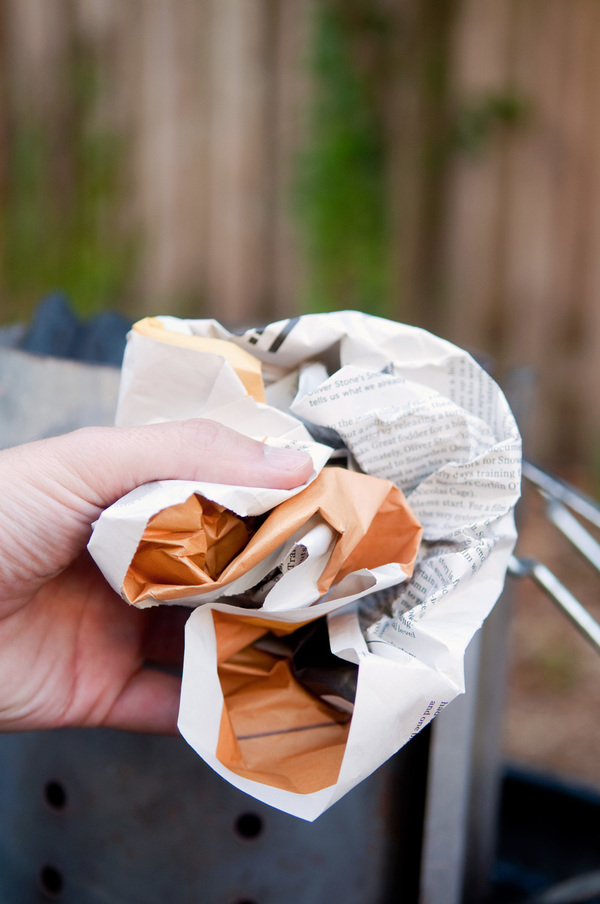
2. Crumble up a piece of newspaper or two into a loose ball. Some folks recommend adding oil here to help it burn longer, but that’s unnecessary with this method. Place it under the chimney starter, but don’t overstuff. Make sure to leave plenty of room for air flow.
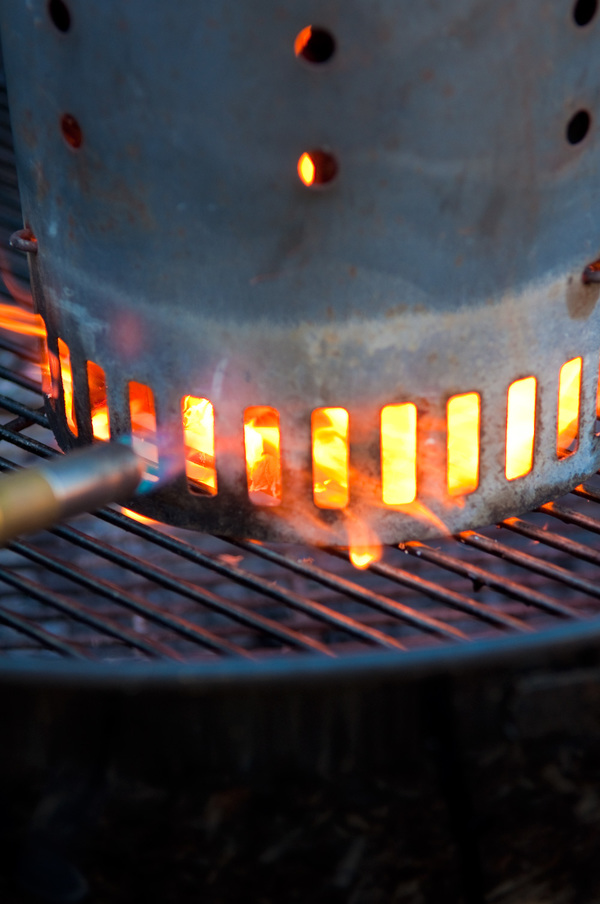
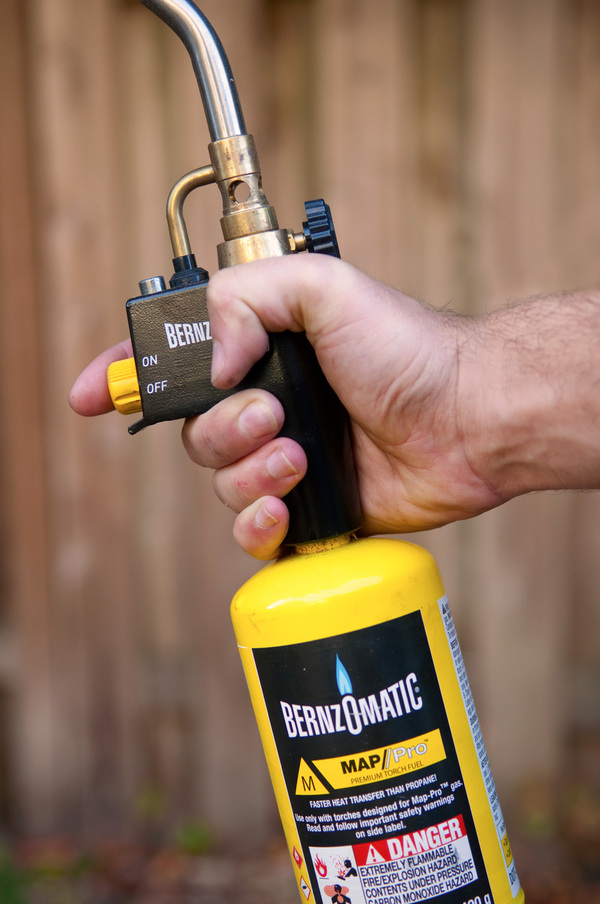
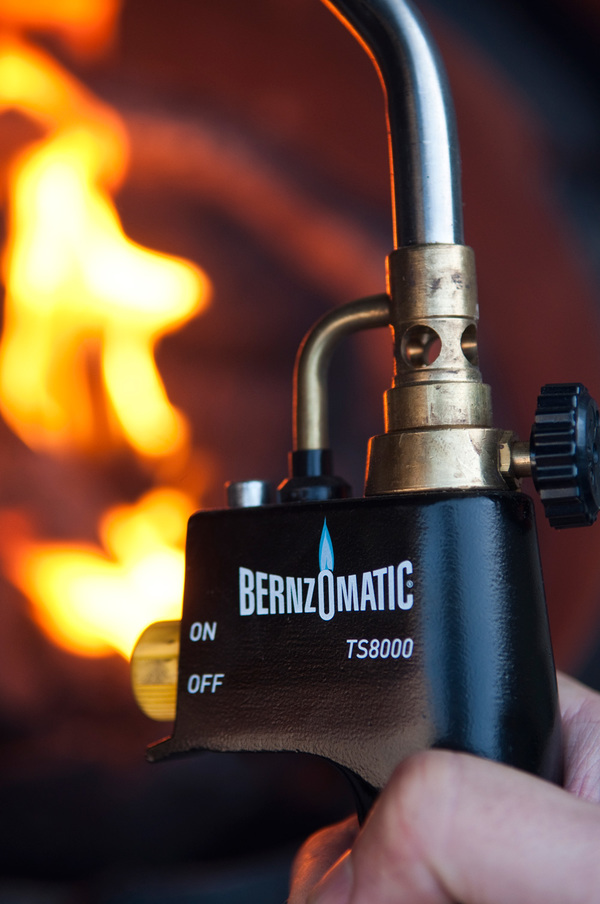
3. Fire up your blowtorch and light the newspaper from all sides. You could use a match or lighter here, but here’s why I prefer a blowtorch:
- It keeps your hands and fingers safely away from the flame
- The flame burns hotter, making things combust more quickly, and getting you that much closer to dinner time
- The pressurized fuel makes for a larger, hotter flame, guaranteeing a strong ignition right from the get-go
- You always know where your blowtorch is. I’m constantly misplacing small lighters and match books, and never seem to be able to locate them when it’s time to light the grill. (Are they in the junk drawer? The kitchen utensil caddy? With the grill and charcoal? The camping supplies? Did I leave it in the bathroom? Also, where’s my spatula?)
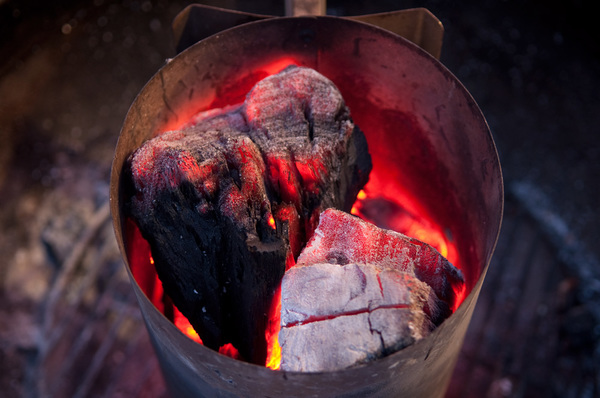
The charcoal is ready when the center of the chimney glows deep orange, flames lick out from the empty spaces, and the top coals just start to ash over. Safely dump it into the grill, add the cooking grate and the lid, and allow it to heat.
How to Light a Charcoal Grill without a Chimney Starter
For such an affordable price, there’s no reason not to keep a chimney starter on hand for backyard grilling. But what about those times when you don’t have one around? Say, when you’re camping, tailgating, grilling at a beach or lakeside cookout, or using a public grill at a park? Those times where lugging an extra piece of equipment is just one thing too many?
No problem. Your friend the blowtorch helps you here, too.
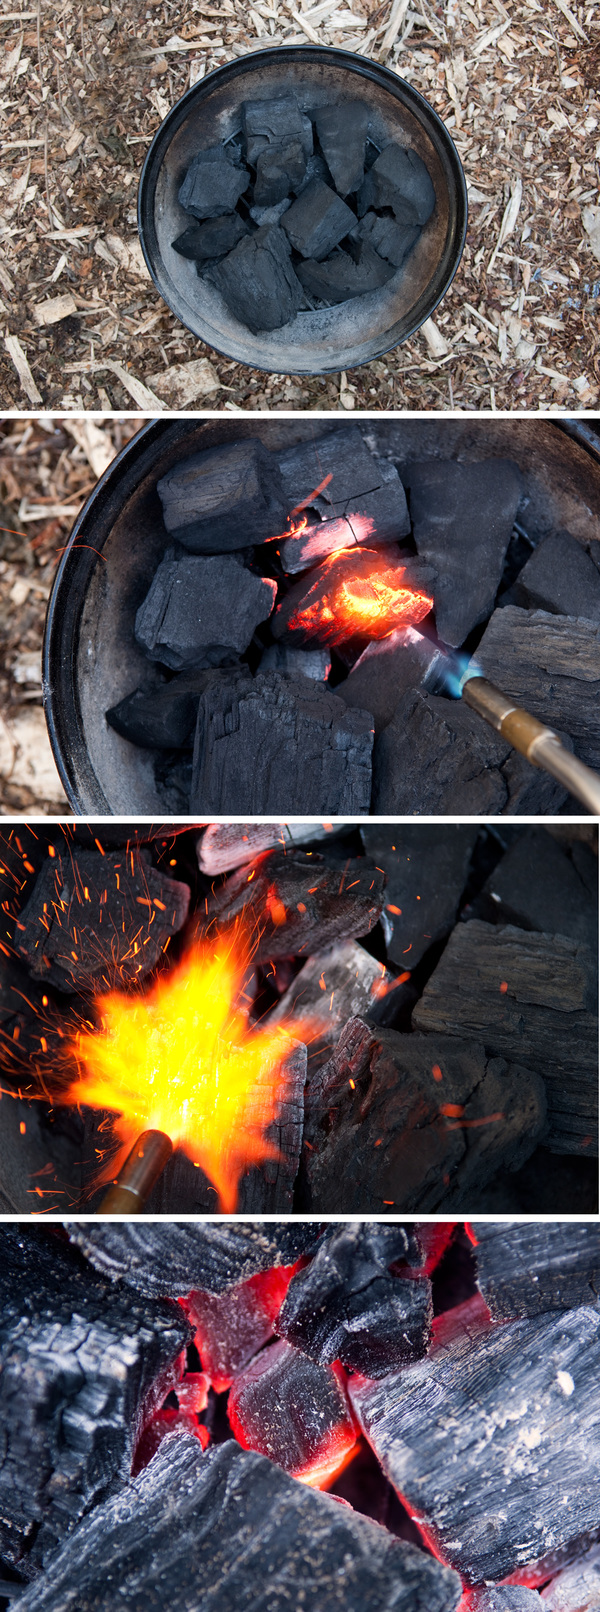
1. Before you leave, fill the grill with charcoal. Then, once you arrive, distribute the lumps or briquettes evenly so that they touch, but allow for airflow. Make sure the bottom vent is fully open.
2. Light your blowtorch, and touch the blue part of the flame to an area where several coals meet. Make small circular motions to evenly heat the surfaces for about one minute.
3. Then, move to another part of the grill and repeat for another minute. Then, one more time along a third, evenly spaced point. The point here is: a blowtorch is much, much hotter than a match or stick lighter, and will give you much better success at lighting the surface without additional tools or kindling.
4. Allow the lit coals to ignite the remaining ones, and get cooking.
How to Light a Barbecue Smoker with a Blowtorch
The chimney starter and coal lighting method are great for high heat grilling, where you allow the coals to get as hot as possible quickly, then let them to cool to the proper cooking temperature.
But there are applications where you don’t want the coals to reach high temperatures, such as smoking and slow roasting. Here, the goal is to let the fire burn for long periods of time at lower temperatures, rather than searing the food with a blast of heat.
Want to guess my favorite tool for creating a low and slow fire? You got it – the blowtorch.
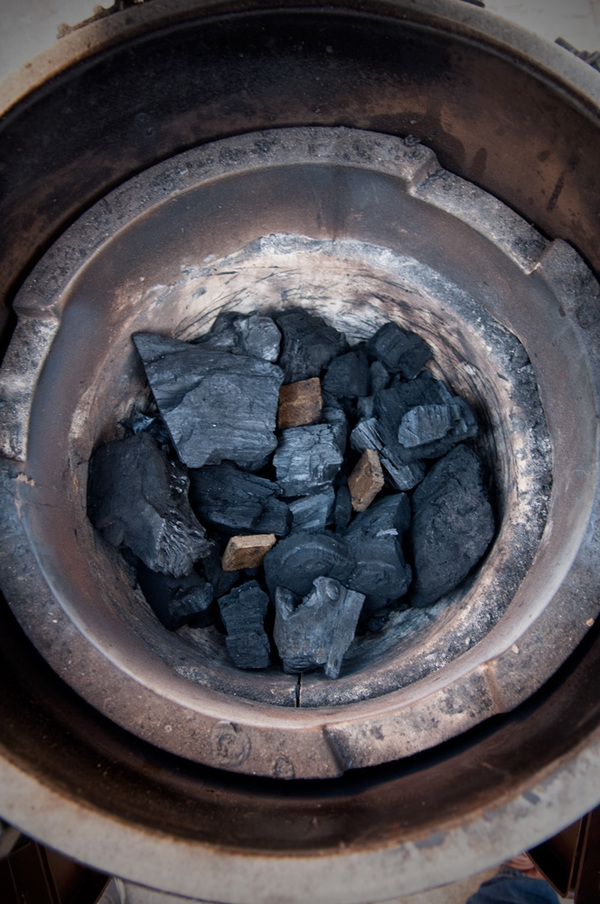
1. Fill your grill or smoker with charcoal. If you like, make a few divots and add two or three charcoal starters.
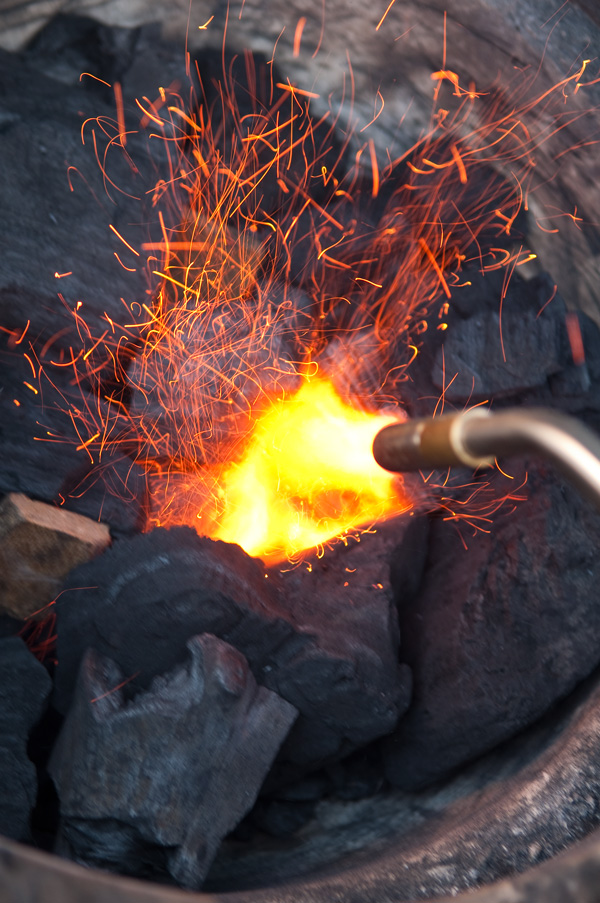
2. Ignite your blowtorch, and hold the flame to the open divots for about a minute. Repeat, repeat.
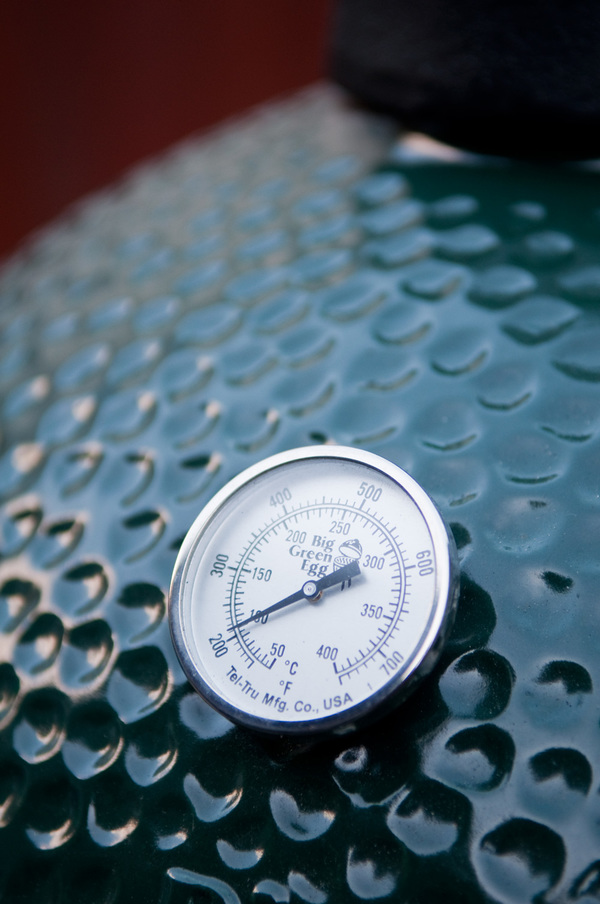
3. After about five to ten minutes with full access to oxygen, begin to close your lids and vents to slowly bring the temperature up to where you want it. The method will vary depending on your style of smoker, but just remember – for the most efficient cook, you want to let the temperature climb up to the target temp, and stabilize there, not get hotter then cool down. Finally, add your smoking wood, allow the heavy grey smoke to burn off and that lovely thin blue smoke to emerge, and get started smoking.
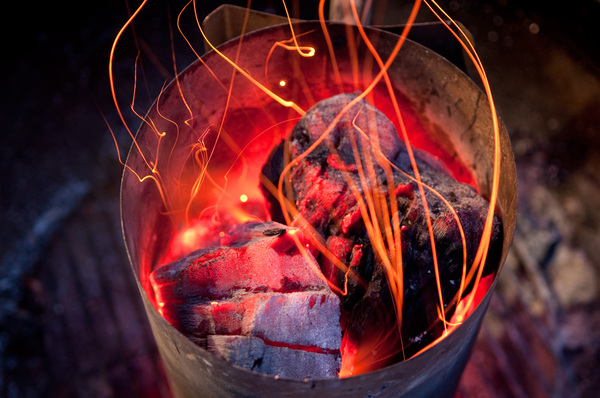
There you go. Three common grilling scenarios, all using the same hardwood lump charcoal, all easier and more controllable with the help of a blowtorch.
Now go out, and grill stuff.
For more DIY project ideas, make sure to check out Bernzomatic’s Torch Bearers page, or follow them on Facebook, Twitter, or Instagram.
This is a sponsored post. I am a Bernzomatic Torch Bearer, though all opinions expressed are my own. Thanks for supporting the brands that support ManMade.



Add comment