There are few materials in the DIY world quite as versatile as plywood. Nearly any home project can be done with plywood and a little bit of ingenuity. Part of what makes plywood so versatile is that it can be painted to provide a unique aesthetic.
But there is more to painting plywood than meets the eye. In order to properly paint plywood, there are a few important factors to consider. Choosing the right type of plywood, and the right paint to cover it can make all of the difference in the world on a project.
What Type of Plywood is Best for Painting?
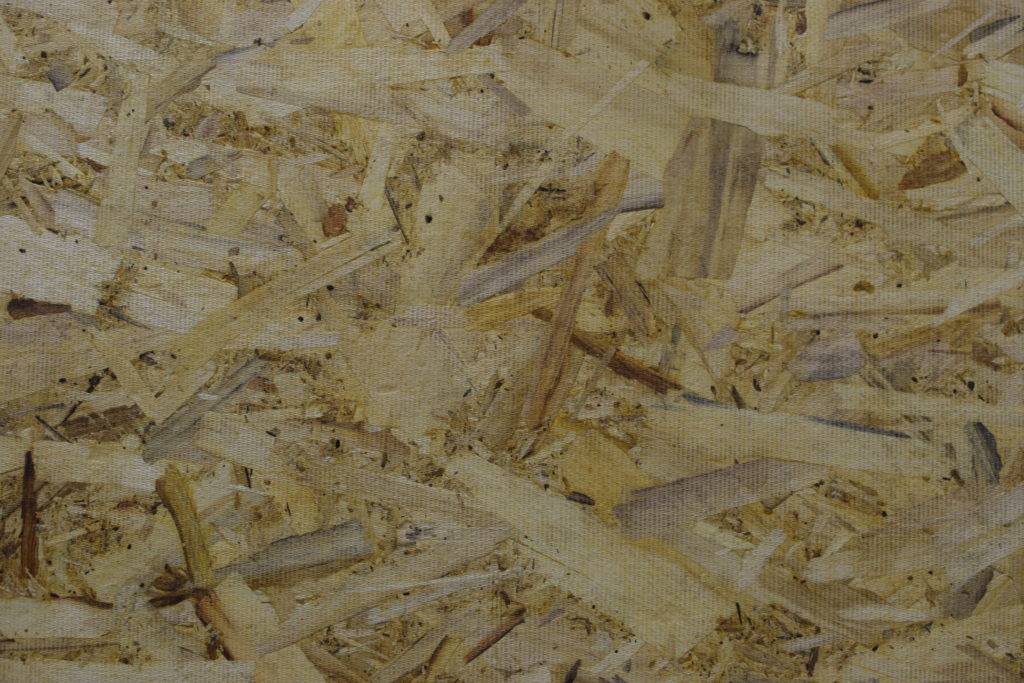
Before learning how to paint plywood, we must first determine what type of plywood to use. There are a wide array of options to choose from and there is some potential for versatility depending on the project at hand.
Premium veneers like maple and oak are certainly an option but will run up any budget. Besides, the point of most do-it-yourself projects is to save money. So, what is a more reasonable option? Pine is one of the most common choices, though it is not quite as durable as a hardwood option.
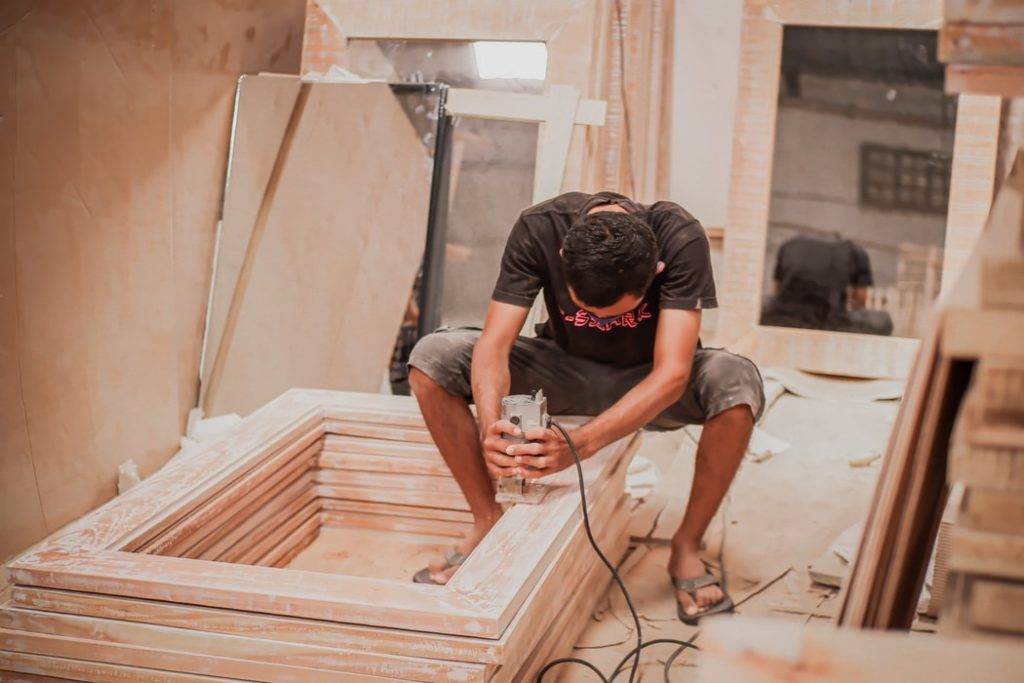
With budgetary restraints in mind, a hardwood veneer plywood would be the better option. They are stronger, easier to work with, and quite a bit more resistant to water damage than their softwood counterparts.

Photo Credit: Jess Tellier
What Type of Paint is Best for Painting Plywood?
Choosing the right type of plywood for the job is certainly an important step. So is choosing the right paint for the project. The type of paint required comes down to the desired finish of the project.
Latex paints are generally the best option. The finish dictates whether that latex paint will be a satin or semi-gloss. Semi-gloss is best for doors and cabinets as it is quite a bit more durable than satin even without a topcoat.
If the choice is a flat or satin paint, then a topcoat is necessary to provide the proper protection to hold up to bumps and dings. Chalk and acrylic are also possibilities, but it is important to properly seal them at the end of the process or they can wear far sooner. That just means more work for touch-ups and reapplication than would otherwise be required.

La Miko / Pexels
Materials Needed
Before getting started, having the proper tools for the job is of the utmost importance. The good news is that the materials are relatively cheap and can be picked up from a local hardware or home improvement store.
- Wood filler
- Joint compound
- Putty knife
- Paint
- Primer
- Paint roller or paint sprayer
- Orbital sander
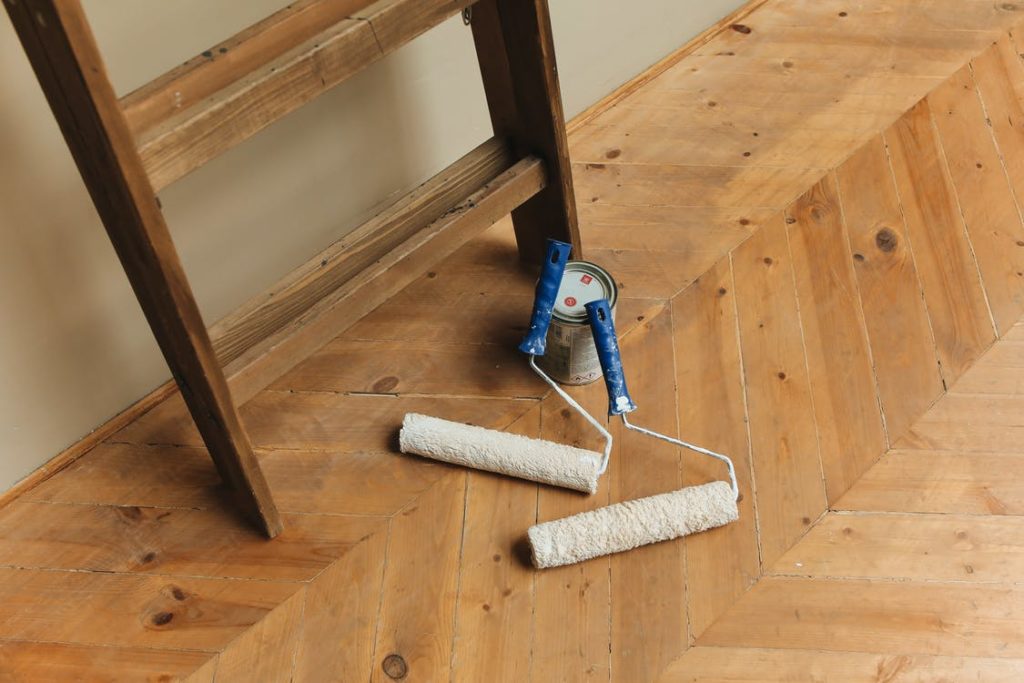
A wood filler and joint compound will be required, as well as a putty knife for spreading. There is also the matter of paint-related items. There is the paint, primer, and method of application. Most people use a roller, but if the choice is available to use a sprayer, they can save a ton of time and effort.
Finally, an orbital sander will be required as well. Sanding is essential to proper coverage and adherence of the paint. Do not skip the sanding step or there will be a noticeable difference in the finished product.
How to Paint Plywood
With all of the proper materials and know-how at hand, it is time to get down to brass tacks. Painting plywood is quite similar to painting any other type of lumber out there. Filling out the non-uniformities and holes is important for creating an even surface. That needs to happen before priming and painting can occur.
Step 1: Filling in Holes and Rounding Out Edges
Preparation is key regardless of the type of plywood involved. There will be imperfections throughout the surface almost no matter what. Those imperfections may seem small, but they play an important role in the process.
Start by filling in any pocket holes, deep dents, or nail holes using the wood filler. Let the wood filler dry overnight and do another once over. There are instances where the wood filler can shrink as it dries, requiring the need for a second coat.
This would also be the time to round out the plywood edges. Take a screwdriver and run it across the edges of the piece to smooth them out and take away some of the sharpness of the edges.
Step 2: Adding Joint Compound
Believe it or not joint compound can play a crucial role in effective plywood painting. Using a putty knife, spread the joint compound over the entire surface of the piece. Try to make it as uniform as possible to make the next step a little easier.
Make sure to cover any of the exposed edges using the joint compound. That will ensure that any edges are uniform and smooth. Be certain that all the crevices and holes have been covered thoroughly and allow the compound to dry overnight.

Step 3: Sanding
There is no quick or clean way to do this. Be prepared to get a little dirty while smoothing out the surfaces of the piece. Make sure to do any sanding in an open, well-ventilated space while wearing proper breathing protection and eyewear.
The reason for the joint compound is two-fold. For one, it fills in any gaps and creases in the joints. The second reason is that it is much quicker and easier to sand the compound than simply sanding wood filler.
When finished, there may be visible white patches across the plywood surface. That is normal and indicates that the joint compound is living up to its role by filling in the rough patches of the surface.
Step 4: Priming and Sanding Again
When the sanding has been properly completed, it is time to prep and prime the piece. Make sure to wipe away all of the dust from the sanding stage with a wet rag or tack cloth. Dust particles left on the surface can cause issues for the paint and keep it from properly adhering to the surface of the piece.
Generally speaking, two coats of primer will be necessary. Give each coat anywhere from three to six hours to dry (it should say on the primer label). Humidity and temperature can impact the drying times; if the primer is dry to the touch, that is the clearest sign that it is finished drying.
When the primer is done drying, sand lightly. Do so between each coat using a super-fine grit sandpaper and be sure to wipe away all of the dust. The primer works to seal both the joint compound and the plywood while also getting the piece ready for the paint.

(Polina Tankilevitch/Pexels)
Step 5: Time to Paint
Finally, it is time to paint. Like the primer, two coats are generally necessary to ensure complete coverage. Paint can either be sprayed on or applied manually depending on what tools were chosen at the beginning of this process.
Between each coat, sand lightly using the super-fine grit sandpaper, wiping away all of the dust leftovers. The rougher texture caused by sanding allows the paint to adhere more thoroughly than it would on a smoother surface.
Two coats of paint is a general rule of thumb but keep an eye on the piece. Depending on what color of paint is used, it is entirely possible that more than two coats will be required.
Step 6: Sealing
Whenever there is painting involved, there needs to be some sort of protection. That is especially true when using flat or satin paint. That protection comes in the form of sealing, typically a matte or gloss polyacrylic, though personal preferences dictate here.
When the sealant has been applied, allow time for drying and curing before putting the piece to use. The result should be a uniform, smooth surface. Thanks to the joint compound and wood filler, it should be difficult to tell where the edges and seams from the plywood are.
A Few Important Final Tips
Painting plywood is not a difficult process by any means. It does, however, require proper preparation, a little bit of work, and a lot of patience. Properly preparing and painting a plywood project will likely take a weekend to ensure that everything fully dries.
It is imperative to not rush through any of the steps. Painting the right way means a lot of sanding, a lot of waiting for things to dry, and a lot of looking long and hard for imperfections. But with some patience and care, even the most comprehensive of plywood projects can be painted with the professional look so many desire.


Add comment