So, you want to change the look and feel of your room, starting with a fresh coat of paint but standing in your way is a layer or more of wallpaper that was surely the joy of whoever chose it, perhaps many years ago. And that might even be you. But wallpaper trends come and go.
You may be standing back and asking yourself, should you paint over the wallpaper? Can it even be done?
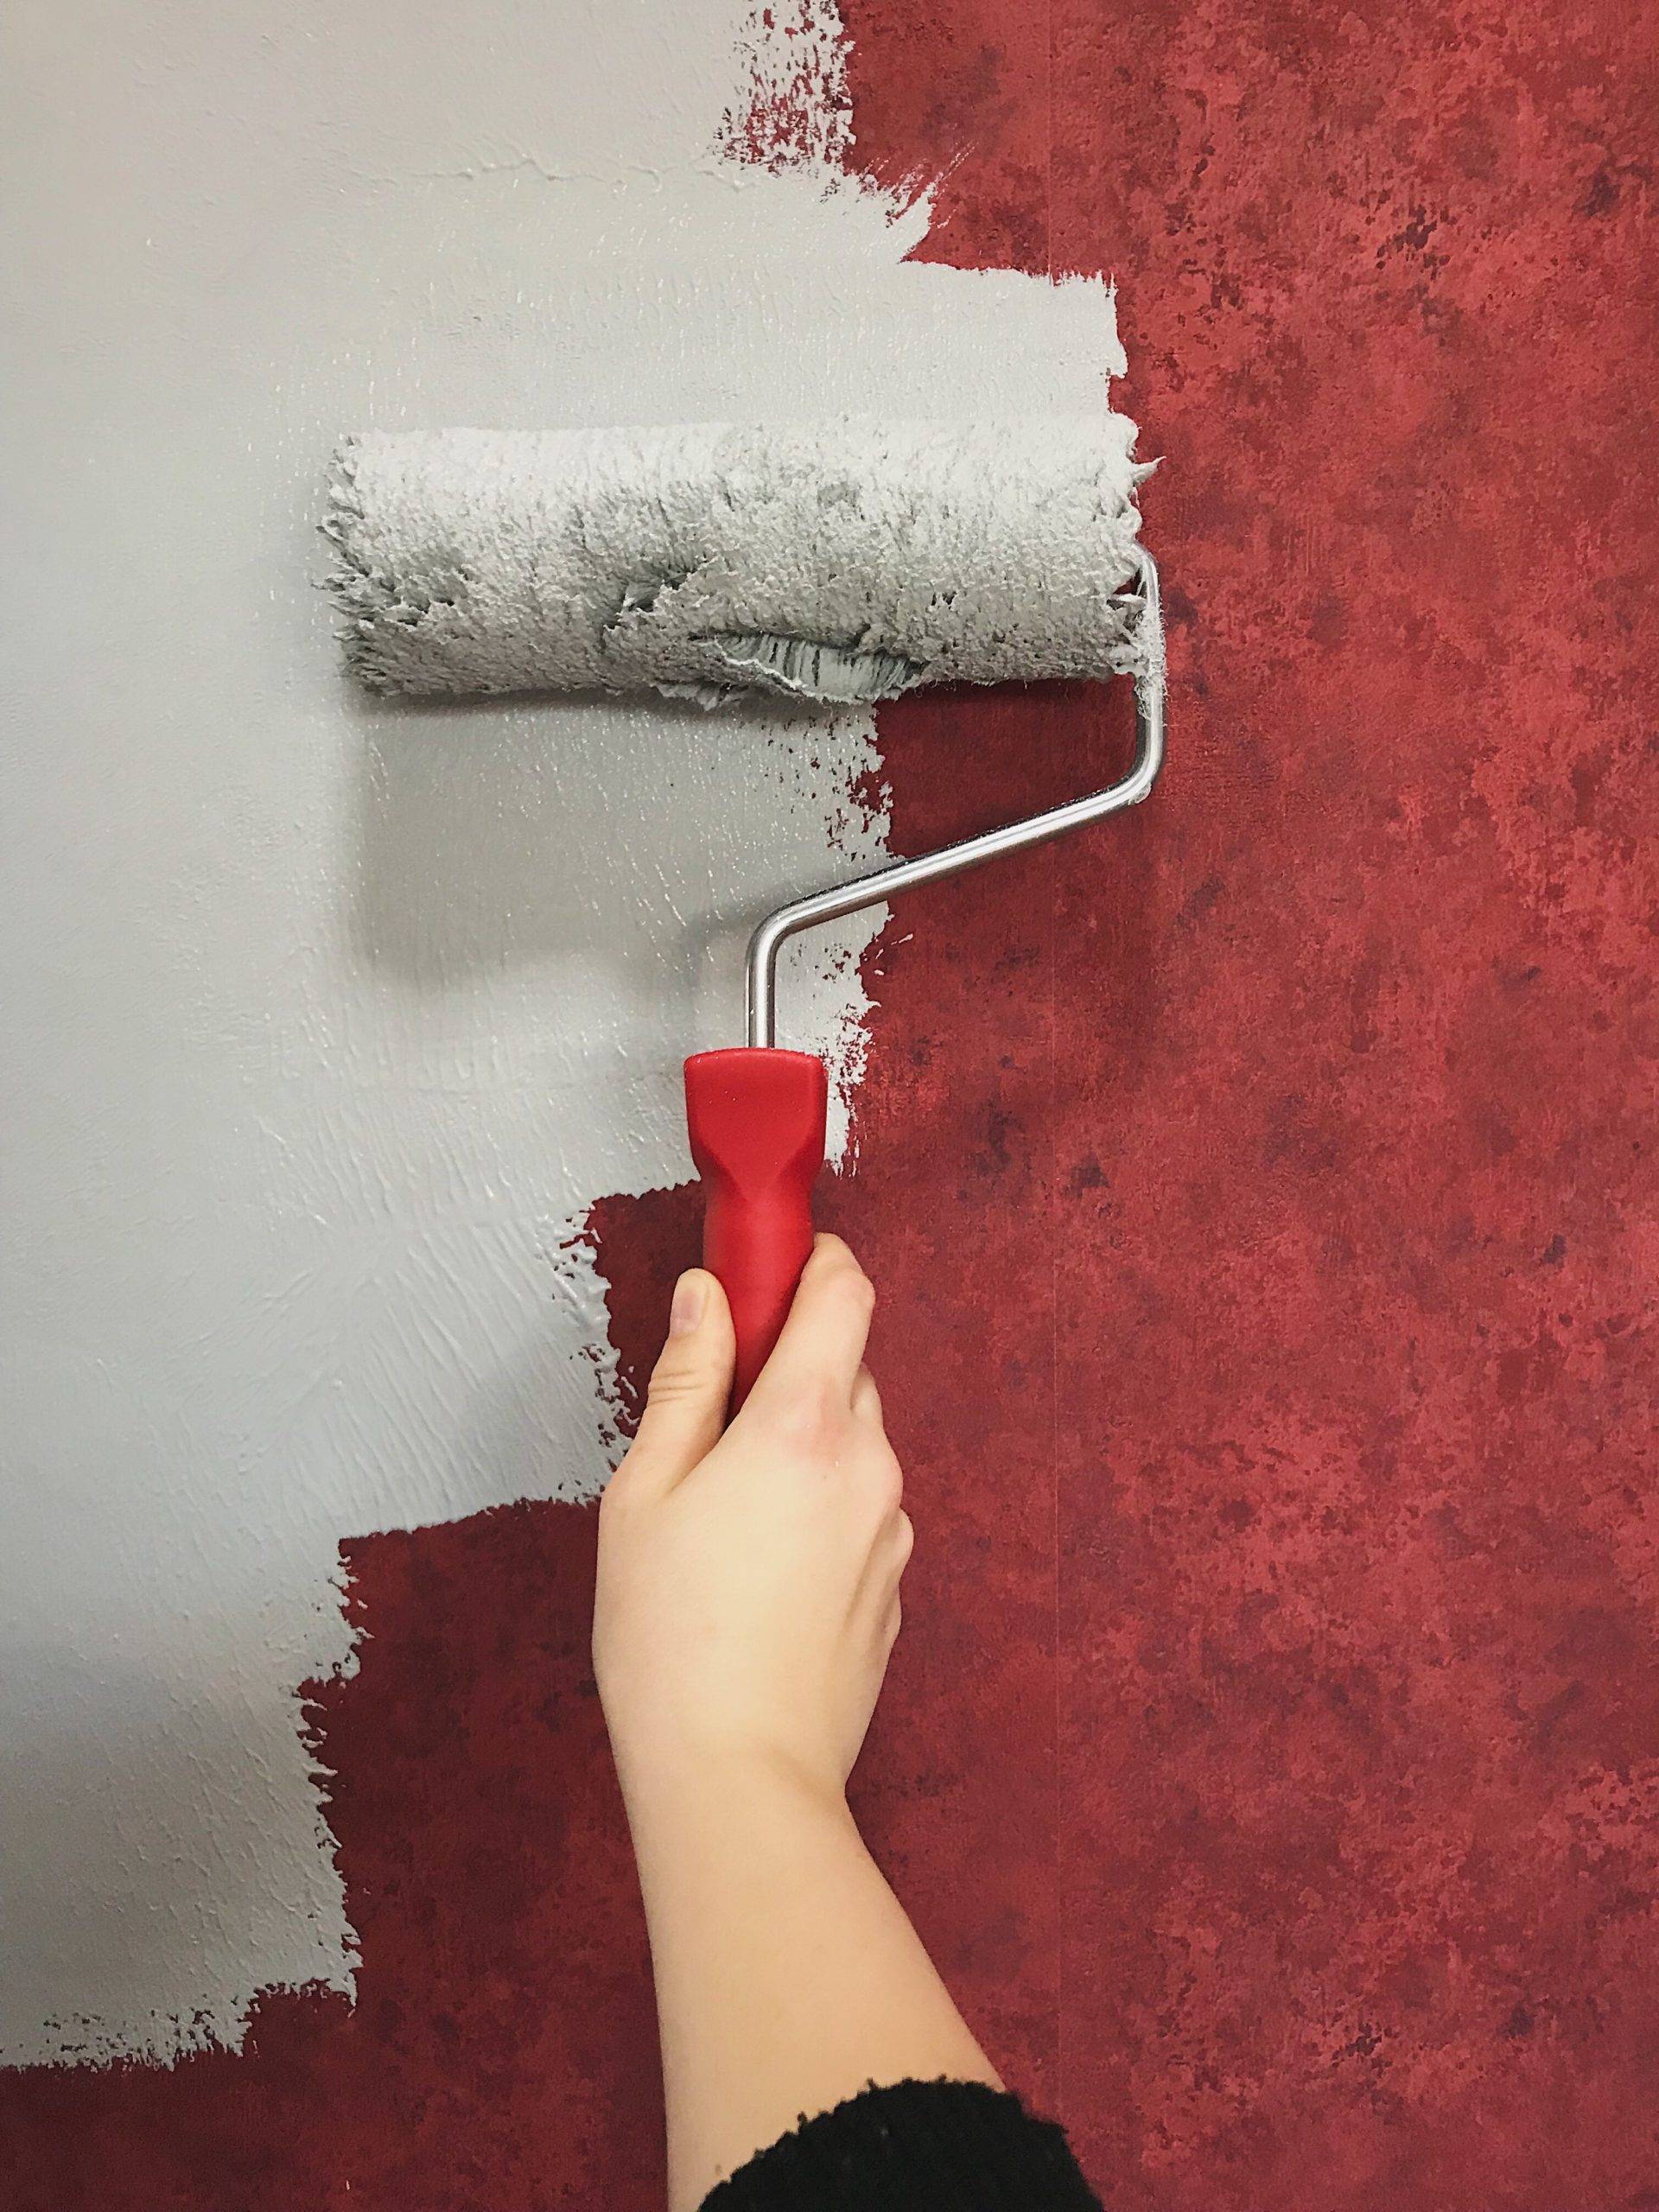
Photo Credit: syfe via Envato Elements
Wallpaper is a great way to cover imperfections and add color and pattern to a space, but what happens when that motif you loved is tired and dated? If you’re dreading the burdensome and sometimes pricey process of stripping wallpaper so you can start fresh, there is hope! You can paint over wallpaper.
Painting over wallpaper tends to be frowned upon in the design industry, with most experts urging against it. But with the right tools and methods, you can give your room a stylish new look without spending hours loosening all those layers of old paper and cleaning off hardened adhesive.
Determine the Type of Wallpaper
Before you grab a brush, you’ll need to evaluate the material of the existing wallpaper. First, you should look at what type of wall covering you are working with. Different types of coverings will require different techniques. Paper or vinyl-coated wallpapers can be painted, but preparation and priming is very crucial. If you do not adequately prepare and prime, the seams and edges of the wallpaper could begin to lift.
Unfortunately, there are some types of coverings that definitely must be removed rather than primed and painted, as we mentioned earlier.
Assess for Damage
Make sure your wall coverings are in acceptable condition to ensure that the finished project will be a success. When painting over wallpaper, it is important to first make sure that the wall covering is clean and shows no signs of lifting at the edges or seams. If you have rips or peeling seams, it’s best to strip the paper before beginning; otherwise, your paint job will peel off or emphasize the flaws in the covering beneath.
Prime
It’s necessary to get your wallpaper ready for those colorful coats of paint by priming. But not just any primer will do. Prime with an alkyd-based primer, such as Benjamin Moore Fresh Start All Purpose Alkyd Primer, rather than a latex primer. Latex primers can soak through the wall covering and cause it to come off. Once the wall covering is prepped and primed, it can be top-coated with any product.
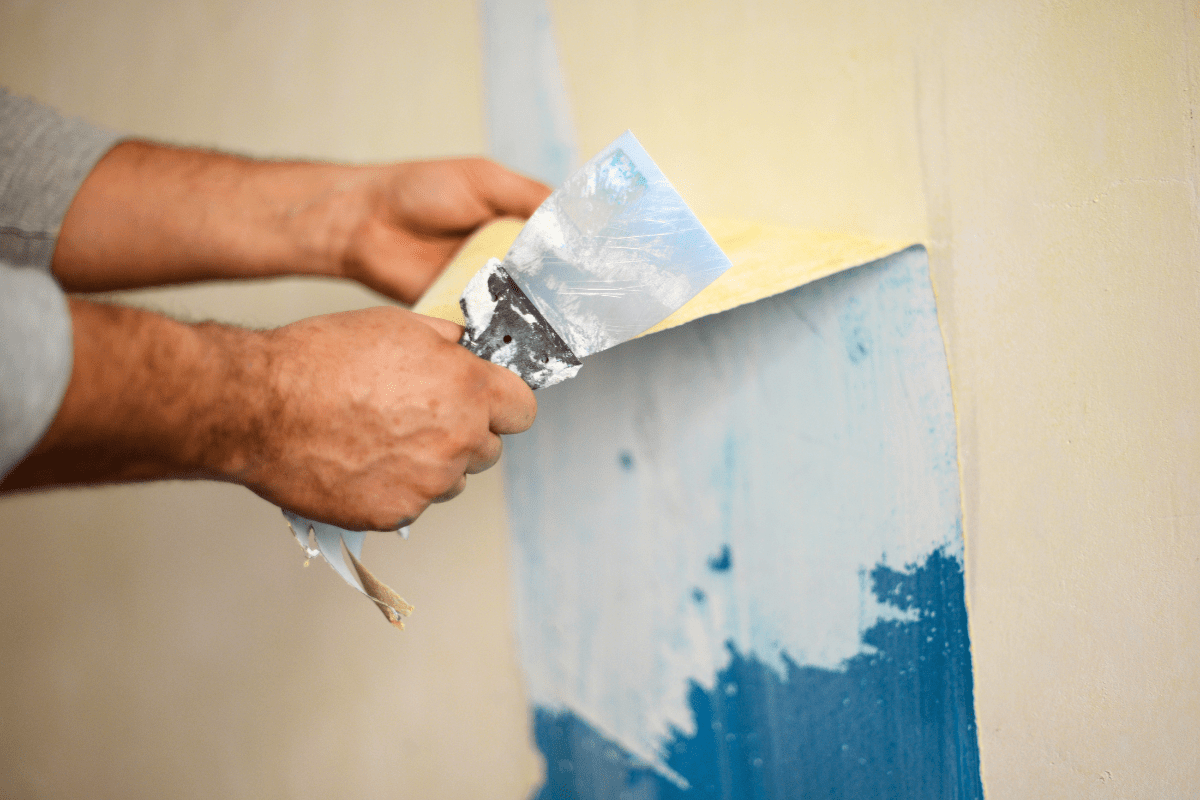
Photo Credit: elanaleonova via Canva
Things to consider before you paint over your wallpaper
- Is the wallpaper in good condition? Wallpaper that is already loose and ripped or suffers from dampness/mold should be removed. Painting over the wallpaper will not hide these issues and may cause more major issues down the line. By painting over it, you’re potentially creating a much larger issue in the future.
- Will you re-decorate soon? Wallpaper that has been painted over is much more challenging to remove and risks the issue of pulling off/damaging some of the underlying walls. This is something to be wary of in dated buildings that have exposed brickwork underneath.
Steps to Painting Over Wallpaper
You will need:
- Protective eyewear
- Dust sheets
- Cloth
- Mild detergent or TSP for greasy walls
- Wallpaper adhesive, if required
- Painter’s tape
- Small angled brushes
- Paint brushes or roller
- Oil-based primer
- Water or oil-based paint
Step 1: Clean the Wall
The first step in painting over wallpaper is to make sure the walls are completely clean. It is necessary to ensure that there are no particles of dust or other dirty things. The priming process is hampered if the wall is not properly cleaned.
To clean walls properly, use a cloth to remove any dust or grime. It should be barely damp as you don’t want to wet the walls.
If the walls are greasy, you could use a mild detergent solution, but you may need to use a TSP solution instead.
Important Information about TSP:
TSP is very powerful and strong, so it must be diluted. Mix it with water in a bucket, aiming for a ratio of one half-cup for every two gallons of water. Closely heed the manufacturer’s usage directions, including the labeled safety warnings. Adequately ventilate the room where you’ll be painting over wallpaper, and don’t forget to wear protective gear.
TSP can be applied with a sponge or even an extra paintbrush. Once the TSP has dried, use a damp but not dripping wet rag to remove the chemical from the wall. Tread carefully. Too little water and you may not get the chemical off, thereby compromising the paint’s ability to adhere. Too much water, and you run the risk of damaging the wall.
Allow walls to dry thoroughly.
Step 2: Wallpaper Repairs
If any of the wallpaper is peeling or its seams are loose, now is the time to deal with these issues otherwise, primer and paint could make the problems worse. Use wallpaper adhesive to secure them.
If the seams are pretty noticeable, you can use drywall spackling to go over the seams and smooth them out. Allow it to dry completely before lightly sanding it to make it even with the wall. This way, you won’t even know the seams were there.
Glue down any corners that may be peeling and patch any holes in the wallpaper before you start painting It is best to cut any peeling or ripples off if possible, followed by sanding down and filling in the wall.
If your wallpaper has a texture that is going to show through the paint and look bad, go over your wallpaper with a texturizer like Homax Roll On Wall Texture in White using a pattern like knockdown or orange peel. Allow it to dry fully, and then use primer and two coats of paint for a beautiful finish.
Step 3: Baseboards and Trim
Use painter’s tape to mask off the baseboards, window and door trims, and molding to avoid getting any primer or paint on these surfaces.
Step 4: Prime
Apply primer to the walls. It’s important to use an oil-based primer for this, as a water-based one will not work. A water-based primer would just be sucked up by the wallpaper, whereas the oil-based one provides that outside layer you need to be able to paint on top of.
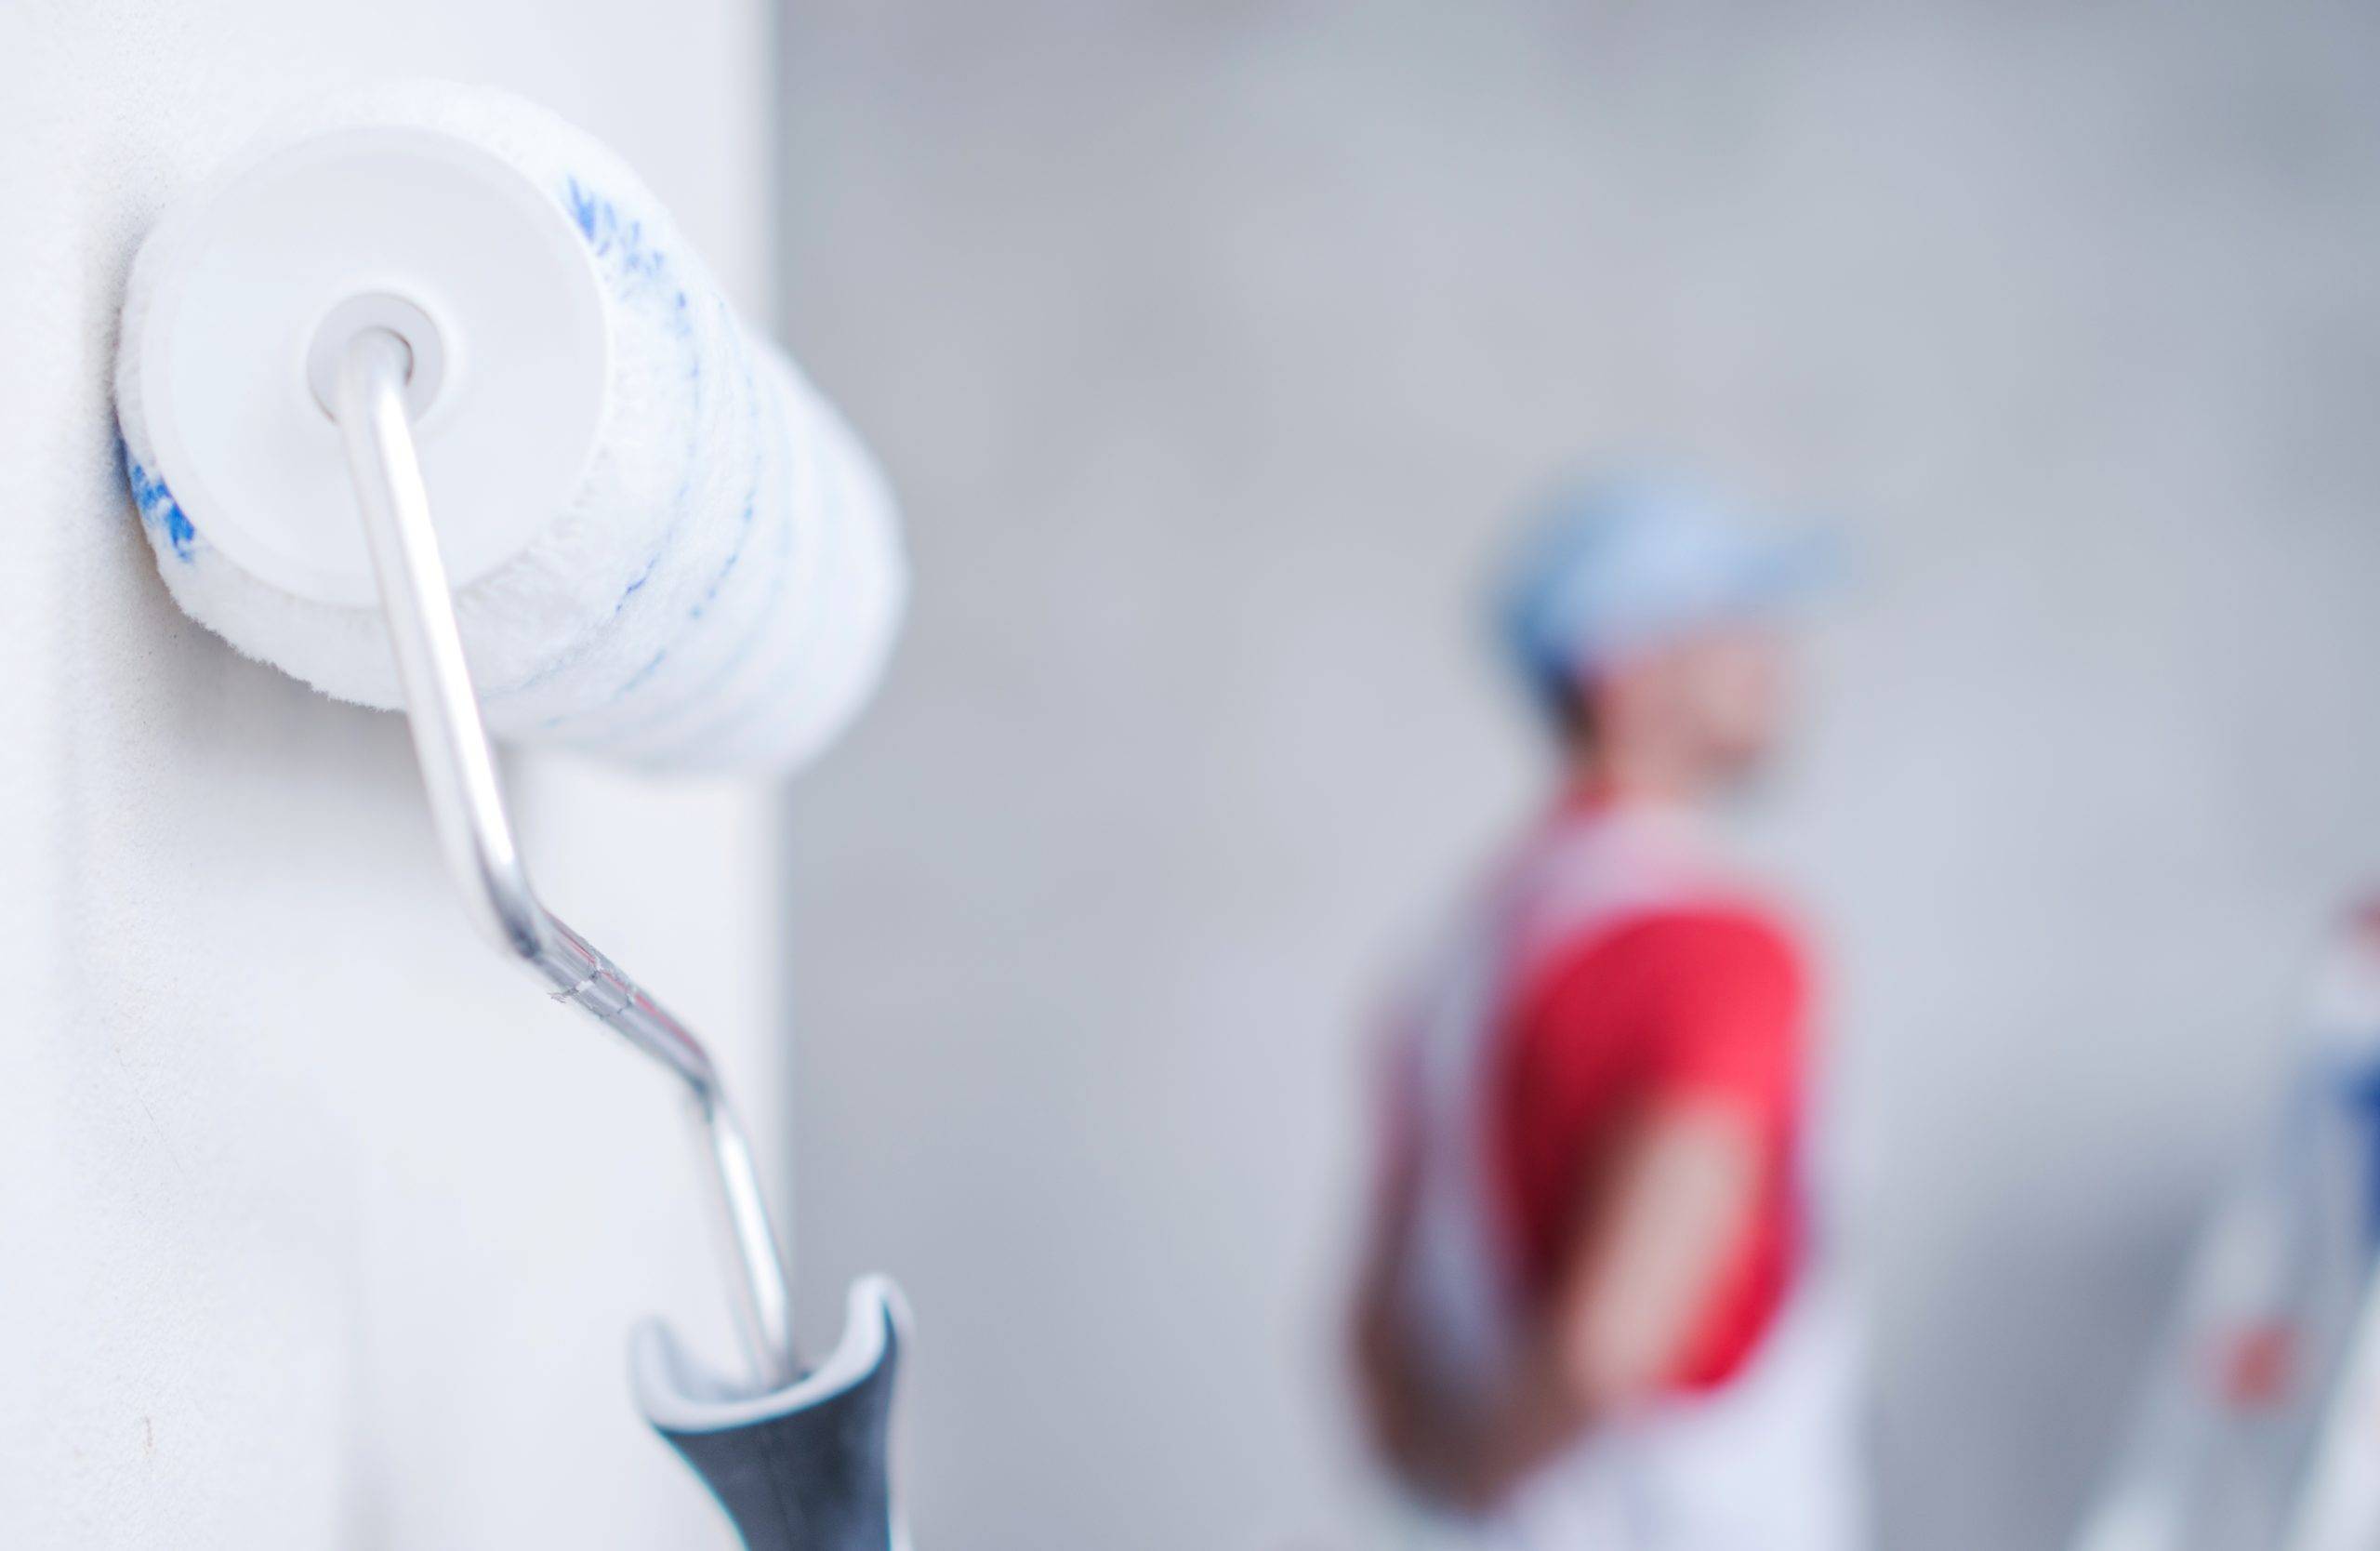
Start by cutting in the corners and edges using a small angled paintbrush. After that, it’s easiest to use a roller, but you can apply the primer with a paintbrush if you prefer. Make sure the room is well-ventilated as you work.
Leave to dry thoroughly according to the manufacturer’s instructions.
Step 5: Topcoat
When the primer is dry, apply the topcoat. As with the primer, use a small angled brush to cut in around doors and windows and along the baseboards. Then use a paint roller to apply the paint to the wall.
Start in a corner and paint in horizontal bands from the top of the wall to the bottom.
Allow the paint to dry fully. Check the container for approximate drying time but remember that weather conditions can affect how long it takes.
Step 6: Second Coat
For the most suitable results, and particularly if the wallpaper is dark in color or has a bold pattern, you’ll need to apply a second coat of paint. Allow it to dry entirely.
Remember to remove the painter’s tape before the paint is cured. Check the manufacturer’s suggestions, but typically it should be removed when the paint is dry to the touch, about an hour after painting. Pull it off slowly and at a 45-degree angle.
Photo Credit: Geriova via Canva
Tips for Painting Over Textured Wallpaper
Textured Wallpaper Is Harder to Work With
There are a few things you should know before you begin painting. The first thing to note is that textured wallpaper needs more prep work than smooth wallpaper since the texture can show through the paint layers.
Thankfully, it isn’t impossible to do. Below are some tips on how to prepare the surface properly so that your walls look more like painted drywall instead of painted wallpaper.
Priming the Wallpaper
To do the job right, start with careful priming.
Step 1: Prime Before Patching
It’s actually better to prime before patching. The white primer makes it easier to see defects and seams that need to be patched. If you patch the walls after priming, the patches should be primed separately before paint.
- Use a 1/2″ nap roller to apply the primer and a natural bristle paint brush to fill in the corners and spaces around the outlets.
- Apply one coat of primer and let it fully dry. It typically takes around three or four hours for the primer to dry enough for paint application.
Step 2: Choose the Best Primer
Wallpaper should really be primed with an oil-based primer instead of latex. The water in latex primers penetrates the paper in a bad way, causing air bubbles and curling seams as it dries. Latex primers also don’t seal the surface, and oil-based primers can allow stains to bleed into the top coats of paint.
Oil-based primers have a terrible odor, but they are the most suitable option for sealing old wallpaper and forming a more powerful bond with the paint. A great oil primer sealer is Zinsser Cover Stain. Another good option is Sherwin Williams ProBlock, which also has an oil base.
Preparing the Surface for Paint
Attentive patching ensures the seams in the wallpaper, and other imperfections won’t be visible once the wall is painted. The only way to hide the seams is to patch them over them with drywall joint compound.
Paint Over the Wallpaper
Once you finish priming and patching, you are now prepared to paint. Any acrylic paint is fine for painting over primed wallpaper. You will want to make sure that you use durable paint. It’s best to use a matte in an eggshell finish, but flat paint does a good job of hiding imperfections on the wallpaper underneath, too. Benjamin Moore Regal Select covers really well and dries fast.
Roll the walls with a lint-free roller, so you don’t end up with debris in the paint. Cut in the ceiling lines and apply two coats of paint to complete the job. With careful preparation, your paint job will look great and last you a long time!
Photo Credit: Lightfield Studios via Envato Elements
Final Thoughts
Removing wallpaper and starting with a clean surface is always preferable. However, if done correctly, it is feasible to get quality results painting over your wallpaper. Before deciding to paint over your existing wallpaper, take some time to evaluate:
- condition of the walls
- condition of the wallpaper
- if you have the time to remove the wallpaper
- if you have the right tools and supplies to paint over the wallpaper
This will help you decide if painting your wallpaper is a good idea. If you decide you want to save the time of removing the paper and have the patience to adequately prepare your wallpaper for painting, carefully follow the steps above to ensure the best results.
Here are some final takeaways for you to ponder:
- Painting over wallpaper is a good option if your wallpaper is difficult to remove or you want to update your room quickly.
- Proper preparation is essential for a good result.
- Use an oil-based or shellac-based primer to seal the paper properly.
- Painting textured wallpaper isn’t different from painting any other wallpaper.
- Use a matte finish if your wall is not perfectly smooth. A gloss finish is more likely to show this up.
Frequently Asked Questions (FAQs)
What kind of paint do you use over wallpaper?
When painting over wallpaper, you’ll need either a latex or oil-based paint. It is recommended that you apply an oil-based primer before you begin painting.


