All you have to do is look up to see the benefits of clean, tight-fitting soffit and facia. Before we start, let’s explain the difference between the two since they’re among the most commonly mislabeled items in a home.
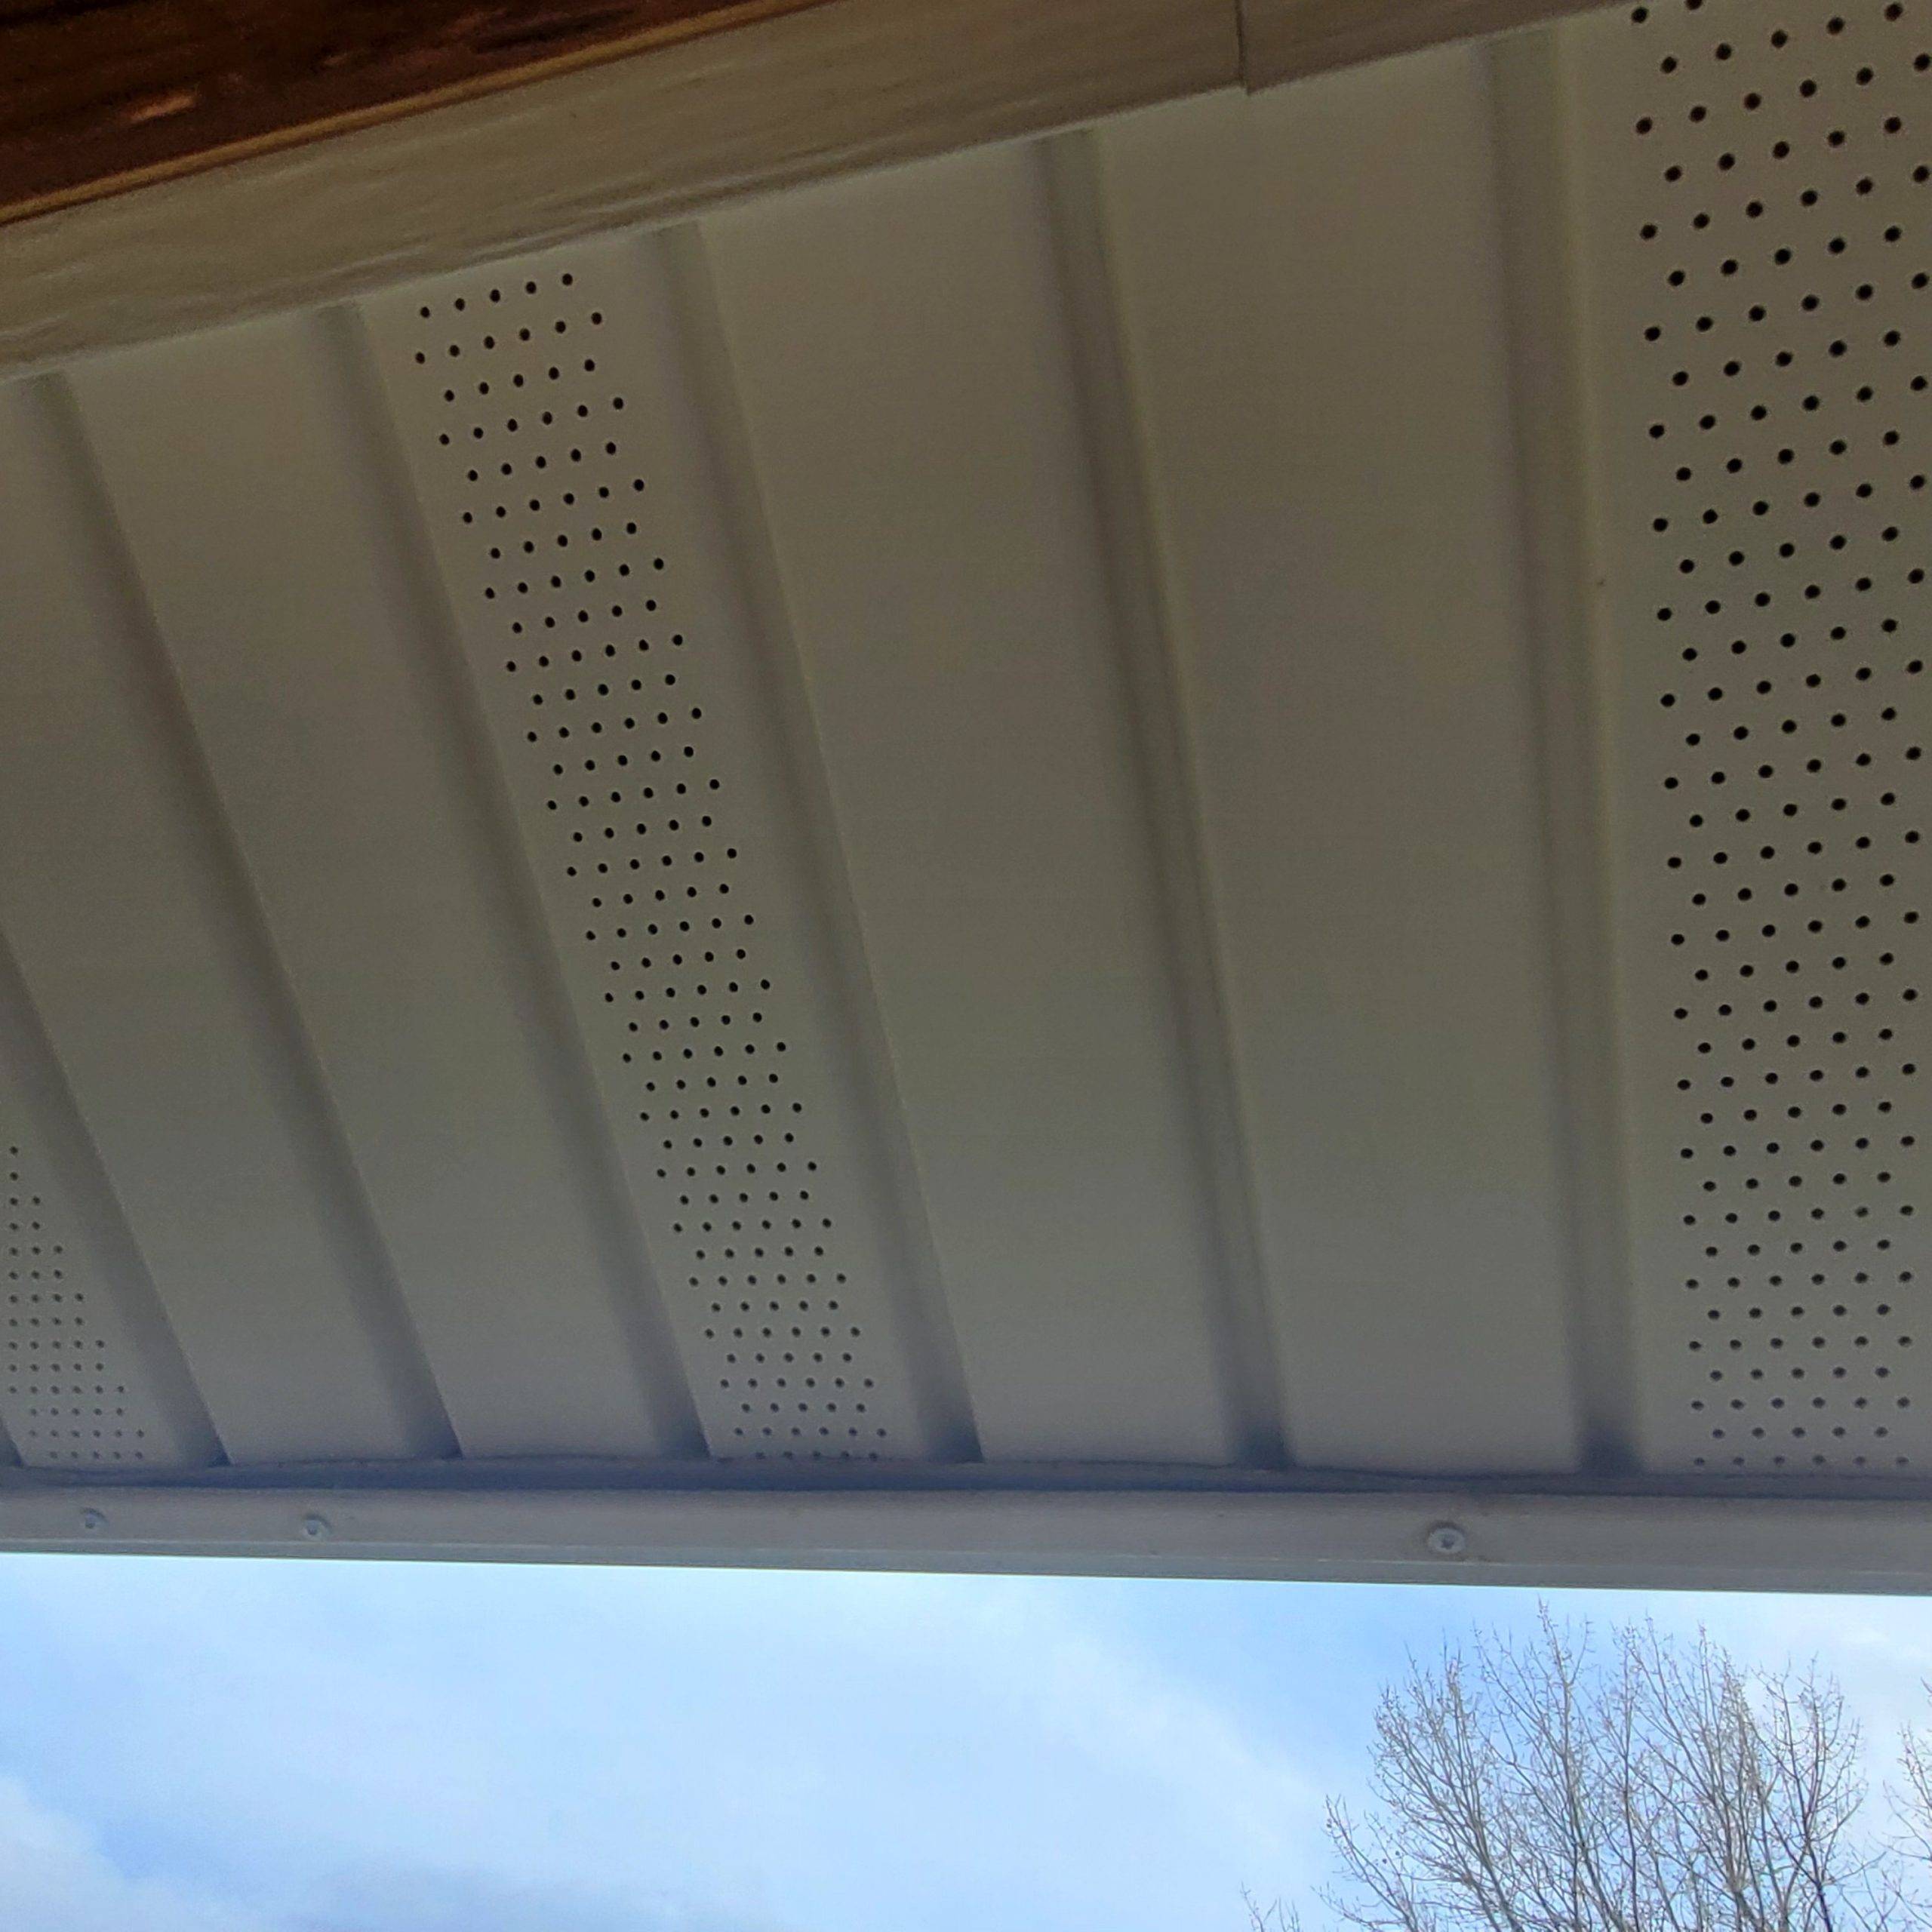
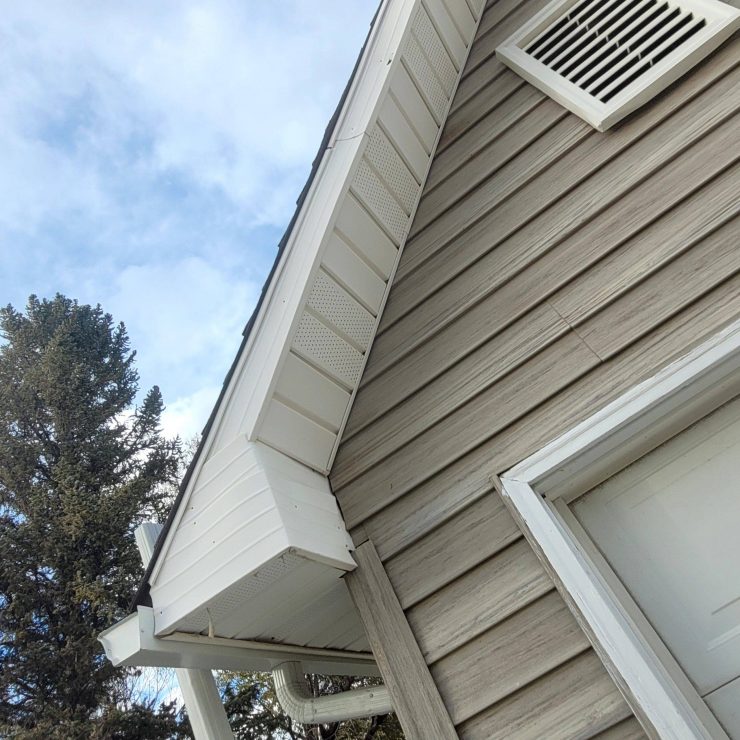
Vinyl soffit, both solid and perforated allows air to flow – Randy Tucker
Soffit Versus Facia
The soffit is often referred to as the overhang, a misleading term since the soffit is the finished exterior that hangs under the overhang. Its purpose is to hide the rafters or trusses that extend out from an exterior wall. Soffit is sometimes referred to as the eaves of a home.
With facia, think of the “face” on the overhang, or the area where you would attach gutters for drainage.
Both work together to create a finished look for your home, and when properly installed can greatly enhance the value of your property.
When To Replace
When they get old, they often droop in the case of the soffit, falling down in spots, and with facia, extended draining of rainwater and snowmelt into improperly installed gutters can lead to mildew, mold, and rotted material.
The good news is that replacing both of these is a straightforward process. It’s not necessarily an easy process depending on how high your roofline might be and what obstacles you might face in the way of trees, shrubs, and manmade objects beneath the soffit.
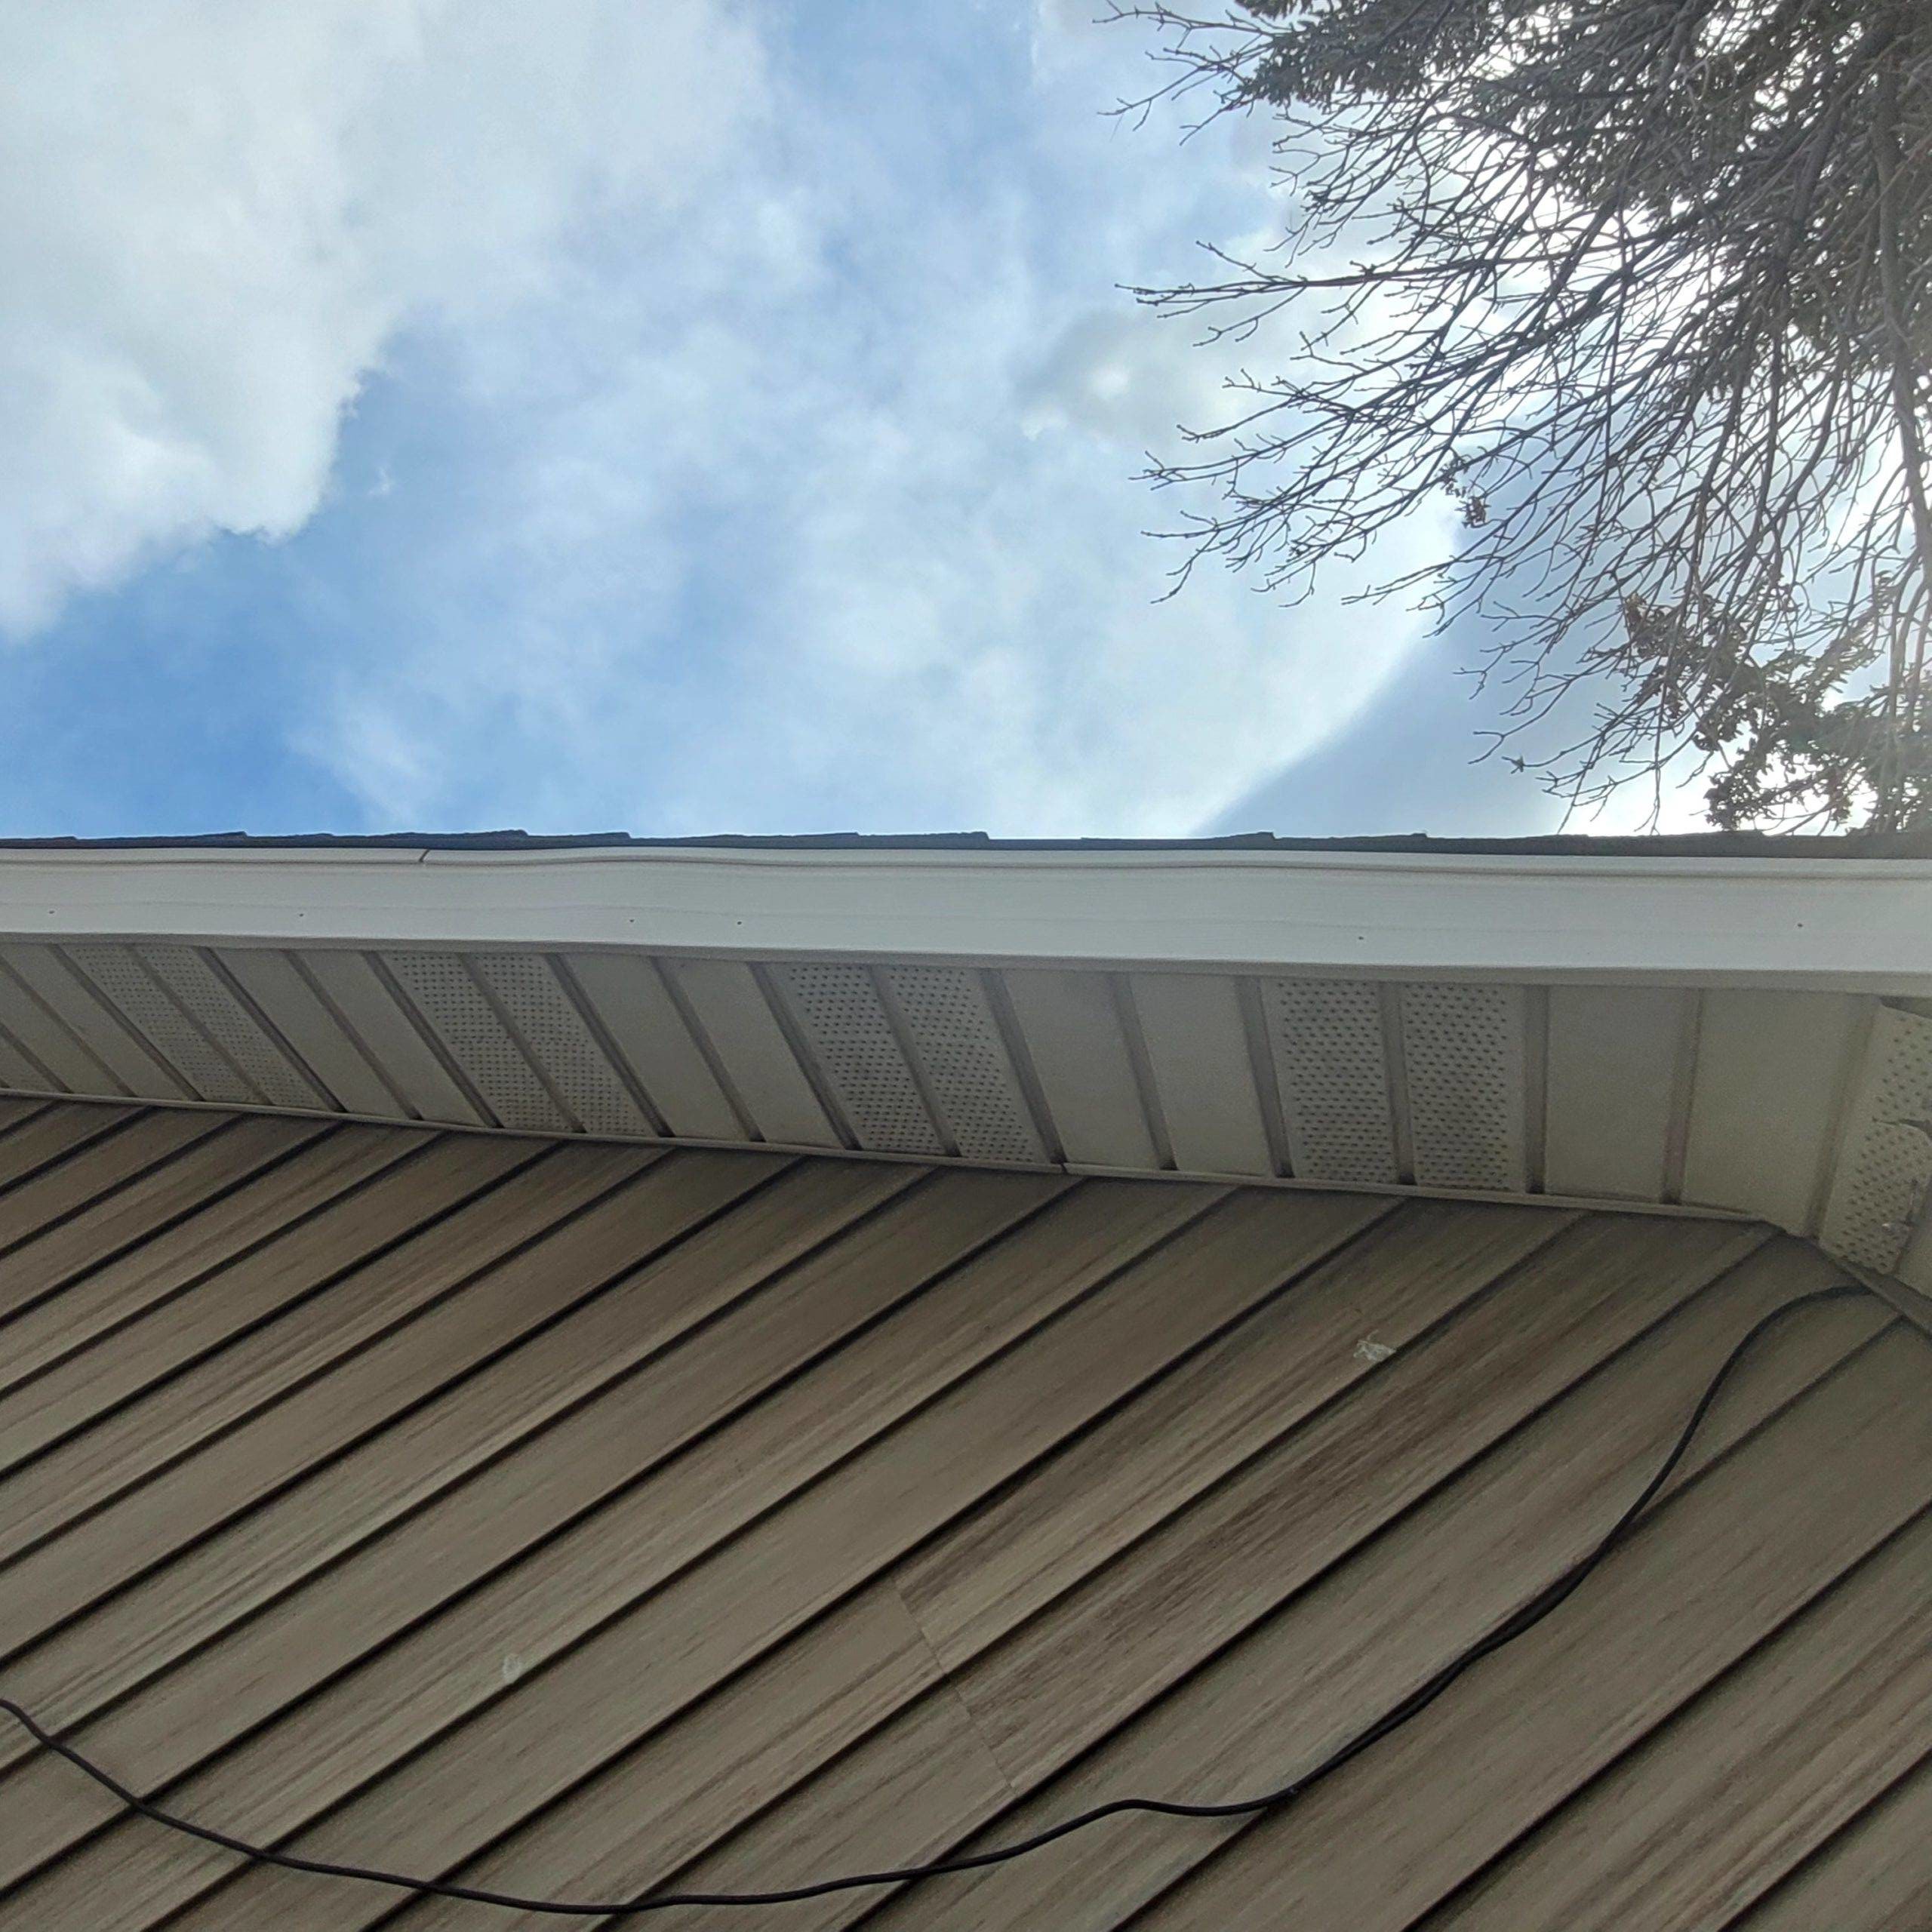
A solid soffit protects a home from birds and nesting animals. – Randy Tucker
Step 1: Choose Your Material and Measure
The first step is to choose the material you want to use. Metal and vinyl soffit is readily available in a wide variety of colors and textures. The accompanying facia can be made in the same style, or you can select a different color for a contrasting look.
Once you’ve established the material, take measures of the existing soffit, and facia, then calculate how much replacement material you’ll need. When you’re finished with your calculations, multiply the total of each by 1.25. You’ll be glad you did since this process can involve a lot of waste material.
Step 2: Begin The Removal
Remove the existing soffit and facia, along with any gutters and downspouts attached to the facia. Set the gutters and downspouts aside, if you’re careful you’ll be able to hang those back up over the new facia.
Remove all of the facia and soffit, pull any nails or screws in the supporting structure beneath and make a close inspection for signs of water damage, mildew, mold, and nests. Soffits are notorious for bird nests, squirrel nests, and an occasional raccoon or possum. Now is the time to clear all of those annoyances out before replacing everything.
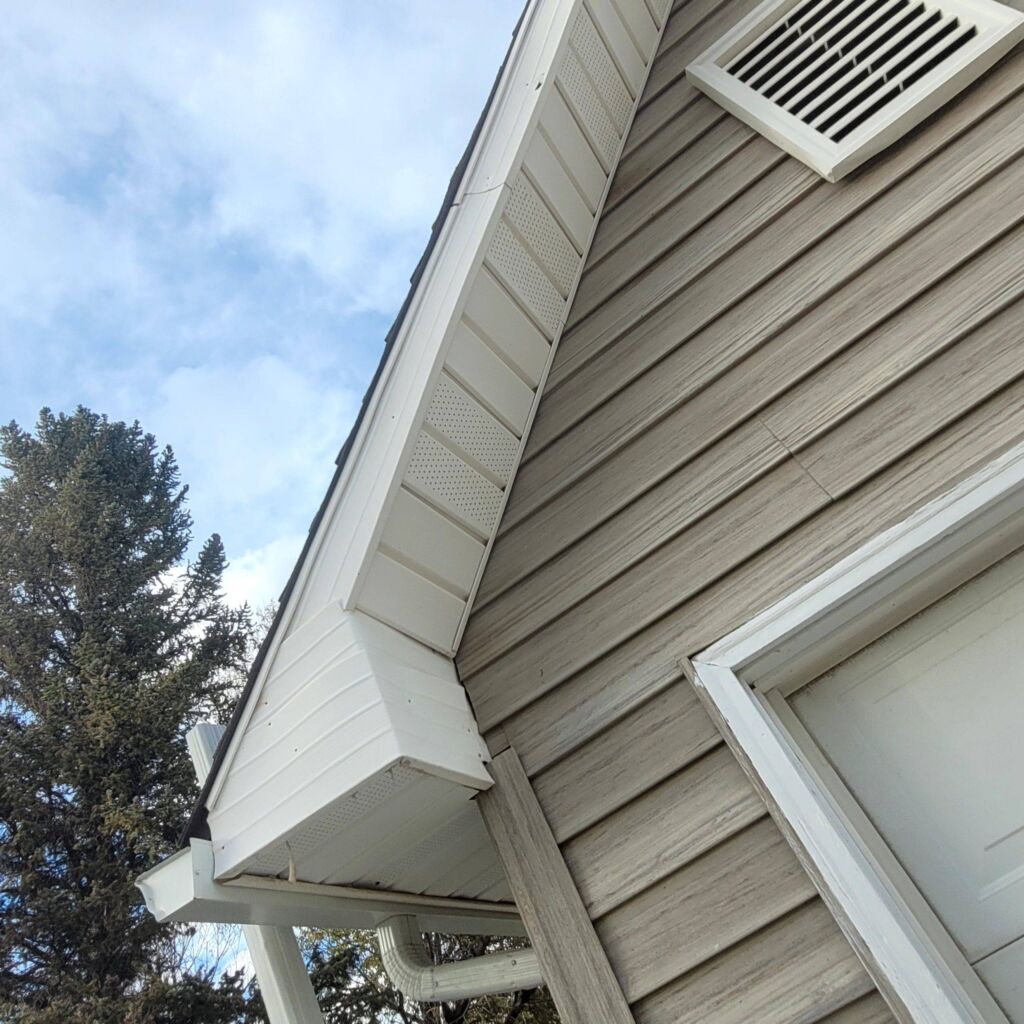
Two sectinos of soffit and facia joined by a boxed connection – Randy Tucker
Step 3: Choose Which To Start With
Depending on your material you’ll want to start with the soffit, or with the facia. When using vinyl or metal soffit, the material hangs off J-channel against the home, and from the facia on the exterior. That means the facia needs to go up first.
Set a string at the bottom edge of where you want the new facia to reside as a guide. Hang the new facia in place, sliding it under the metal roof edge beneath your shingles. Odds are you’ll have to rip the material to fit lengthwise, but that’s an easy process with a cordless drill and a metal cutting attachment. Snap a chalk line on the facia and follow carefully.
Once the material is properly cut, hang it in place, attach it with colored nails or screws into the ends of the rafters and follow the line.

Vinyl siding/soffit cutter – Amazon.com
Step 4: Trim The Soffit and Edges
When the facia is attached, you can now cut the soffit material to length. The average soffit measures between 16 and 24 inches, but you can have smaller or larger lengths. Cut the soffit sections about ¼ inch shorter than the raw dimensions of the soffit. That way they can be worked into the ½ inch edge of the J-channel and facia to create a solid fit, but one that can expand and contract with the seasons. Click the edges of the soffit together and nail or screw every fifth piece into the area hidden by the J-channel and the facia.
If you’re working with finished plywood or particle board. Cut the soffit and fit it into place first. You’ll want to center each piece on a horizontal support adjacent to each rafter end. Attach all the soffit, then it’s time to add the facia.
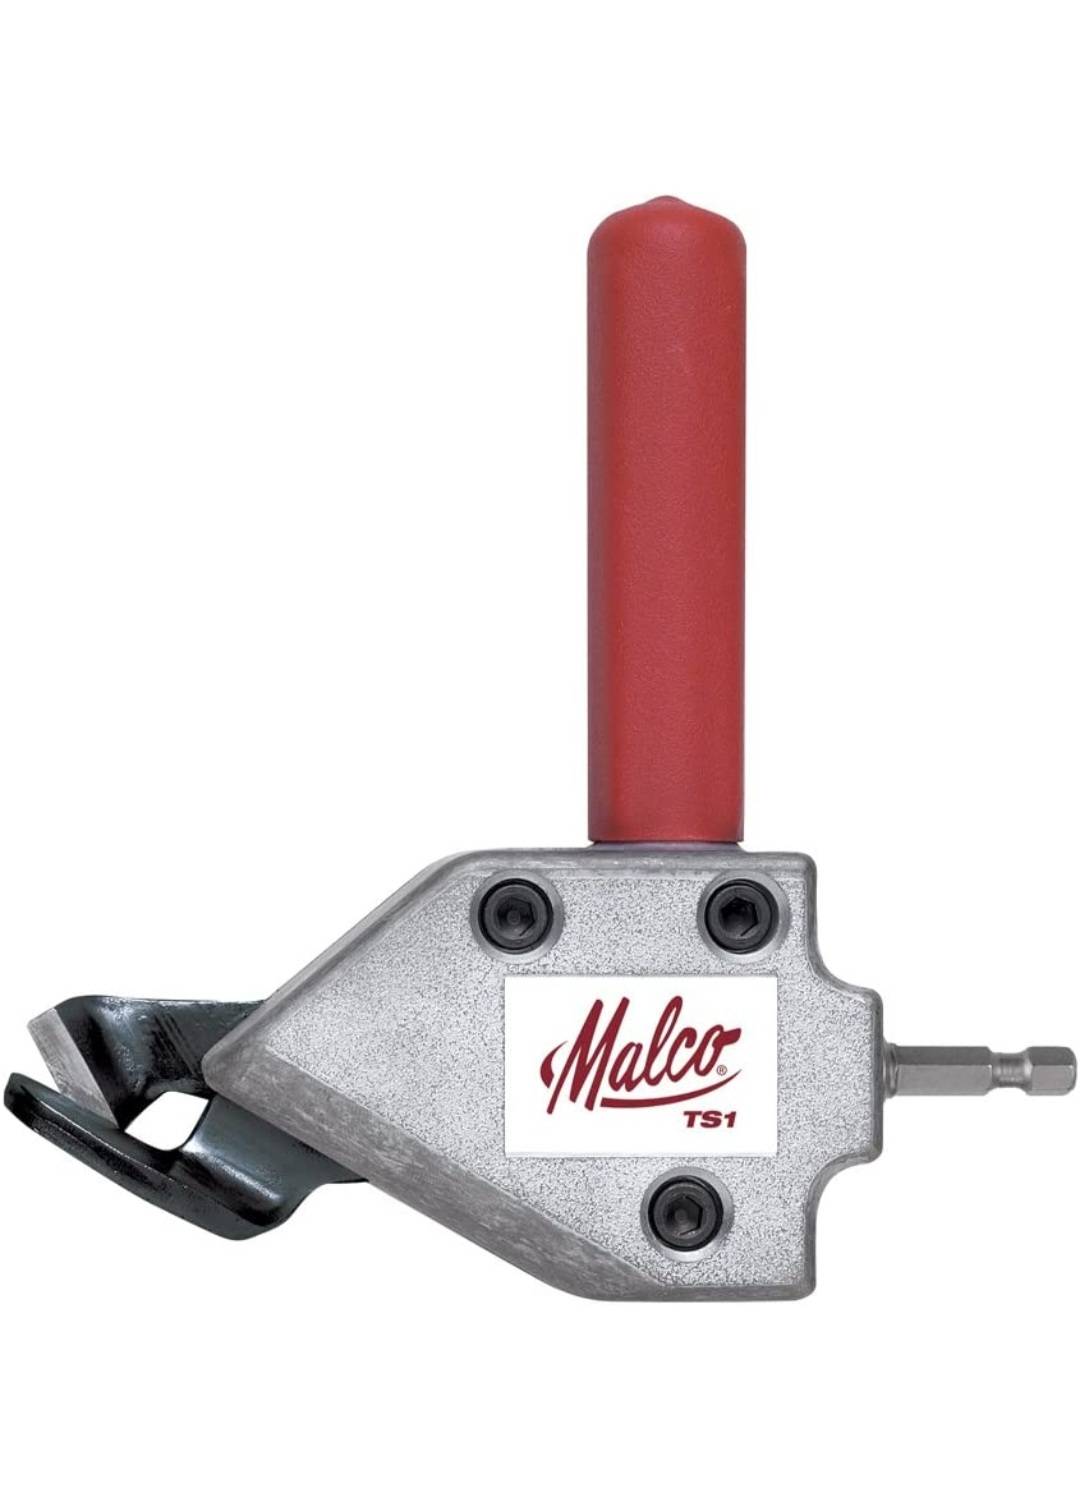
Sheet metal cutter attachment for a cordless drill – Amazon.com
A wood facia can either be connected to the soffit with a butt joint or if you’re a bit more skilled you can cut a 45-degree angle along the edge of the outside of the soffit before you install it and another 45-degree angle on the bottom of the facia.
Nail everything in place.
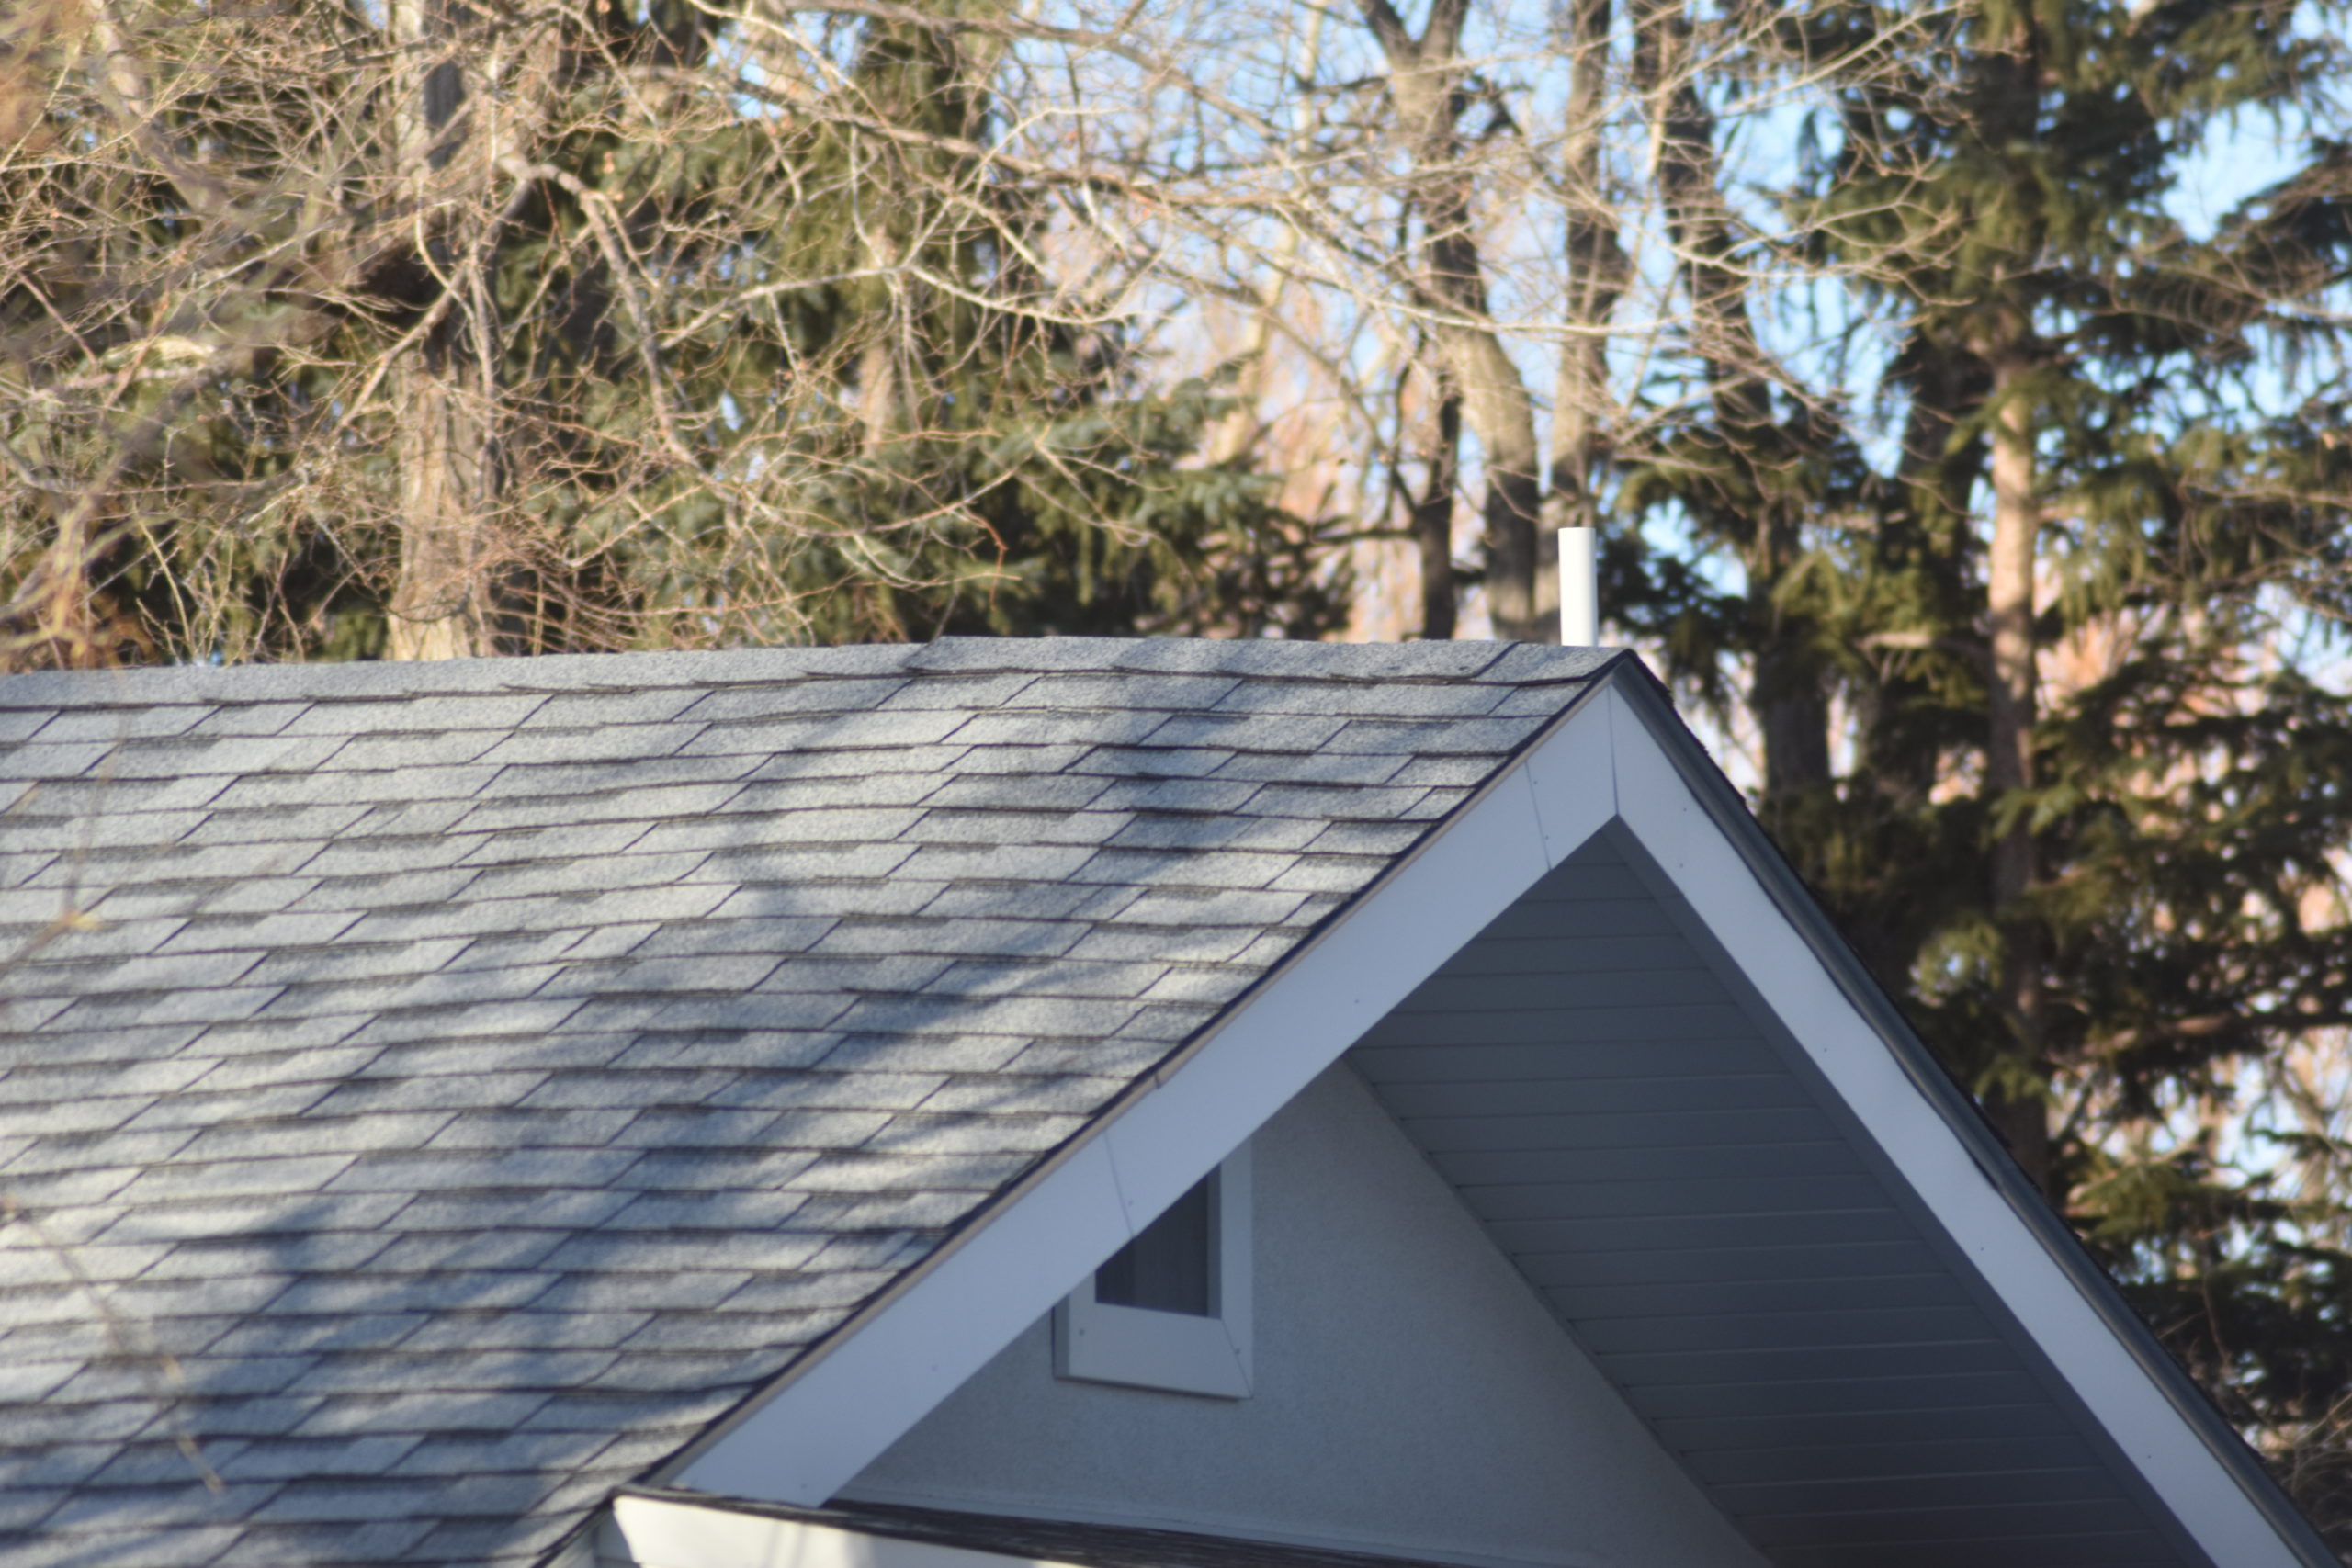
Wood soffit and facia – Randy Tucker
Create boxes at the end of your roofline where it extends upwards along the gable, and your job is complete.
Paint the wood, if necessary, then reattach the gutters.



Add comment