When I start my garden every spring, I like to kickstart it by heading over to the local nursery and hardware store for some pregrown plants. Seeds can be tricky to deal with, and plants that are already several weeks old are especially helpful if you’re busy, don’t have a ton of experience, and want to get a jump on the growing season without having a greenhouse.
For the remainder of my garden, it’s all about the seeds. I love that thrill of watching those little seedlings cling to the dirt in rain and sun, and I’m ecstatic to see true leaves when they emerge. If you’ve been doing seed packets for a while, and you’re looking to up your garden game and perhaps move into the world of heirloom vegetables, read on for our primer on how to save tomato seeds, seed pods, summer vegetables, and more!
Four Categories of Seeds, and How to Harvest Them
Remember that seeds represent the following generations of the plant, and a fruitful future is your current plant’s sole purpose in life. Bearing in mind your plant’s modus operandi, let’s look at the four basic ways a vegetable produce seeds, and the best way of harvesting each.
This is going to be a general list, which means that each plant has a bit of particularities that you’ll have to respect, but this will give you a good idea of how to save tomato seeds vs squash seeds, and the like:
1. How to Save Seed Pods
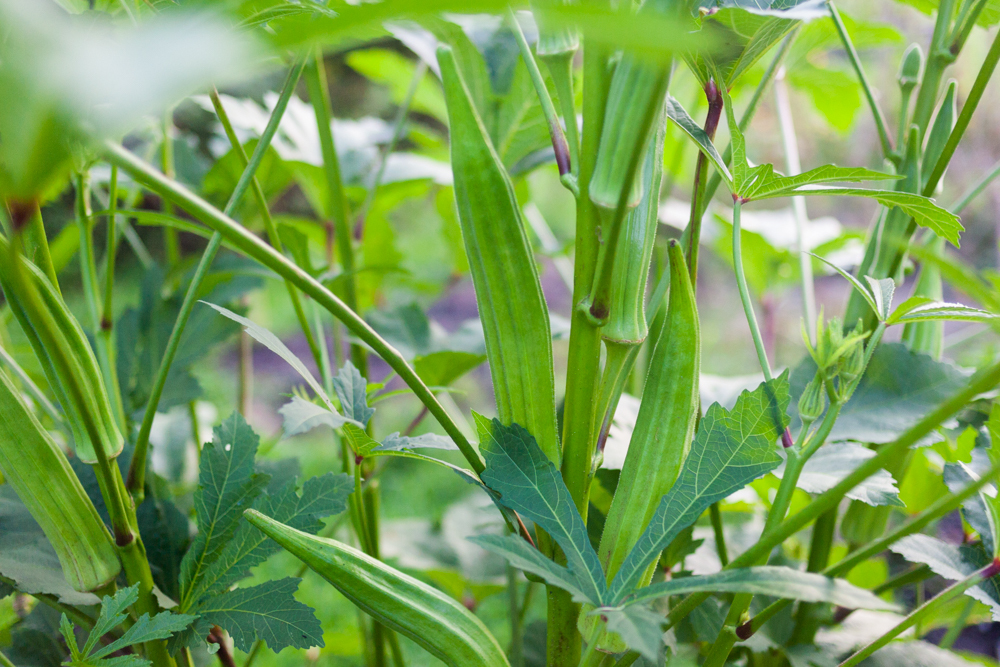
Examples: okra, beans, peas
Plants of this category are trying to produce a seed pod that will eventually dry out and produce dry, hard seeds; instead of picking the pods when they’re still soft for eating, you’re letting them do their thing.
This is the simplest category to deal with: let the vegetable mature past the ripe stage, pick it, and dry it out away from direct sun. Crack the pods open and pick out the seeds.
2. How to Save Seeds in Fleshy Vegetables
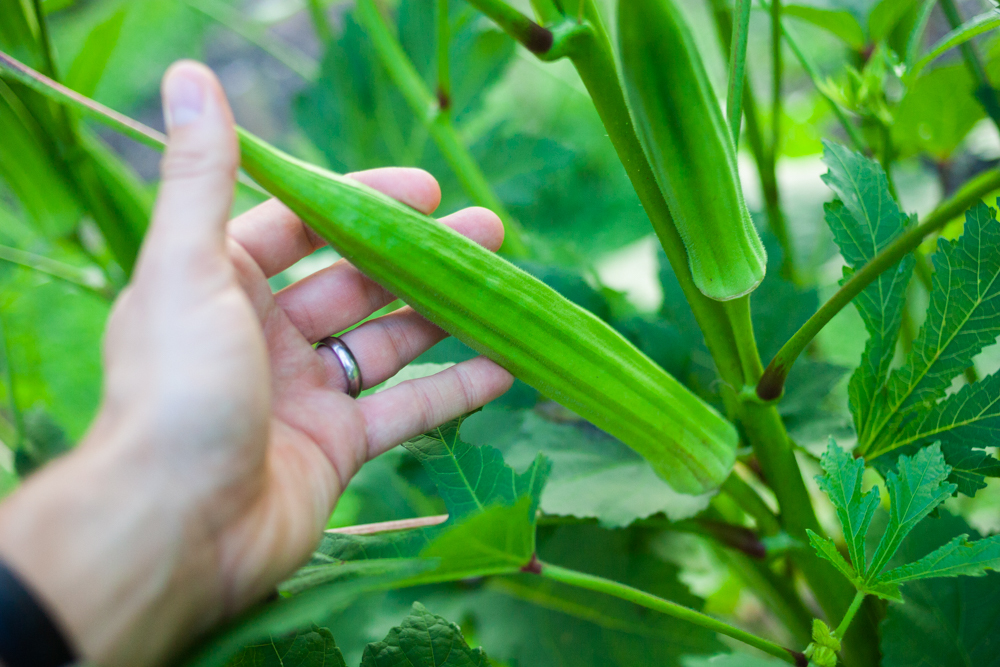
Examples: peppers, melons, squashes, cucumbers
This category is like the seed pods above, but the seeds are embedded in more flesh. Instead of drying out, these vegetables will rot if you leave them out too long, so you’ll need to pick them when they’re large and ripe, just past the edible stage. Cut them open, being careful not to damage the seeds inside, and pick them out.
The easiest way to separate seeds from vegetable flesh is to scoop it all out into a bowl and fill it with water. Stir and let it sit for a few minutes; the good seeds will settle to the bottom, and the bad seeds and flesh will float to the top. Pour off the debris, add more water, and repeat until only the good seeds remain. (For vegetables with really small seeds, like eggplants, you can use a blender or food processor to free the seeds.)
3. How to Save Tomato Seeds
Examples: All tomatoes
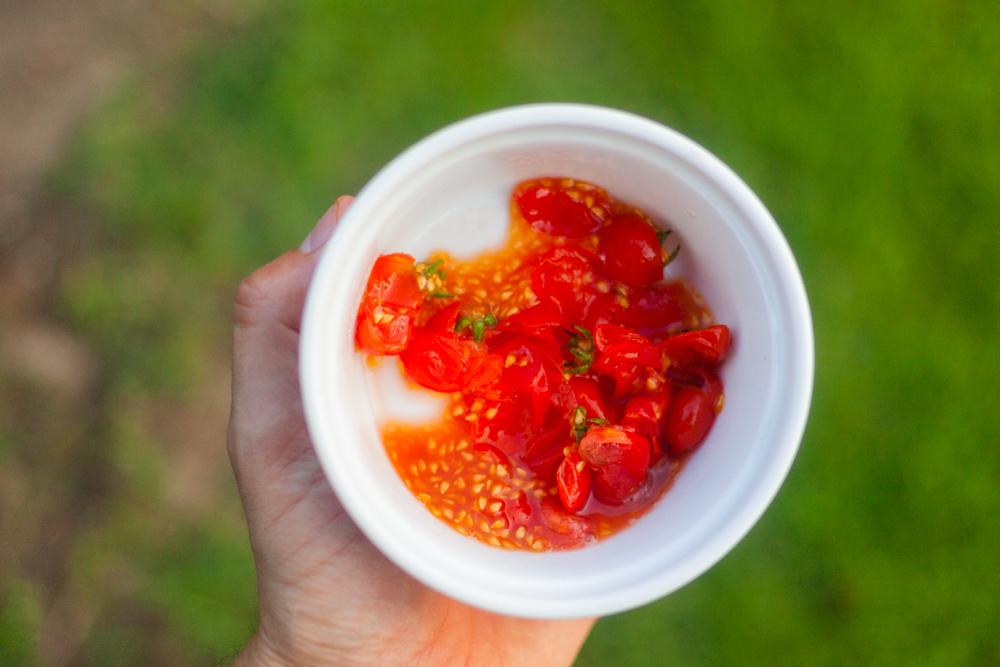
This is a special category made up of just tomatoes, whose seeds are encased in a gelatinous sack that contains chemicals that prevents the seeds from germinating inside the wet tomato. How to save tomato seeds (The next time you’re eating a tomato, bust it open and check out a seed, and you’ll see the slime around it.) When a tomato rots, the fermentation naturally destroys the gel, which allows the seeds to germinate.
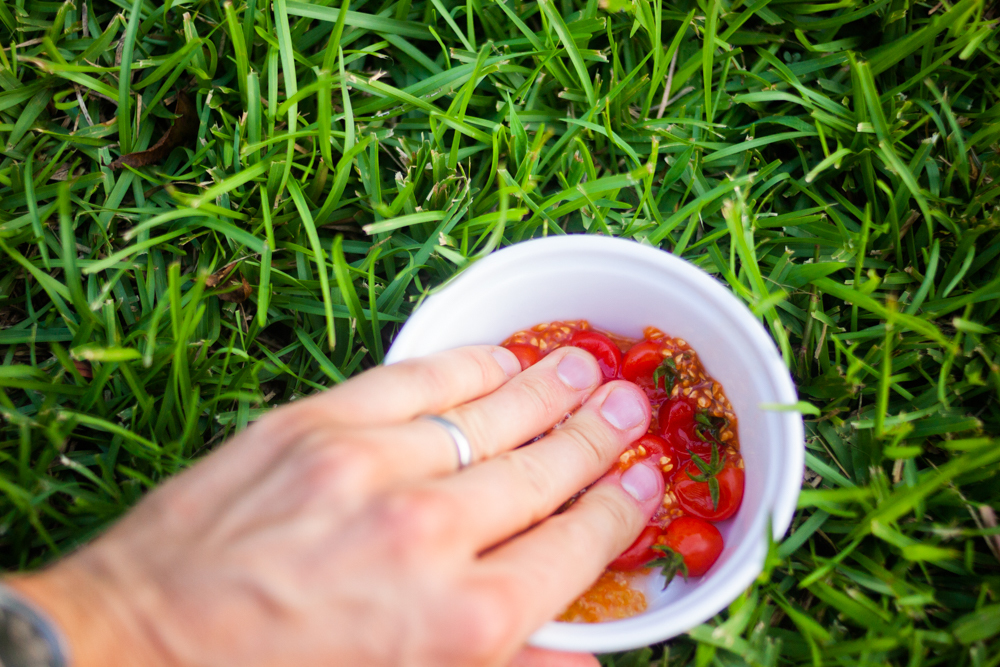
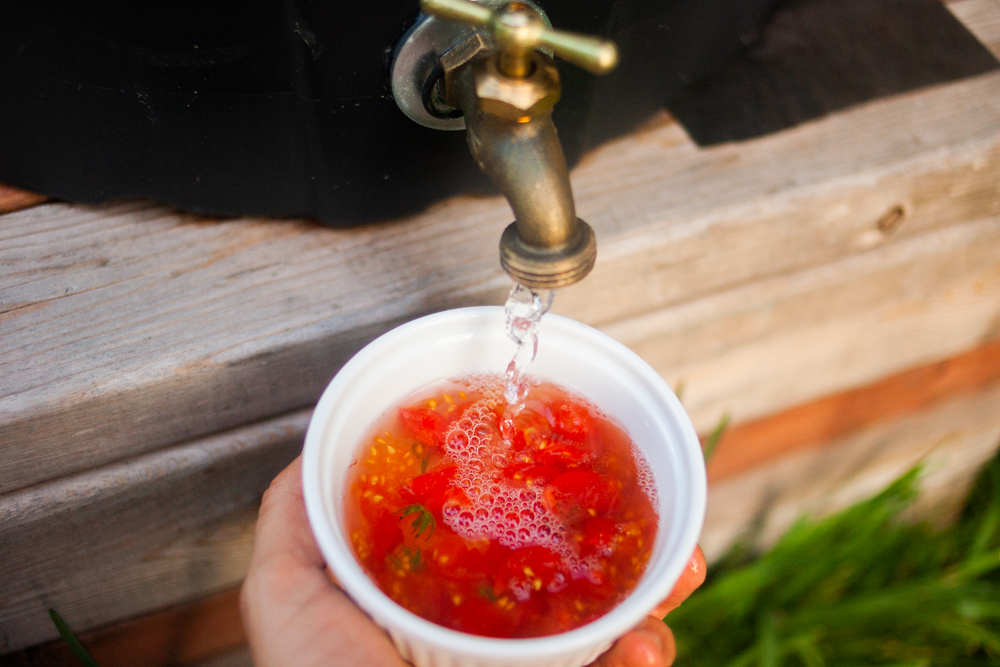
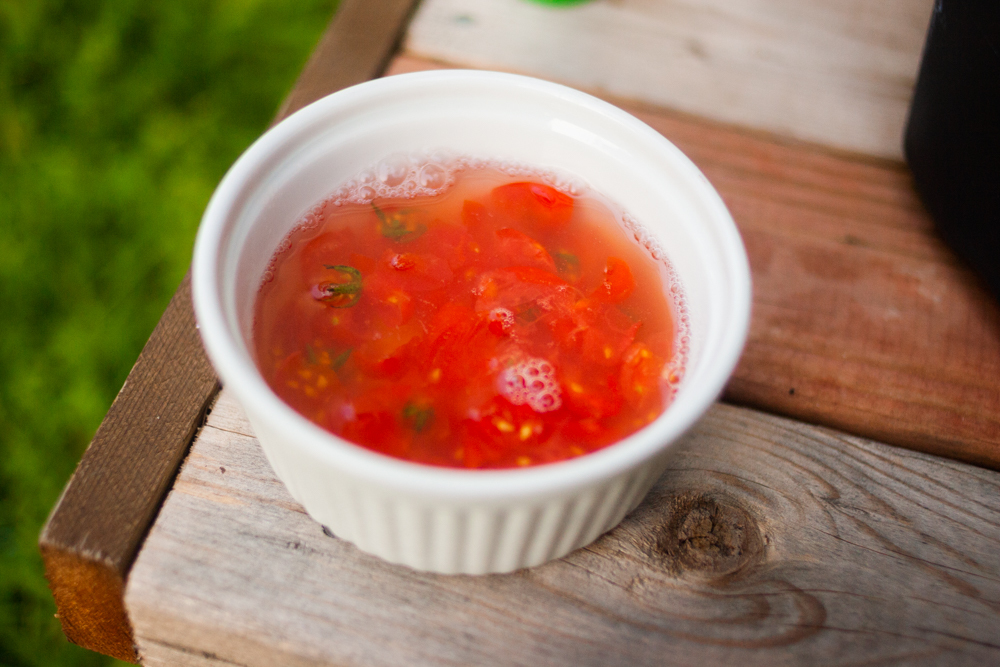
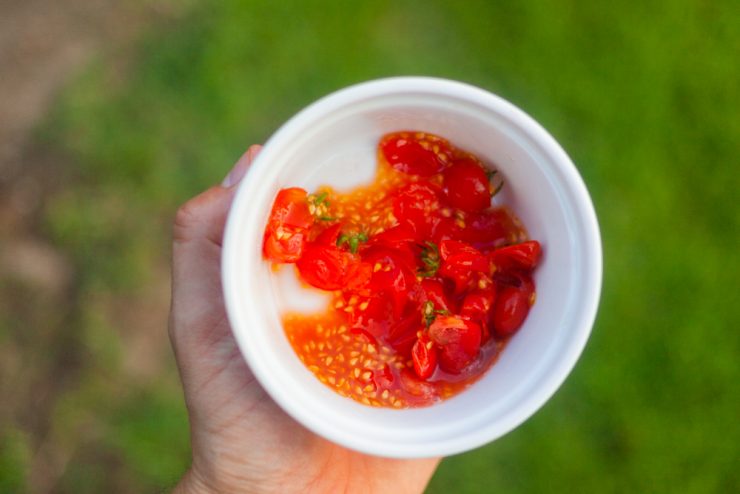
To save a tomato seed, you’re going to pick the best tomatoes and smash them up to expose their innards. (A food processor or blender works great for this, too.) Place them in a bowl, fill with water, and let sit for several days. Around day three you should see a gross-looking fungus growing on the surface; pour it off, rinse in water, and allow the seeds to dry on a hard surface. You’ll be amazed to see the transformation: totally dry and ready for storage.
4. How to Save Flowering Seeds
Examples: lettuce, spinach, onions, carrots, dill
This category is made up of leaf and root vegetables; their seeds aren’t in pods or fruits, but in the flowers that they produce toward the end of the plant’s life.
The flowers are ready for seed harvest when they’re dry. To harvest seeds, cut the entire flower head off into a bag and shake it to separate the seeds from the chaff.
A few other considerations
Keeping varieties separate
If you’re interested in saving seeds for specific varieties of vegetables, note that there needs to be physical space between different varieties of the same plant. This is known as “varietal purity.” Each vegetable has its own particular rules, so be sure to research as you plan your garden and plant varieties far enough away from each other that they don’t cross-pollinate.
Seed storage
The last thing you want is to go to the trouble to save these seeds then, when you go to plant next spring, find out they’re totally ruined because you bungled the storage. The best containers for seeds are airtight and impermeable, either glass or metal, though you can put them in a plastic bag before you store them in containers. This classy glass jar is a good place to start:
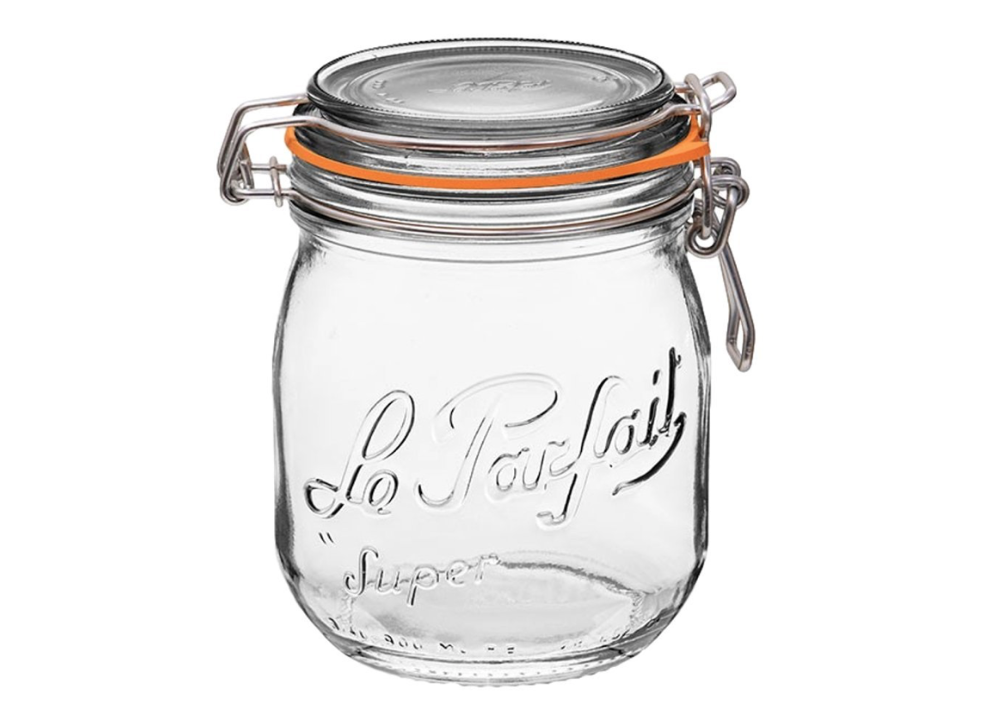
A good handful of varieties begin to lose viability by 3–5 years, so if you plan to not plant for a more than one season, freezing is a good long-term storage solution.
Further reading
Seed to Seed by Suzanne Ashworth — My wife’s cousin gave this to us as a gift a while ago, but I would buy it several times over and pass it off to budding gardeners. I actually thumb through this book more often than I consult Google or Wikipedia. (Shocking, I know.) It manages to include information on over 160 varieties of vegetables in just over 200 pages, including instruction on pollination, harvesting, and seed saving techniques.
Seed Savers Exchange — This nonprofit is the primo resource on seeds for heirloom vegetables. They’ve got all kinds of resources on their website on seed saving, but even more exciting, they offer hundreds of interesting varieties of seeds for sale. (Guys, they’ve got 82 listings for tomatoes alone.) One of these I’d love to visit their 900-acre farm and seed vault in Iowa.



Add comment