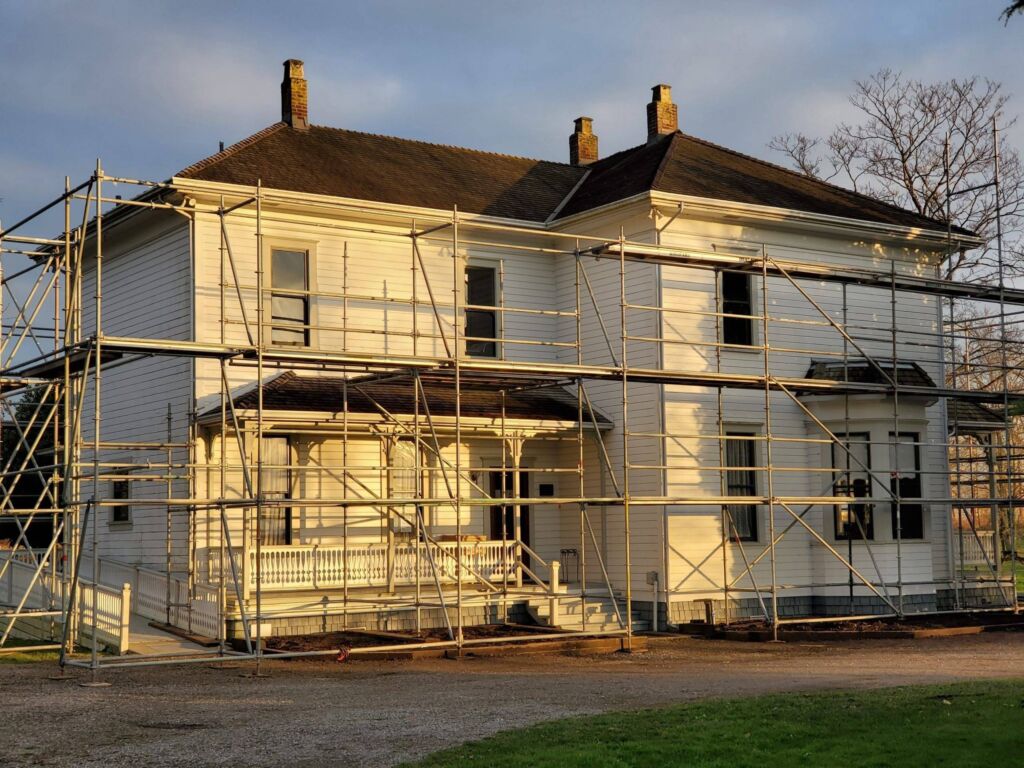
Scaffolding is a wonderful construction tool. Since ancient times when artists and artisans tied sections of bamboo together to create the world’s first scaffolding to today’s high-tech steel and aluminum construction-grade scaffolding, it is a device that has literally lifted man to new heights.
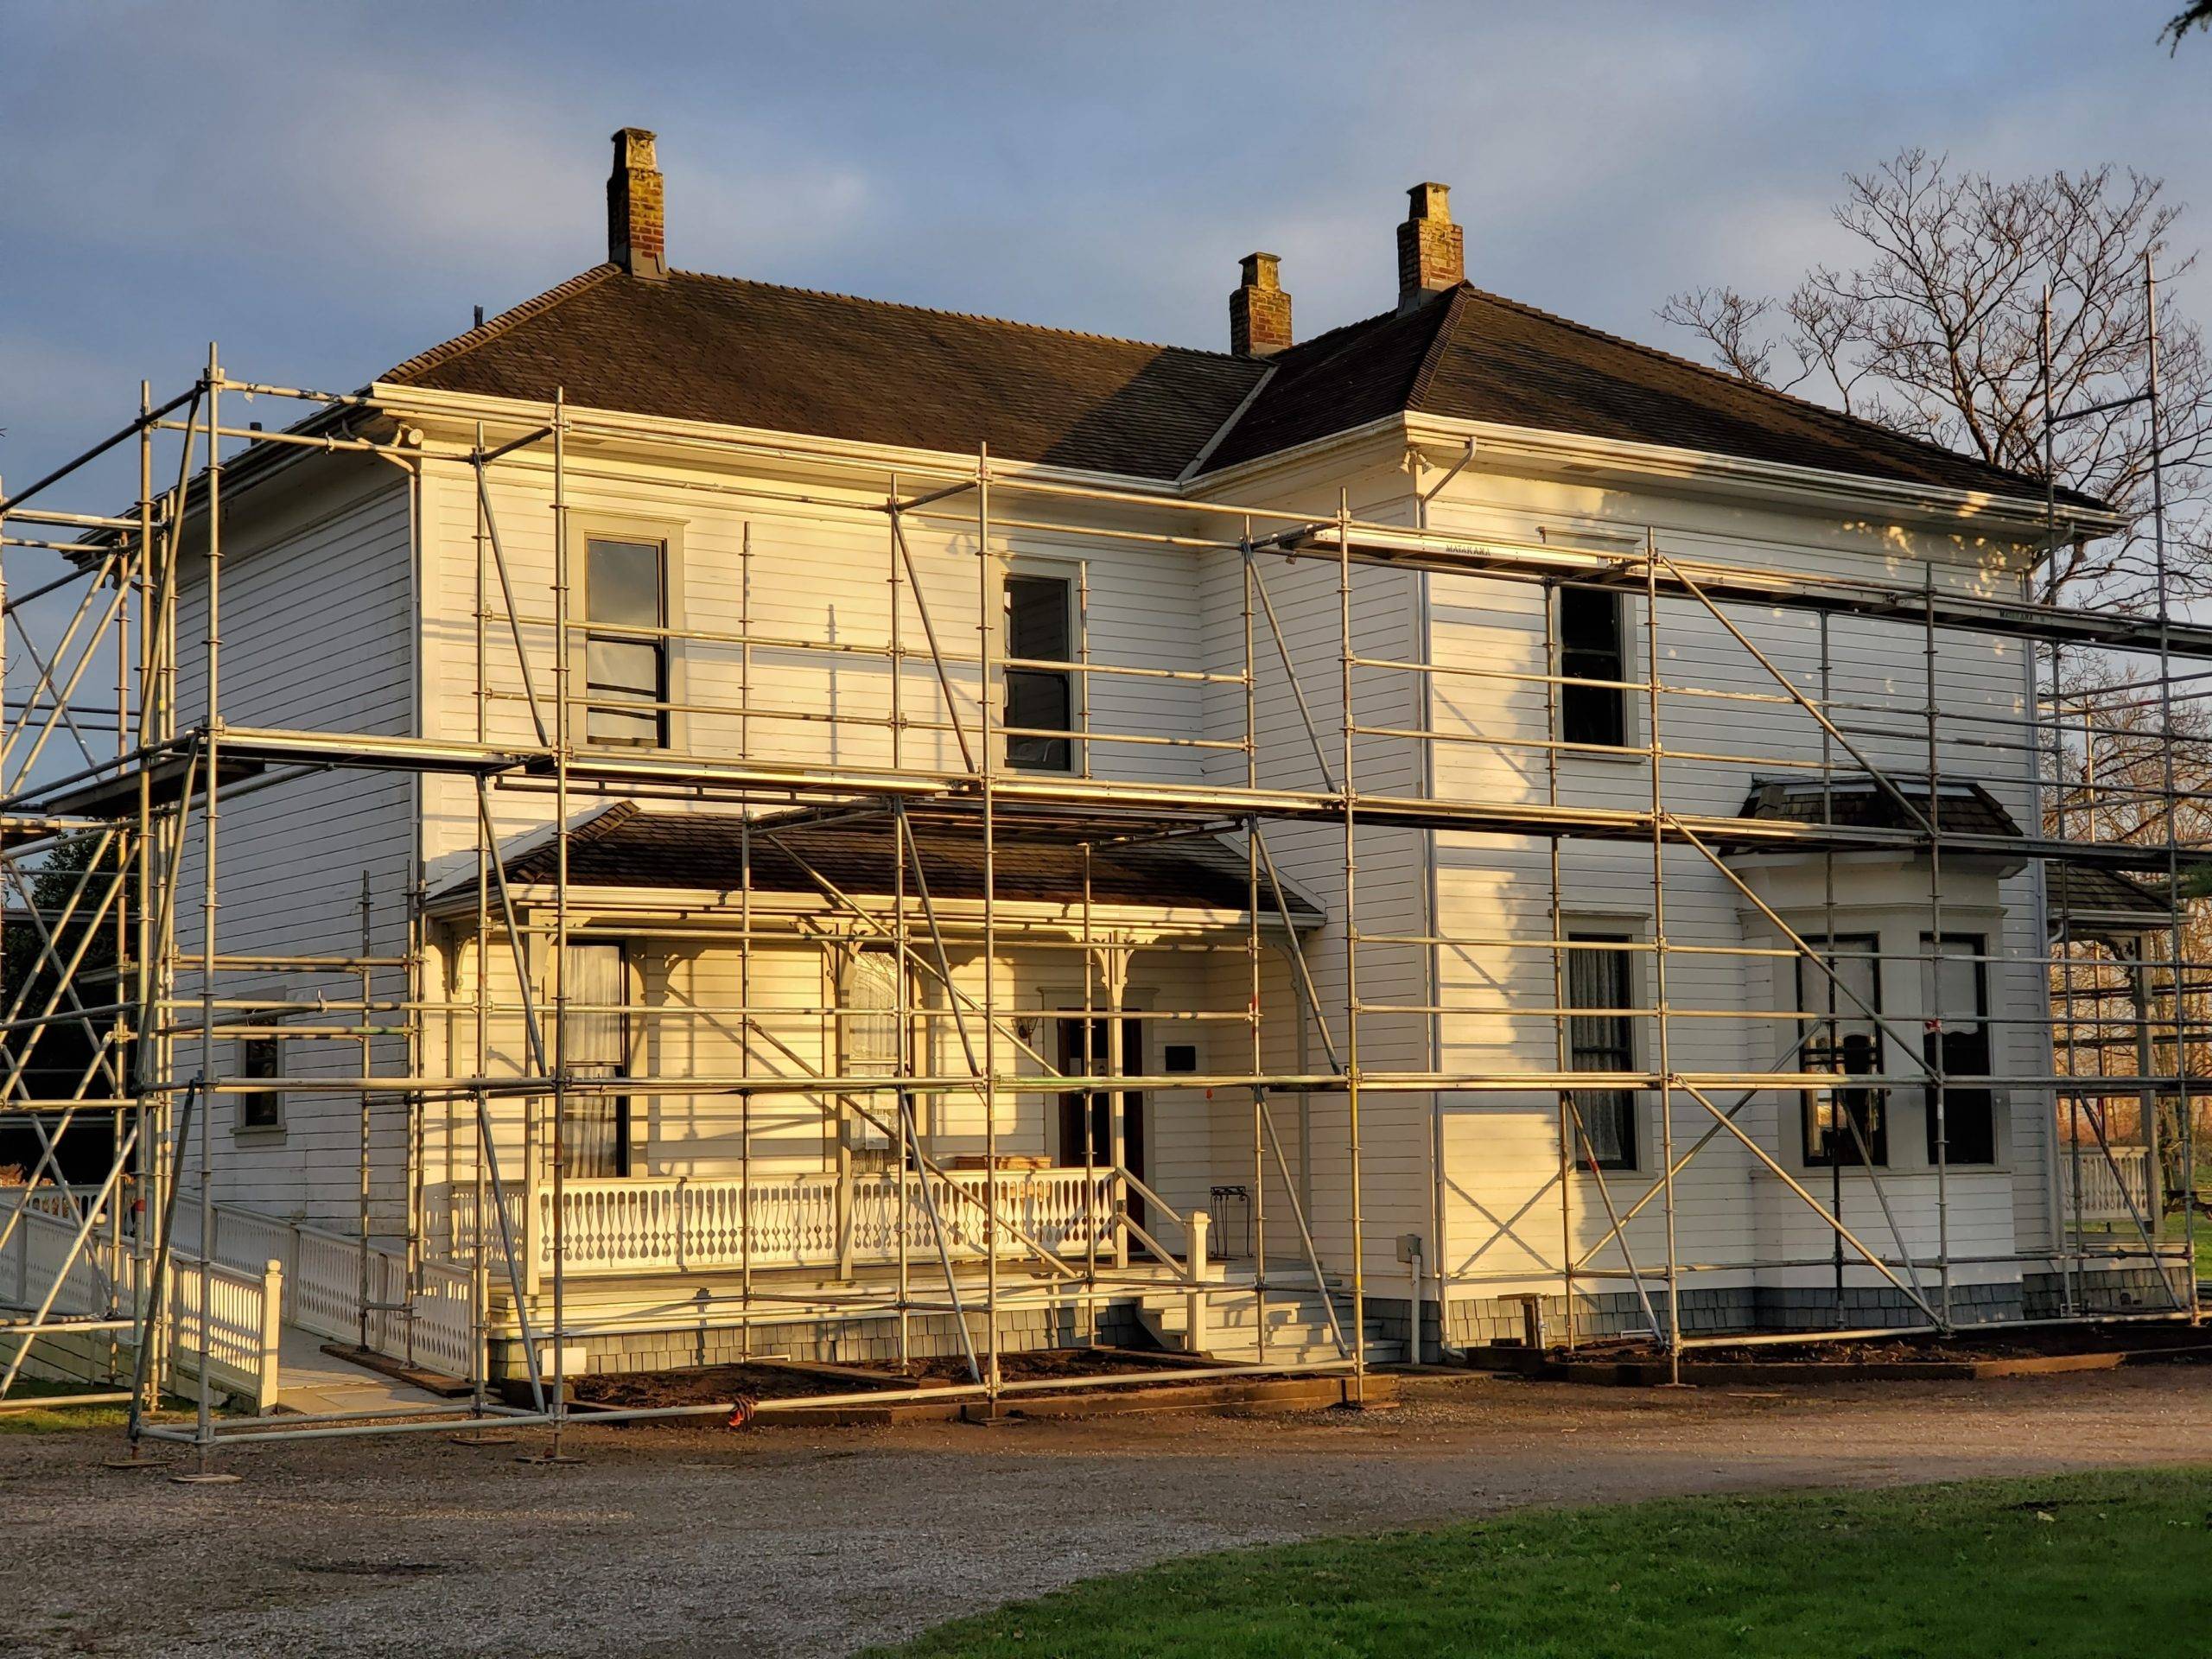
Photo by: Gennifer Miller via Pexels
Getting to those heights can be a problem if you don’t know how to set up scaffolding. It’s a process that is bewildering to the casual observer, but that becomes second nature to those that use it every day on the job site.
The Components of Scaffolding
There are four components in consumer-grade scaffolding. There are the vertical end pieces, the horizontal stabilizers, the platform, and the support pads/wheels.
To start, the vertical end pieces are usually around five feet high and four feet wide. They have a large smooth pipe fitting on the bottom and a narrower fitting on the top that allows the next identical vertical piece to be attached to it by dropping the wide fitting over the smaller one.
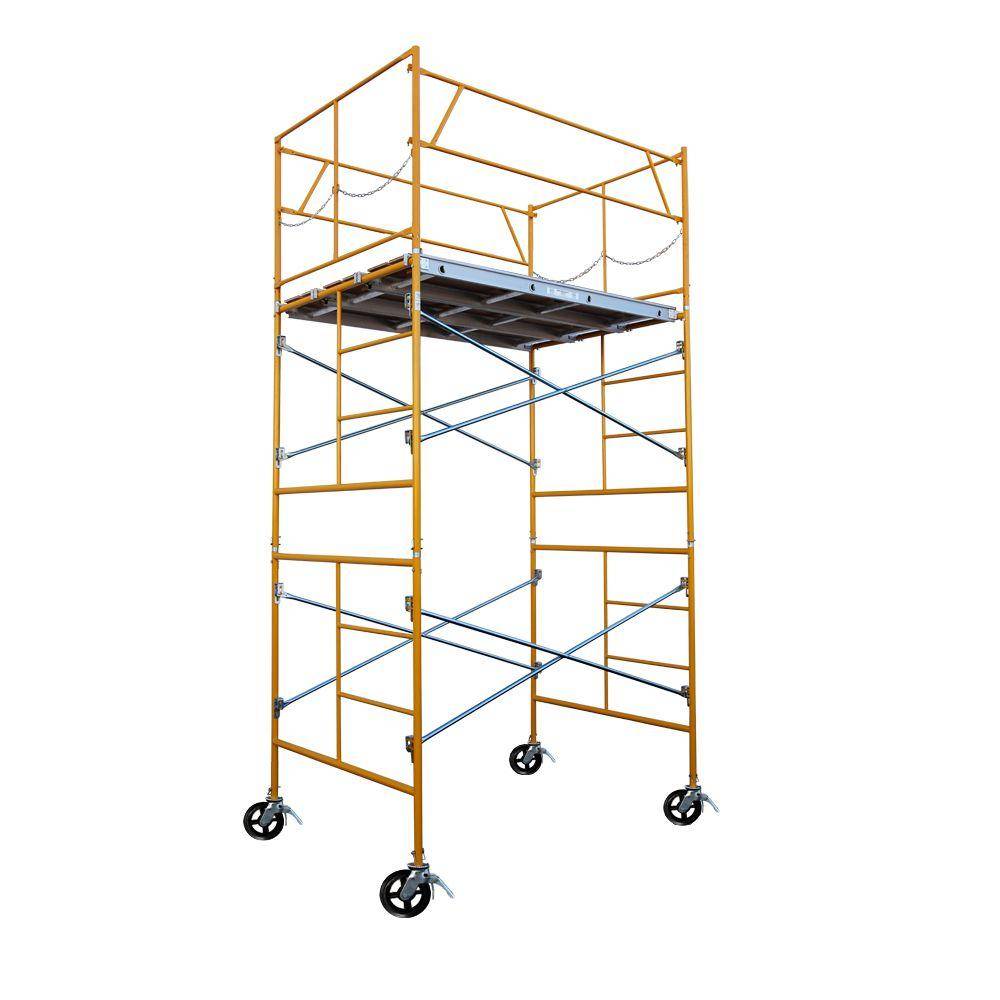
A standard set of three-level scaffolding – Homedepot.com
The horizontal stabilizers are flat pieces of metal that resemble wide scissors, they lock into place on the side of the vertical piece to create a rectangular box.
The platform is usually an aluminum structure with a pair of hooks on each end that can be hooked over the bars on the vertical sections. Some are solid aluminum, others are aluminum framed with plywood decking applied. Some construction sites use 2×12 times as platforms.
The final piece is either a set of four wheels that fit inside the four corners created by the vertical sections, or they’re screw-type stabilizers that can adjust for uneven surfaces. These stabilizers are effective on sloping ground with a difference in elevation of about a foot.
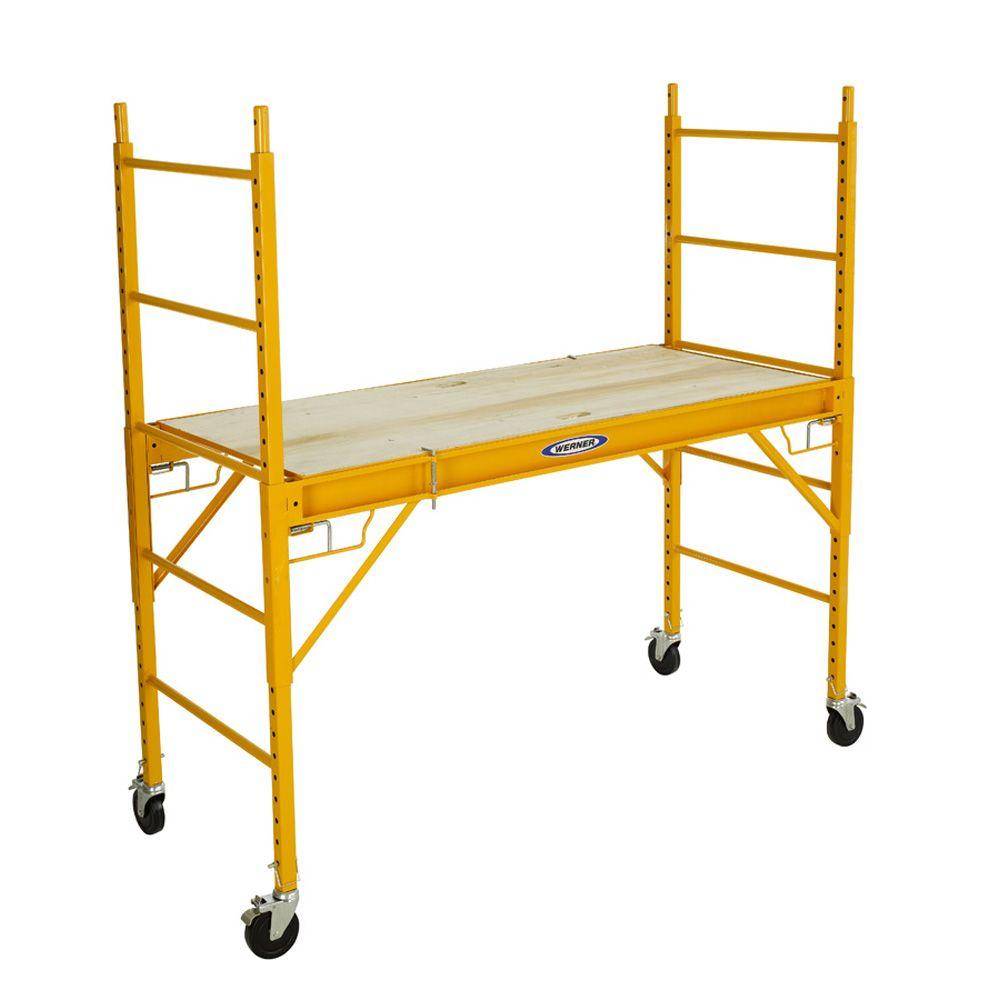
Standard scaffolding with angled bracing – Homedepot.com
Setting Up Scaffolding
To set up scaffolding, take one vertical section and hook the two horizontal stabilizers on each side. The vertical section will lean in but stand on its own. Take the other vertical section and attach it to the two horizontal stabilizers. You now have a base platform to work from.
At this point, it’s a good idea to lift the first section and place either the wheels or the adjustable stabilizers under the first section. If you wait, the added weight and the top-heavy nature of scaffolding will create a problem.
With the stabilizers in place or the wheels all locked with the attached brake, it’s time to add scaffold sections.
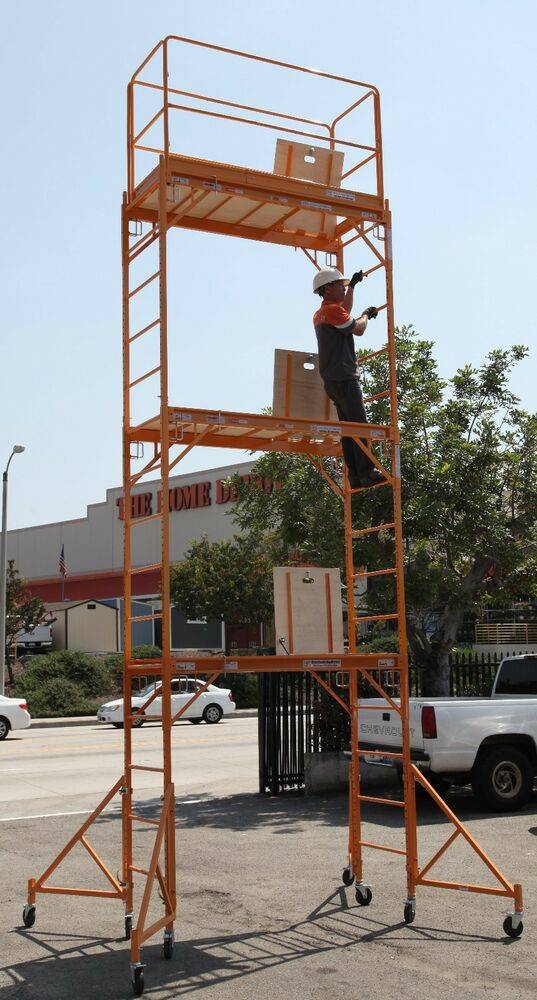
Rolling scaffolding is useful when working in a wide area – Ebay.com
Place the platform in the middle of the first section and pull up a vertical piece. Lift it up and slide it over the two smaller rods on the top of the first section. When complete, do the same thing again on the other vertical.
Attach the horizontal stabilizers next. You’ll want to hook the top stabilizers on each side, then repeat for the other side before you connect the pins on the lower sections to the horizontal stabilizers.
Move another platform to the next level, climb up to it and have someone tie a rope to the next vertical section.
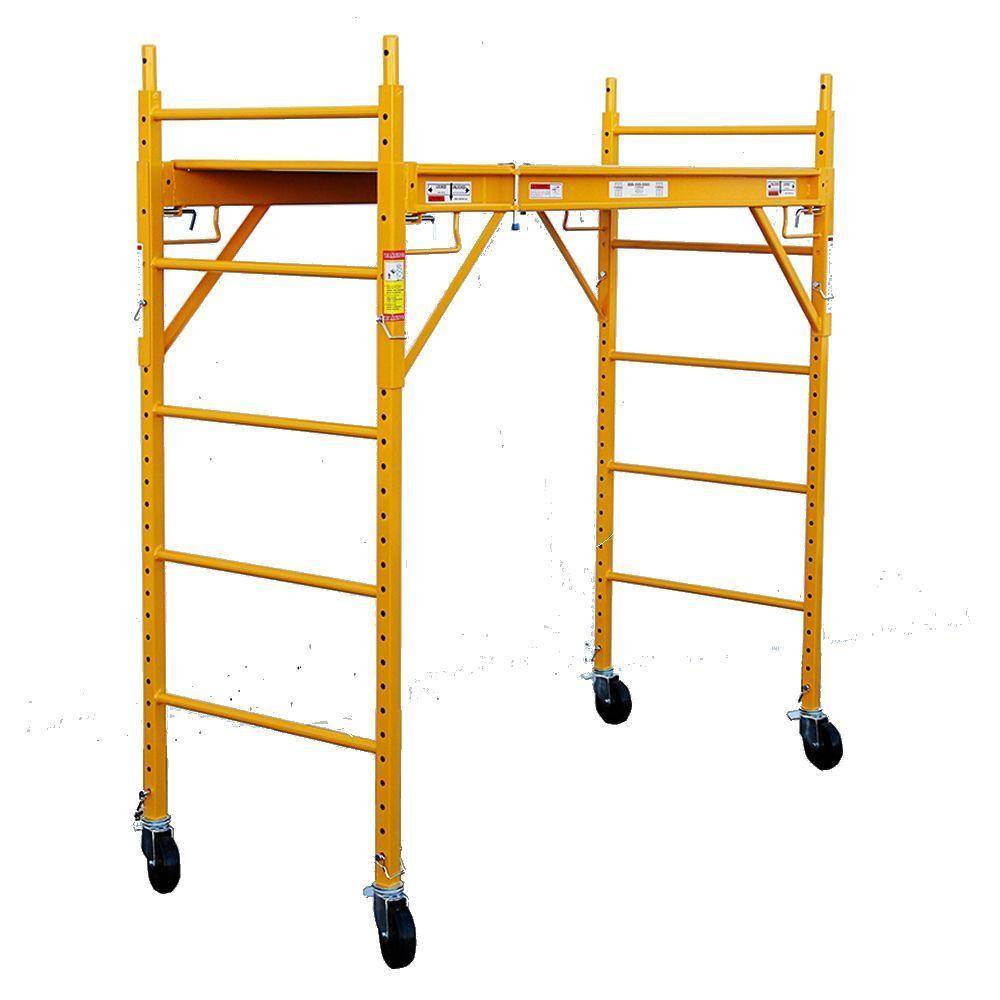
A fixed set of one-level scaffolding – Homedepot.com
Attach as before, then pull the horizontal stabilizers up. Connect them as you did previously, pull the lower platform up to the next height and repeat until you’ve reached the height you require.
Disassembling is the same process in reverse.
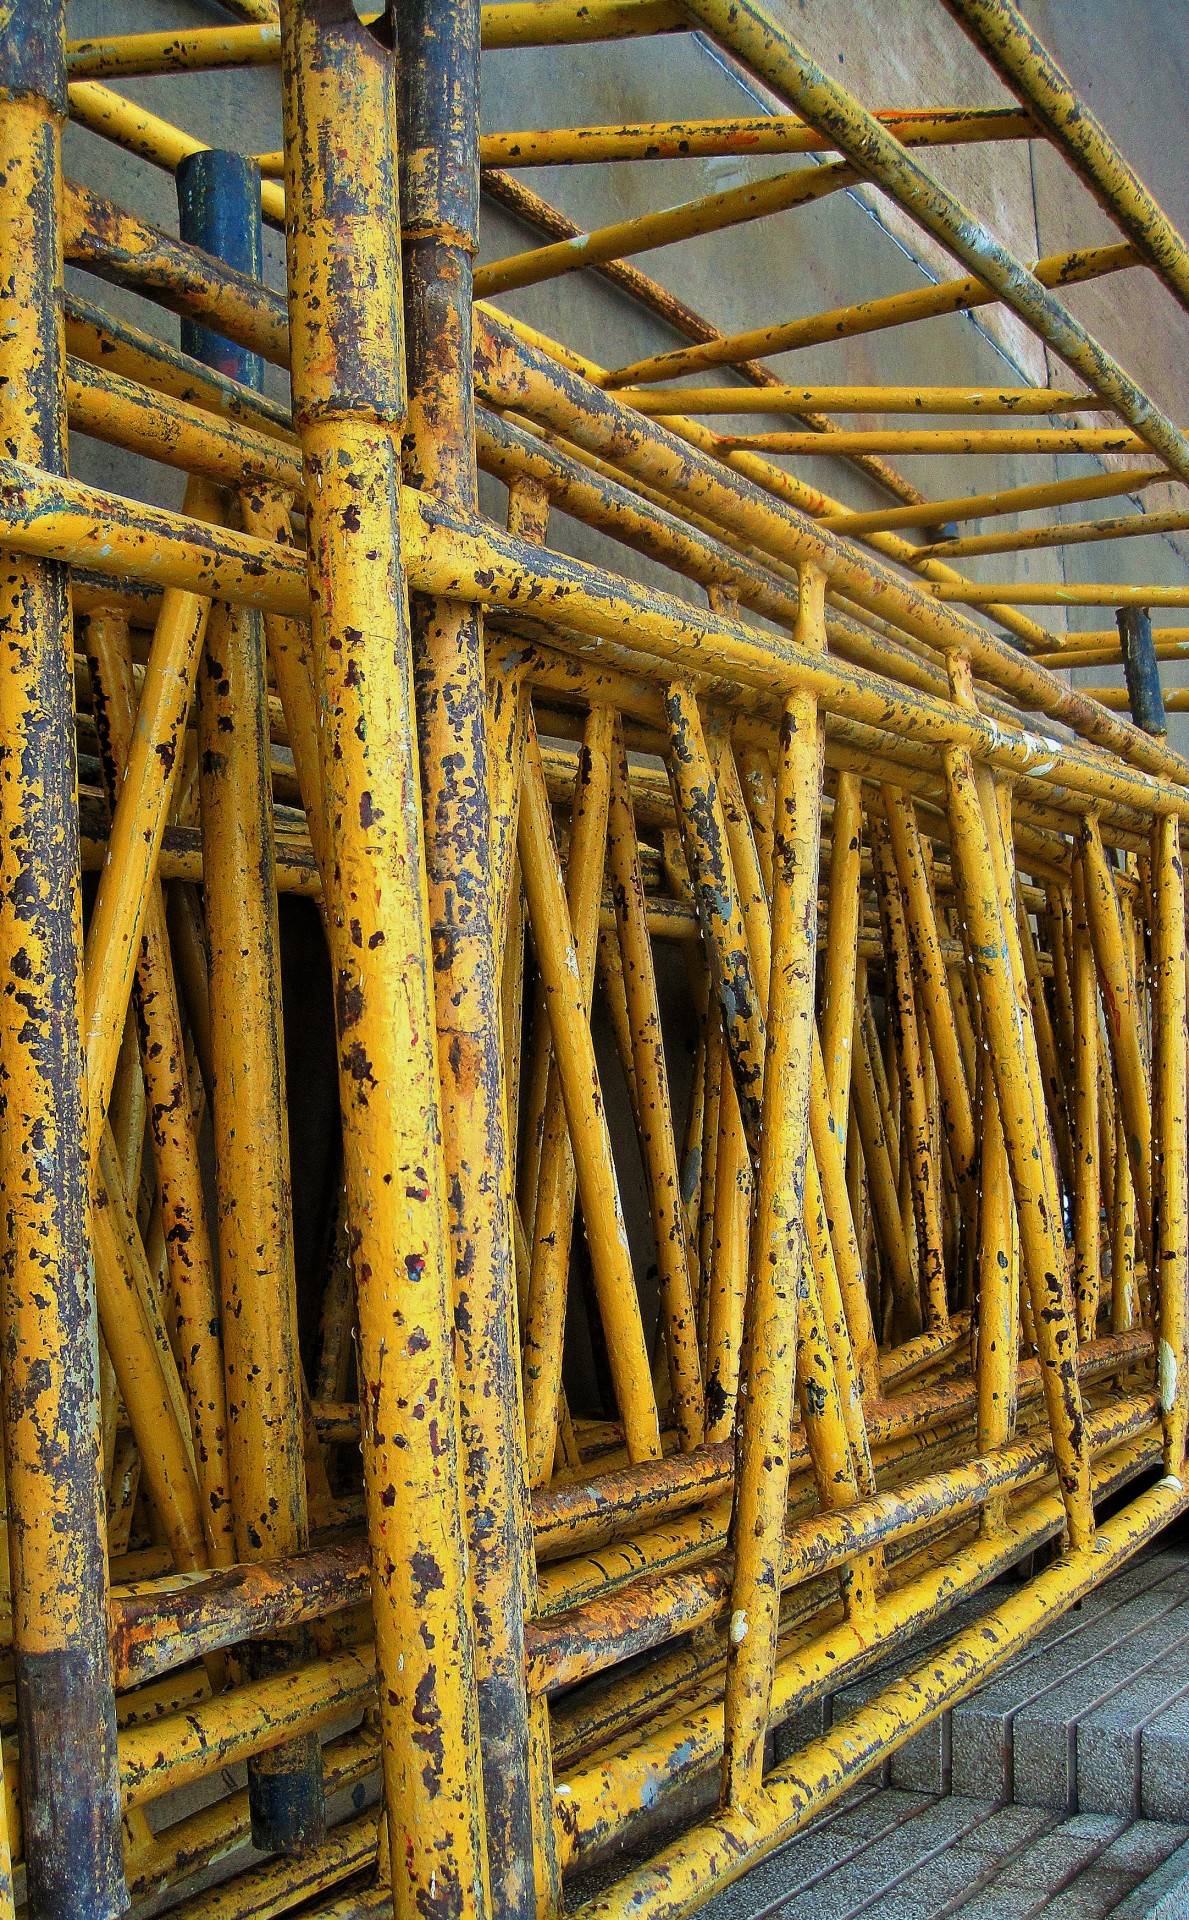
Stacks of well-used scaffolding waiting for the next job – Publicdomainpictures.net
The skies are the limit with a good set of scaffolding!

