A fence can be a great addition to any property. No matter the style, they can add to the aesthetic of the space while also providing benefits like reduced sound or improved privacy. It all depends on what kind of fence you choose.
Wooden fences are one of the more common choices out there. What you may not realize is that the finished product you see has already been stained or painted. If you plan on doing things the DIY way, knowing how to stain a wood fence can be crucial.
Though it may sound simple, there are a few tricks worth knowing if you plan to stain your wooden fence. This is your guide for taking on the task and doing the job as the pros would.
Do You Need to Stain a Wood Fence?
(Action Fence)
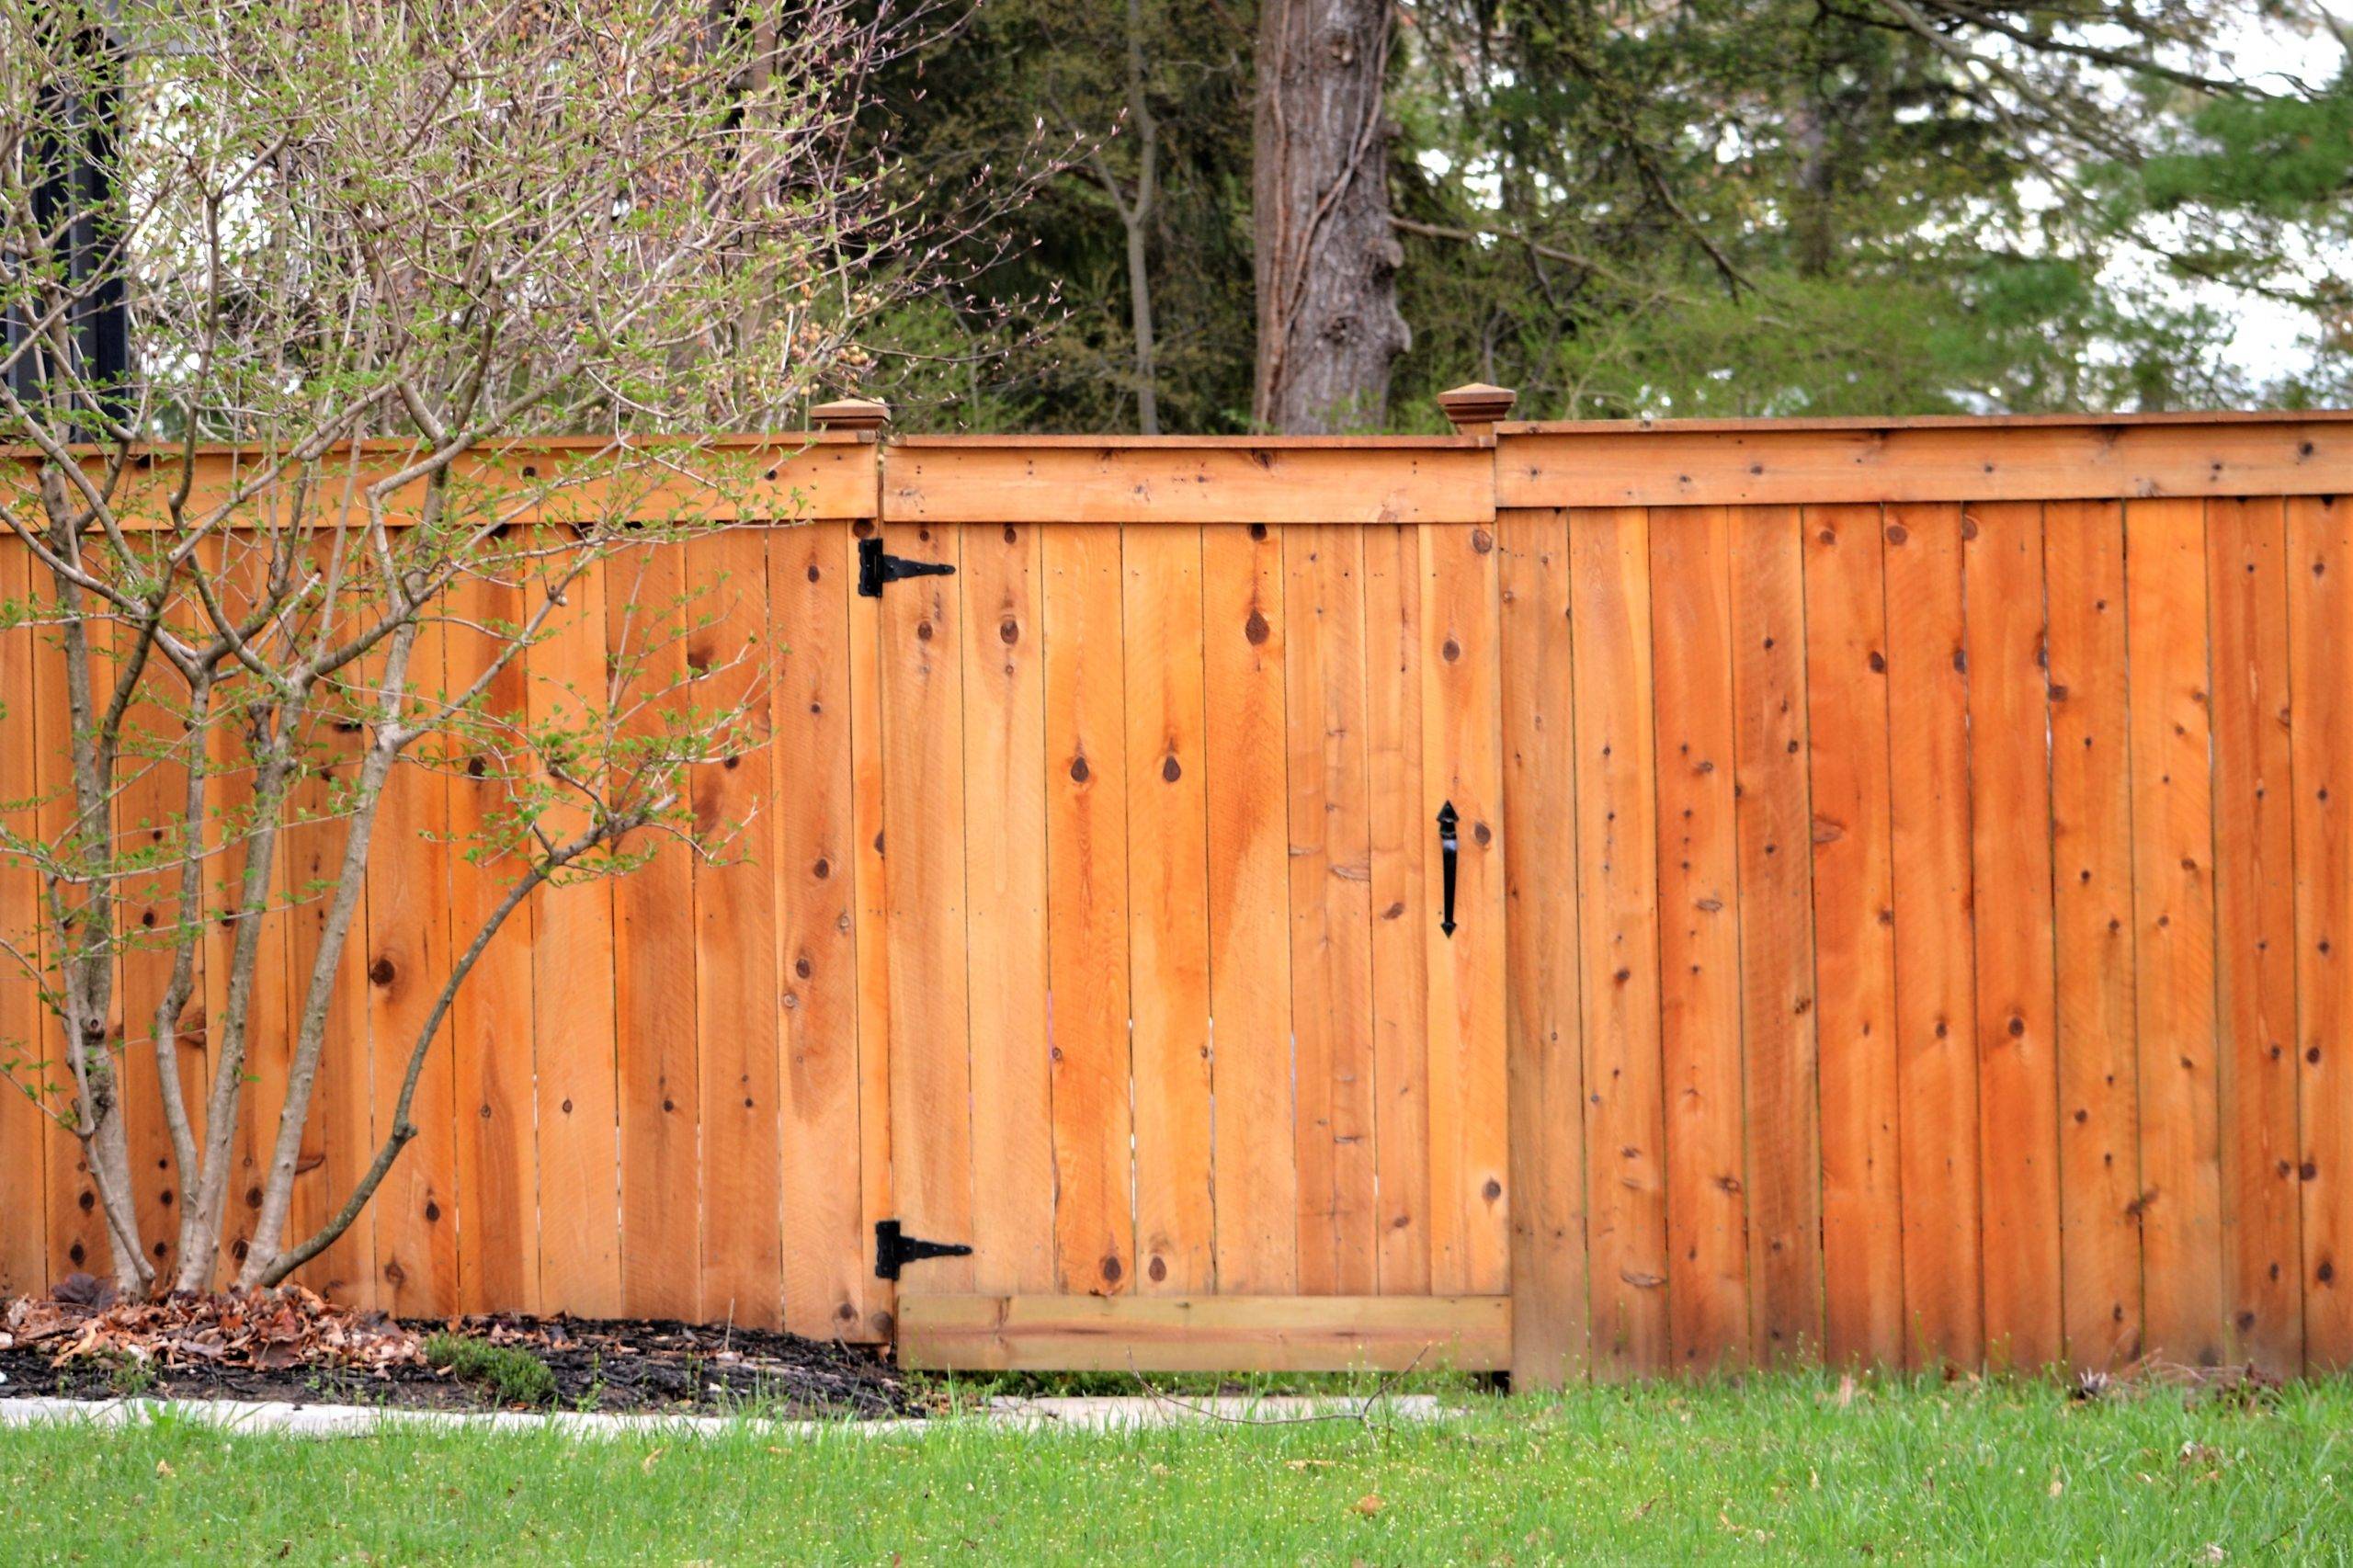
This can be somewhat subjective, but it all depends on the type of wood you use. Cedar and redwood, in particular, have natural pest resistance, making them a fine option for your fence without having to stain or paint them.
That said, those types of wood should still have a clear wood preservative applied over top. The preservative will keep the fence from cracking and splitting with time and regular wear and tear.
Of course, those are just two types of wood that can be used for building a fence. Make sure to do your homework on the type of wood that you use. Some won’t need to be stained for anything other than aesthetic reasons while others will be benefitted from being stained.
Which Stain is the Right Option?
While the focus is on how to stain your fence, you need to ask an important question before beginning: what is the right stain option for my fence? If you aren’t sure how to determine the best choice for your fence, there are a few helpful tips.
There are a few ways, in particular, that can help you to choose the right stain. Let’s look at how the availability of colors, how the colors match any other yard features, the type of fence, and the rest of the property.
Fence Type
Before you can worry about choosing the right stain, it helps to know what type of fence you are painting. After all, there is no universal stain that works for any kind of fencing, so you need to make the right choice.
For a privacy fence, something warmer like rich redwood, cedar, or a dark brown would be optimal. If you have a rail fence, then something darker can be more beneficial while modern fences might do better with either a gray stain or staggering using two different colors.
Available Colors
Of course, at the end of the day, you need to be certain of the color that you choose. There are some cheaper stains out there that will fade and lose its potency over time, typically within a year or two.
Another tip that most people don’t think to consider is the number of solids. Find a stain that has more solids because they tend to last for a lot longer. Any color options should be then be chosen from within that family of products.
Compare to Other Yard Features
Make sure that you consider how the color of the stain that you choose will fit in with other features in your yard. The last thing that you want is for the stain to clash with something like a shed, pergola, or the color of your patio stone.
The stain can be a great compliment to any of those other things. You want everything to come together as one cohesive unit. Choosing the right fit will do just that and avoid the stain from standing out for all the wrong reasons.
Consider the Neighborhood
There is also the matter of considering the rest of the neighborhood. If your neighbors have fencing that is a bit more reserved, you can opt for a stain that makes a statement so long as it is a bit more tasteful.
Make sure that you are aware of any covenants or HOA rules, though. They may list out what color stains are acceptable so be sure to check those first. The last thing you want is to apply a stain that you love only to have to stain over it because it does not fall in line with those association rules.
How to Choose a Quality Fence Stain

(Jalapeno Paint Werx)
Though the above points can all be helpful, there is nothing like a few concise points to really bring it all home. There are a few things, in particular, that can help you to choose the right stain to suit your needs. Here are a few basic things to consider to get the right stain for your needs.
High Quality Pigment
One of the first and most important aspects of choosing a good stain is the pigment used within. This can vary depending on not only the type of stain, but the brand as well. Most stains tend to use cheaper, low-quality pigments which use harsh solvents.
Something that uses automotive-grade pigments will be the best choice for your fence. This means not only doing well against weather, but lasting longer as a whole. The pigments can resist UV rays while still holding that color longer than any of the cheap alternatives will manage.
Finally, a better quality stain will disperse itself more evenly throughout the grain of the wood. This offers a better finish that won’t have streaking, running, or lap marks.
Sealing Properties
The real point of the stain is not to provide coloration to the wood, but to protect it from things like moisture, mold, and UV rays. When you choose a quality stain, you want one that is going to effectively seal the wood in and keep it looking better for a long time to come.
Finding a stain that offers a paraffin oil bae is the way to go. This is one of the best ways to preserve the wood beneath, keeping it looking vibrant for a long time. Paraffin oil is also great at penetrating, providing a deeper and longer-lasting protection against water and UV damage.
Some of the cheaper oils out there have a tougher time penetrating into the wood and delivering a better result. With paraffin, you can have confidence that it will penetrate into even the densest of woods for better color adhesion, better sealing properties, and better absorption.
Only the best stains make use of nano sealers and wood conditioners, creating a better wood stain with greater color protection.
Resistant to Rot, Insects, Mold, and Mildew
A major enemy to any wood is moisture. Even a little bit of moisture is enough to promote things like rot, mold, and mildew while attracting insects that will do damage to the structural quality of the wood over time.
Choosing a stain that has a formula for resisting mold, fungi, and mildew – all of which lead to rot – is paramount. Good stains have mildewcides that are capable of resisting mildew and mold growth, which ensures the integrity of the wood over the long term.
Some of the better options on the market are also quite safe for the environment, made with non-toxic materials while not sacrificing any of the protective properties. If you want to go with a commercial-grade stain, they also offer rot-fighting compounds that can keep your fence looking newer for a lot longer.
Consider the Environment
Another thing worth consideration, especially in this day and age, is the impact that the stain of choice has on the environment. Stain and paint products can contain volatile organic compounds (VOCs) that eventually turn into gases and vapors that go out into the atmosphere.
That distinct paint smell you experience when you open a can of stain or paint? Those are the toxic and potentially harmful VOCs. In higher concentrations, they can even be dangerous to people and animals (more on that in a minute).
Most of the cheap options out there are created using solvents that have a particularly high level of VOCs. When those solvents begin to evaporate, the VOCs are released (sometimes known as off-gassing), staying in the atmosphere for months at a time.
Keep an eco-friendly stain in mind, one that has either low or no VOC quantity to them. If not for the environment, then consider the next concern.
Keep Pets and Kids in Mind
Maybe doing your part to help the environment isn’t all that important, at least not compared to how you feel about your kids or pets. Well, stains and paints that contain a lot of VOCs can be potentially harmful to them as well.
Remember, stains that are high in VOC can give off gas for months or years at a time. A strong enough content and it can wind up having negative health impacts on you, your children, and your pets. Toxic VOC exposure can lead to things like allergic skin reactions; nose, eye, and throat irritation; dizziness, headaches, or nausea; visual disorders; memory impairment; kidney, liver, or organ damage; and even cancer to humans and animals alike.
Choosing a low-VOC stain isn’t just keeping the health of the environment in mind, it is keeping the health of those important to you in mind as well. Keep everyone around your home safe by going for a low-VOC product instead.
The Different Ways to Stain a Wood Fence
(Prodigal Pieces)
Before you can worry about how to stain your fence, you should decide which is the best way to get it done. There are three ways to get it done: with a brush, roller, or with a stain spray gun. Each has its own benefits and downsides.
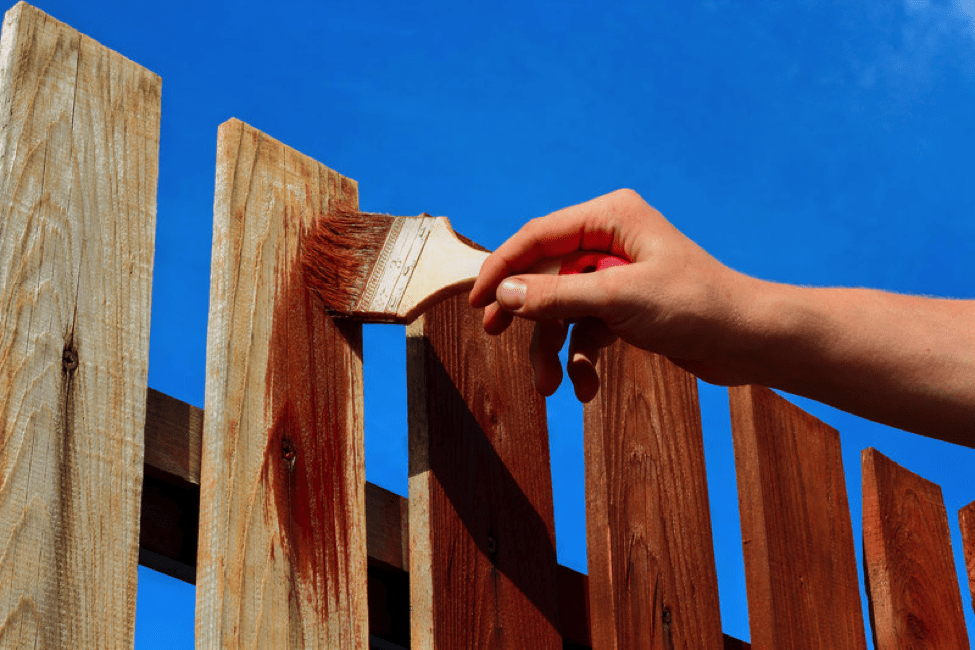
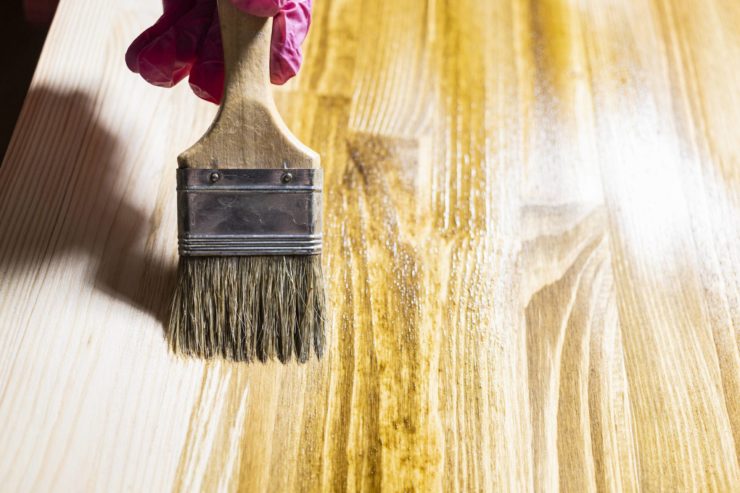
Brush. There is nothing quite like grabbing a can of stain and a brush, setting out to create the perfect looking fence. Using a brush provides superior control, allowing you to control your strokes and cover the spaces that you want to cover. They are also more ideal for touchup areas, using the greater precision to correct pooling or streaking.
The major downside to using a brush is the time. You will invest much more time in painting a fence with a brush than you would with a roller or spray gun. But if you prefer to be in control of where the stain goes, there is no mistaking the benefit of using the brush method.
Roller. For larger fences, painting with a brush may not be the most practical of options. That is especially true if you don’t have a lot of trim that requires more precise strokes when applying coverage.
The roller is the best of both worlds when it comes to speed and accuracy. It might not be as fast as the spray gun but will be much faster than using a brush. Though it may not be as accurate as the brush, it is much more accurate than the spray gun.
It is also easier to apply larger, more even strokes when using a roller. You can cut down on the length of your project and get superior coverage by using a combination of the brush and roller to apply the stain over the length of the fence.
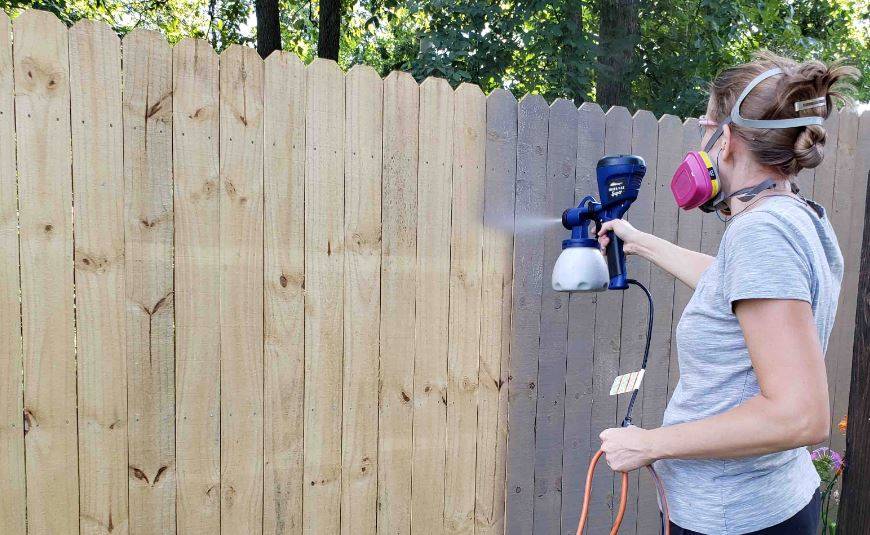
Stain spray gun. Without a doubt the quickest of the three options. Depending on the size of your fence, it isn’t out of the realm of possibility to cut down on the labor time by several times over. The speed of application is the clear benefit here.
The downside is two-fold, however. The first is cost. You have to pay for not only the stain but the spray gun. You might be able to rent one from your local home improvement store, but purchasing one may also be necessary. There is also the matter of control being an issue. If you have tighter spaces, it is possible to see stain go into unintended areas because those spray guns are not quite as accurate as a roller or brush.
How to Stain a Wood Fence
When the time comes and you are ready to stain your wood fence, there are a few basic steps that can help you along. Overall, staining a wood fence is not the most complicated endeavor but it can be screwed up with a lack of patience.
1.) Examine the Wood
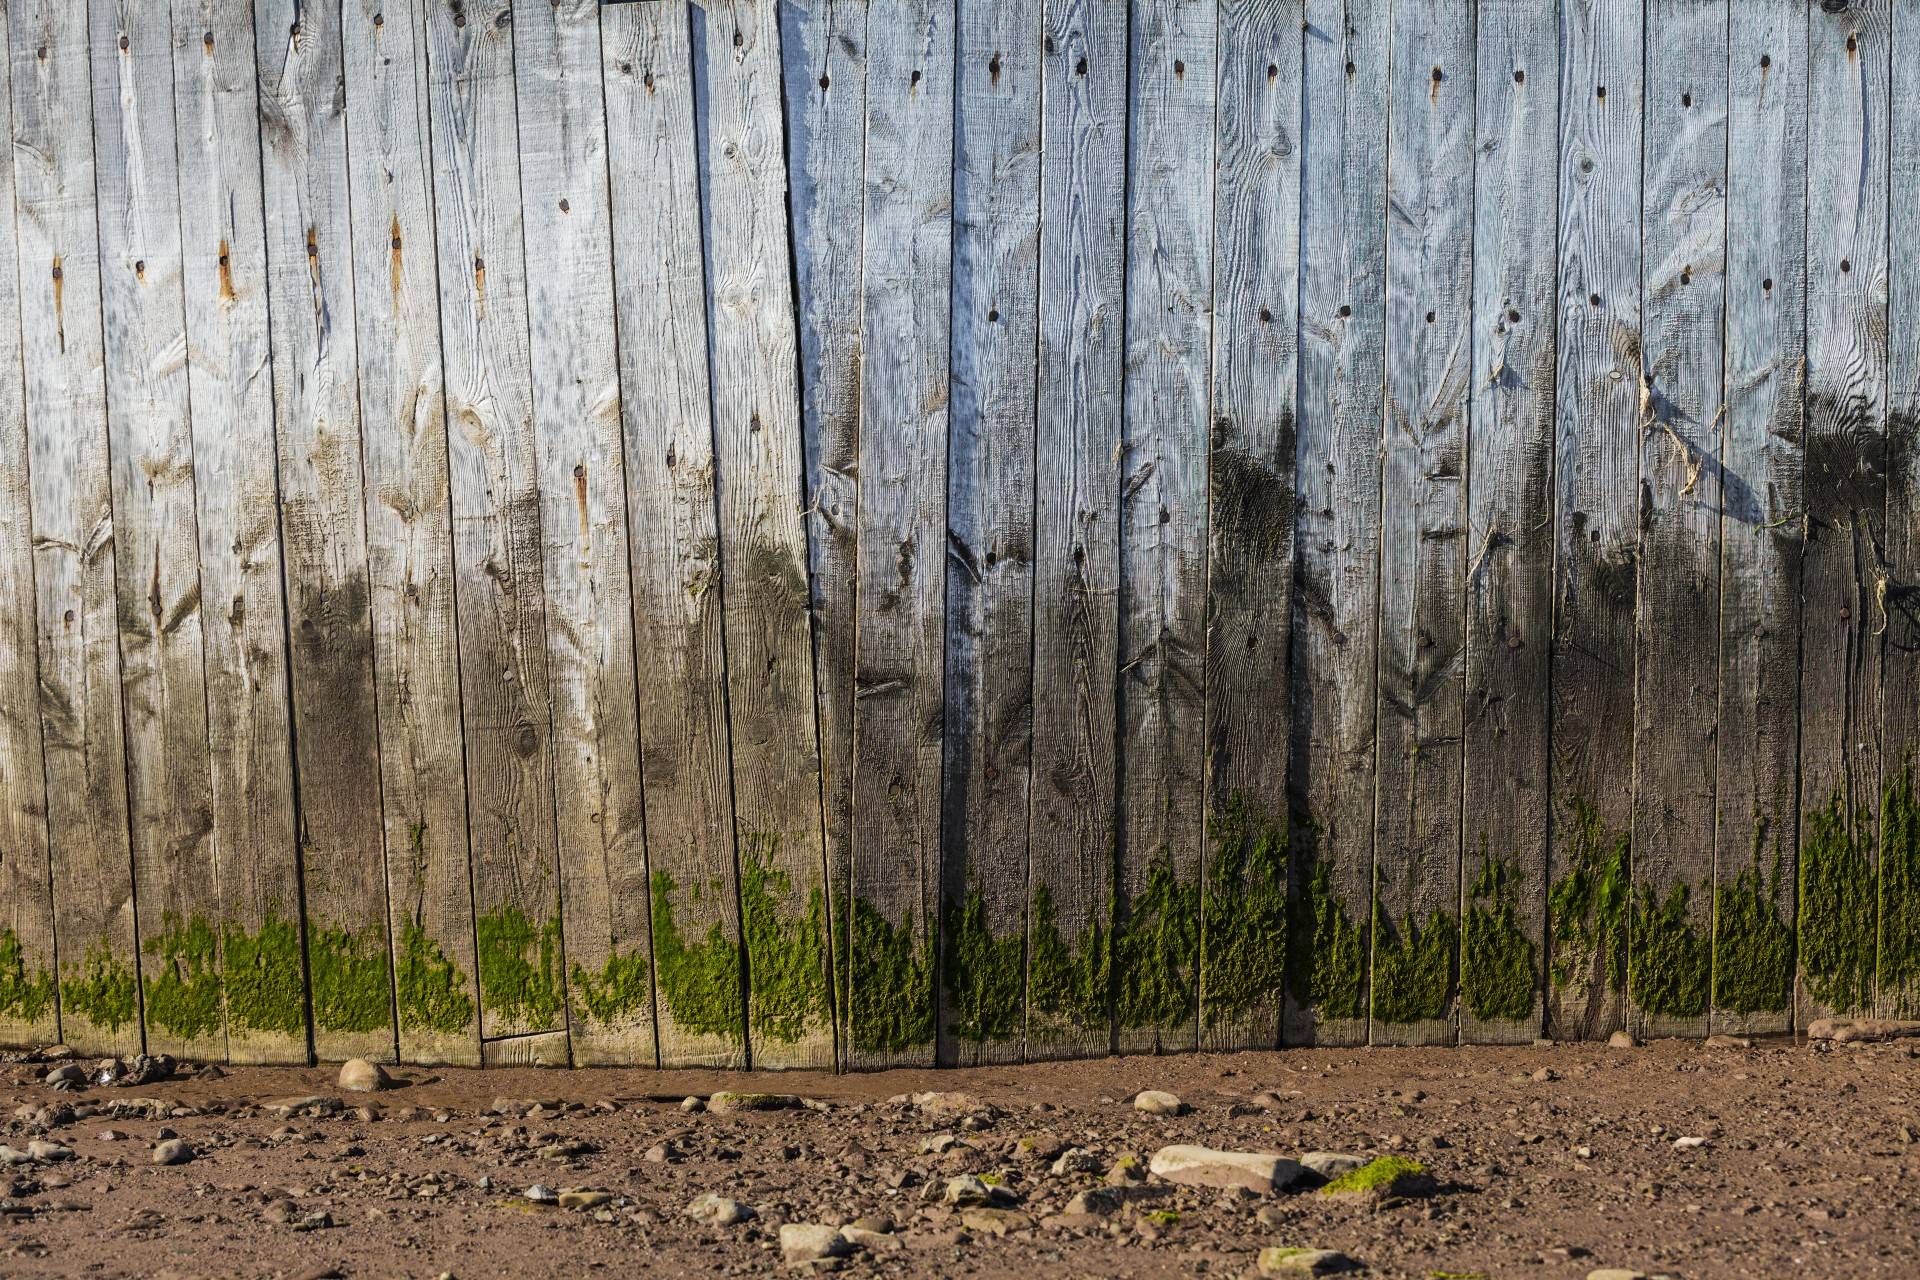
Start out by taking a look at your fence. Look closely at the wood, looking for things like nails, screws, staples, or any cracked or broken fence pieces that may be standing out. Those will have to either be fixed or removed in order to create the most optimal surface for applying your wood stain.
For older wooden fences, the project can come to a grinding halt when having to remove nails and screws. When you have removed all of the obstructions, take some sand paper and sand down the areas that look like they could cause issue with the application of the stain.
If you take time at the beginning of the project to deal with all of those issues, it can wind up saving you serious time in the end. Most of the time, it only takes a few minutes at the start of the project to resolve these issues, too.
2.) Clean the Wood
When you are confident that all the chips, cracks, breaks, nails, and screws have been dealt with, it is time to clean the wood. The good news is that this is one of the simplest and quickest aspects of the entire project.
Get a wood cleaner you like and apply it in a uniform, even way. The best bet is to follow the instructions on the back of the wood cleaner. If it recommends wearing safety equipment, make sure that you stay safe throughout the application.
When the cleaning agent has been fully applied, take a sot bristle brush or even a mop and work away any grime or debris. It should come off relatively easily; you will be surprised at just how much comes up in the course of cleaning the wood.
Give the fence the time it needs to dry or you will find staining to be quite difficult. Most of the time, a few hours will suffice, but a full day is probably the best bet.
3.) Test the Stain
This is important and a step that far too many homeowners and DIYers skip over. Take a few minutes to test the stain, either on a scrap piece of wood or a small, hidden area that no one will see. Make sure that you apply the same number of coats that will be going on the fence.
The goal here is to see what the stain will look like when it has dried. The last thing you want is to do the work of applying the stain only to realize it isn’t quite what you thought. A little test strip can wind up saving you a lot of pain in the end.
4.) Time to Stain
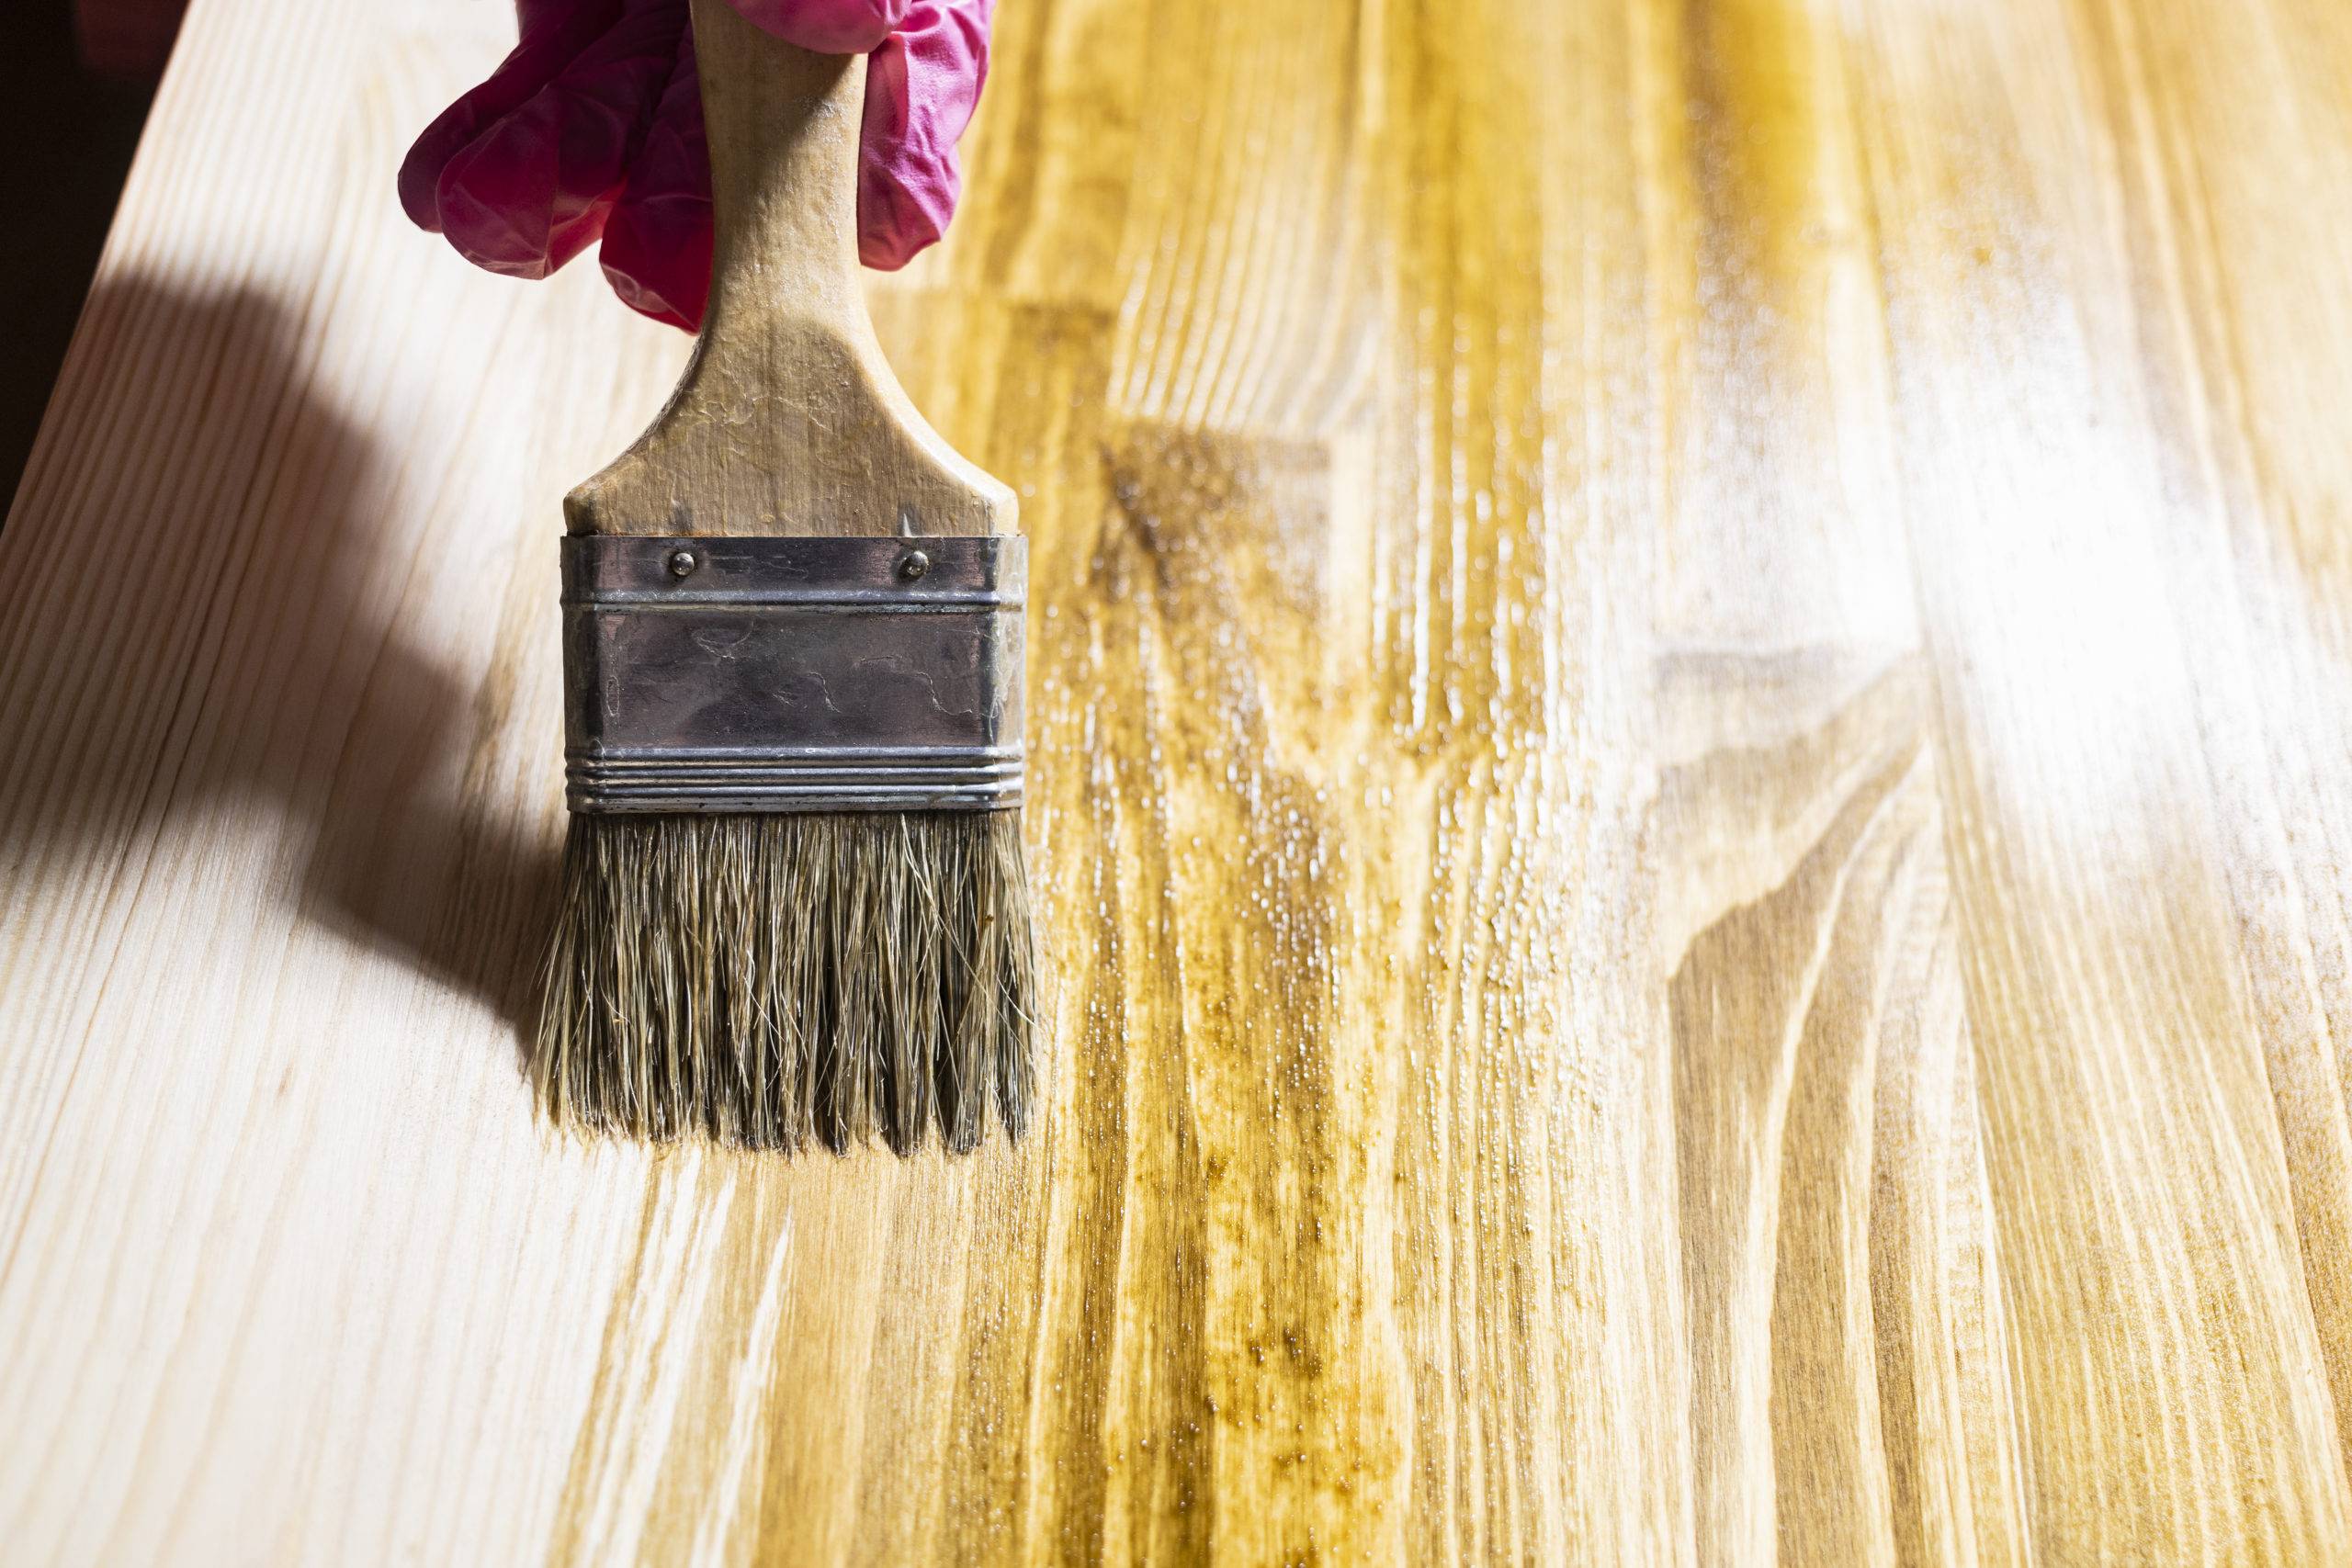
If you feel good about how the test area looks, it is time to move on to the real deal. With the wood properly prepped and dried, the most important part is to learn how to properly stain your wood fence from top to bottom.
No matter how you go about it – roller, brush, or stain sprayer – make sure that you keep your application as even as possible. You want the wood stain to go on evenly to avoid darker spots, streaking, or missed areas.
Cover the entire surface of the fence from top to bottom left to right. Where you see stain puddles or blotchy areas, make sure to quickly smooth these areas out. Take a minute to give the space a good once over after you have applied the first coat to look for the aforementioned issues.
5.) Let it Dry
Before you can apply a second coat or determine that you have performed a job well done, you need to allow the stain to rest and dry. Generally speaking, you want to give it at least 24 hours but 48 hours may be more appropriate.
Everything depends on the weather and humidity in the area. Scope out the weather forecast and find a two-day period where the weather will be clear. If you have the option, lean towards 48 hours of drying to ensure that everything dries appropriately.
6.) Apply a Second Coat
Where necessary, it will be time to apply a second coat. This depends partially on the stain that you choose; manufacturer directions should provide a pretty clear indication as to whether or not a second coat will be required.
If you do have to apply a second coat, make sure that you follow the same directions as in step four. Try to apply the second coat as evenly as possible to avoid blotching and puddling. Any spots that do suffer from those issues, be sure to even them out before they have a chance to set in any real, meaningful way.
As was the case with the first coat, the second coat will require time to dry. Though it can take a little longer – another day or two – it will be worth the wait. The stain should dry evenly and as dark as you expected. If you want to go darker, just keep adding coats on top of the work you have already done.
7.) Performing Maintenance
Now that you have finished staining your fence, the work may seem done but it is not quite there yet. Though the newly stained fence will look great, you need to make sure that you take the steps to properly maintain it so that it can look great going forward.
The good news is that you only need to apply another stain every year or so, if that much. It depends on how clean you keep the fence, removing mold, mildew, and dirt as it shows up. The more stringent you are about keeping the fence clean, the less staining you have to do to keep it looking new.



Add comment