A bad pressure switch can cause a lot of problems in a home well. It can stop water from flowing into the pressure tank, and by default shutting off all water to your home. Or, it can power the well pump to run continuously, and eventually ruin the pump.
Ruining the pump means pulling it out of the ground, connecting a new pump, rewiring the system, dropping the pump with lines attached back down the well casing, connecting the pump to the pitless adapter, and then paying the pros that completed the job several thousand dollars.
An easier solution? Learn to check the pressure switch yourself and solve the problem for a few dollars instead of a few thousand early in the process. Here’s how to tell if the pressure switch on your well is bad.
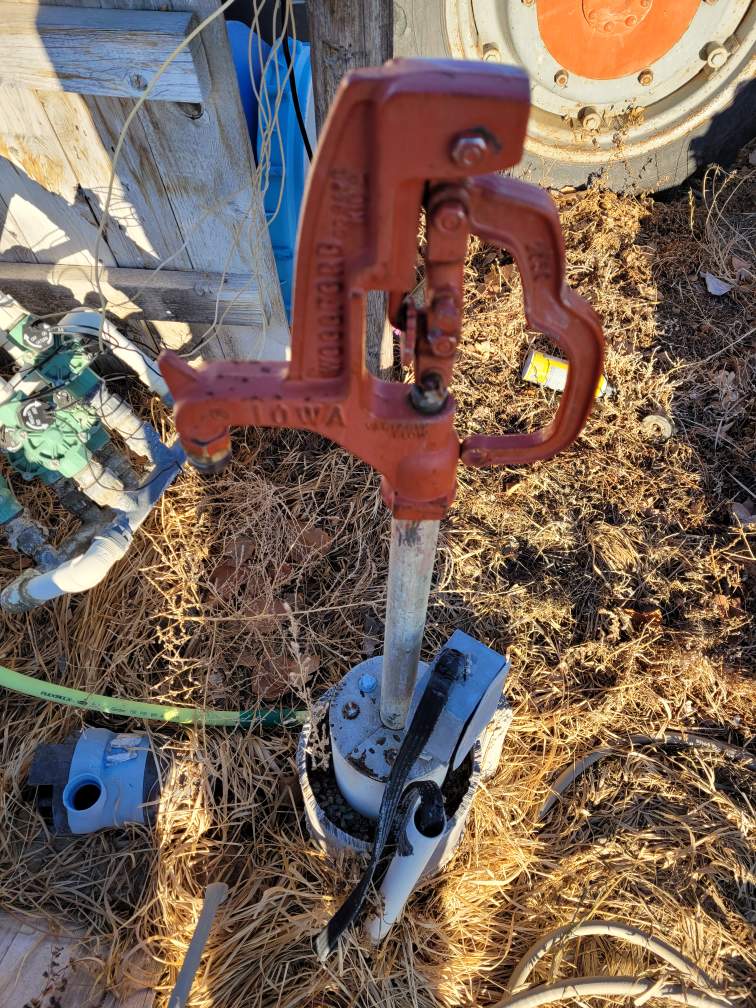
A standard agricultural style well cover – note the frost-free hydrant and steel well casing – Photo by Randy Tucker
The Components of A Home Well System
A home well system has five main components:
- The well pump;
- The well pump pipe;
- The pipes to the home;
- The pressure switch;
- The pressure tank.
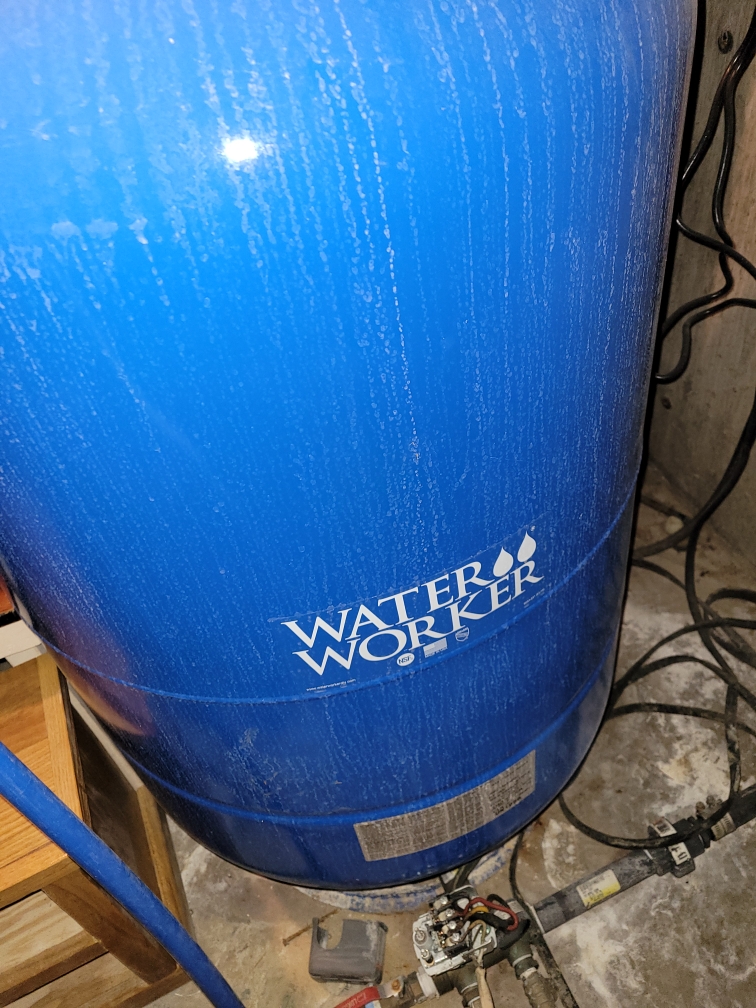
A standard 80-gallon pressure tank – Photo by Randy Tucker
The pressure switch runs the pump, allowing the water to flow into the home, and then it shuts off the pump once the pressure in the tank meets the setting on the switch. A pressure switch comes in two varieties: the first is for a 120V system and the second is for 240V pumps. It works perfectly unless the switch is compromised.
If the pump won’t shut off, or there is no water, odds are you have a pressure switch issue.
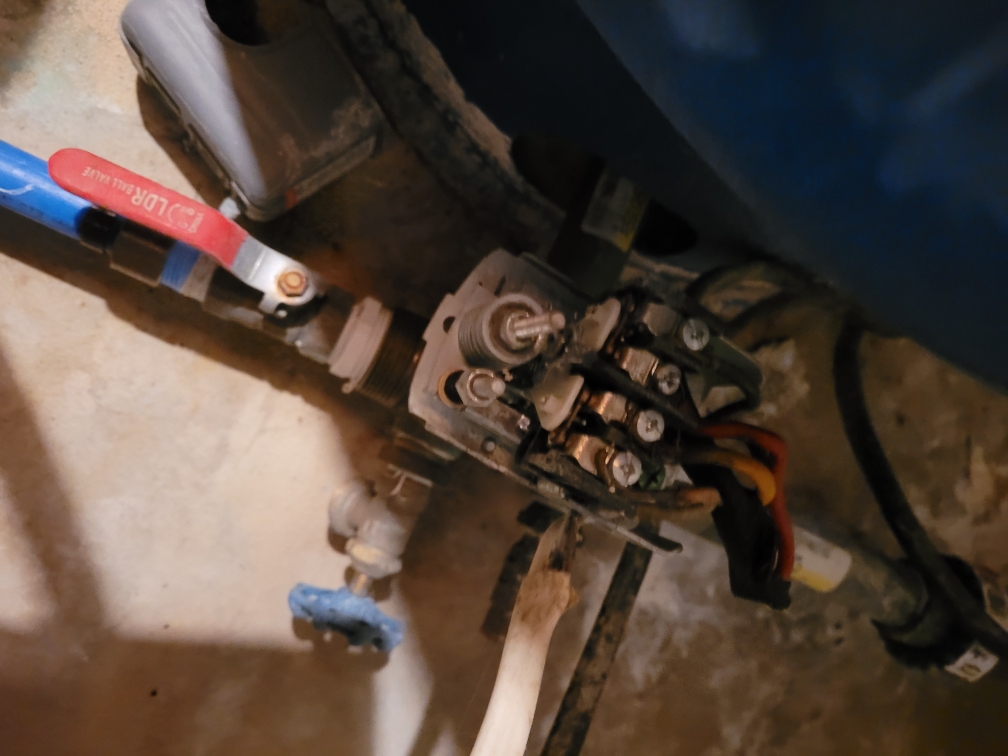
The pressure switch is wired directly to the well pump – Photo by Randy Tucker
Locating the Pressure Switch
The pressure switch is attached to the bottom of the pressure tank and is easy to locate. Find the t-shaped copper fitting that has the outside water supply connected on one side and the outgoing house water supply on the opposite side.
In between, on top of the “T”, you’ll find the pressure switch.
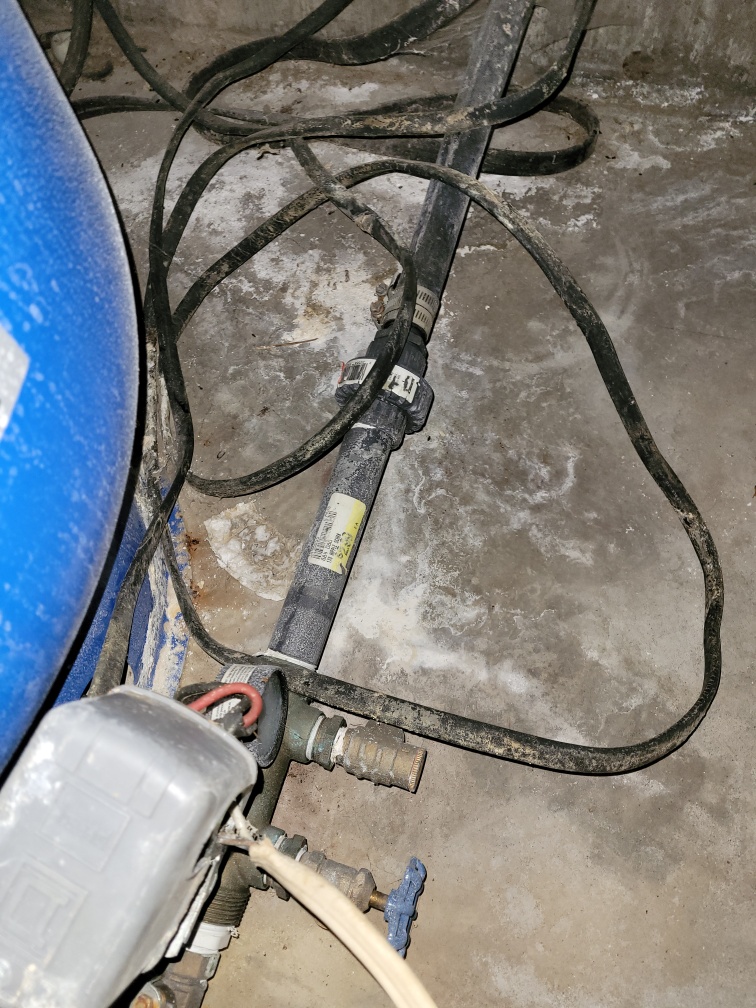
The pressure switch cap is centered between the incoming and outgoing water supply – Photo by Randy Tucker
How to Tell if the Pressure Switch Is Bad
Remove the cover from the switch and visually inspect it. If there is corrosion, or perhaps a burned wire, you’ve located the problem.
The power to the pressure switch comes from the pump control box mounted nearby. Pulling the cover off the control box cuts the power to the switch.
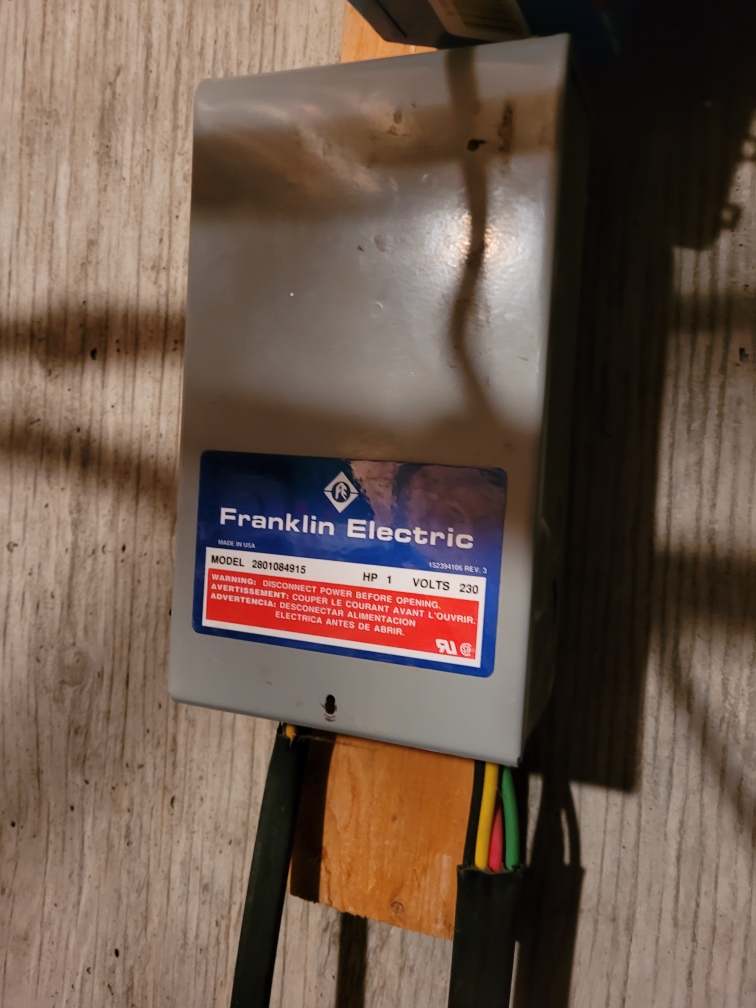
The control box supplies 240V to your pump – Photo by Randy Tucker
Pro tip: Before you get started, take a clear cell phone photo of the switch with enough light to tell the location of the various red, green, black, and white wires connected to it. You’ll use this as a reference if you have to purchase a new switch.
If there is corrosion, you can loosen the attachment screws then attempt to remove the corrosion with sandpaper, or sometimes a nail file. Clean the corrosion off the connecting wires too.
If there is a burned-out wire, you’ve had a short. You can clean the burned area along with the wire and reattach it to see if that repairs the problem, but it will be a long shot. A burned wire usually means the switch is damaged as well.
A final test is to close the switch by pushing down on it with a screwdriver. The power will still be connected so don’t touch any metal on the screwdriver or switch. If the pump kicks on when you manually close the switch, the release spring is damaged and a new switch is in order.
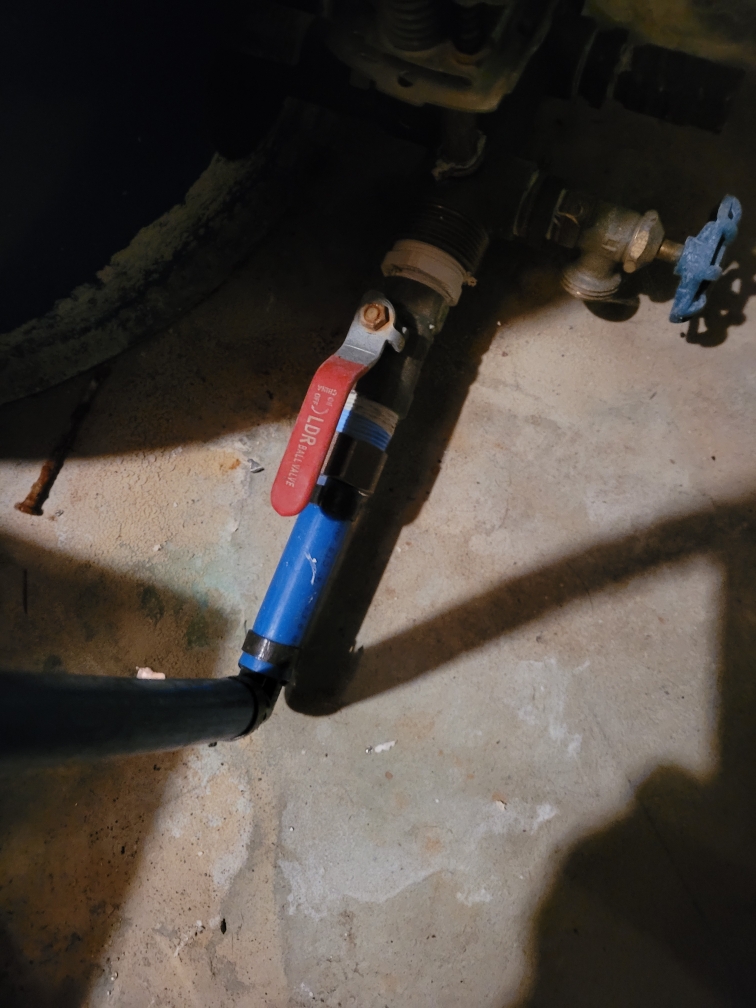
The shutoff to the home water supply is on the outlet of a pressure tank – Photo by Randy Tucker
Replacing the Pressure Switch
If you need to replace the switch make sure the power is disconnected. Close the valves on both sides of the “T” to stop water from flowing in or out of the tank.
Unhook all the wires going to the switch, and pull them aside. Twist the switch off with a small pipe wrench and remove it. Wrap the fitting on the new switch with a layer of Teflon tape and attach it.
Refer to your cell phone pic and connect the wires exactly as the photo indicates.
Reattach the pump control box and the power will come on running the pump. You’ll have to twist the two adjustment nuts on the new pressure switches to match your upper and lower PSI limits.
Put the cover back on and you are finished.
Photo via Magnificent Plumbing & Rooter



Add comment