Carpentry is where all those math lessons from eighth grade finally find a purpose. You might not have understood what all the fuss was about Pythagoras back when an unexpected pimple could ruin your entire social life, but you know it now.
Nothing brings more satisfaction in the do-it-yourself world than designing, laying out, and installing a unique creation. And one of those surprisingly-simple things to build is your own stairs!
You might say it’s a “step-up” (bad pun) when it comes to building stringers for stairs. Many home supply stores sell standard size stringers for steps that you simply attach treads to and call it a day.
Why not make your own? It’s not that difficult, doesn’t require a lot of material or tools, and can be customized to your specific project. One size does not fit all in adding steps to the patio or replacing a set on a deck or mobile home.

Photo Credit: Pexels
Douglas Fir Is My Go-To Lumber

Photo Credit: UnSplash
When it comes to lumber, you can’t beat “Doug fir” for strength, durability, and ease of workmanship. Douglas fir is the strongest of the softwoods. In the era before engineered floor joists, a 2×12 section of fir was the go-to lumber for wide expanses of unsupported flooring. If you’re building small steps, less than four feet high, you can use hemlock or pine, but if your stairs are reaching higher, choose Douglas fir.
Start With Finding The Crown

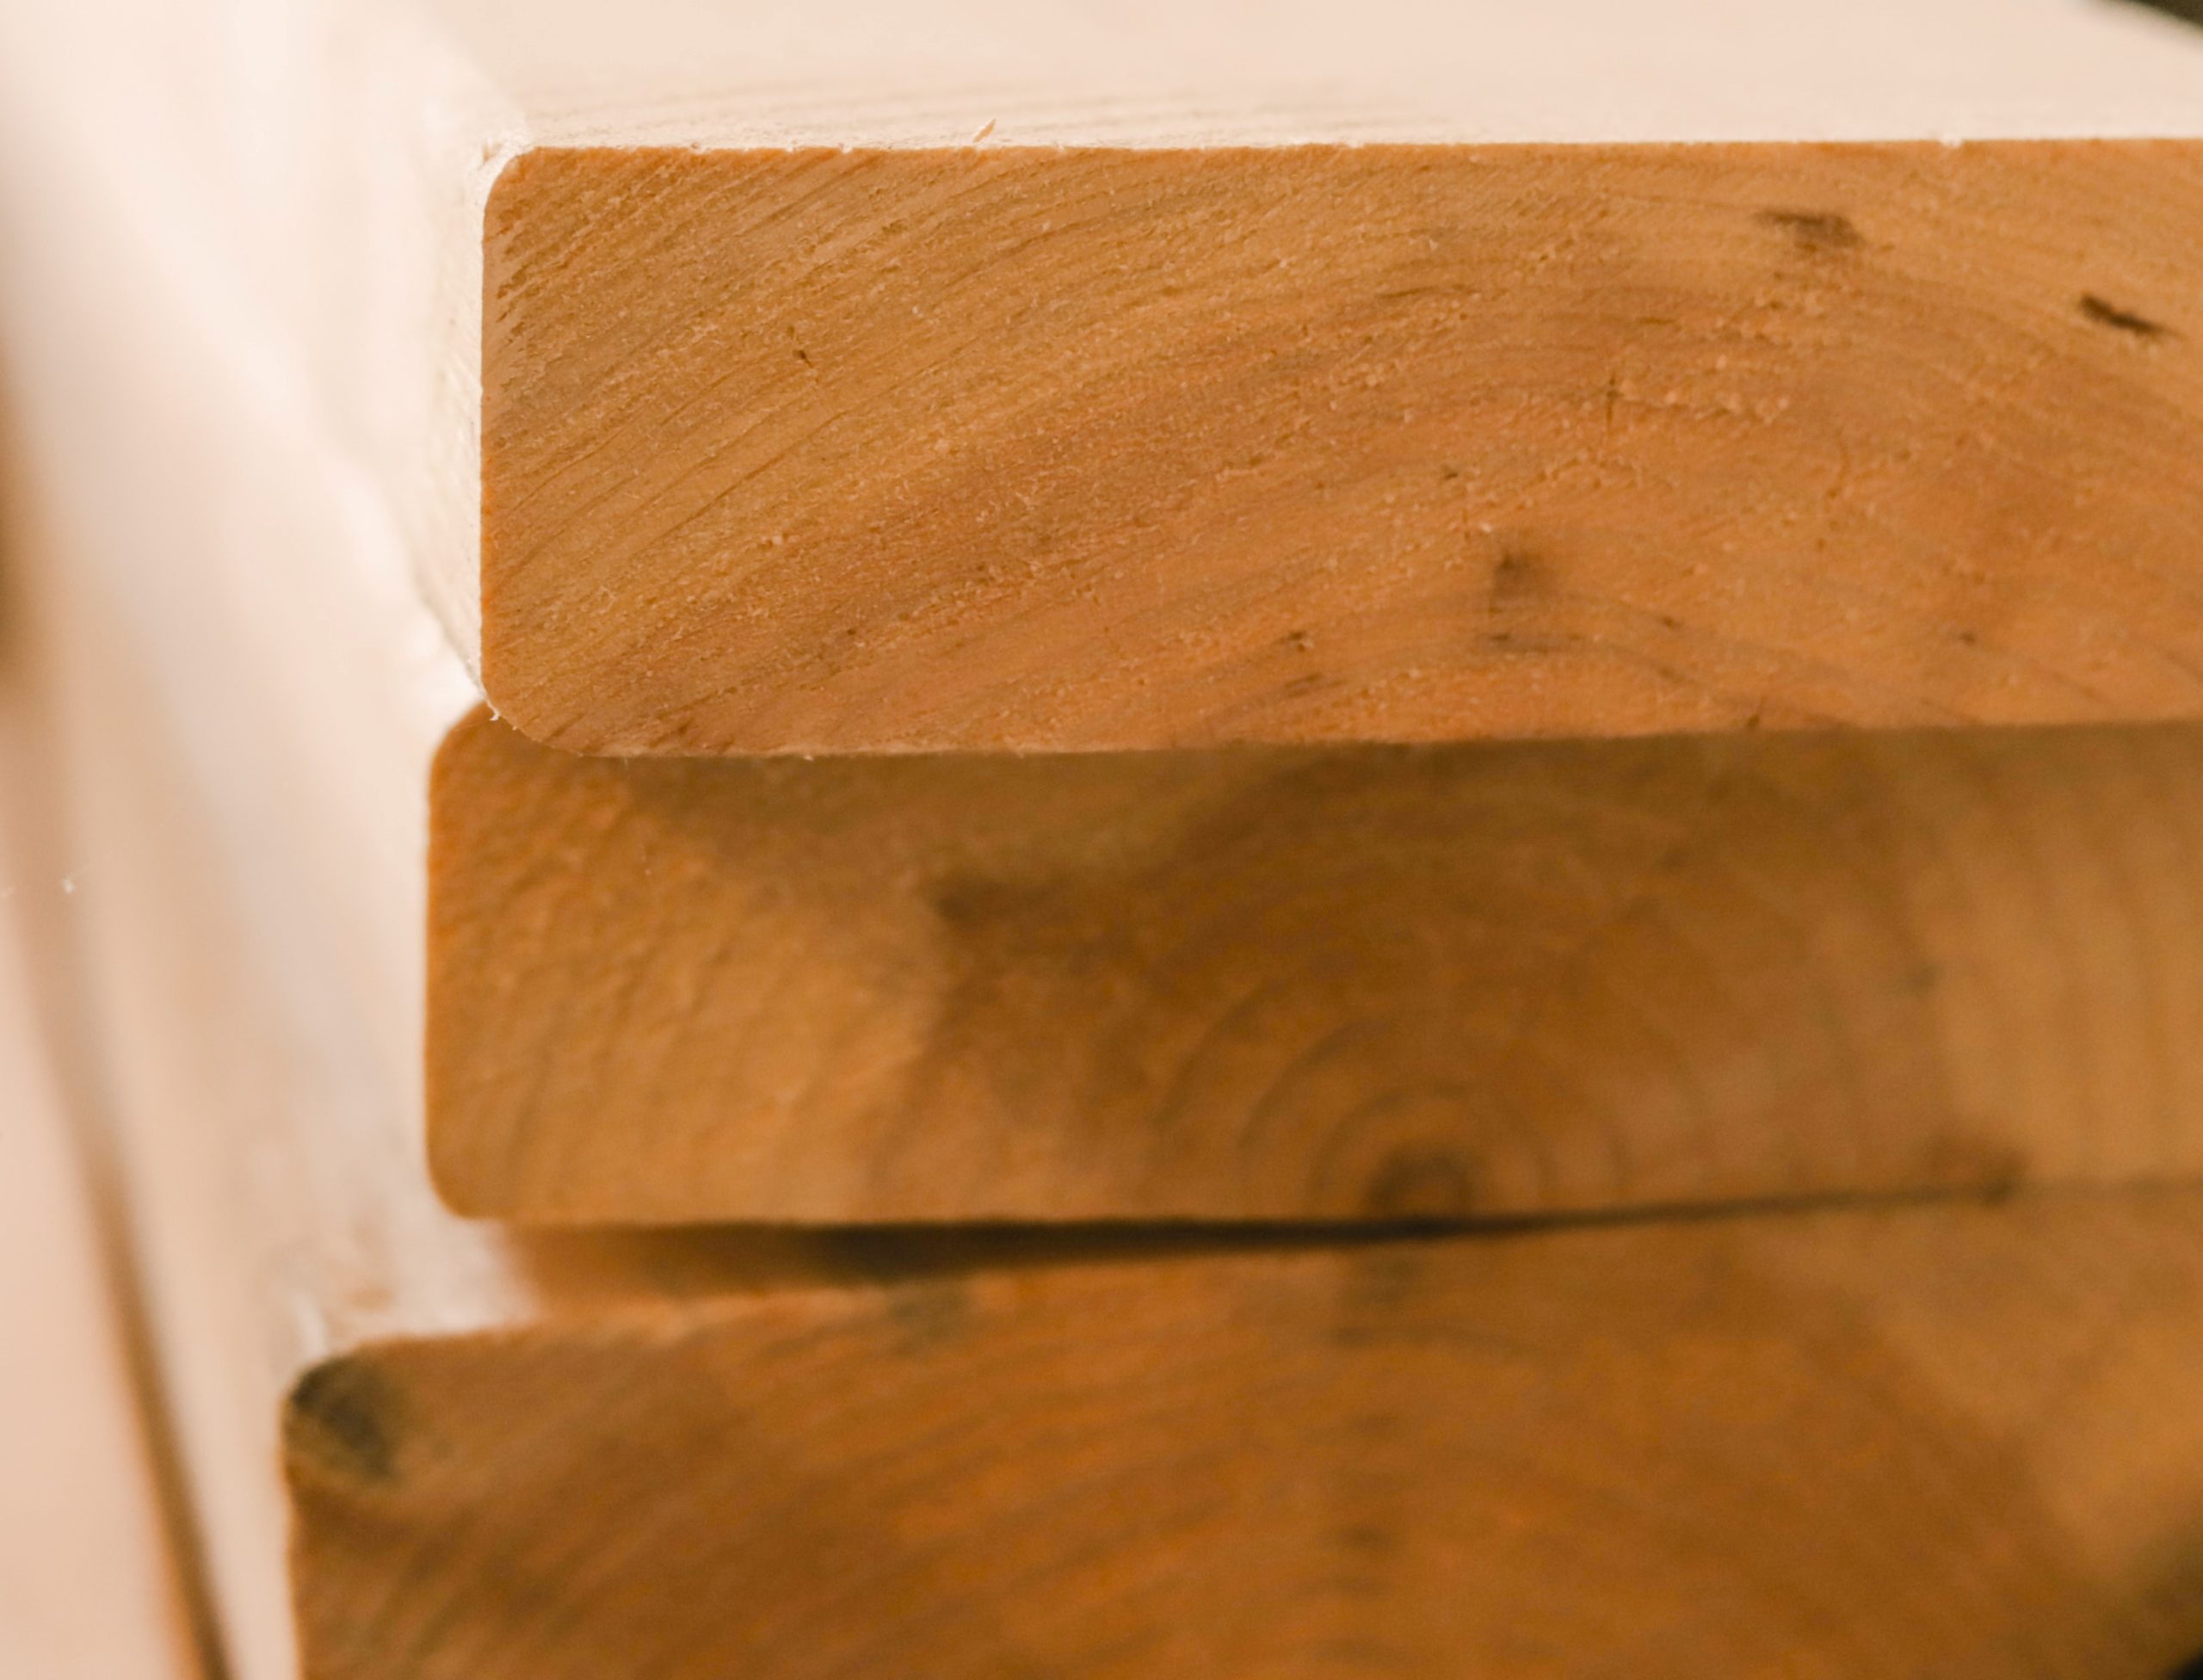
Lumber has a crown, sometimes it’s difficult to find. The crown on a board is the tighter grained edge. If the grain is tight on one edge, then widens as it reaches the other, you’ve found the crown.
Crown is important in all construction with natural lumber. It is crucial in stair design. Placing the crown up reduces the sag the lumber will experience over time. Gravity pulls on the board no matter what, but the tighter grained crown retains its integrity against the inevitable pull of gravity.
Remember The Rule Of 17

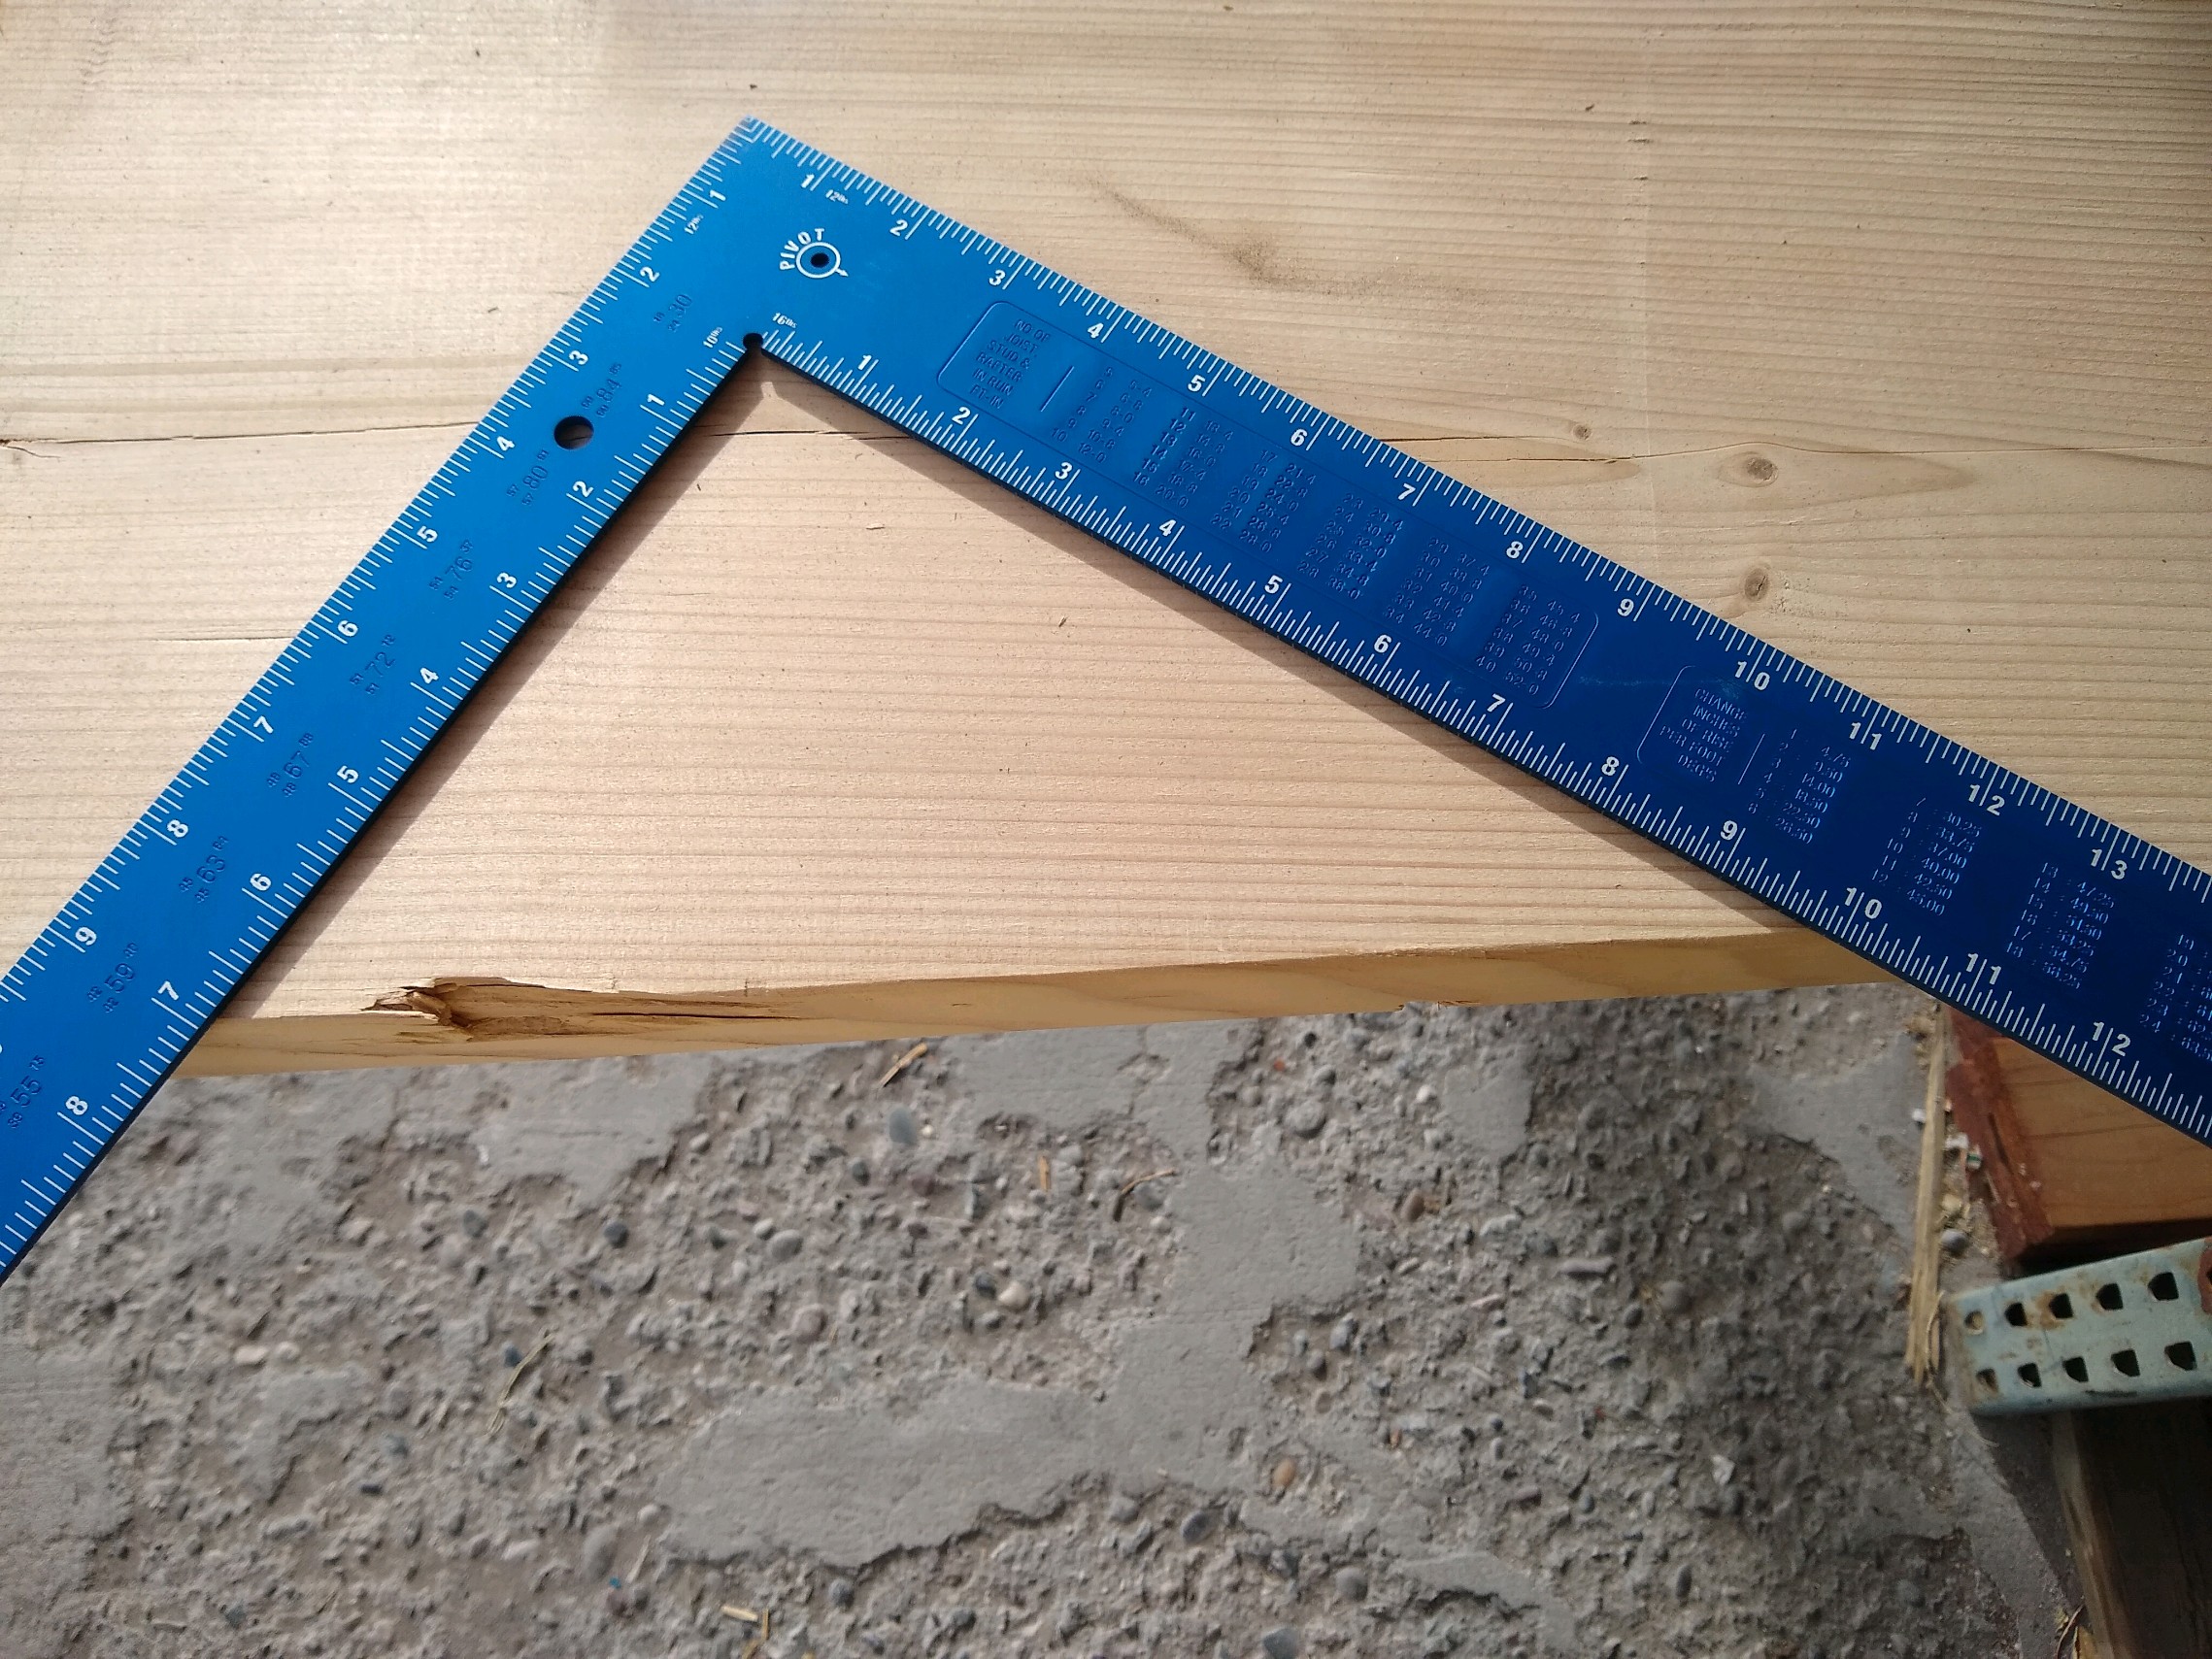
The rule of 17 – the square is on 7 and 10 on the edge of a board – photo by Randy Tucker
One of the coolest formulas in all of the carpentry world is the “Rule of 17” in stair construction. Remember rise-over-run in the slope-intercept formula in Algebra I? Even if you don’t it’s a straightforward connection. The rise of your step added to the length of the tread on that step has to equal 17. A standard step is seven inches high, a standard tread is 10 inches wide, that’s 17.
Unless your steps are going into a basement or other area with light traffic your steps should be a maximum height of seven inches. That’s the standard that most people expect. Some folks don’t handle stairs well, but with a railing, almost everyone can maneuver on a seven-inch rise.
ManMade Recommended: 8 x 12 Carpenters Square
How Many Steps?
Two factors determine how many steps you’ll need on your stringers. How high do you need to go, and how wide is the opening? Inside a building, the length of space you have to extend your stair stringers is a crucial measurement, outside it doesn’t matter that much, a standard seven-inch step can go as high as your 2×12 can reach.
If you need to build steps to reach eight feet high and want your steps at seven inches here is the formula to follow:
Height (in inches) divided by seven (the height of the steps) minus one (the top level is the final step, you won’t need to cut that one)
In our example:
8 feet = 96 inches = 96 / 7 = 13.71 – You can’t make 13.71 of a step, so round it to 14, and subtract one step – You’ll need to cut 13 steps out of your 2×12. The .71 difference could be a problem with the top or bottom step, being not uniform. To avoid this, take .71 x 7 (the extra rise of your step) That’s 4.97, divided 4.97 by 13 (the number of steps) and you get .38 inches, which is close enough to .375 (3/8th’s of an inch) for our purpose. Subtract 3/8th from 7 and you get 6 5/8th for your steps. That means the tread will be 10 3/8th equaling that magic 17.
13 steps with a 10 3/8th tread is 134 7/8 inches (135) You’ll need to purchase 14’ 2×12’s for this project.
Layout Your Markings

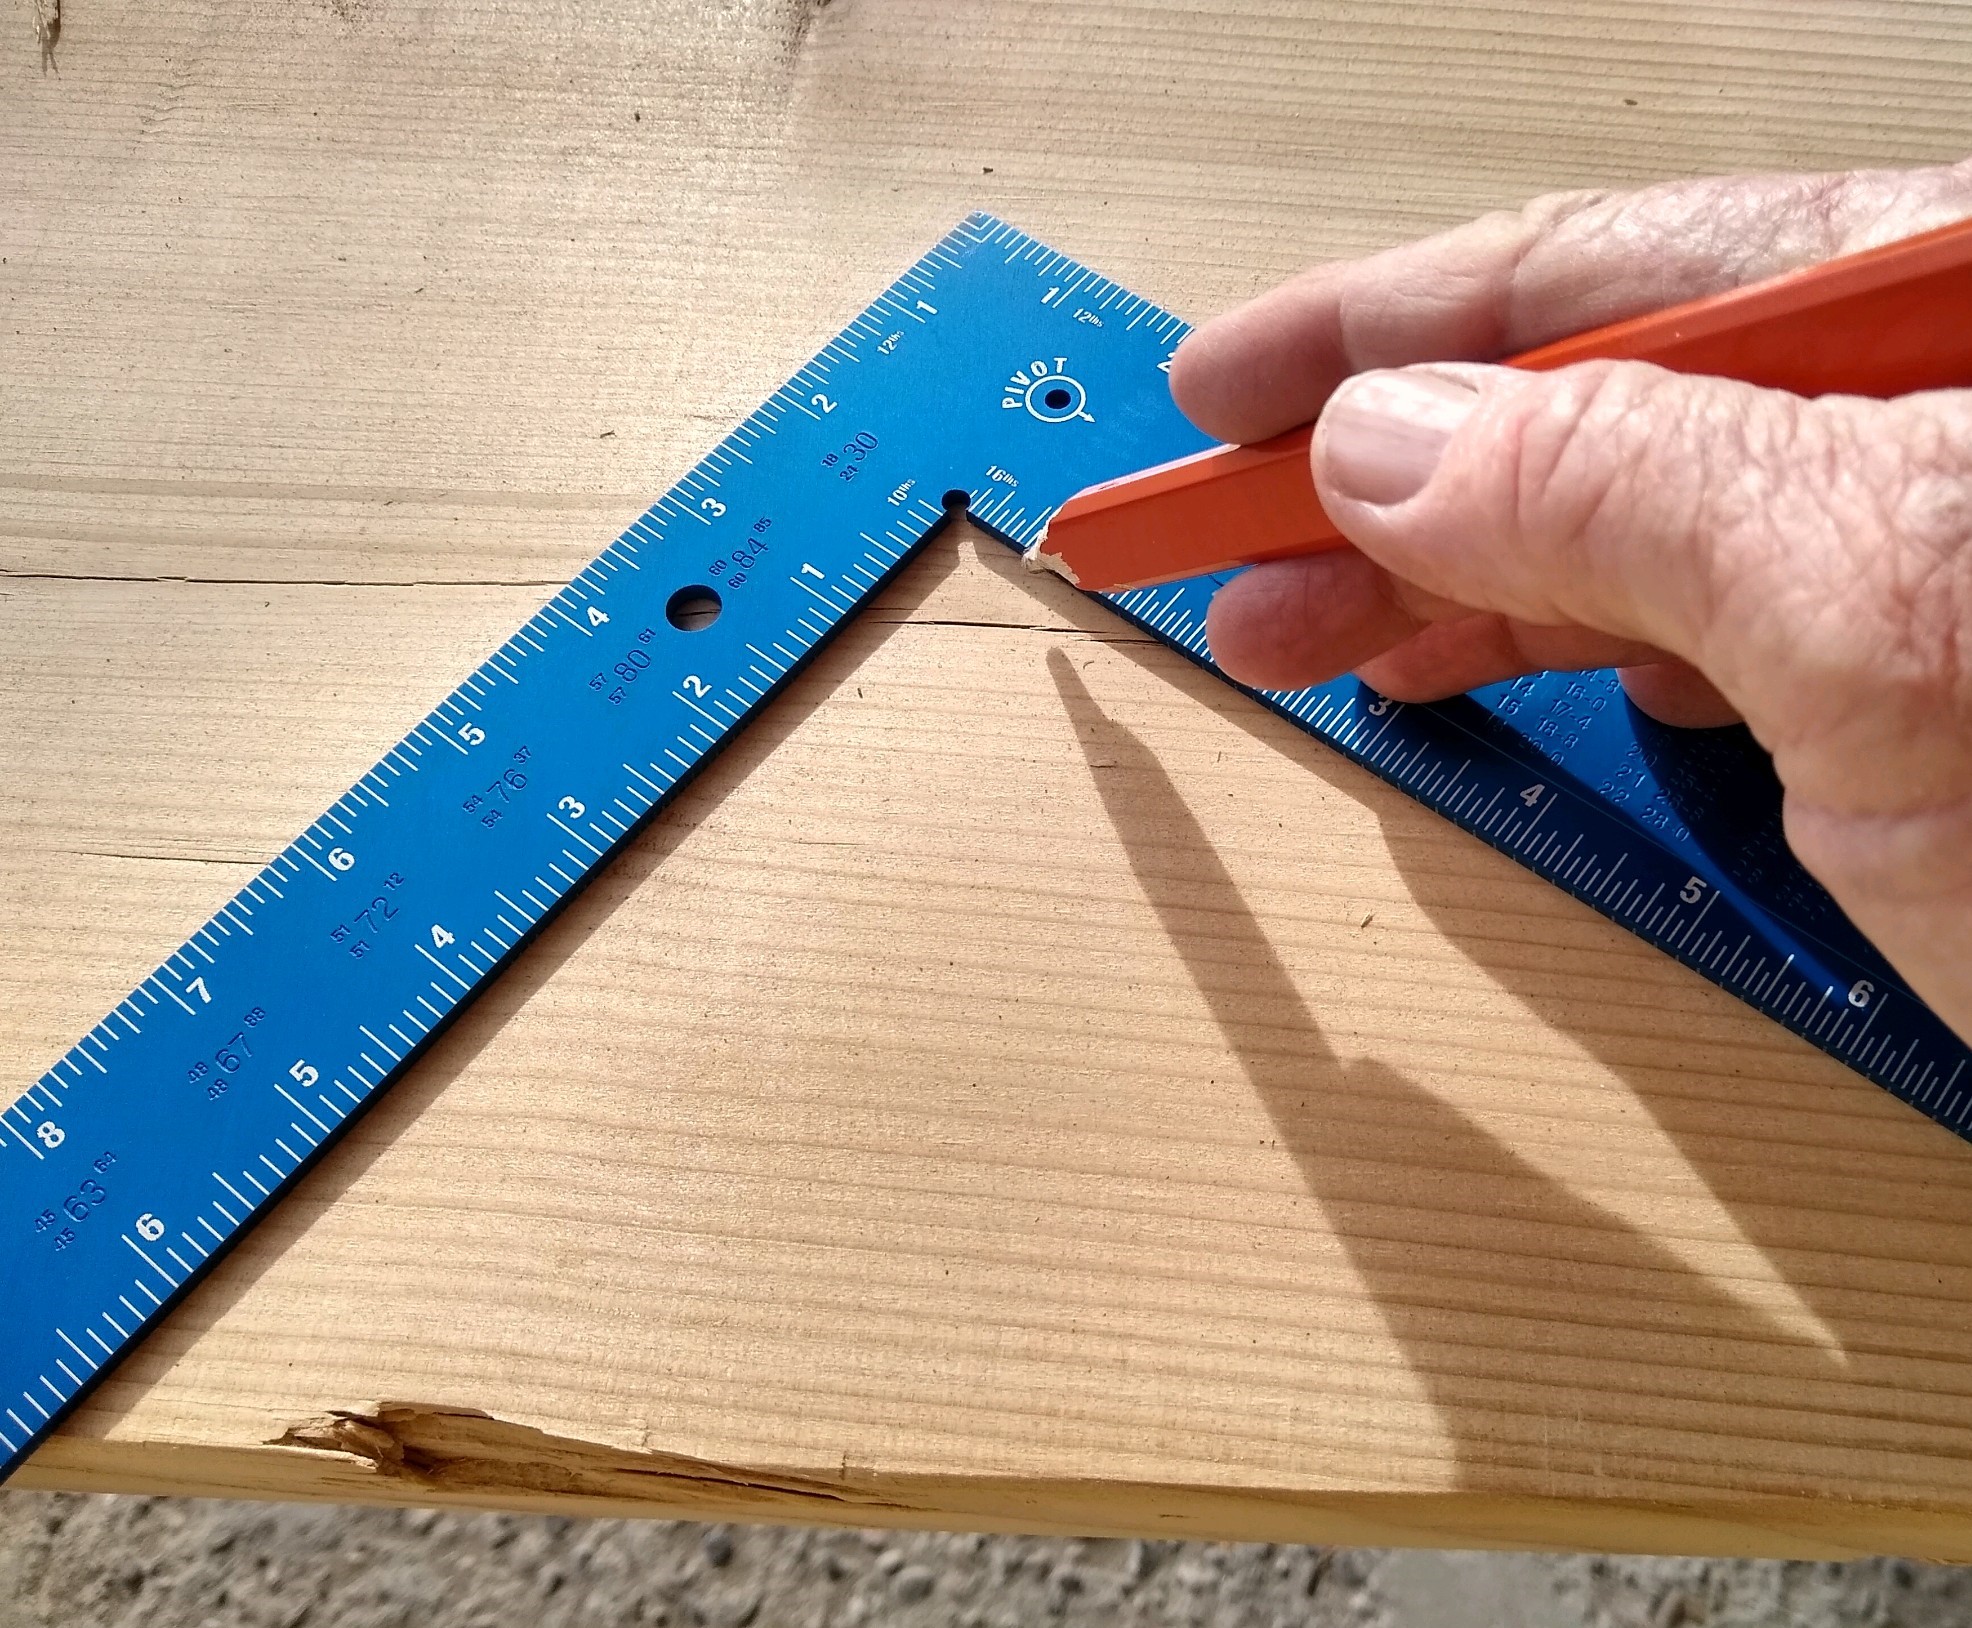
Mark the inside of the square placed at 7 and 10 inches – photo by Randy Tucker
Start at the bottom, crown down (you’ll flip the stringers over when you’re done), set your square at 6 5/8th and 10 3/8th, mark the angle, repeat the process 13 times. Cut the triangles out of the 2×12. When using a power saw be careful to stop the saw on the mark, then cut the triangle loose with a handsaw. The circular blade on a power saw cuts deeper on one side than the other.

Finally, take the stringer to your step location. Set it up to see how it fits. If you’re happy, use it as a template to mark and then cut the other two risers. A three-foot stair width requires three risers.
That’s it, you’ve built custom stair stringers. Put them in place, attach a tread on the bottom step, another on the top, and start adding tread on the remainder. You’re done, new steps! If you make your own stair stringers using our rule of 17, let the ManMade community know by sharing it with us on our Facebook or Pinterest.


Add comment