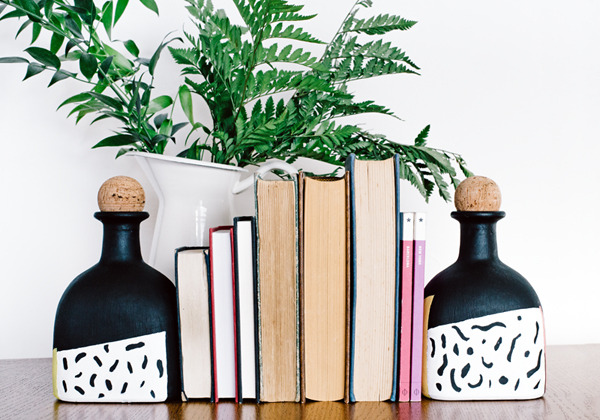
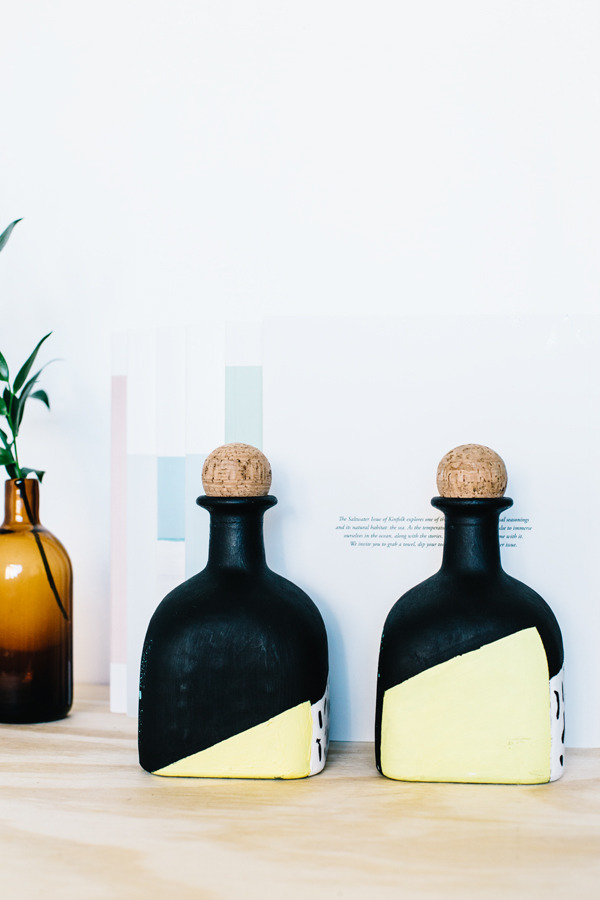
We took a current trend in graphic design as inspiration and we turned it into a super easy DIY project to create these lively bookends. Read on to make your very own!
Have you heard of the Memphis Movement? It’s a design trend from the early 80s that has made a comeback in the last year or so and it’s still going strong. Its signature mishmash patterns can be spotted on all kinds of products, from duvet covers to ceramics.
We love how these graphic shapes can bring a touch of playfulness into a room, and since there’s no set rules to create a pattern, you can design your own!
So when Patron got in touch and asked us to help them kick of their Art of Patron Bottle Art Contest this year, we knew exactly what we wanted to do. The Bottle Art Contest is now in its second year, and entrants are asked to create a piece of inspiring, entertaining, or just plain interesting art using Patron bottles. The Grand Prize winner gets $10,000, and 9 finalists will win $1,000 each!
The project I’m going to show you today doesn’t count as an entry (shoot!), but hopefully it’ll inspire you to come up with something of your own, and enter the contest! If you do, make sure to let us know in the comments so we can cheer you on!
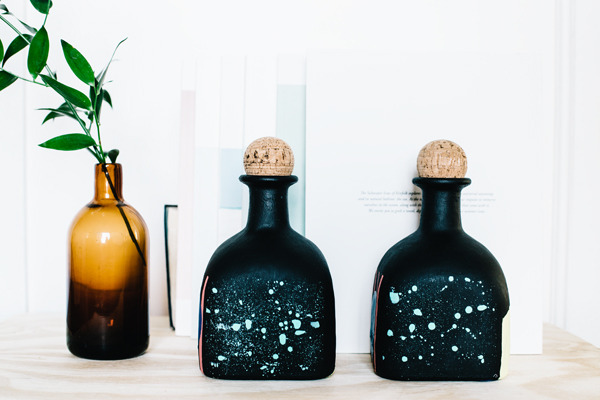
Ok, now on to the tutorial: I painted the bottles with four different patterns, so that they could be mixed and matched depending on the mood.
Here’s how you can make your very own Memphis Movement Bookends:
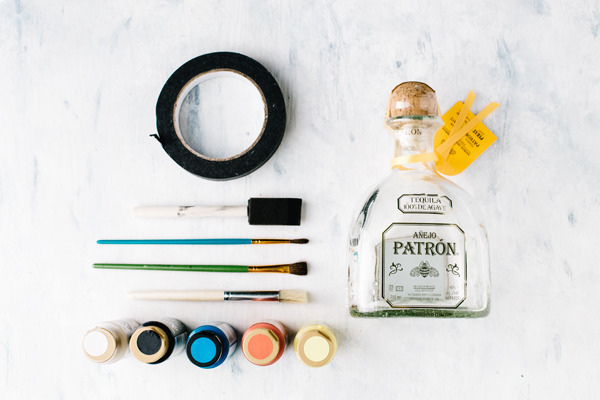
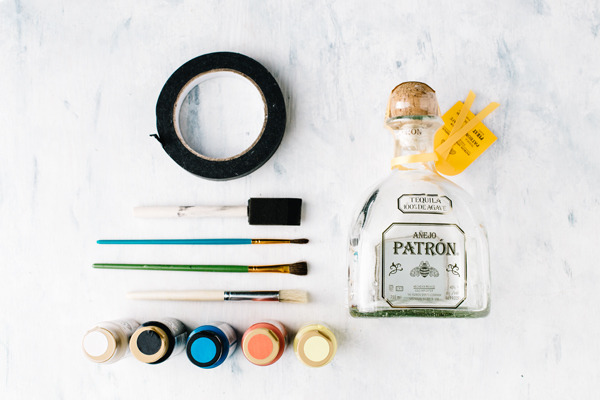
What you’ll need:
- A couple of empty Patron bottles (how you empty them is up to you, but I suggest something delicious, like this Perfect Shaken Margarita)
- Set of brushes – try to get some with soft bristles so you end up with a smooth finish, also have a couple fine ones to trace lines. A sponge brush is helpful to finish symmetrical corners.
- Painter’s tape
- Multi-surface acrylic paint OR glass paint* (see note below)
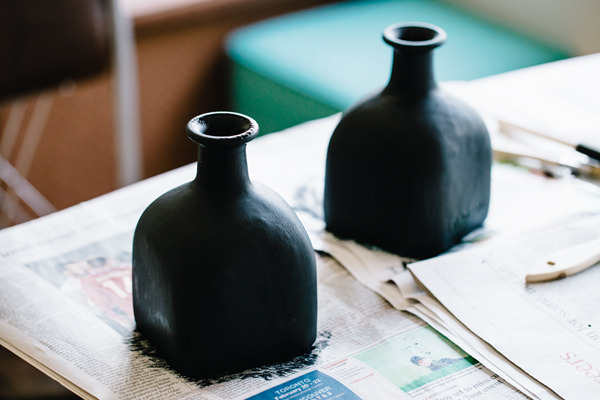
- Newspaper to cover your work area, a few rags for spills, and a container to rinse your brushes.
- A Memphis Movement inspired design of your choice, go ahead and get creative! See some inspiration here
- Sand (optional, see note below)**
Notes:
*If you’re going to use multi-surface acrylic paint, make sure to handle the bottle with care as it can chip or stick to surfaces at high temp (e.g. if it’s always on direct sunlight). For this project we used acrylic and it worked fine. If you prefer to use glass paint, you’ll have to bake the bottle to set the paint. Make sure to place your painted bottle in the oven BEFORE you turn it on and bake at 350F for about 25-30 min, preheat time included (read your paint instructions just in case!), also you should let it cool down completely with the oven off before taking it out.
**If your bookends need to hold heavy books, then fill them with sand. In our case they’re mostly for decoration.
Instructions:
1. Start by washing the bottle thoroughly with soap and warm water. Remove all labels and label residue. You want the surface to be smooth and clean. Dry your bottles and set bottle cap aside.
2. Add the first coat of paint, this will be your base. Make sure to paint at least 2-3 coats to cover the glass completely. Always let the paint dry completely in between coats, or you’ll rub it off.
3. You can use a pencil to trace your pattern or, if you have a good steady hand, then go ahead and start to paint it. It’s easier to make the outlines of the pattern first, and then fill with color.
Use painter’s tape as needed to avoid spilling color everywhere. One of the main points of this style is to have solid color blocks. You can also use the tape to make stripe patterns.
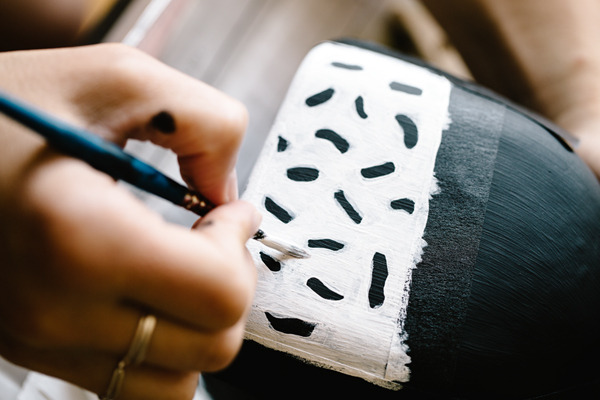
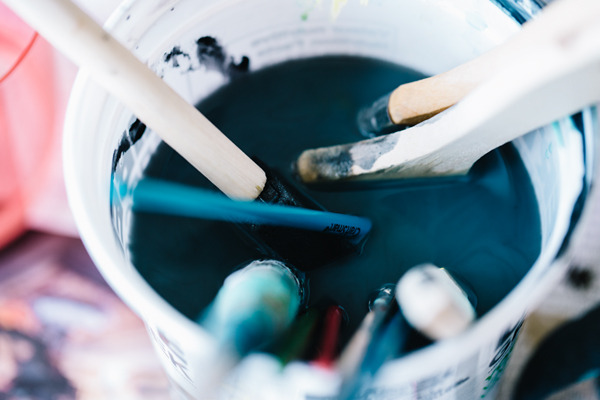
4. Wait for each side to completely dry before you start the other one, otherwise your pattern or design could end up on your working table.
To make a splatter design, dilute some paint with lots of water (depending on the type of paint) and gently run your finger through the brush while aiming it at the bottle.
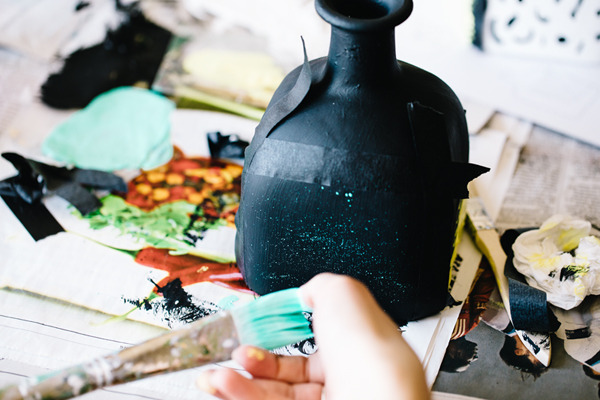
Let the bottles dry completely (away from the sun to avoid cracking the paint). At this point you can either paint the cap with a different color OR you can leave it as is (like we did).
Once you’re done, prop the bottles on your favorite shelf or table, and you’re done!
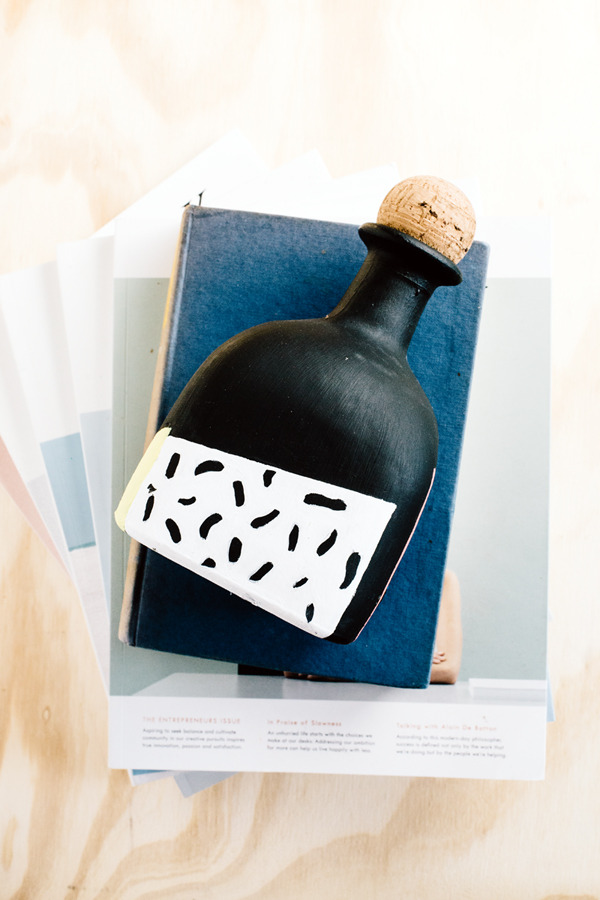
Hope you enjoyed this vintage-styled DIY project, and that you got inspired to create your own entry in the Art of Patron Bottle Art Contest!
This post was sponsored by Patron, but all opinions are mine alone. Thanks for supporting the brands that support ManMade!



Add comment