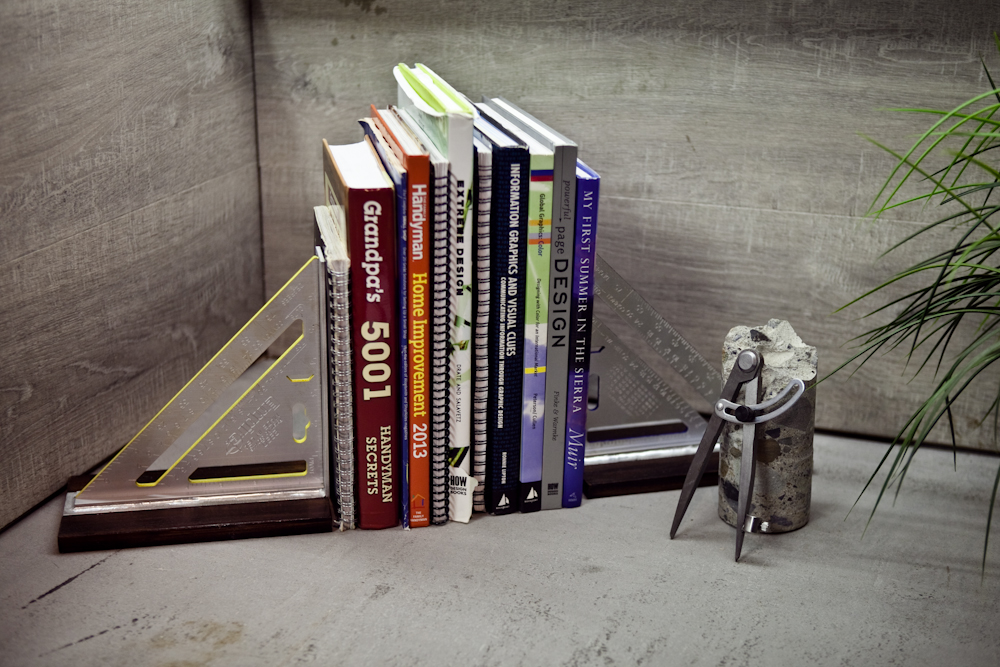
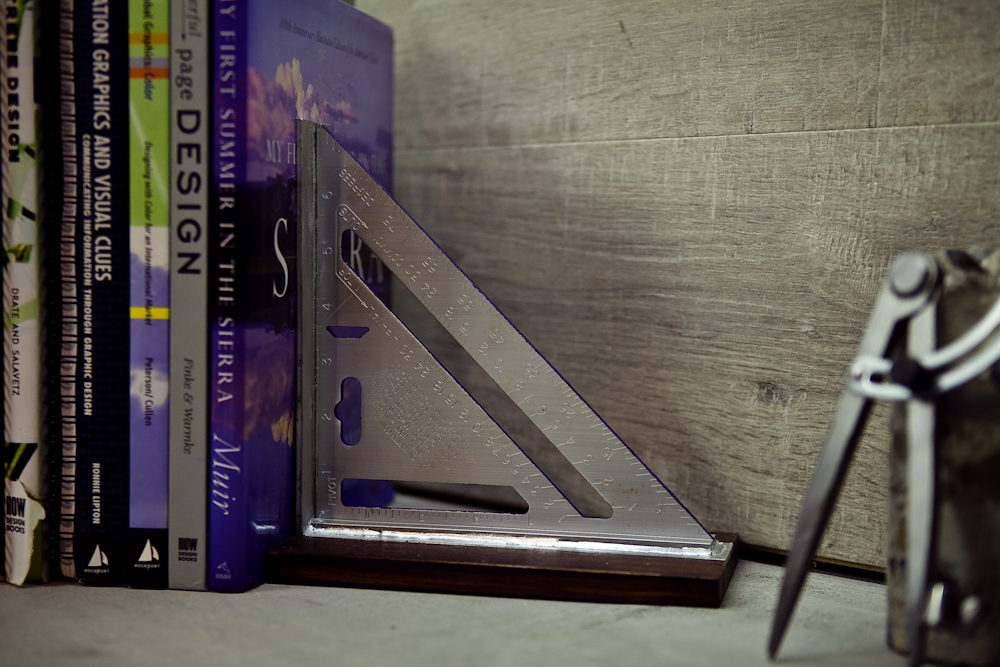
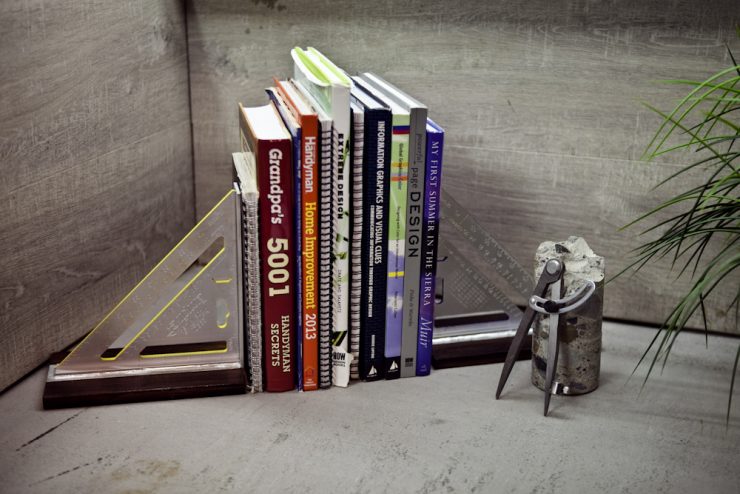
We’re in the world of paperless resources, so having a collection of actual books is a bit of a forgotten passion. But there’s something special about a few key reference manuals, inspirational resources, and good ol’ fashioned nostalgia that I just love. Keeping them close at hand but neatly organized can be a bit of a challenge in the home shop. That’s where a set of simple bookends can come in handy.
I wanted to make a set of bookends that stood out but felt at home in the shop. That’s why this simple, clean design is such a great fit. A set of squares set me back about $15 from the hardware store, and they fit right in to hold my modest book collection. I’ve been wanting to try a brazing project for a while as well, so these are a great way to practice that skill while making something useful.
First, let’s talk a bit about Brazing; a type of gas metal welding that we’ve probably all seen when fitting copper pipes together. Brazing provides a strong, watertight weld in metals without heating to melting temperatures like Arc or Oxyacetylene. The parent metal is heated, and a low-melt brazing material is applied and spreads through the joint by capillary action. Brazing is also used to patch holes, fix cracks, and seal joints. I decided to braze the aluminum squares to aluminum flat stock.
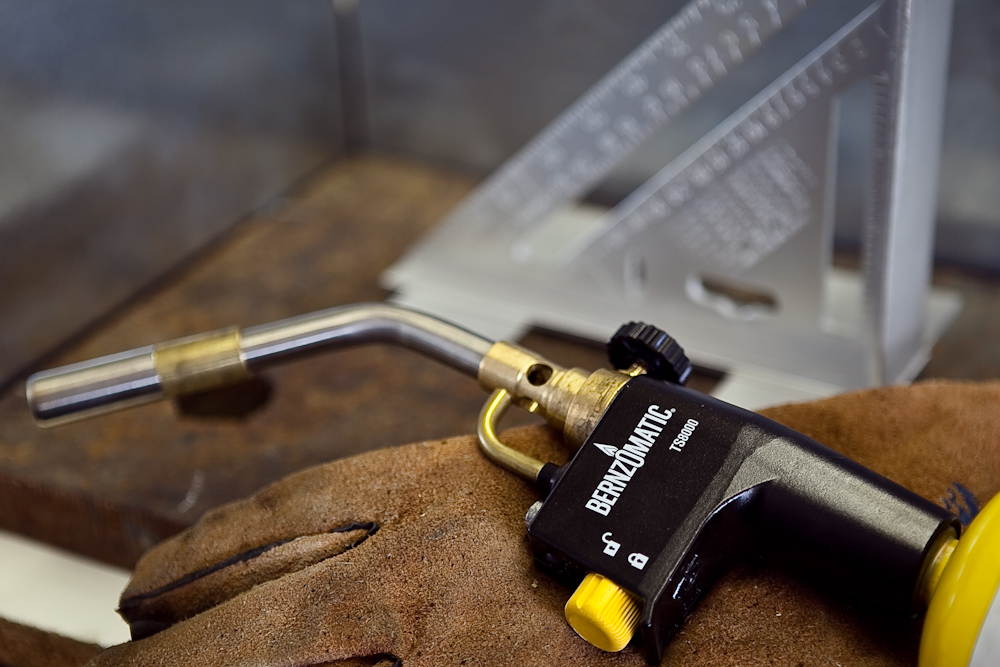
A few things to remember:
- Heat the metal enough to melt the brazing rod. The rod should flow with capillary action into the joint, so it’s important to not melt the rod with the torch. If the base metal isn’t hot enough, there will be a weak connection.
- I’m right handed, so I hold the torch in my left hand, and the rod in my right. I start heating the joint from the right side, with the flame angled slightly to the left and move to the left as the rod starts flowing. If you’re a southpaw, reverse the direction or find what feels most comfortable to you.
SAFETY NOTE: Set up the brazing in a well ventilated area, and take proper precautions when working with heat. Use proper fire-resistant clothing, gloves, eye protection, and keep hair away from flames. Have a fire extinguisher close and be sure to work in an area that can take the heat from the torch.
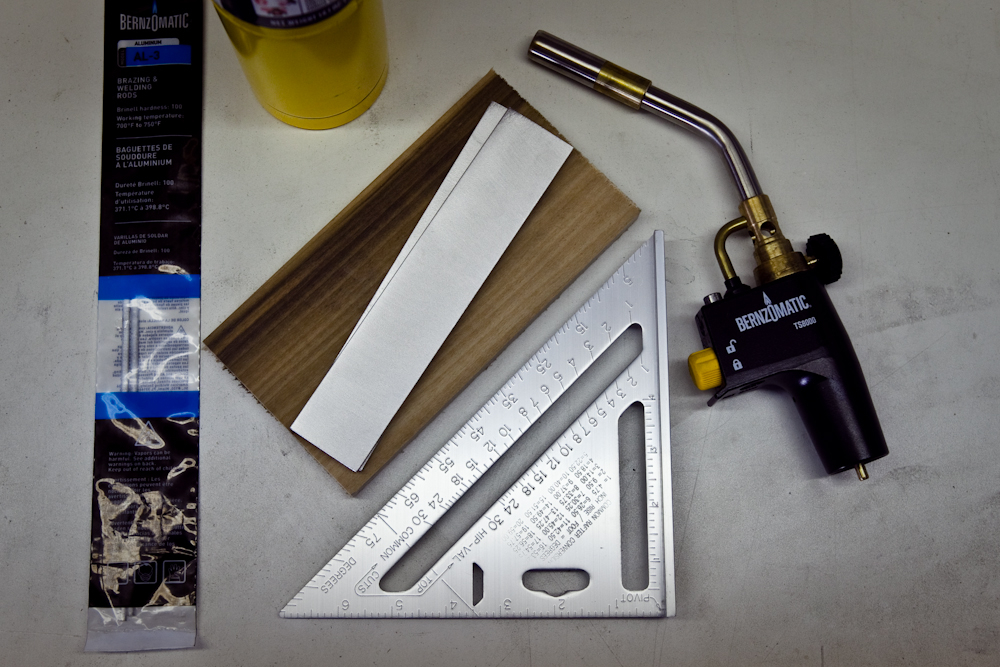
Materials
(For a set of bookends)
- (2) aluminum speed squares
- (4) 7.5″ x 2.5″ x .25″ aluminum flat stock
- (2) 8.5″ x 4.5″ x .5″ poplar boards
- Bernzomatic TS800 torch
- (6) Aluminum brazing rods
The type of gas used for brazing can be Propane, MAP, or Oxygen/MAP. Any will work, it just depends on how fast you want to heat the joint. I went with MAP for a moderately fast heat time. I used a Bernzomatic TS8000 torch with the twist flame tip to really get the heat on the surface in a focused area.
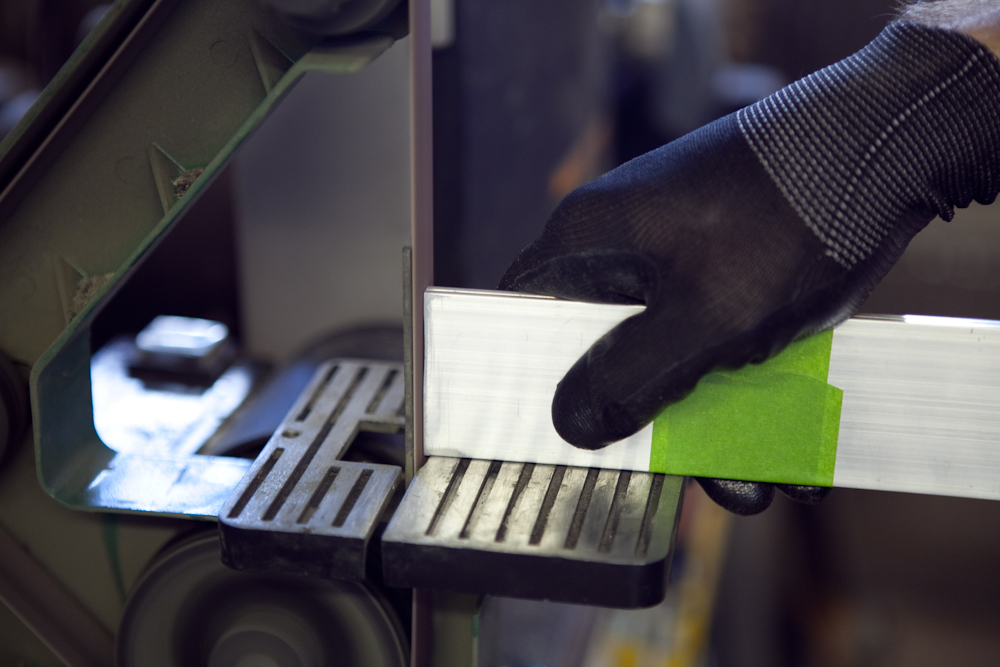
1. Material Prep
I dimensioned all of the aluminum pieces to match using a bandsaw with a bi-metal blade, but you could use a grinder with a metal wheel just as easily. Just be sure to go slow and oil up the blade. Once I had the pieces cut to length, I taped a pair together and sanded them flush and square on my belt sander. You could use a hand sander or files for this step as well. The key is to get the mating joints nice and square to each other.
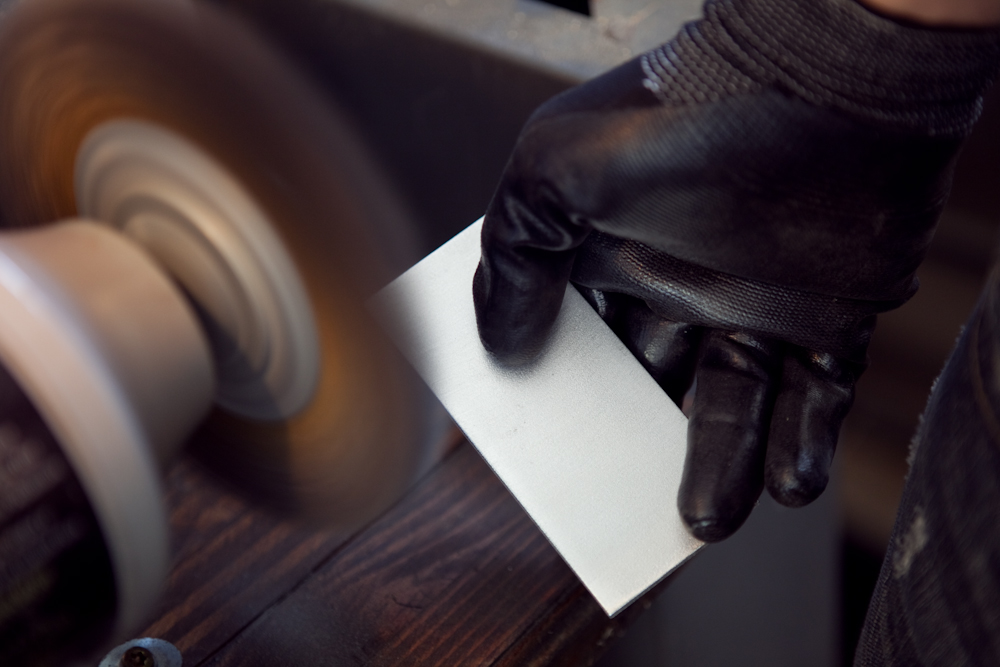
Once the pieces were cut and square, I gave them a brushed look with a wire wheel on my grinder. This helps to take out any scratches and give it a nice even texture.
For the wood, I cut the pieces to length and set aside for now.
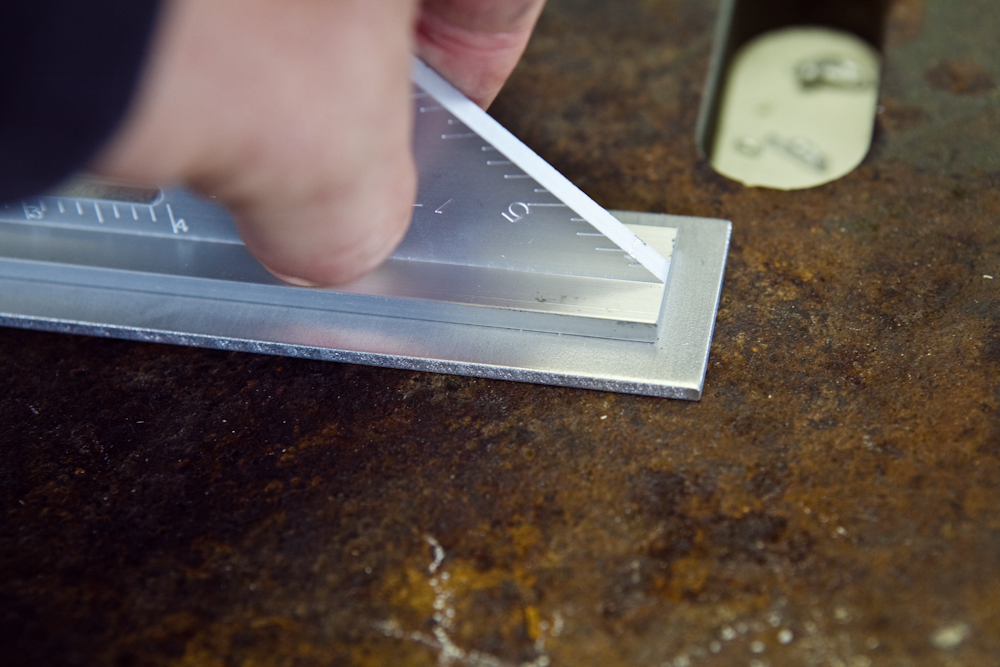
2. Brazing the base
To braze the base to the square, it’s important to get everything lined up perfectly. I took a lot of time getting all of the pieces set square and spaced properly. Using a magnetic square doesn’t work with aluminum, but can be used as a right angle to wedge against. Pay attention to what you’re setting the metal on, if it’s set on a large piece of metal the heat will be drawn out of the aluminum and make it hard to warm up. I did this with the first piece and wasted a bit of fuel before I figured it out.
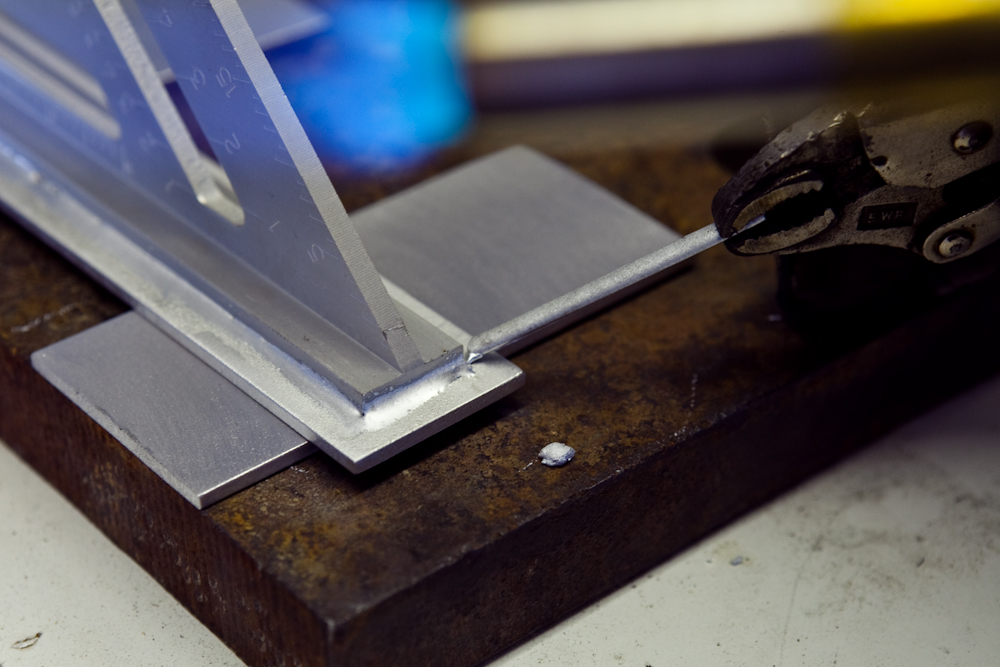
Once the pieces were squared and set, I started heating up the aluminum using my Bernzomatic TS8000 torch. This one allows for max heat, which makes the process go quickly. As you heat, gently touch the brazing rod against the metal to gauge when it starts to flow. Remember, don’t melt the rod with the torch, be sure to get the metal hot enough to let it flow, but be sure to not melt the base metal. I heated up the ends of the piece first, and tacked a small section to keep it from moving, and to keep thermal expansion under control. Then I started on the right side because I’m right handed, with a slight angle to push the heat down the piece. As you move, you will feel the rod snag if the heat starts to fall too much, be sure to re-heat the areas as needed to get the brazing material consistently through the joint. I did both the front and back for a solid joint.
After the joint is filled, I let the piece cool and tested the strength, it was a solid weld so I moved to the next piece.
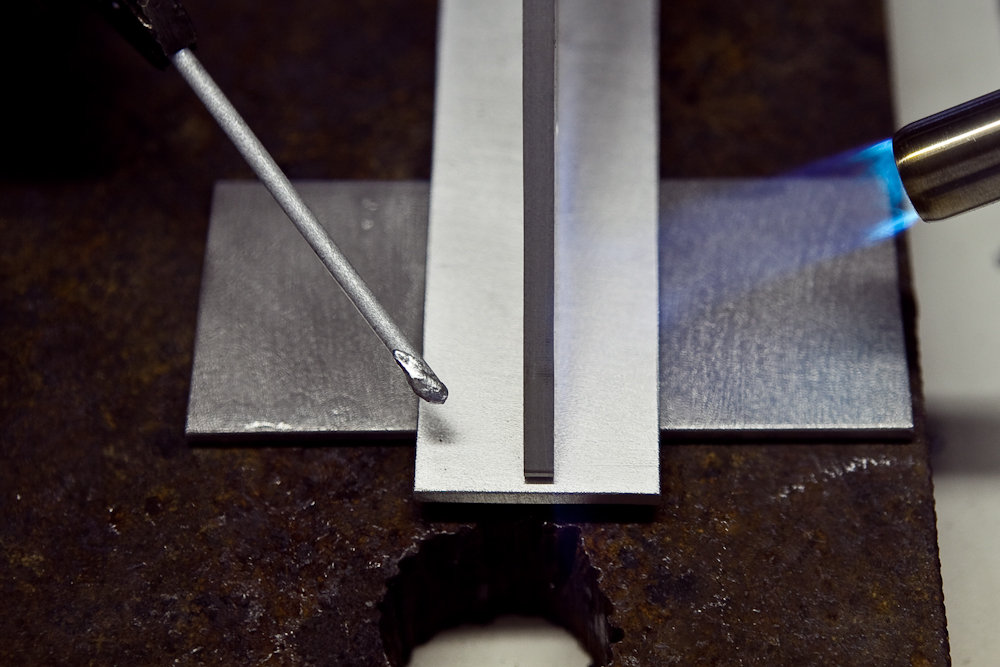
3. Braze the side
The vertical side piece was only brazed in the back, so I could keep the measurement lines crisp and legible. I set the angle on end so that the brazed material could wick into the joint. Take the time to double check that it’s spaced correctly before tacking in place. Be careful to not re-heat the already brazed base joint as that will let loose if you get it back up to melting temperature. Braze the joint and let cool.
4. Add a bit of flair
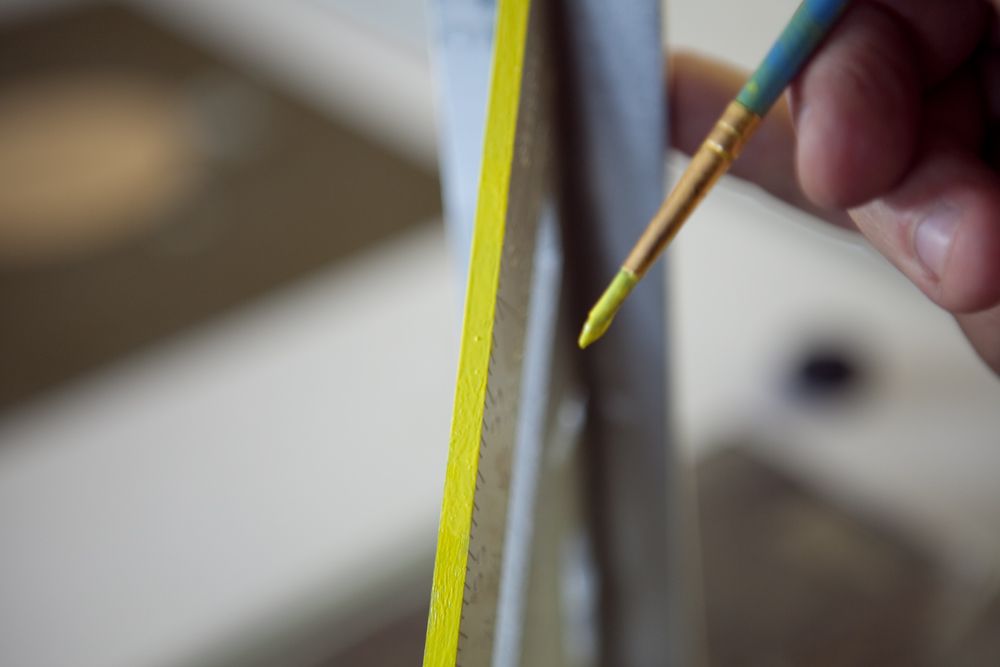
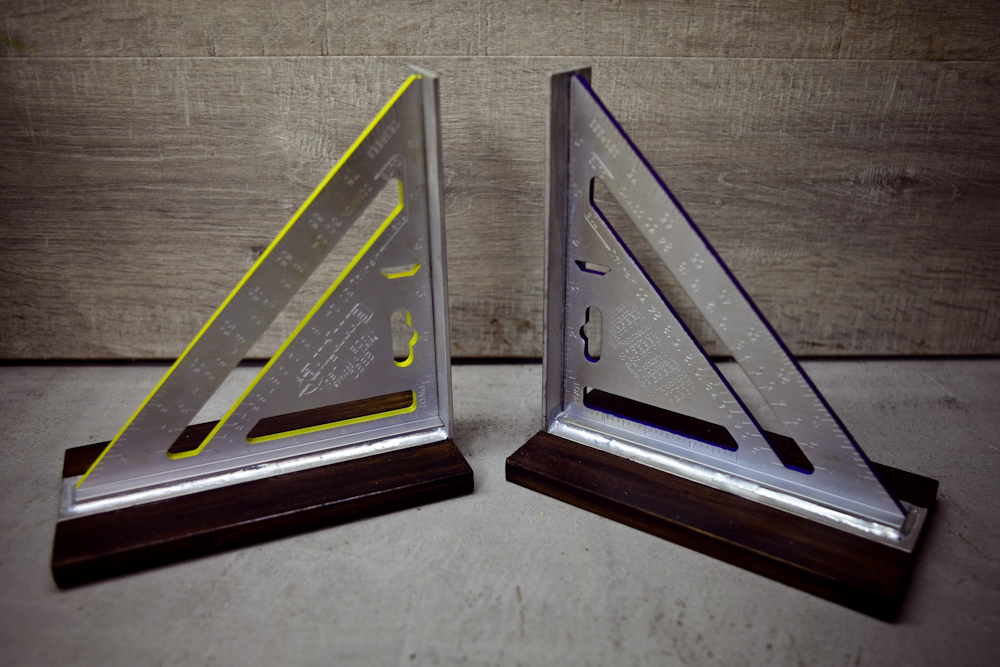
I decided that the crisp lines and natural aluminum looked great, but could use a bit of accent. I painted the edges with enamel paint to make it pop, and cleaned up the edges with a bit of acetone on a cotton ball. I used a few coats to get it fully covered. The accent color added a bit of depth to the piece that looks great from an angle, I used yellow on the left and blue for the right because they are colors I generally see on my plans and they just seemed to fit.
5. Prepare the bases
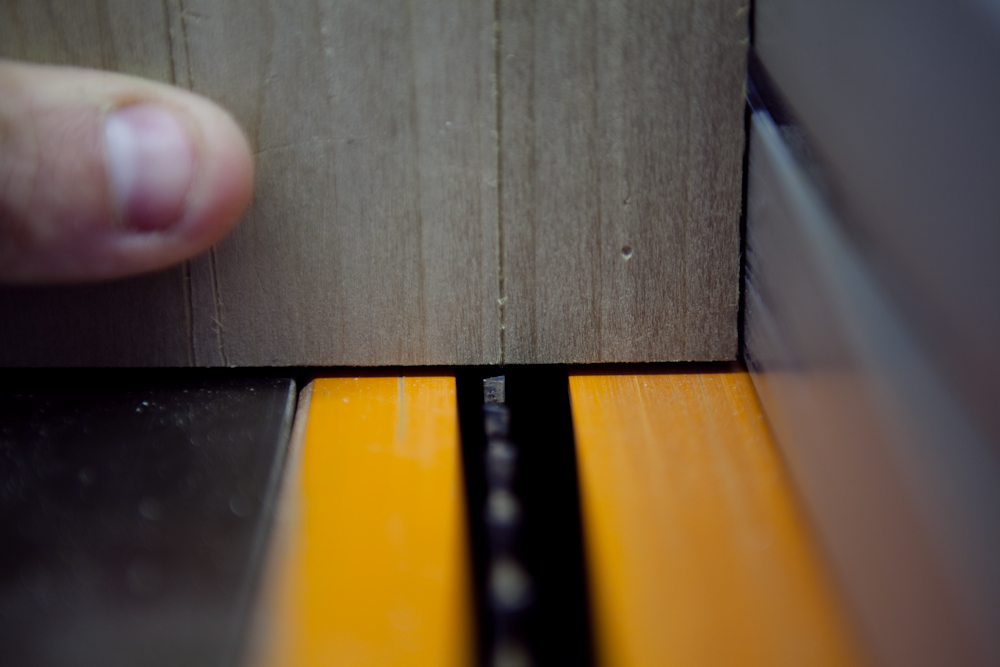
The wooden bases were cut to length, then slotted with a table saw so that the bookends would fit flush. To find the height for the blade, I matched it to the aluminum base.
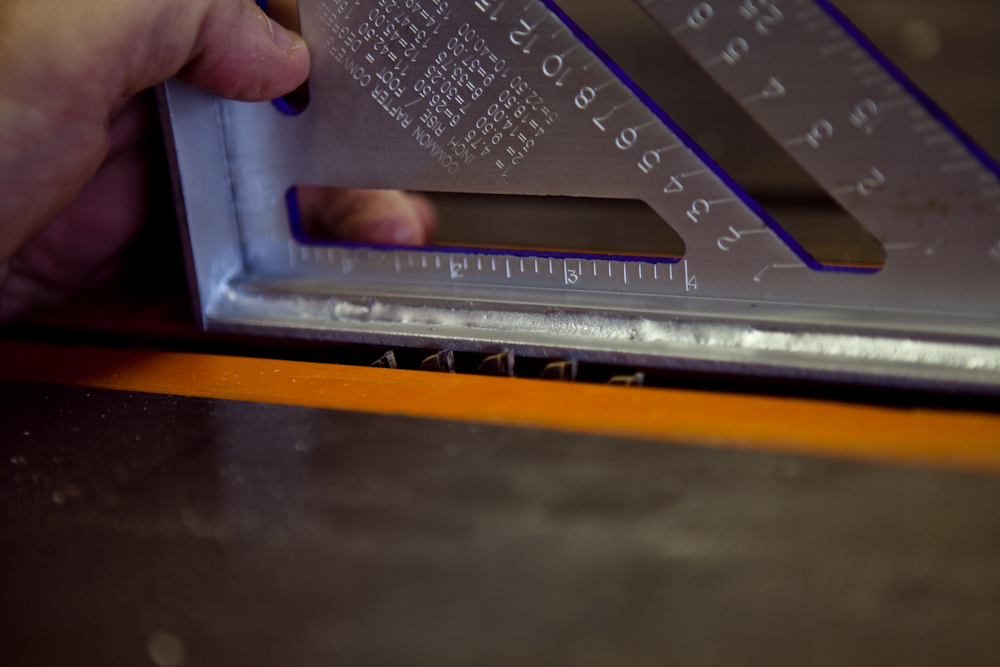
I then measured the distance to the fence for the first cut, then advanced it slowly while taking multiple passes for the wide slot.
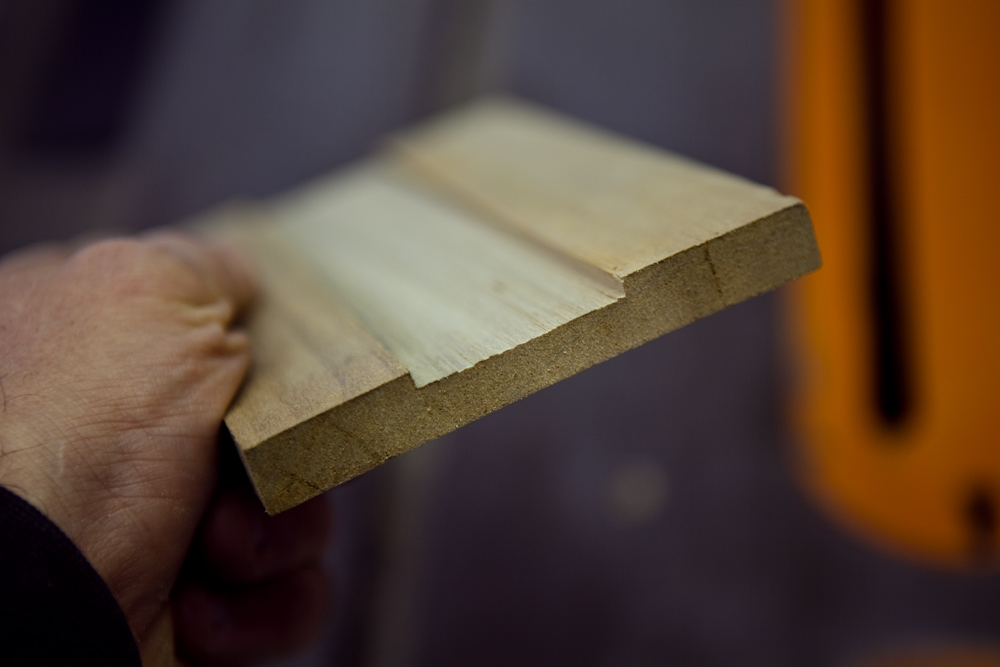
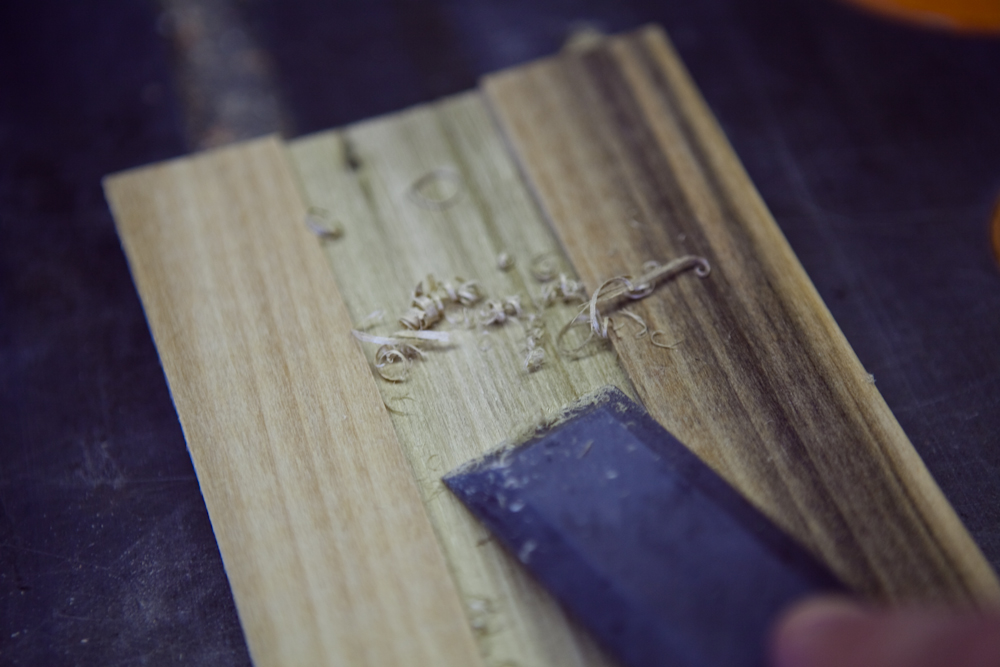
I cleaned it up with my chisel for a wide, flat slot that fit the base perfectly.
6. Final touches
I finished the wood with a dark stain so that the aluminum would contrast with the colors, and used standard epoxy to glue the wood to the aluminum base. A bit of sanding, polishing, and it looked good enough to put on display on the shelf.
A few thoughts
Brazing aluminum is much harder than other metals, primarily because the metal has a similar melting temperature and also doesn’t indicate the heat with changing colors. I used aluminum because the squares were made of it, otherwise I probably would have gone for steel.
I used a pair of locking vice-grips to hold the brazing rod because it could get a better grip on it, and it didn’t get hot when the metal started to flow. Set up a few rods that can be easily grabbed once you go through the first so you’re not fiddling with locking in another rod while the metal is cooling off.
Let the joint cool slowly, don’t try to speed up the process or it will likely break as the thermal contraction pulls on the joint.
This post is sponsored by Bernzomatic, but all opinions are mine alone. Thanks for supporting the brands that help make ManMade possible.



Add comment