 As useful as a chainsaw is, it’s only as good as the blade. If the blade is dull you need to take a break and get back on track. Here’s how. We’re pretty sure if you’re reading this you’ve got a chainsaw. If you don’t take a look at this.
Now that we all have a saw, let’s talk about that blade. The blade on a chainsaw is actually a series of small teeth attached to a segmented chain. The drive sprocket on the saw pulls the teeth around in a circle to make the cut. The teeth on the chain alternate every other tooth to keep the cut centered on the wood. That’s why it’s important to keep the teeth sized the same and fully sharpened.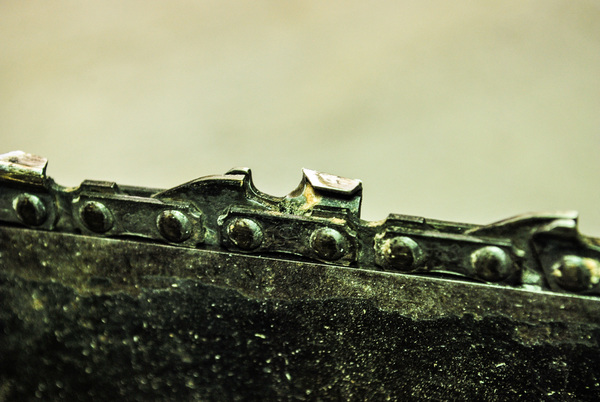
Tip: while sharpening, all teeth need to be “stroked” the same amount of times to make sure the similar amounts of steel is left on each tooth. It’s also important to keep a standard angle on the face of all cuts.
Most of the time, the blade can be sharpened without removing from the saw. But sometimes when cutting hard or sappy wood the build-up is bad enough to make some pre-sharpending re-hab necessary. Always wear gloves when handling the blade to keep from getting torn-up.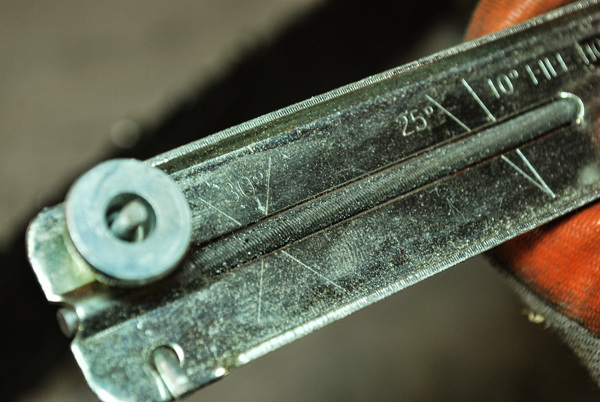
ManMade Recommended:
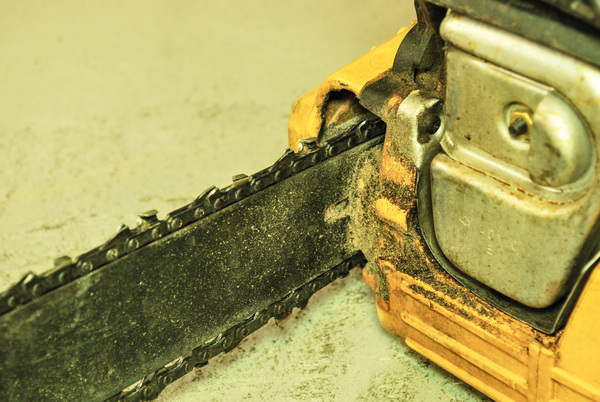
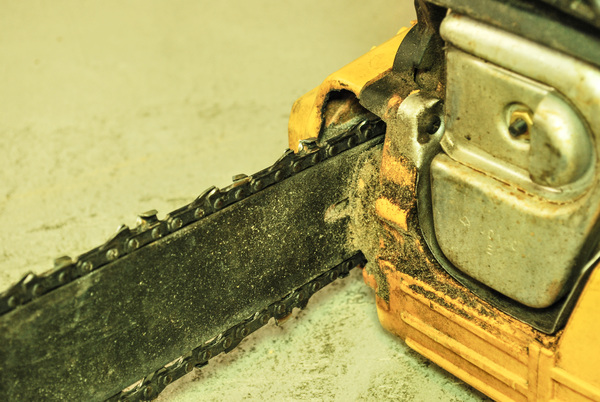
1. Take a look. – The chain should not have too much built-up pitch, and shouldn’t look burned. If it does, then give it a good soak in de-greaser. If it looks good but just isn’t cutting well, skip over to step 3.
2. Rehab the blade. – If you have burned build-up on the blade, give it a good 20-30 minute soak in degreaser followed by a stiff brushing with a wire brush to get the deposits off. While you’re at it, give the bar (the flat, inner support the blade rides on) a good lube-up with some bar oil.
3. Re-Assemble and sharpen – I use a standard round file, (make sure it’s not tapered) and a simple flat guide. The guide helps to keep the angles the same and also takes just enough metal off without diving too deep into the chain. Sure, it can be done freehand, but I’m much more accurate with the simple guide. To keep track and make sure no teeth are skipped, I always sharpen one direction at a time, skipping the tooth with the opposite angle then coming back from the other side and sharpening those angles all at once as well. You should see just a thin line of bare metal on all teeth when you’re done.
4. Oil up the chain and test the saw. – At this time, you can drip a bit of chain oil on the blade and fire it back up. It should cut true and throw off good sized chips, if it’s making fine sawdust, a few more strokes with the file are probably necessary.
Now that you know how to get that chain back up and running, get out there and makes some noise again.

