Home improvements are always costly, mostly if you’ve decided to work on new tiles for your floor. It’s a huge decision associated with higher labor expenses and expensive bills.

If you plan to install tile floors and have enough energy and free time to devote to this project, you should check out these tips and techniques on how you can install floor tiles like an expert.
Why Do You Need To Level Tile When Installing Them
Do you plan to tile your kitchen or bathroom floor since you have enough free time and energy? Sure, you can easily do that, but you want to make sure the result offers a professional-looking tiled floor and not fledgling works of a newcomer. Good thing this comprehensive and detailed technique on how to effectively put on tiles on your flooring will save you from frustrations and common mistakes. Professional tile installers understand the setbacks of not properly placed tiles— a.k.a., the lippage. It’s that material issue or slightly uneven flooring that compromises your entire project if you don’t pay close attention to it. Perhaps it’s the widely known mistake DIYers and contractors encounter when placing tile floors.
To prevent tile lippage, you need to understand various factors that can result in this issue. If you want your next project to look more professional, you need to use the best tile leveling systems to prevent tile lippage. Vertical displacement on the edge of adjoining tiles is called tile lippage. Tile lippage looks like a disaster and can cause tripping hazards. It’s when you set or install your tiles at various levels. That means you may have perfectly placed each tile at a similar width, but you miss the part where you need to check each tile’s height. Several factors that affect tile lippage include flatness of the surface and improper thin-set ending coverage.
Before installing tiles on your floor, you’ll need to prepare the following equipment:
- Glass cutter
- Safety goggles
- Tape measure
- Sponge
- Tile level system
- Tiles and spacers (optional)
- Mallet
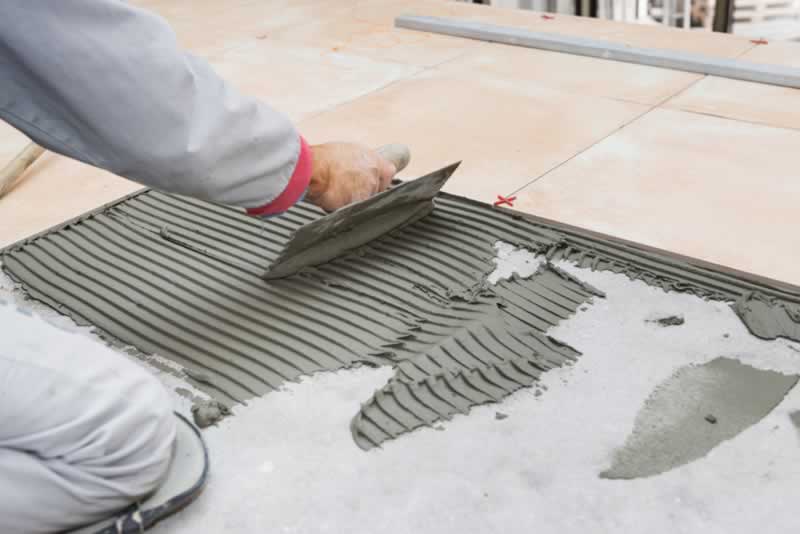
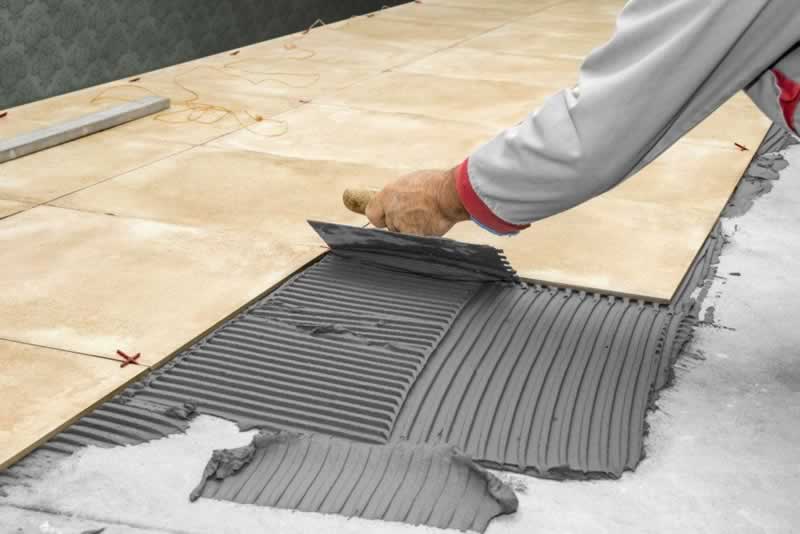
- Trowel
- Tiles adhesive
- Grout & grout sealer
How To Install Tiles Like An Expert
Once you have prepared all the essential materials, you’ll need to follow these professional tips and techniques to set up and install tiles like an expert.
Don’t use low-quality and cheap tiles
Low-quality and cheap or bargain tiles are often made from inferior materials that easily break, crack, or are hard to remove or replace. Remember that replacing floor tiles is more challenging and costly so, before you purchase a low-quality tile, best to set your expectations and avoid potential issues over time. To prevent tile problems, best to purchase tiles from known and reputable manufacturers and observed correct tile installations.
Place the full tiles in prominent locations.
To make sure that your kitchen or bathroom tile floor is of excellent installation, use full tiles on the center of your floor and avoid placing cut tiles. Tuck your cut tiles on less-noticeable locations like underneath the cabinetry overhangs, borders, near walls, etc.

Minimize tile-cutting
While tile-cutting is expected, try to minimize this process as long as you can. Using plenty of small cut-tiles on your floor is visually chaotic, looks jumbled, and unprofessional—more tiles are used while the installation is better than using several small ones. Aside from better curb appeal, you’ll also save time and effort installing small ones.
Apply symmetry when you layout your tiles
Remember that symmetry looks pleasing both on your eyes and your brain to a subconscious degree. If you place tiles with an asymmetrical layout, spectators often notice the issue but need to figure out exactly the problem.
Minimize using tiles which are half-size
Our eyes are always drawn towards materials that are off the norm, like skinny tiles. Try to use tiles that are full-size or cut in half. Remember that tiles less than half the size will appear fragment compared to larger size tiles. To fix this potential issue, anticipate the remaining space near the wall. If you still have a couple or more feet off the wall, tweak the tile joints slightly to make it invisible to viewers’ eyes. You can also bring the final row of more or half-size tiles.
Use the right underlayment
The overall appearance of your tile installation varies with the substrate underneath the tile. Uneven subfloor transfers this issue with your tiles. You may opt for a cement board to fix the potential problem before installing tiles on the floor.
Use grout as a creative advantage
You may think that grout is just a filler for your tile seams, but they do a great finishing look to your project. Grout is used to improve the tile appearance. For instance, dark grout over light tiles provides your room an imposing, stark look. While matching color grouts are complimenting.
Conclusion
Whether it’s your first time installing tiles on your kitchen, bathroom, or any flooring, it’s best to understand the process to prevent further issues. Investing in high-quality tiles and proper installations are vital. With the tips and techniques mentioned above, your tile installation project will indeed look expertly-done, even if it’s your first time!


Add comment