You might be thinking my toilet handle broke, what now? Do I call a plumber, or is this something that I might be able to handle myself? In this comprehensive guide, we will walk you through the process of replacing a broken toilet handle, offering detailed steps and valuable insights. Dealing with a broken toilet handle can be a hassle, but with the right approach, tools, and knowledge, you can successfully address the issue and restore your toilet’s functionality.
Understanding the Causes of Toilet Handle Breakage
Toilet handles can break due to various factors, including wear and tear, corrosion, physical damage, or improper use. Recognizing the underlying reasons for the handle breakage can help you take preventive measures to avoid future occurrences, ensuring long-term functionality.
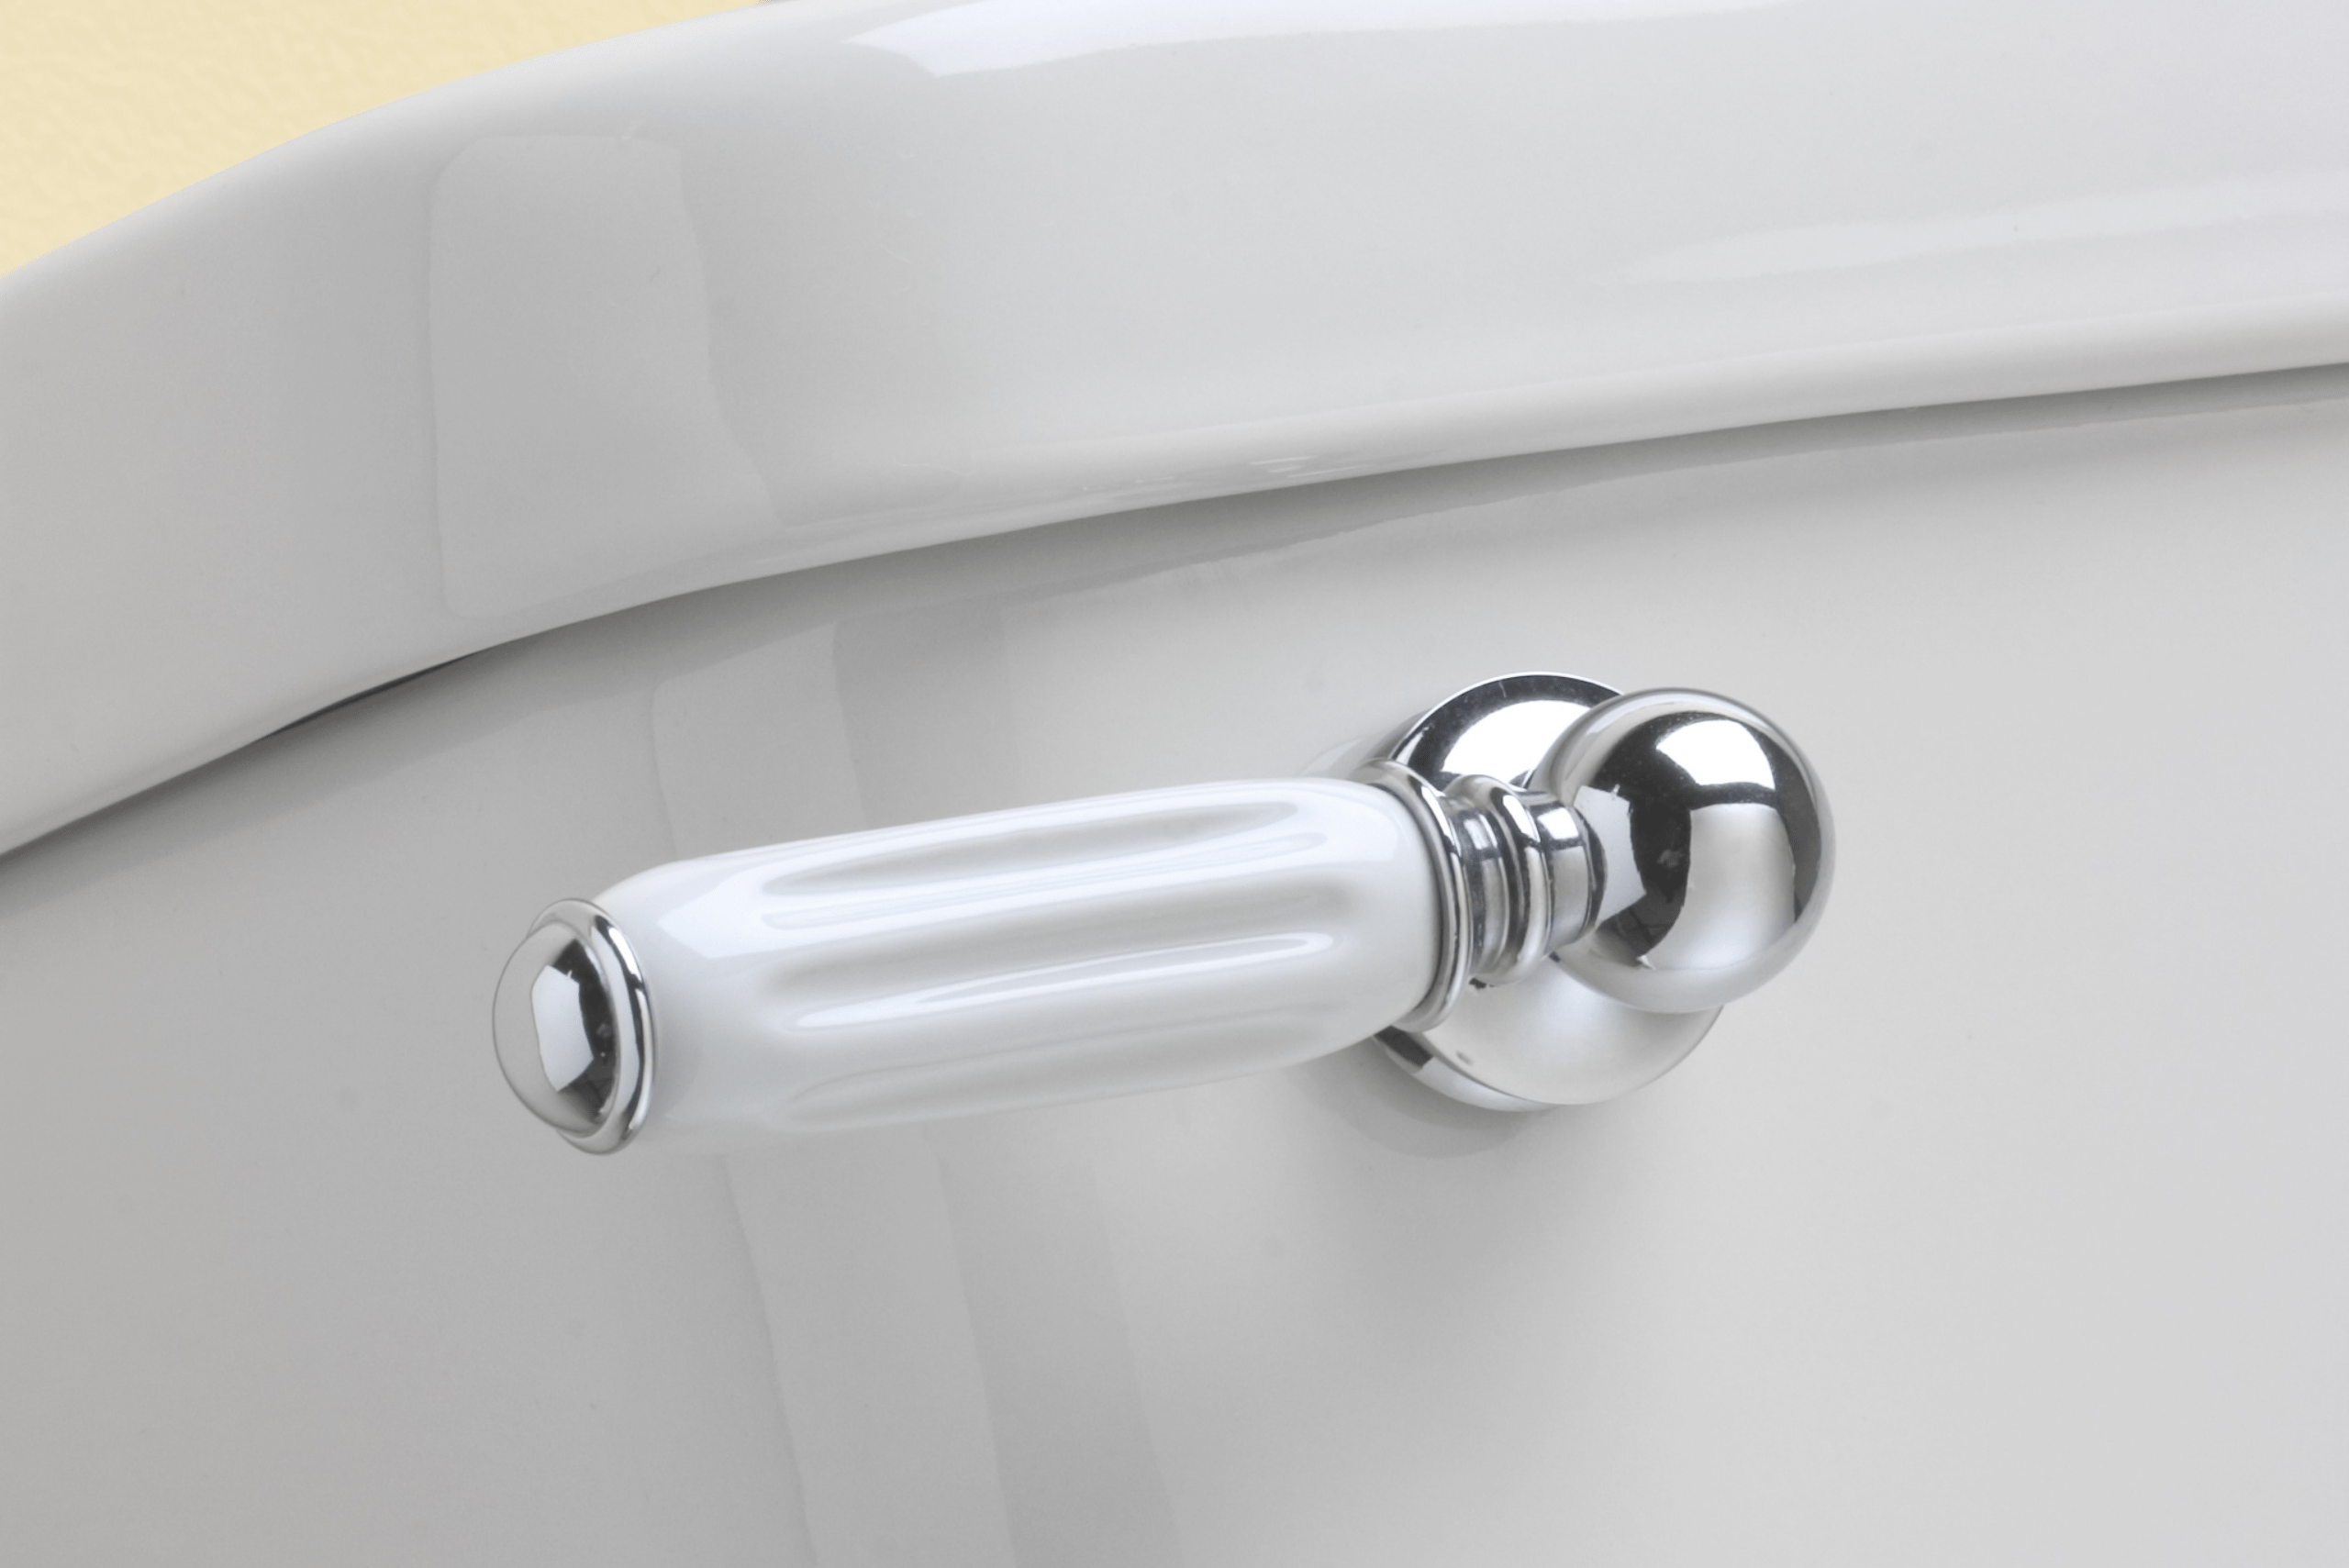
Photo Credit: Canva Pro
Gathering the Essential Tools and Materials
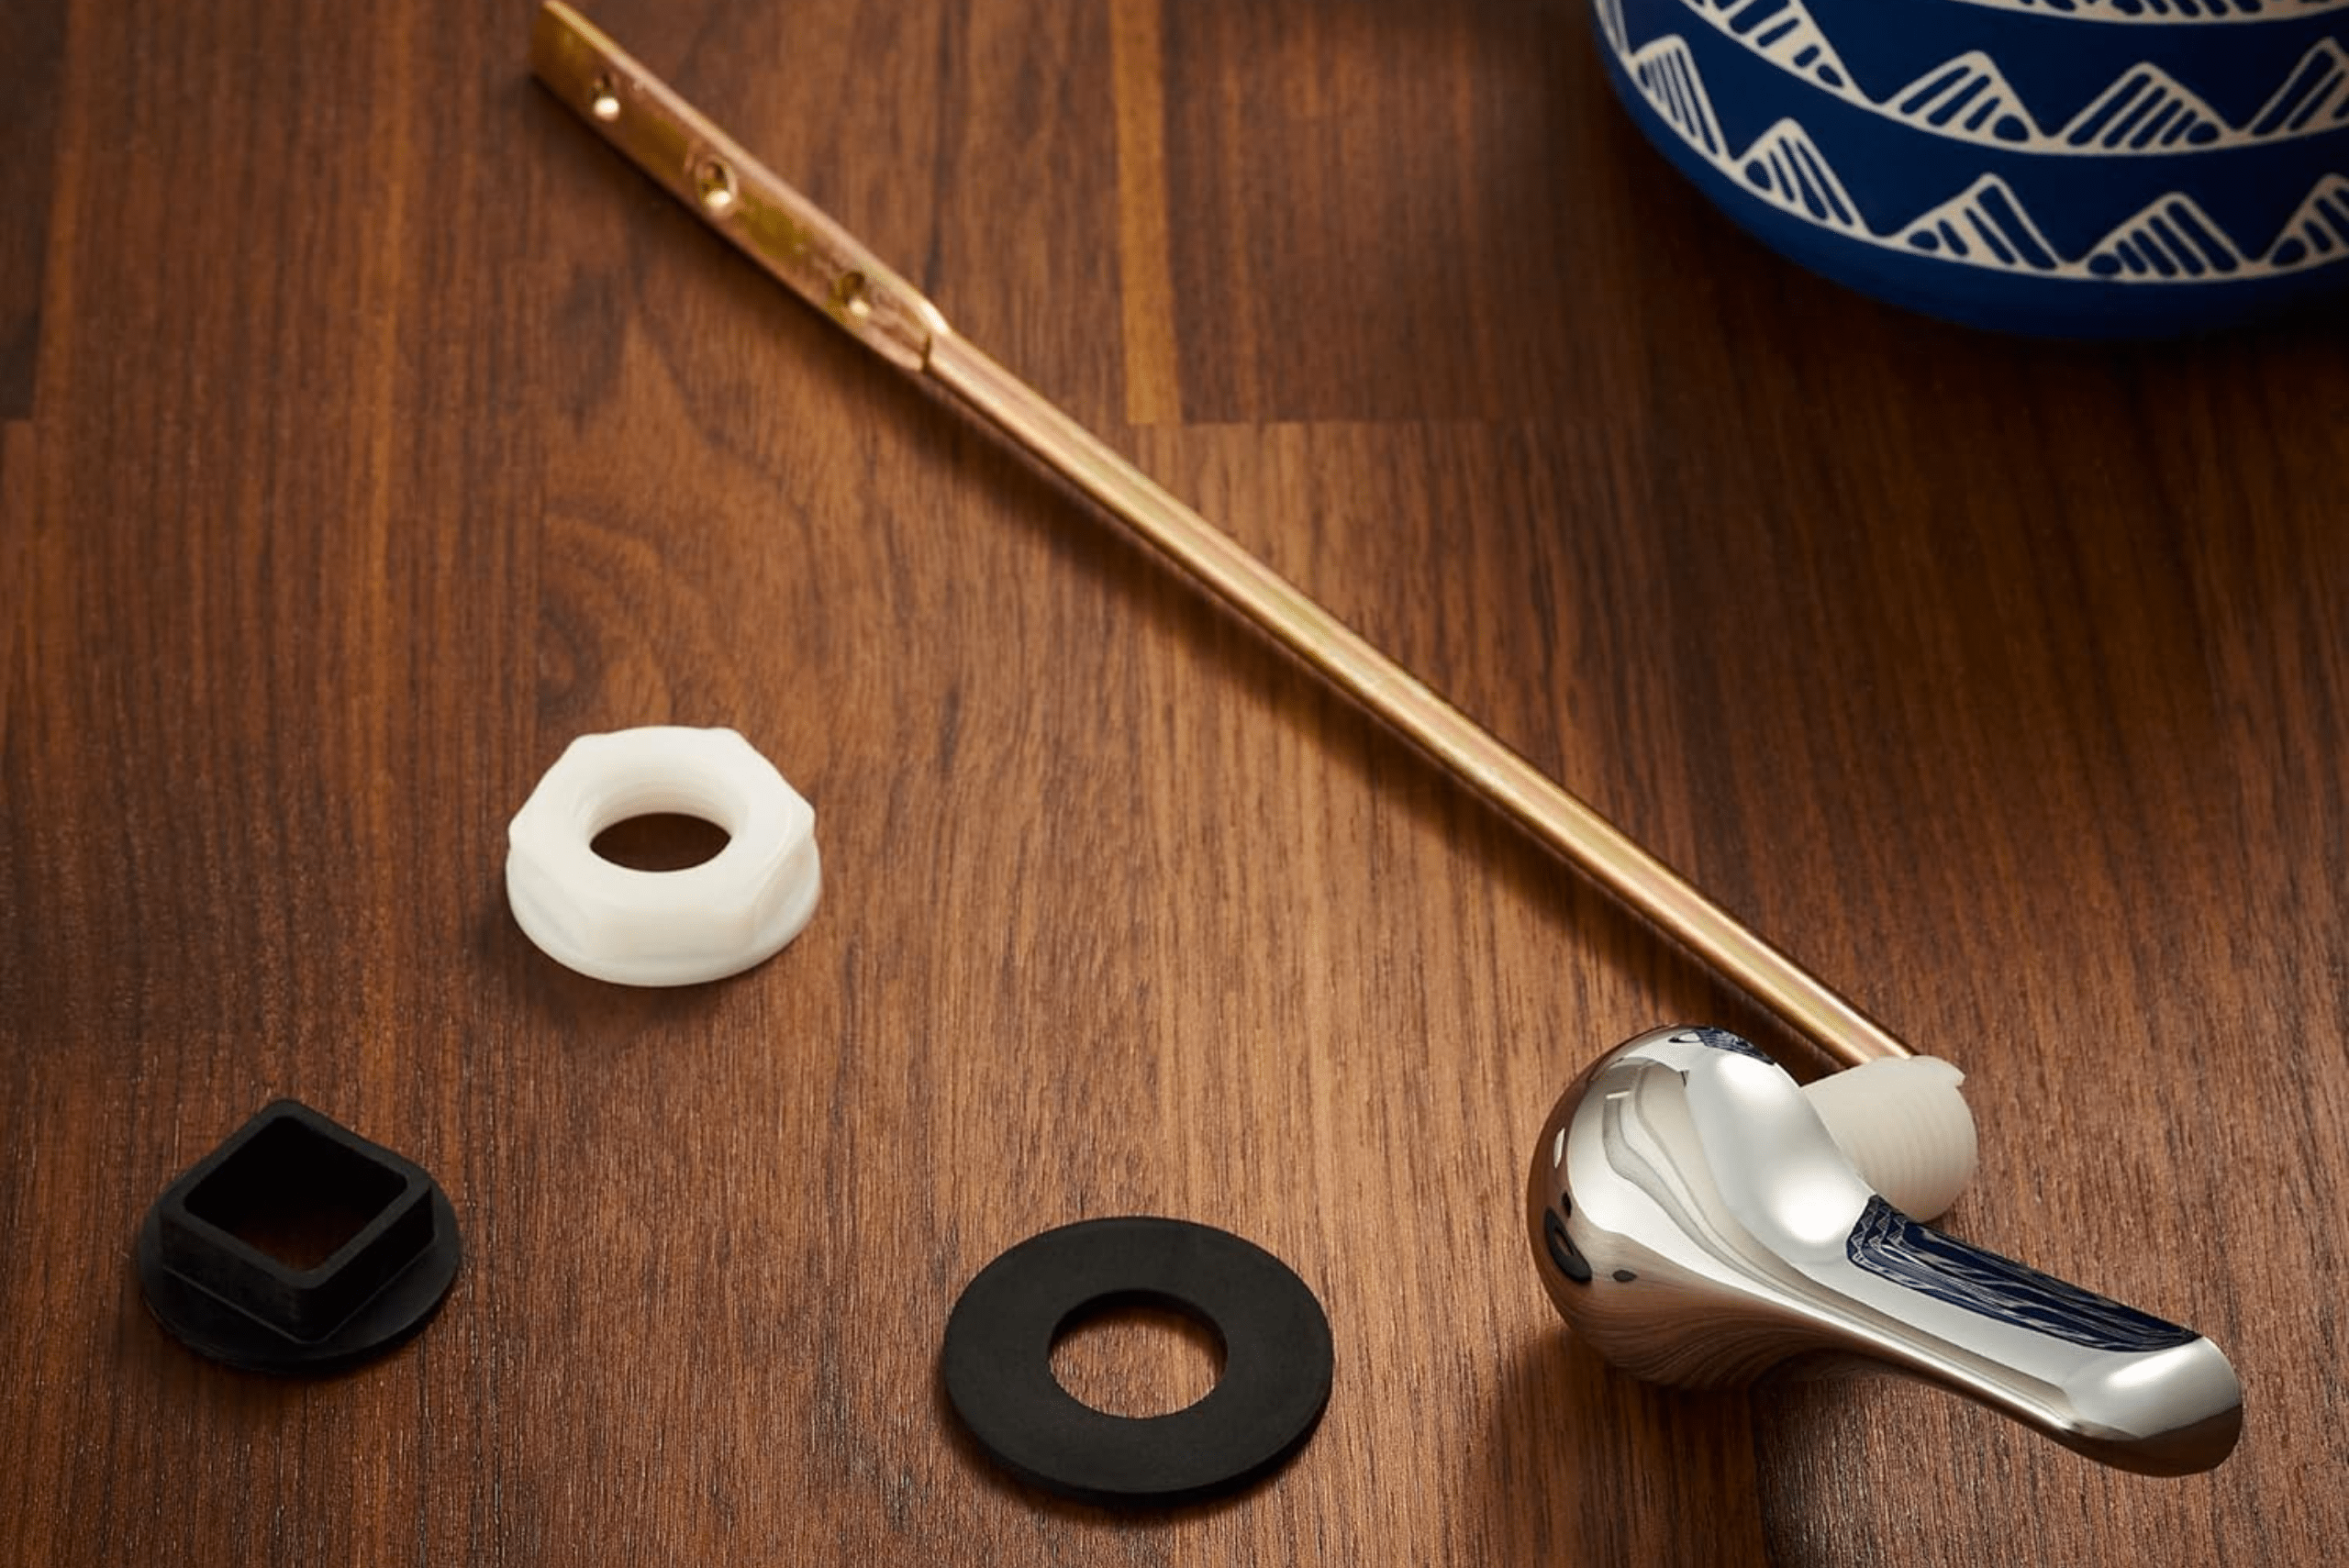
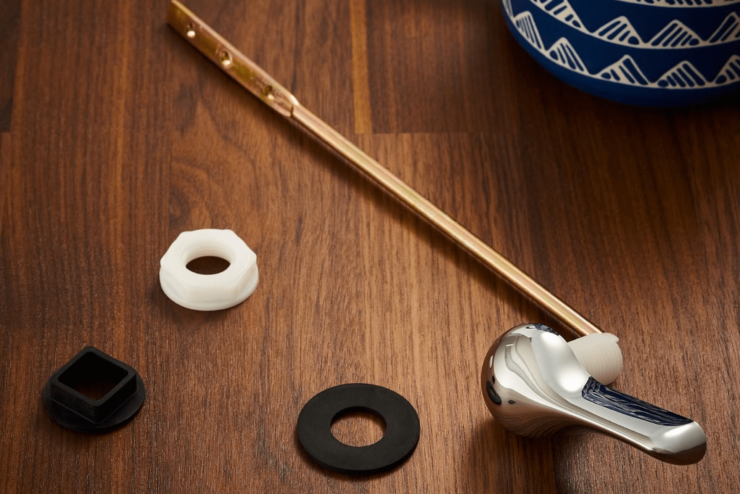
Before commencing the replacement, it’s crucial to gather all the necessary tools and materials, including a new toilet handle, specific parts for your toilet model, adjustable wrench, and pliers. Having everything prepared in advance will streamline the replacement process.
Turning Off the Water Supply to the Toilet
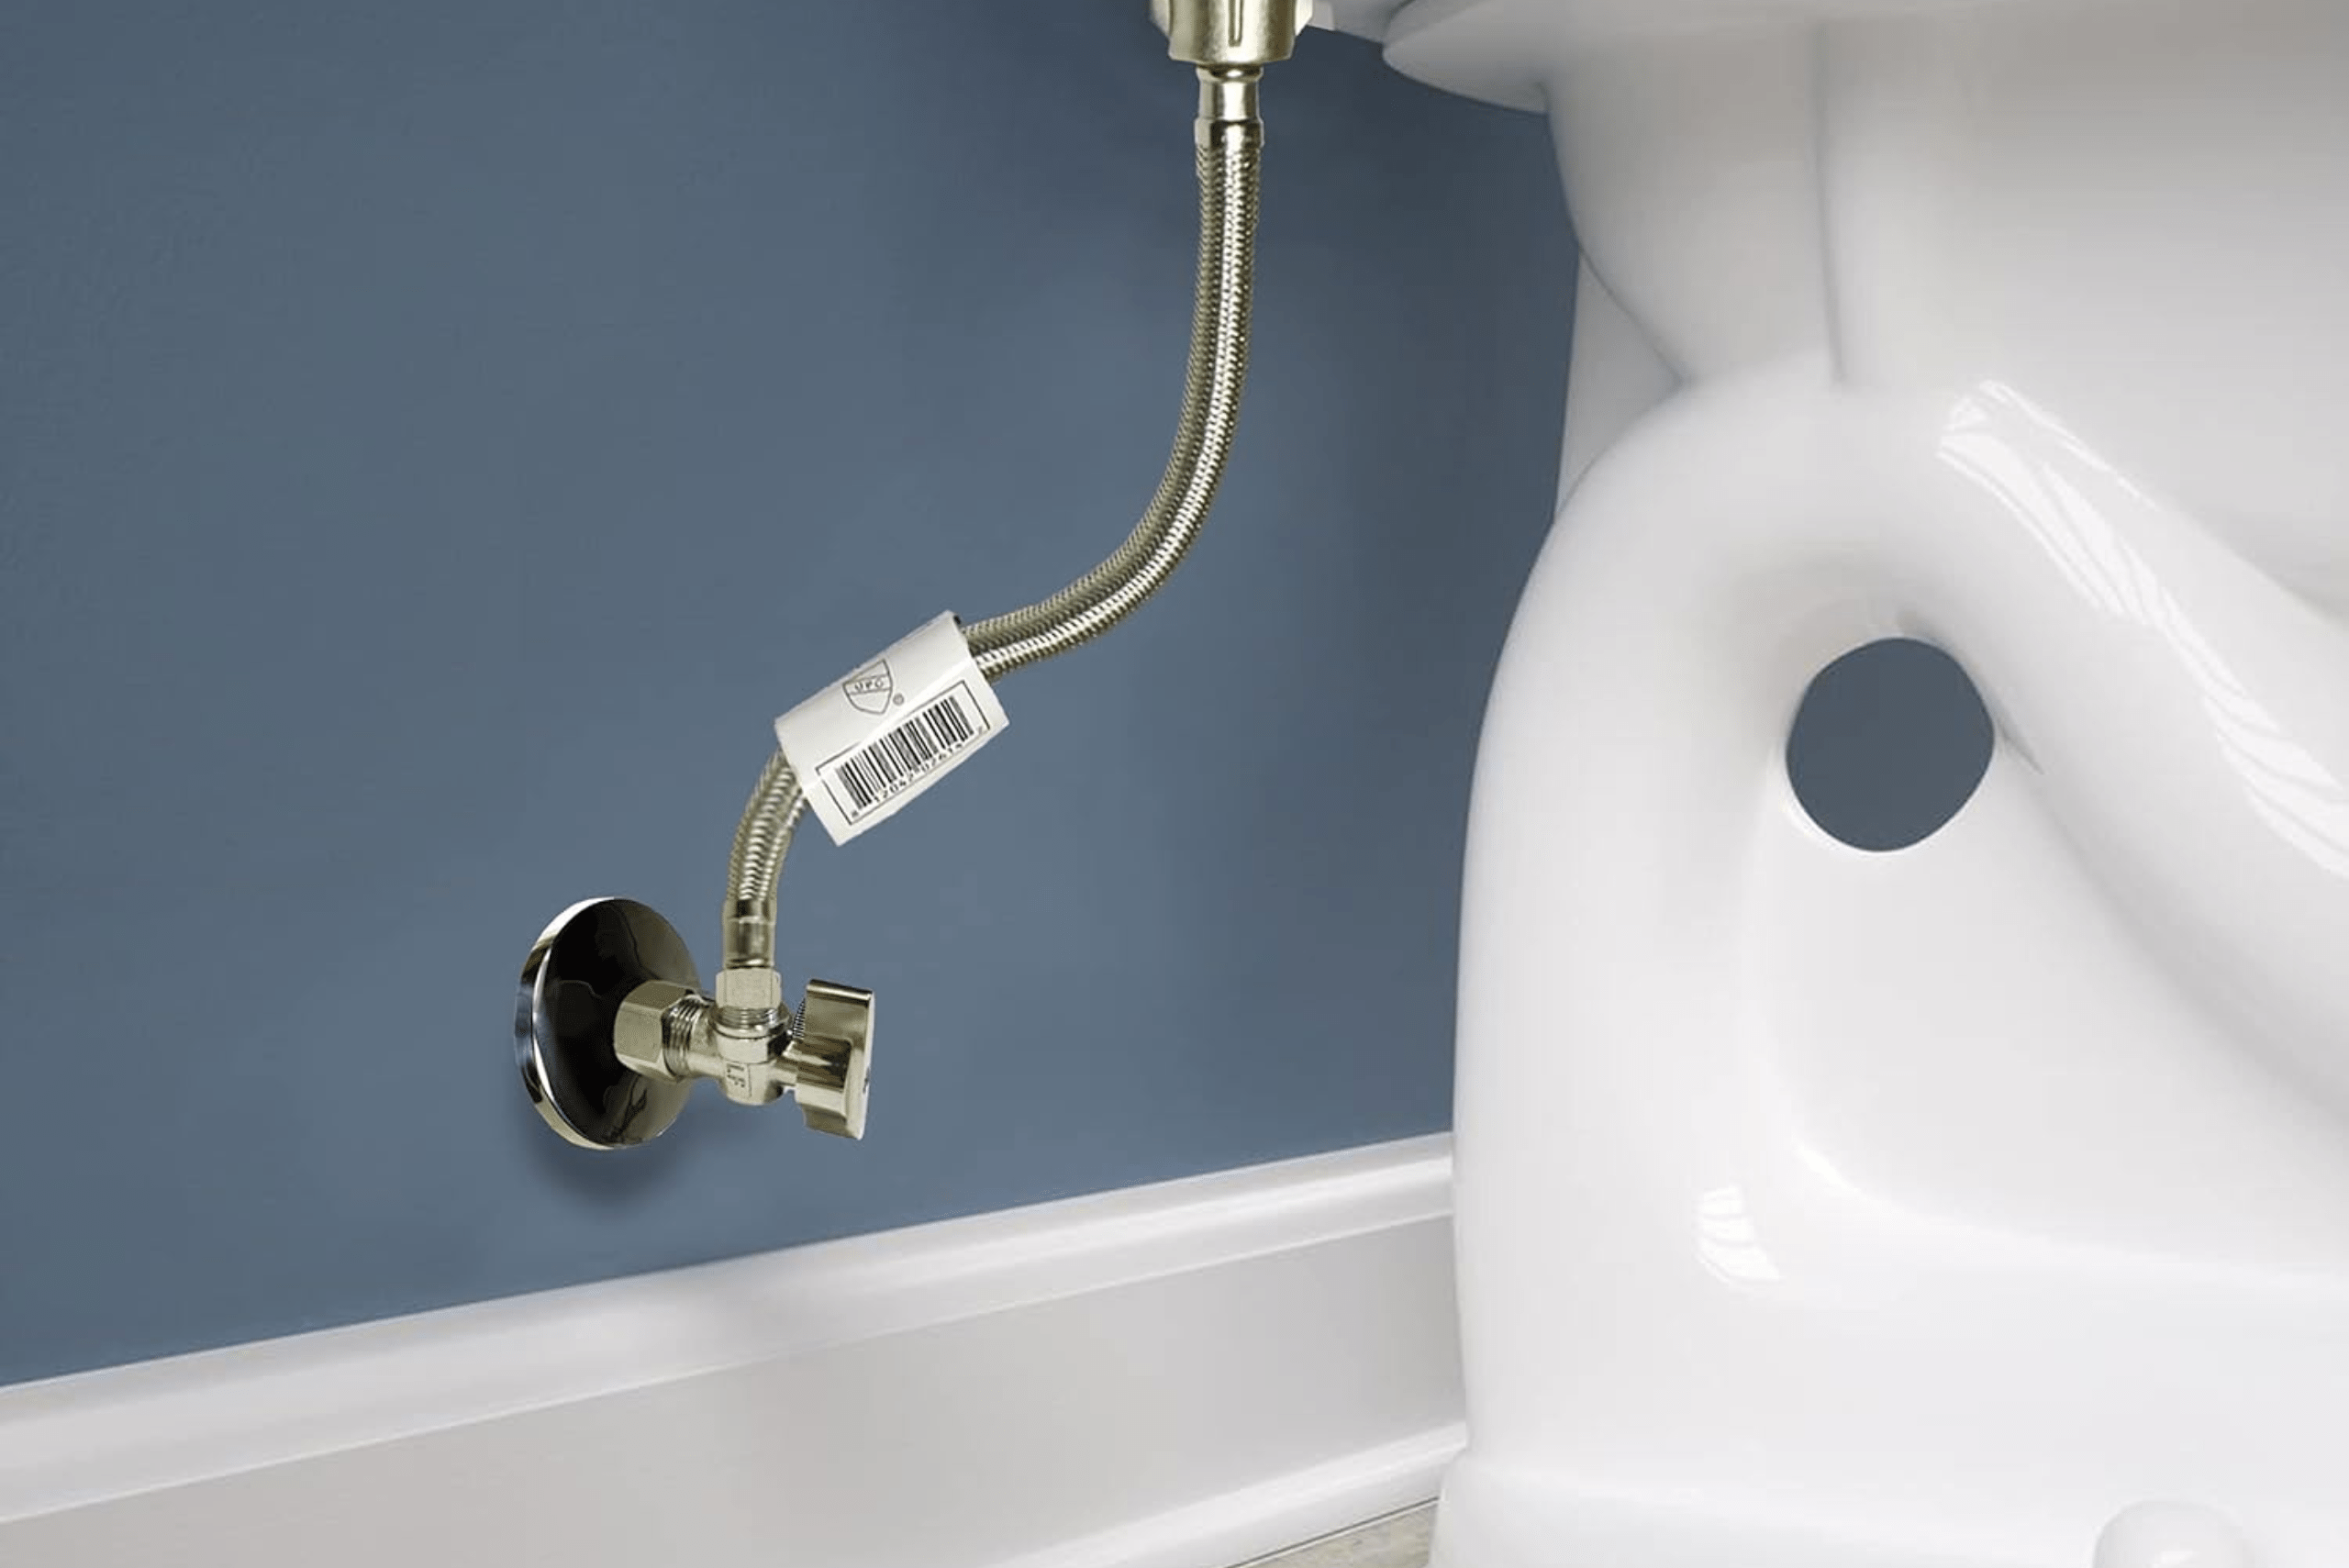
Prior to beginning any work, it’s essential to shut off the water supply to the toilet to prevent potential leaks. Locate and turn the shut-off valve near the toilet’s base in a clockwise direction to stop the water flow.
Removing the Broken Handle with Care
Lift the toilet bowl lid to access the rear of the toilet handle. Using an adjustable wrench or your hands, carefully remove the plastic nut that is securing the broken handle in place, followed by detaching the handle from the toilet. Take care to keep track of the plastic nut and small parts to avoid misplacement.
Selecting a Replacement Handle Suited to Your Toilet
When choosing a replacement handle, consider factors like design, material, and compatibility with your toilet model. Opt for a handle that complements your bathroom aesthetics and aligns with your toilet’s flushing mechanism.
Installing the New Handle Securely
Attach the new handle to the toilet, ensuring a secure fit. Use the plastic nut and provided hardware to fasten the handle and test its functionality by flushing the toilet.
Adjusting the Chain Length for Optimal Operation
In certain instances, you may need to adjust the length of the chain or plastic chain connecting the handle to the flapper inside the toilet tank to ensure smooth and effective operation of the flushing mechanism.
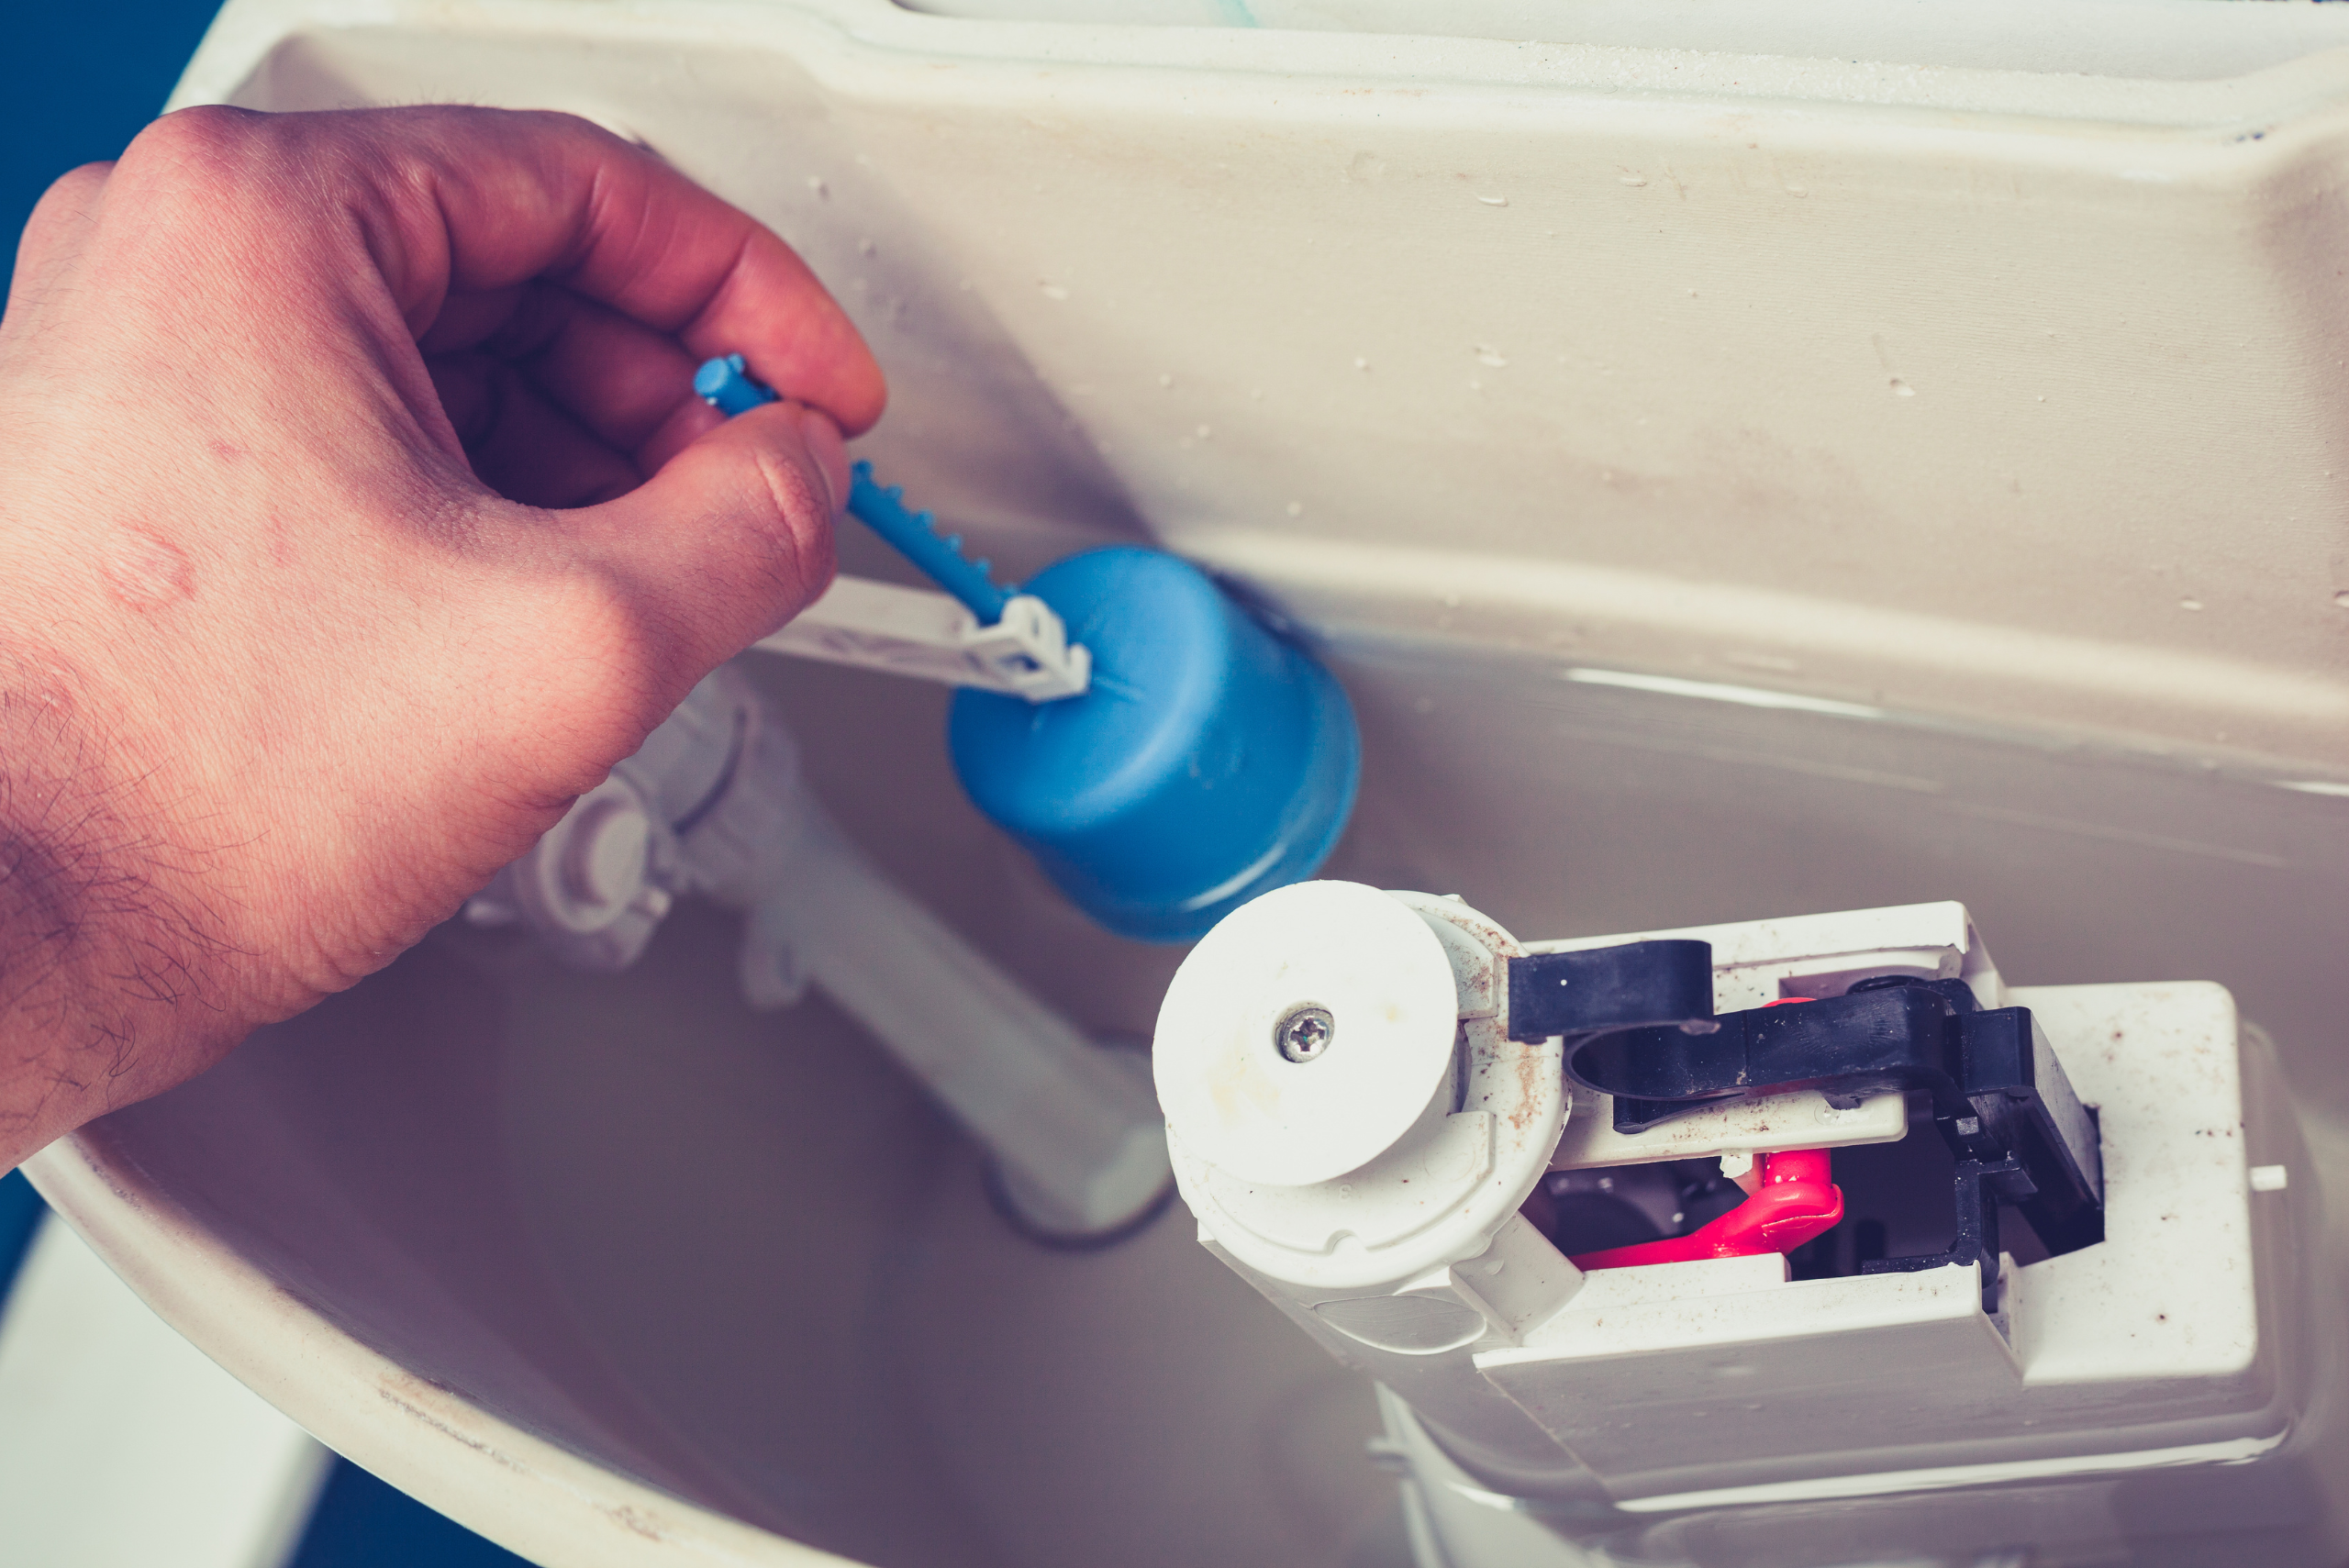
Photo Credit: Canva Pro
Testing and Fine-Tuning for Optimum Performance
Following the installation of the new handle, test the toilet to ensure proper flushing and smooth handle operation. Make any necessary adjustments to optimize its performance.
Implementing Preventative Maintenance Measures
To minimize the risk of future handle breakages, consider regular maintenance practices such as cleaning and lubricating the handle and its components. Additionally, be mindful of the force applied when flushing the toilet to prevent unnecessary wear and damage.
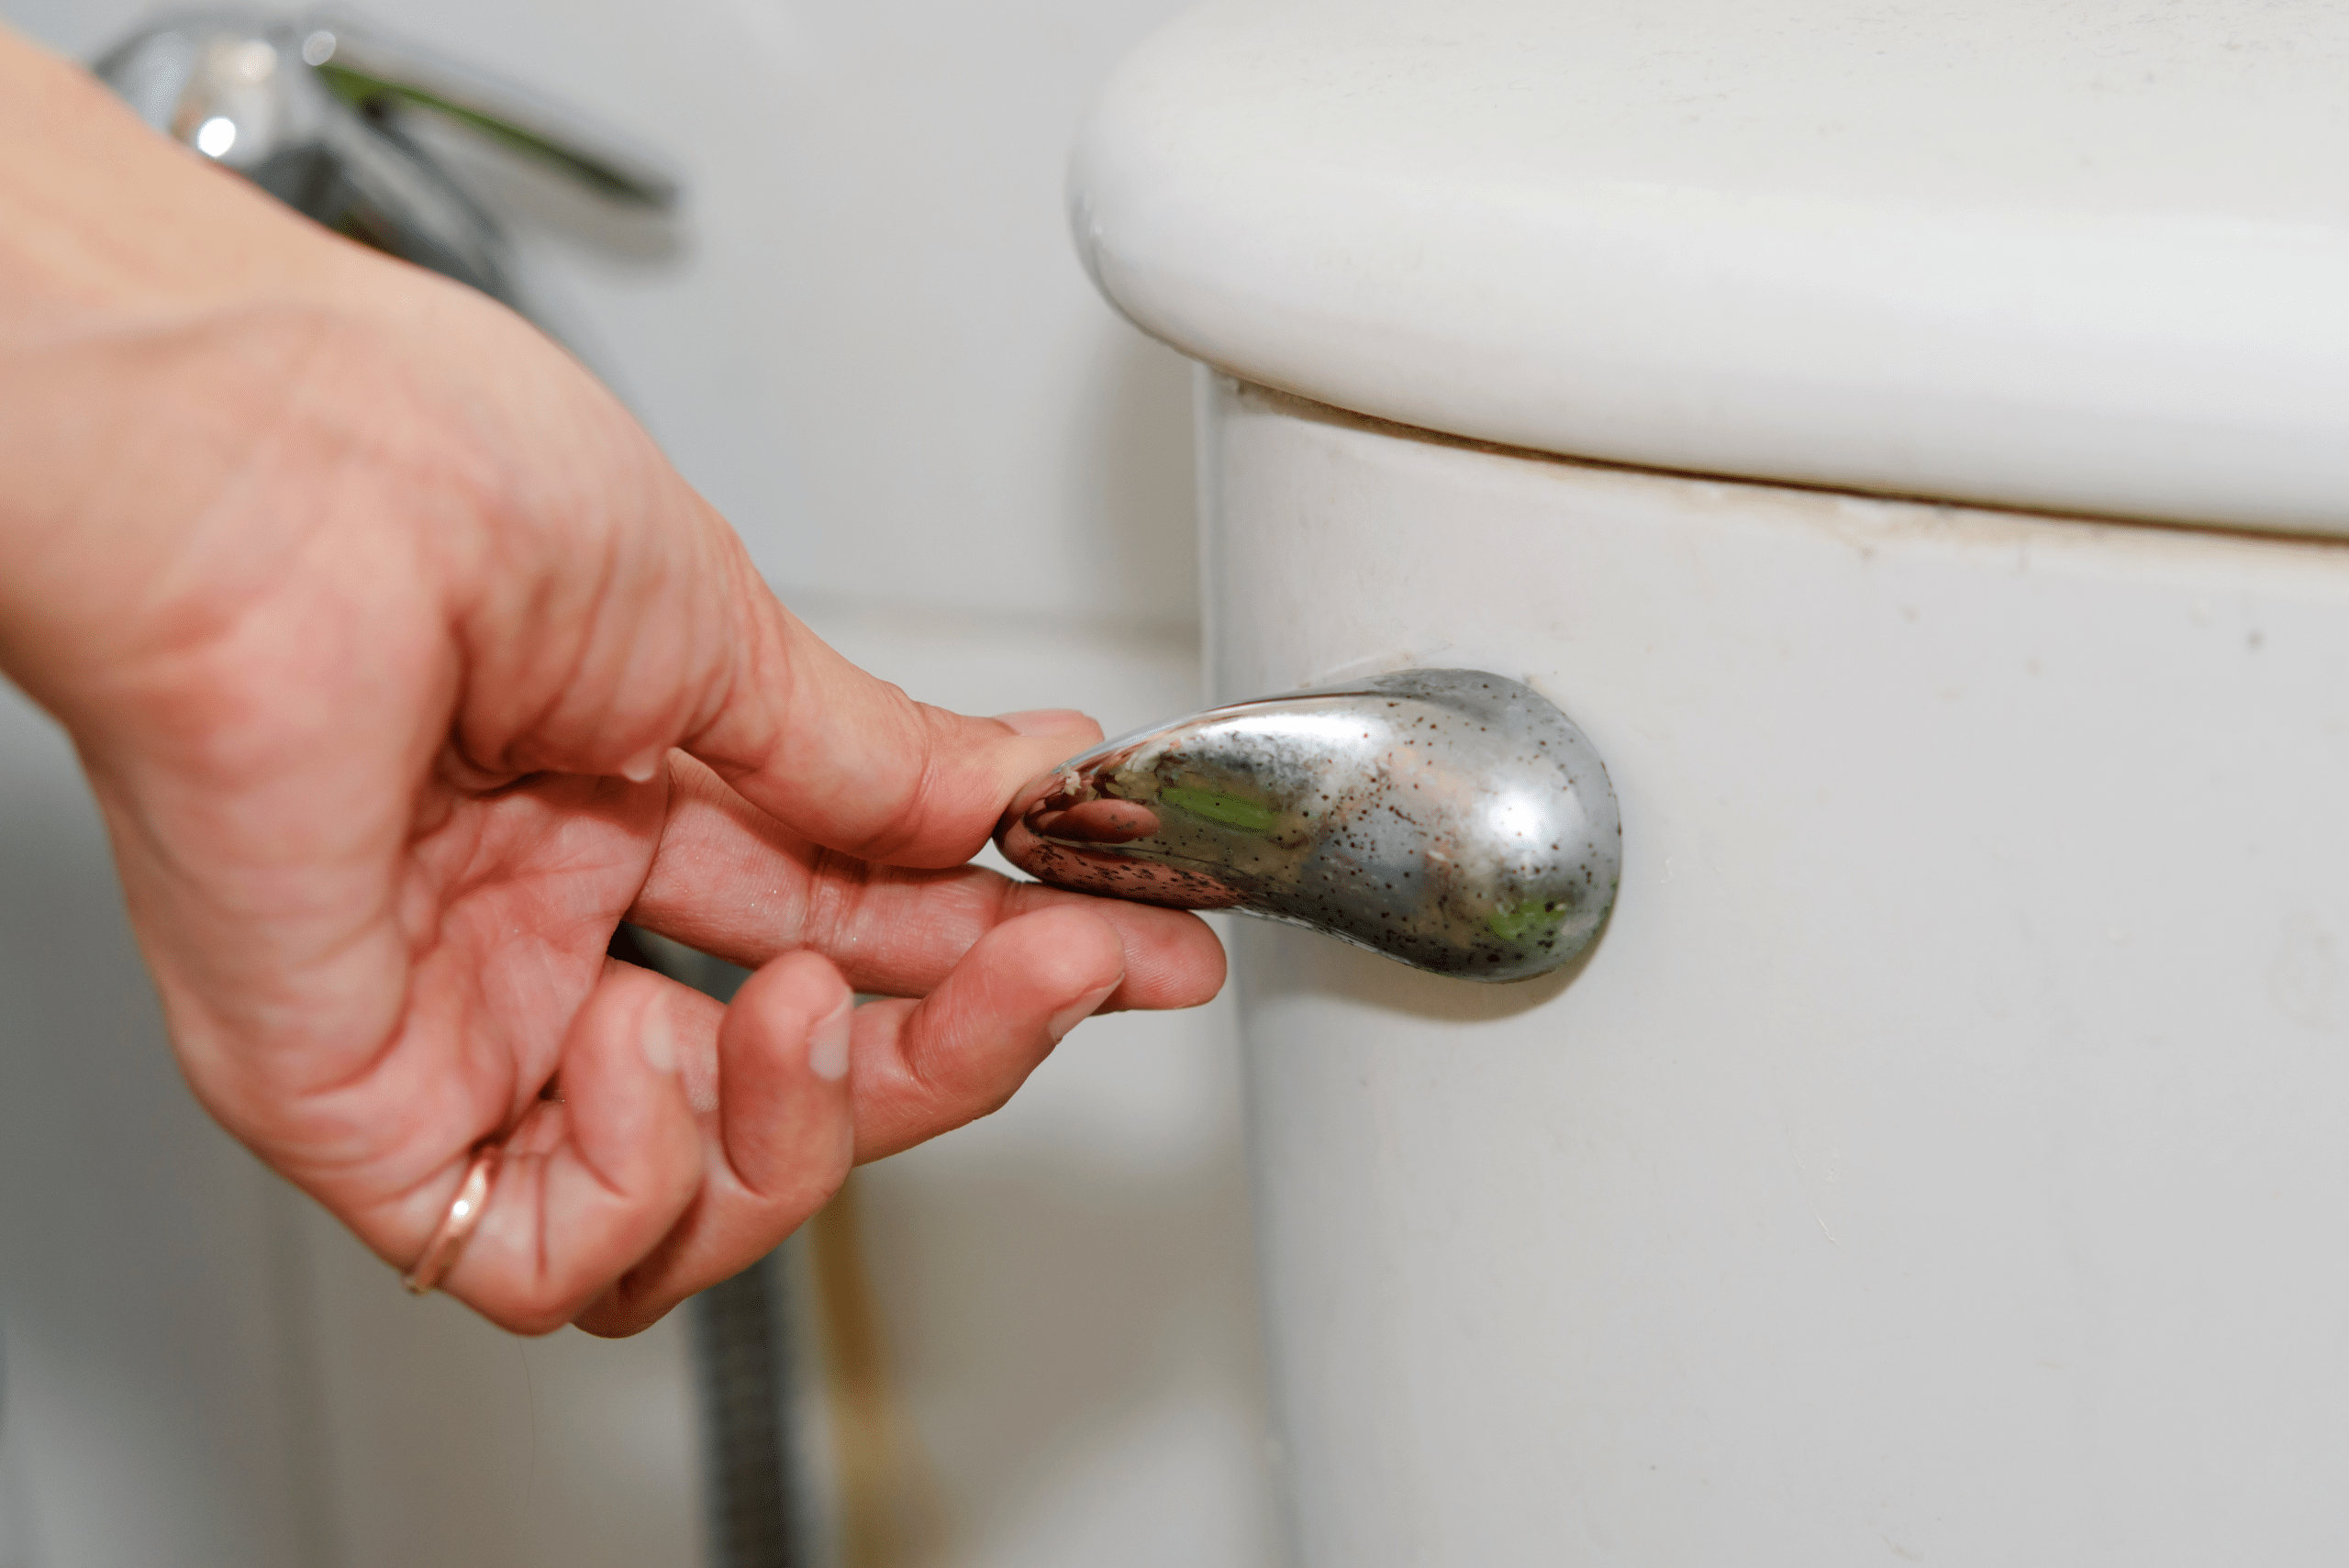
Photo Credit: Canva Pro
Other articles you might enjoy:
Replacing a broken toilet handle is a manageable task when approached with the right tools, knowledge, and attention to detail. By following the comprehensive steps outlined in this guide, you can effectively restore your toilet’s functionality and avoid the inconvenience of a broken handle. Remember to exercise patience and seek assistance if needed, ensuring a successful replacement process. With these comprehensive tips, you can confidently tackle the task of replacing a broken toilet handle.
Ready to start your next project? Join our DIY community to receive tool tips, how-to guides, and exclusive creative insights. Subscribe to the ManMadeDIY newsletter now! Click here to unlock a world of hands-on inspiration.



Add comment